If you're not familiar with Postman REST Client, it is a powerful tool used by developers to test and document APIs. It provides a user-friendly interface for sending HTTP requests, setting parameters, and viewing responses.
In this guide, we will walk you through the process of using Postman as a REST Client to send requests to an API. We'll cover how to set up Postman, how to create requests, how to set request headers and parameters, and how to view and analyze responses.
What is Postman REST Client?
Postman is an API client that streamlines the process of API testing. Postman includes various API tools, including- designing, testing, mocking, monitoring, and documenting API testing. These tools serve as an aid for the discovery of the APIs. With its user-friendly interface, developers can easily debug REST APIs by inspecting responses, identifying errors, and troubleshooting issues. Postman can be used as a downloadable application or on the web server.
What is a Postman Client?
Postman REST client enables users to visualize the data through Postman visualizer through pre-built charts and graphs, or the user can create their visualizations using libraries. An added feature helps teams see the visualizations together and use them as a basis for further project progress. Postman client also has built-in support for variables which can store variables at a global level. Variables can also be added to URLs, headers, and body. The user can also switch between setup environments without changing API requests. API keys can also be stored on your local machine, so they are never synced with the team project. This way, API keys are only available to the developers.
Postman lets the user access authentication protocols without creating backups. Postman client supports AWS, Hawk Authentication, and OAuth 2.0 protocols. The user can manage cookies as well as certificates. The cookies sent back by the server when a request is sent are used for other requests. Postman client supports several certifications such as SSL certifications, CA certificates, and client certificate support.
Postman client is more than just a REST client. It can help developers create code snippets in a variety of languages. It also keeps track of request history, and tests can be written in Postman Sandbox. The tests help the developer build better requests. What started as a REST client has evolved to give a better experience for the users.
How to Use Postman as a REST Client to Send Requests
Postman can create and send requests to a web server that sends back a response. The user does not need to perform additional steps of setting up frameworks to create, send or receive requests with Postman.
Apart from creating and sending proposals, a variety of handful tools exist in Postman, such as inspecting the response, testing, and automation, organizing requests, collaborating and sharing, and documentation. Other use cases include application development, developer onboarding, API first development, developer portals, and exploratory and automated testing.
General steps of using Postman:
Download Postman Client
Download and install Postman Client from the official website on Chrome (https://www.postman.com/downloads/) for your respective operating system.

Launch the application after installation and create an account or sign in to get started with the application if your account already exists.
After creating an account, click the terms of the agreement, and a prompt will be shown to open the application on your desktop. You will be greeted with a welcome window asking you to fill in your name and role as a developer. Once those are selected, you be shown a window like this:
You can now get started with Postman!
Creating a Request
You can create a request by selecting the HTTP method (GET, POST, PUT, DELETE) for the API request. You then need to fill in the URL of the endpoint you want to interact with and select the required headers, body, and parameters for the request. If the API requires authentication, you must configure the authentication details.
Sending the Request
Click the send button to execute the API request. Postman will send the request to the endpoint and generate a response.
View the Response
Postman will show the response received from the server. You can view the status code, header, body, test results, and cookies. The body of the response can be displayed in many formats, including (JSON, XML, and raw) for a better understanding of the developer or tester.
Test and Automation
Click on the API section to choose the test and automation heading for API testing. An alternative way of testing is to click on the “Tests” tab and write JavaScript-based scripts. These tests can be validated by checking the status code, validating JSON structures, etc. Tests can be executed by clicking the “Send” button, and the test results will be displayed on the screen.
Environment and Variables
You can use environments to manage variables that can be used to manage requests by defining environment-specific variables like URLs and tokens. You can also switch environments to drive to work better with different configurations.
Documentation
Documentation can help add descriptions, code snippets, and details of the API requests to the document, which can be published and shared with others. You can also generate API documentation from requests and responses received. This helps in better consumption of the APIs.
Apidog: A Better API Platform than Postman client
What is Apidog?
Much like Postman, Apidog is an API integration platform that can test, debug, design, mock, and document API’s. It provides the user with a lot of tools to work with. It helps teams to work together and collaborate on different projects. APIs can be tested better, and JSON/ XML schemas can be made for the test results and responses.
The features included in Apidog are documentation of the API’s responses and results with the option of customizing the layouts to make the document presentable. API testing tools include adding assertions visually and creating testing branches, collaborating and sharing projects with other team members to make it easier to work on group APIs, analyzing APIs to monitor the activity, and mocking without writing scripts.

Features in Apidog
Apidog effortlessly integrates all the needs of API testing in one platform. Apart from basic features of creating, sending, and testing APIs, Apidog includes advanced features. It provides “Multi-protocol support,” which helps create, ship, and organize requests without switching apps.
It helps in “Designing while debugging,” allowing developers to debug APIs while simultaneously working on their modifications. “Apidog IDEA plugin” helps back-end developers integrate specifications from Javadoc comments without annotating. Another handy feature of Apidog includes “Connection to a database,” which allows retrieving data directly from databases such as MySQL, Oracle, MongoDB, etc.
One of the most valuable integrations in Apidog is its compatibility with Postman. This means that Postman scripts (both public and private) can be run directly in Apidog without needing modifications. Apidog provides an “API Hub,” which allows access to hundreds and thousands of public APIs and the option to publish your APIs.
With its advanced features, Apidog has quickly gained popularity among developers. It is among one the leading API platforms.
How does Apidog work?
Installation:
Open the Apidog website (https://apidog.com/), which will give a download option. After downloading, install the application on your device, or use the Apidog website to create APIs online.
Create an Account:
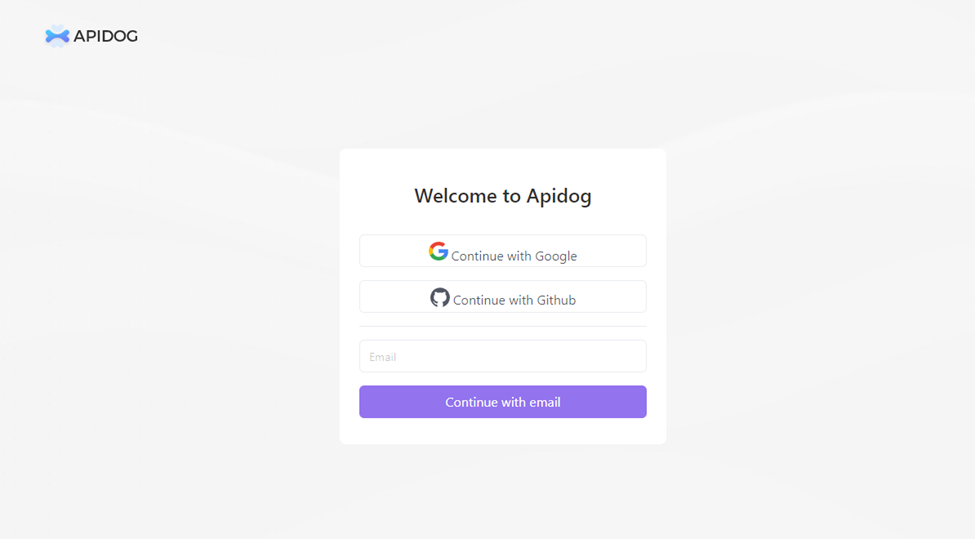
After you install the application, you must create an account or sign in to an existing one.

After creating an account, you will be shown a welcome prompt and asked to choose a role as a developer.
Create an API
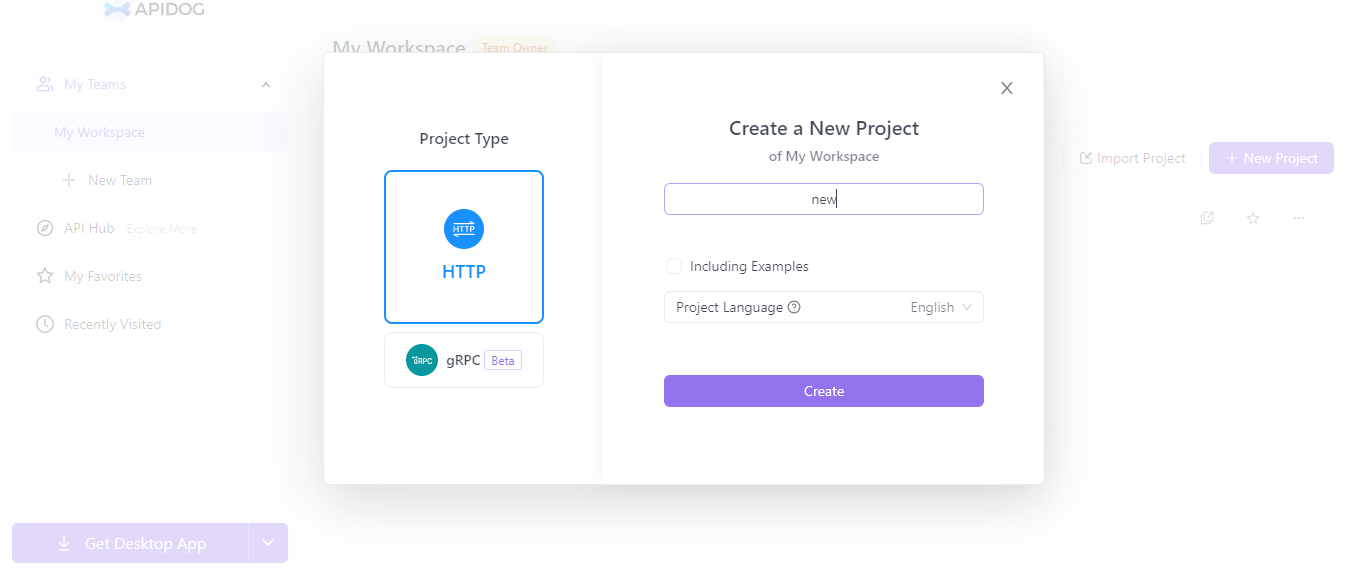
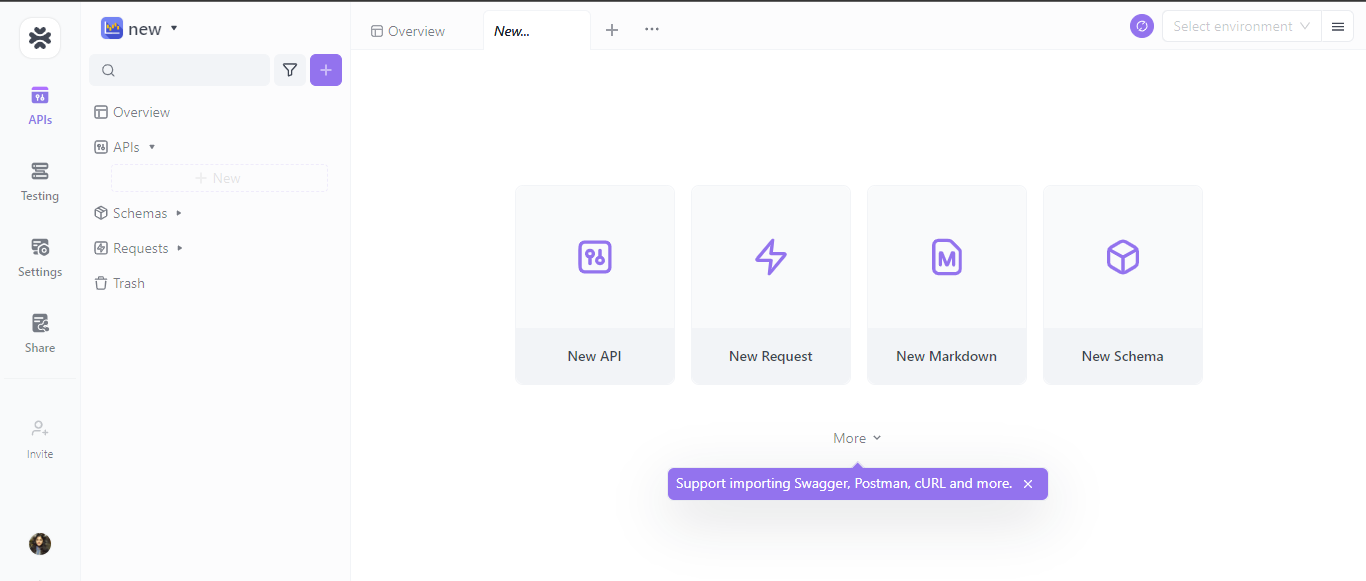
You can choose to create a new project to build an API. You will need to select the project type as either HTTP or gRPC. Once you start the project, you can choose to create an API.


Send a Request
You can choose the request type (GET, POST, PUT, DELETE). After saving your API, you can send a request to the server, after which you will receive a response. You can choose the options to either debug or design.
Inspect responses
You can view the response's status code, the body, header, pre-processes, post-processes, and cookies of the response from the server. The response's body can be seen in many formats, such as JSON/ XML.
Testing Your API
In Apidog, you can select and create multiple test scenarios and view test reports for those test scenarios. Adding a new test scenario requires the scenario's name, priority, and description regarding the test case.
After adding a test, you can make test steps and add continuous integration and delivery.
The developer can also view test reports to understand the test results better and improve the APIs.
The user can add test data to view the results of the APIs with actual data.
Collaboration
Apidog allows the user to create collaborative projects and share documents with team members working on the same project. This allows for better communication with all members of the team.
Conclusion
Overall, with Apidog’s innovative features, such as IDEA plugins, unlimited collaborations of peers, design-first layout, simultaneous debugging and designing, API hubs to explore several public APIs, compatibility with Postman, and multi-protocol support, it has proven to be the best API client in today’s age beating Postman client.


