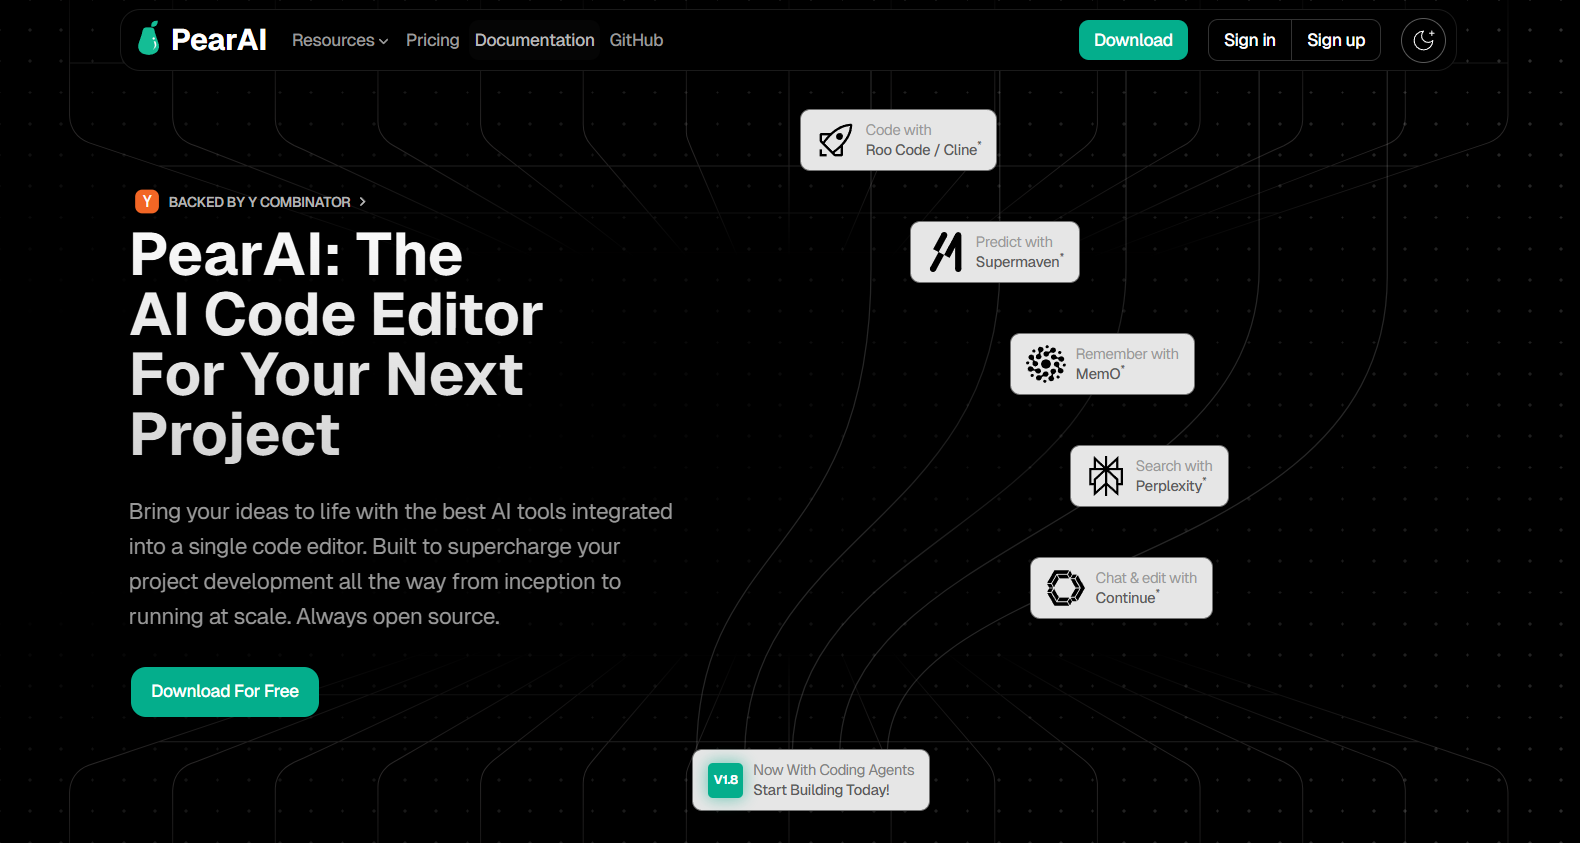
Are you searching for a modern, AI-first coding experience that streamlines your workflow beyond what VS Code or Cursor offer? PearAI is an innovative, AI-driven Integrated Development Environment (IDE) designed for developers who want seamless AI coding features out of the box—no extra extensions required.
In this guide, we’ll walk API developers and backend teams through installing, configuring, and maximizing PearAI. You’ll also discover how tools like Apidog can further accelerate your API development and testing pipeline.
Why Choose PearAI? Key Benefits for Developers
PearAI stands out among modern IDEs by delivering:
- Built-in AI assistance without plugin complexity.
- VS Code-like familiarity to reduce learning curve.
- Flexible model integration (OpenAI, Claude, Gemini, and more).
- Powerful context-aware commands for smarter code generation and debugging.
If you frequently work with APIs, consider pairing PearAI with Apidog. Apidog’s intuitive API testing and debugging tools can help you rapidly verify endpoints and streamline integration, making it a valuable companion for backend engineers and QA specialists.
Quick Start: Installing PearAI IDE
Follow these steps to get up and running with PearAI:
1. Download and Install
- Visit https://trypear.ai/ to download PearAI for free.
- Launch the installer and follow the prompts. The setup process is similar to VS Code.
2. Customize Your Workspace
- Choose from dark, light, or high-contrast themes for comfortable coding.
- Adjust layout and preferences as needed.
Core Features and Developer Workflows
Familiar VS Code-Style Experience
PearAI mirrors the VS Code interface, giving you access to:
- Extension support
- Integrated debugging tools
- Cloud development environments
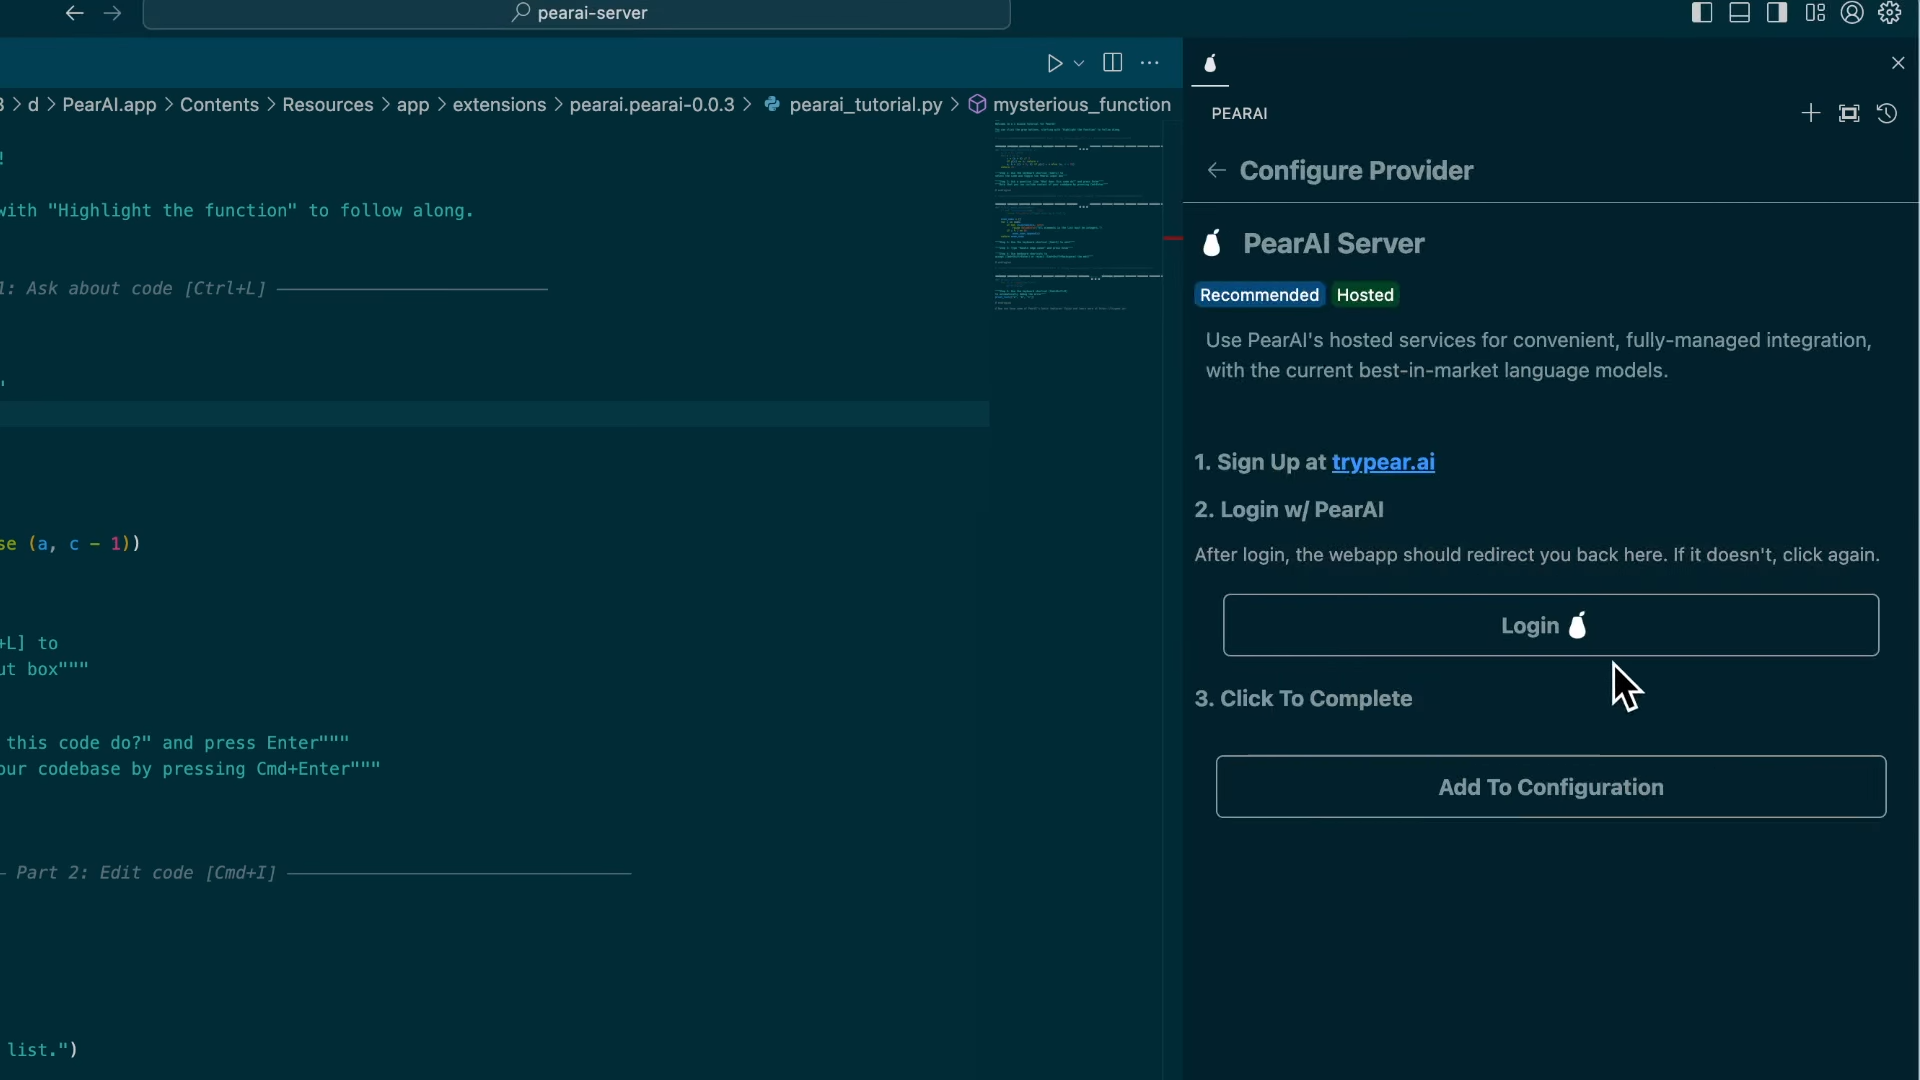
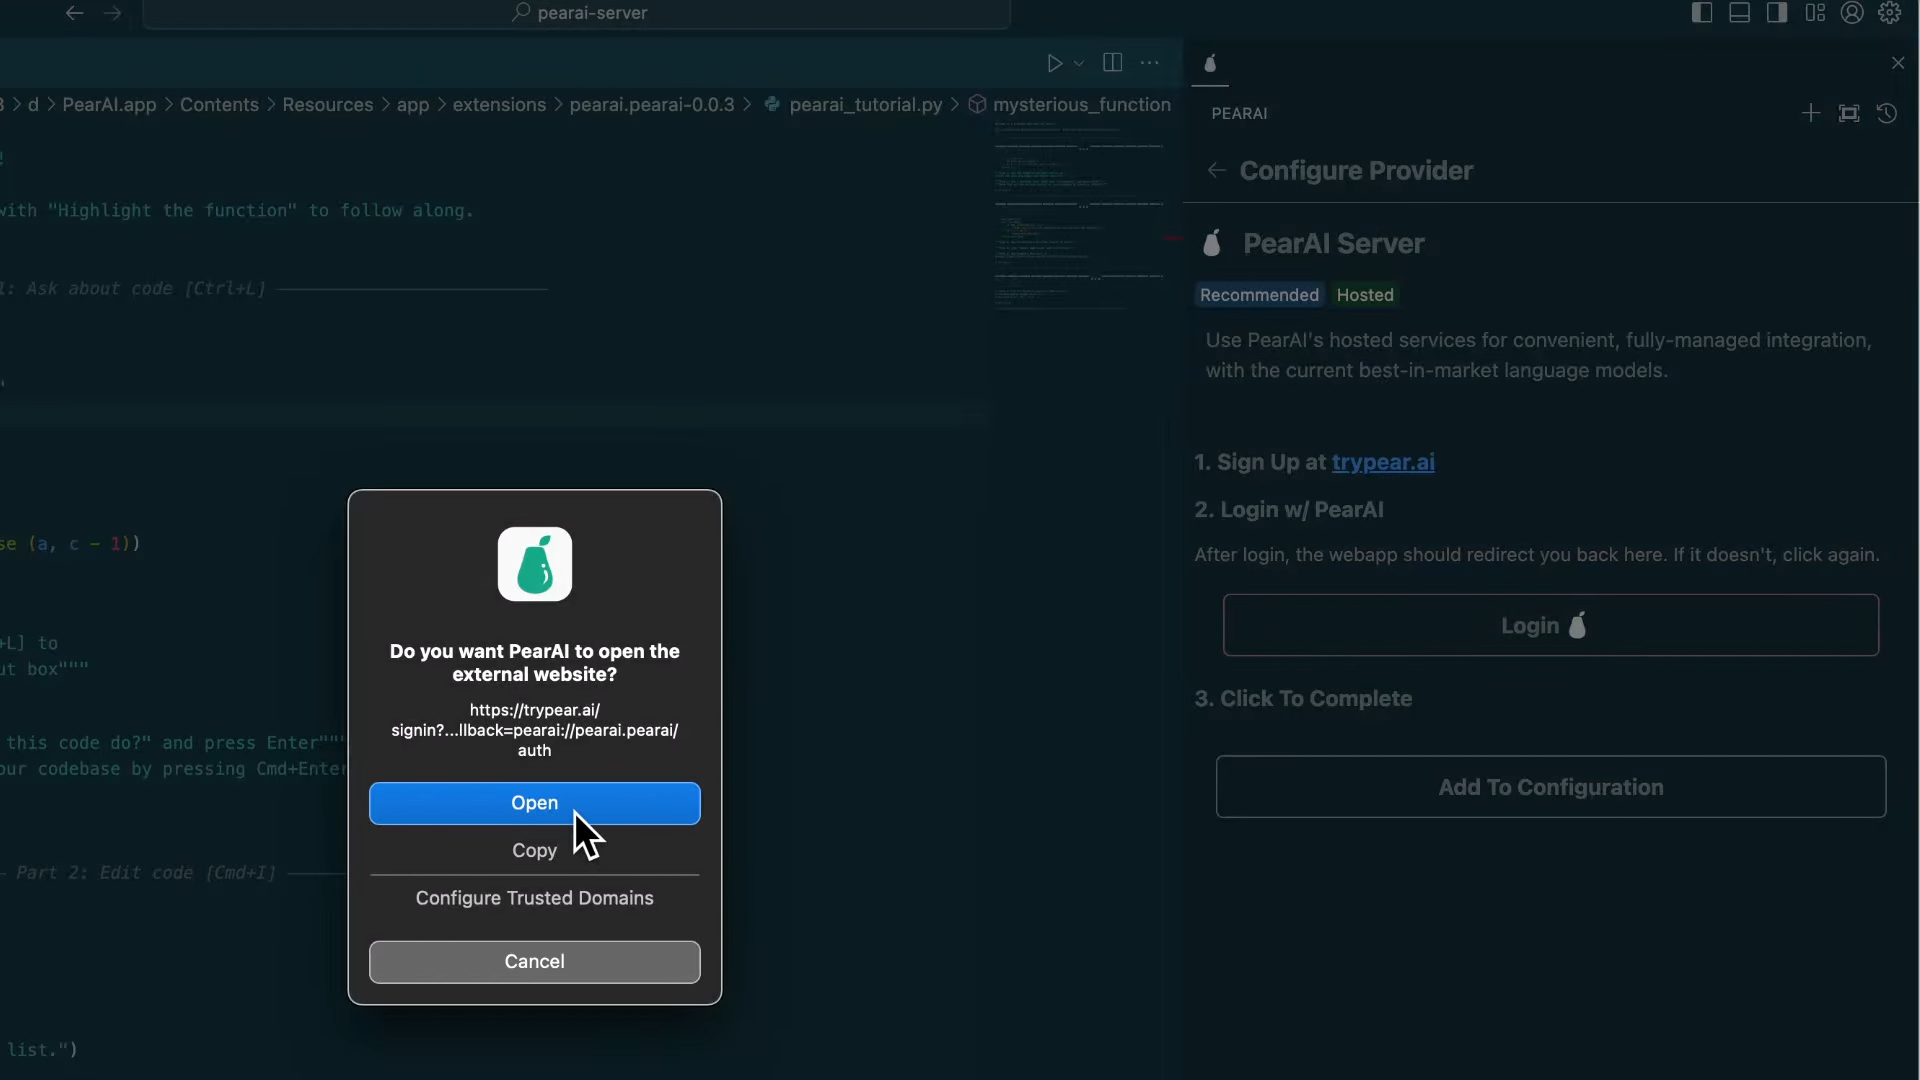
Streamlined Sign-In
- Sign in using Google, GitHub, or your email.
- Explore PearAI’s preview welcome file for a command overview.
AI-Powered Coding Assistance
PearAI’s AI features boost productivity at every step:
- Chat Panel: Press
Ctrl+Lto open an AI chat, similar to Cursor’s assistant. - Command Assistance: Use
Cmd+I(Ctrl+Ion Windows) for instant AI-driven help. - Inline Suggestions: Get real-time code completions as you type.
- Chat History & Model Switching: Easily revisit past conversations and swap between AI models.
Example: Building a Feature in Minutes
- Open PearAI, log in, and select your AI model.
- Use the chat window to describe your coding task (e.g., “Build a REST API endpoint for user authentication”).
- PearAI generates code, suggests improvements, and helps debug in real time.
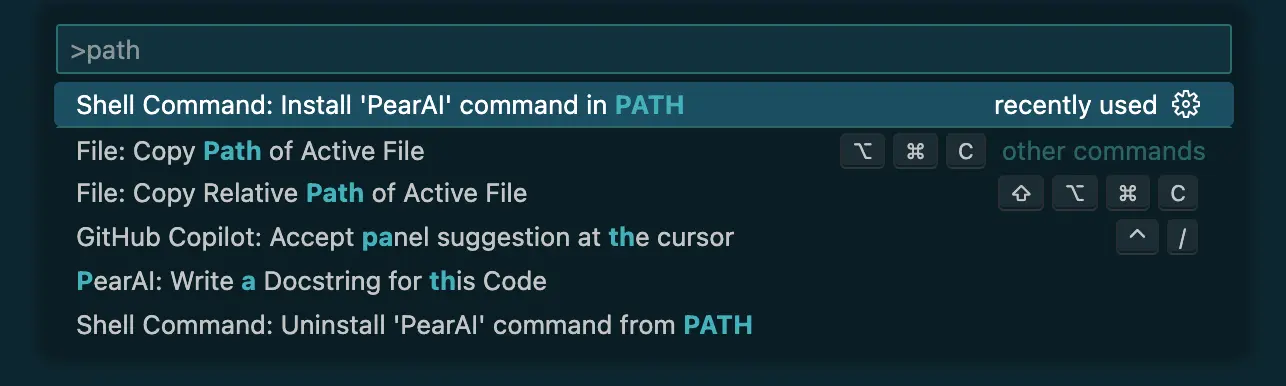
Tip: Add PearAI to your system path for quick launch with pearai . in any directory.
Advanced Context: "@" Commands and Built-in Providers
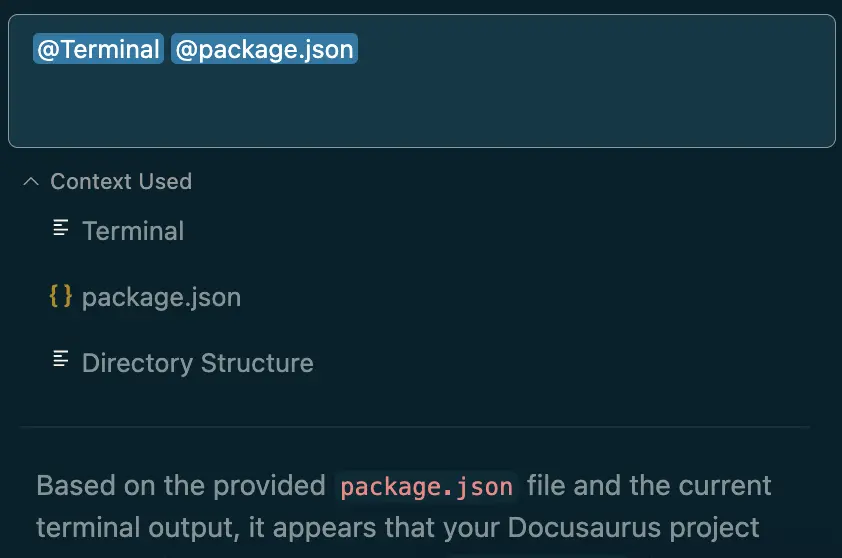
PearAI’s @ commands revolutionize context-driven coding help. By typing @ in chat, you can inject precise context into your AI prompt, such as files, terminal output, or documentation.
How @ Commands Work
For example, debugging a local app with errors? Use:
@terminalto include error logs.@filesto attachpackage.jsonor other files.
PearAI quickly analyzes and suggests fixes, accelerating your troubleshooting workflow.
Built-in Context Providers
Easily configure which providers to use in config.json:
- @Files: Attach specific files.
- @Codebase: Reference the entire project (beware of large codebases and credit usage).
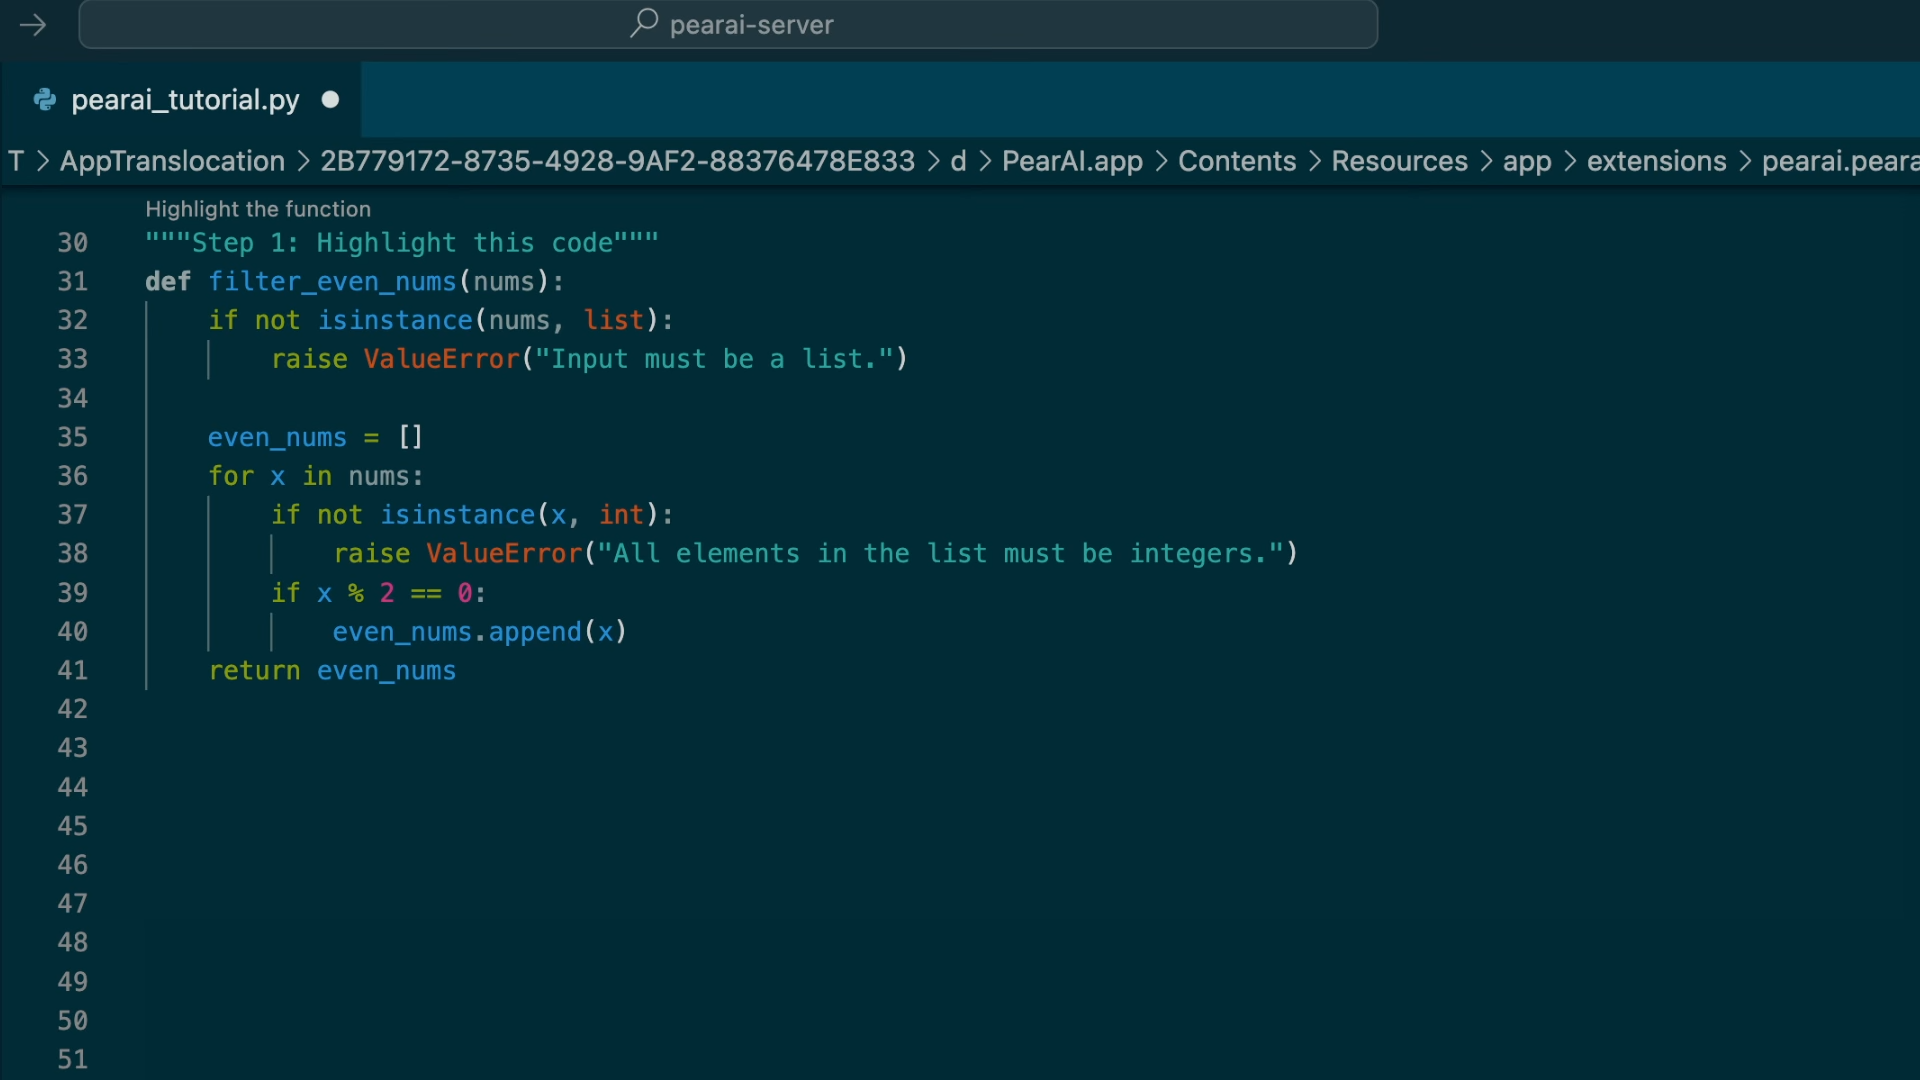
- @Code: Focus on functions or classes.
- @Docs: Pull in related documentation.
- @Git Diff: Include recent branch changes.
- @Terminal: Add current terminal output.
- @Problems: Surface file-specific errors/warnings.
- @Folder: Reference entire folders.
- @Directory Structure: Share your project’s file organization.
Configuration example for adding a provider:
{
  "contextProviders": [
    { "name": "files" }
  ]
}
Integrating and Customizing AI Models
PearAI allows you to tailor your AI experience by mixing and matching popular models.
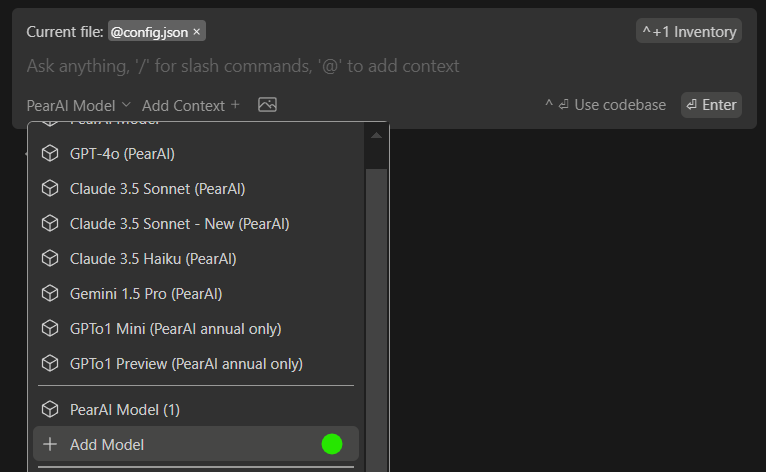
How to Add AI Models
- Click on the PearAI Model selector.
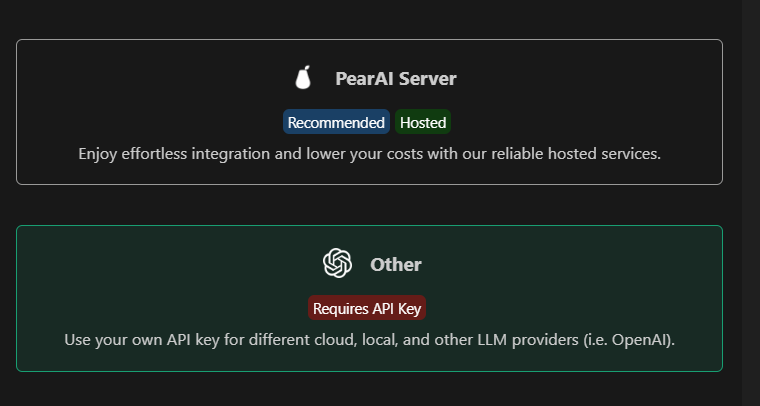
- Choose
Add Modelto pick between PearAI’s server or external API keys. - Add your OpenAI API key, integrate Claude from Anthropic, or connect local models.
- Manage all configurations in
config.json(CMD/CTRL+SHIFT+P > Open config.json). For Azure OpenAI, set the"engine"field as your deployment name.
Essential PearAI Shortcuts
Boost your productivity using these shortcuts:
0
- Tab Autocomplete: Speed up coding with predictive suggestions.
- Supermaven Extension: Install for fast, free code autocompletion.
1
Understanding PearAI Usage Costs
PearAI operates on a credit system. Usage depends on:
- Prompt/input size
- Model selection (e.g., GPT-4o, Claude 3.5 Sonnet)
- Tool features (chat, search, code generation)
Tips to optimize credits:
- Start new chats for unrelated topics.
- Upload files only once per conversation.
- Provide focused context (relevant files, not entire codebase).
Early access subscribers enjoy permanent discounted pricing. Credits do not expire when topped up.
Common Developer Use Cases
PearAI simplifies essential workflows for API and backend engineers:
Instantly Understand Code
2
Rapid Autocomplete Suggestions
- Use
tab(Mac/Windows) for AI-powered code completions.
3
Effortless Refactoring
cmd+I(Mac) /ctrl+I(Windows) to refactor on the fly.
4
Codebase Q&A
@codebasefor deep project insights.
5
Documentation Integration
@docsfor real-time doc lookups.
6
Slash Commands for Actions
/editfor quick modifications.
7
Contextual Additions
@filesto reference specific files/classes.
8
Terminal Error Analysis
cmd+shift+R(Mac) /ctrl+shift+R(Windows) to debug instantly.
9
Example: Generating a Minecraft Clone
- Use AI prompts to scaffold and generate project files.
- Install dependencies (e.g.,
pip install pygame). - Run the project (e.g.,
python main.py).
PearAI vs. Other IDEs: A Comparison
- Seamless AI Integration: Native AI features—no extra plugins.
- Truly Free & Open Source: No paywall for core features.
- Multi-Platform Support: Runs on Windows (unlike Zed IDE).
- Flexible Model Integration: Supports GPT-4o, Claude, Gemini, and more.
- Continuous Improvement: Frequent feature updates (like LeetCode tools).
Final Thoughts
PearAI is redefining what a developer-focused IDE can be, making it ideal for API engineers, backend teams, and anyone who values rapid, AI-powered coding. For those building and testing APIs, Apidog is the perfect complement—offering robust API debugging, documentation, and test automation to further streamline your workflow.
Try PearAI today for an advanced, intuitive, and AI-enhanced coding environment.