Artificial intelligence is rapidly transforming how we create and interact with visual content. OpenAI stands at the forefront of this revolution, offering powerful models capable of generating and manipulating images with astonishing realism and creativity. While models like DALL·E 3 and GPT-4o showcase these capabilities in user-facing tools, OpenAI also provides developers direct access to this technology through its Image Generation API, often utilizing the gpt-image-1 model identifier.
This guide provides a deep dive into using the gpt-image-1 (the official name of expected GPT-4o Image Generation API). We'll explore the underlying model, its powerful features, pricing considerations, and provide a comprehensive step-by-step walkthrough using Python. Crucially, we'll also discuss how tools like Apidog can streamline the development and testing process, making integration smoother and more efficient.
Want an integrated, All-in-One platform for your Developer Team to work together with maximum productivity?
Apidog delivers all your demands, and replaces Postman at a much more affordable price!

What is the GPT-4o Image Generation API (gpt-image-1)?
In essence, the gpt-image-1 (gpt-4o Image Generation API) is a service that allows developers to programmatically create and modify images using OpenAI's advanced AI models. When you interact with this API, specifying gpt-image-1 (or letting the API default to the latest recommended model, which often aligns with GPT-4o/DALL·E 3 capabilities), you're tapping into a sophisticated system trained on vast amounts of text and image data.
Why Use GPT-4o Image Generation API (gpt-image-1)
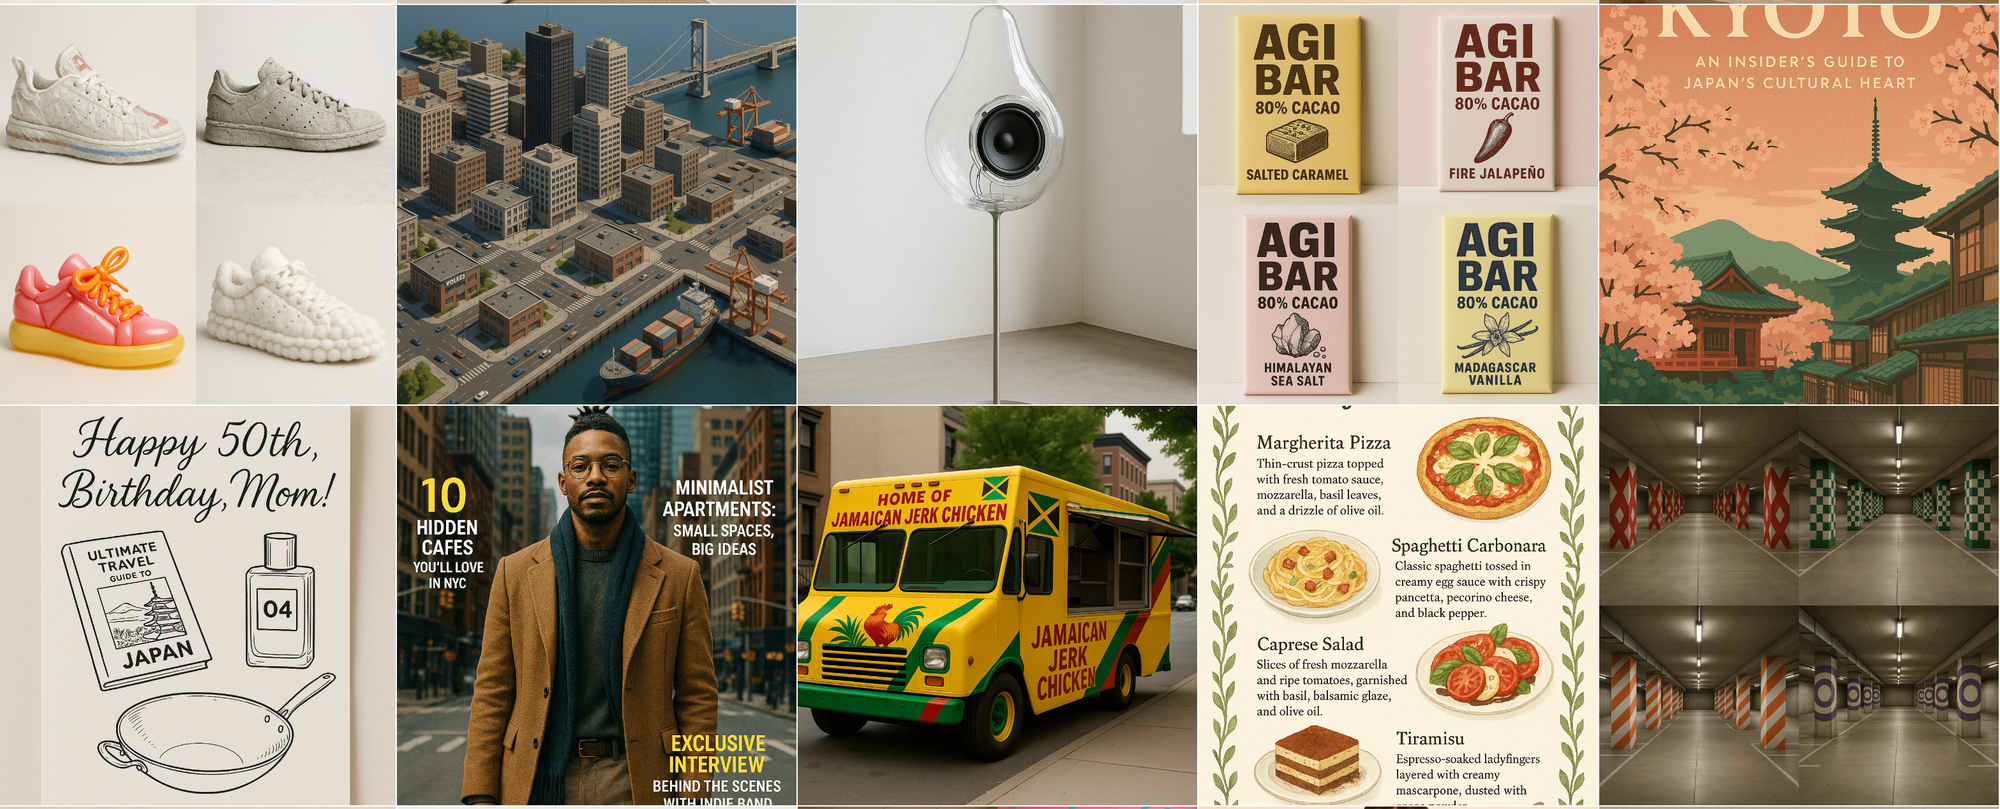
- High-Fidelity Image Generation: Create detailed, coherent, and visually compelling images from text descriptions (prompts). The model excels at understanding nuances in prompts to deliver accurate results.
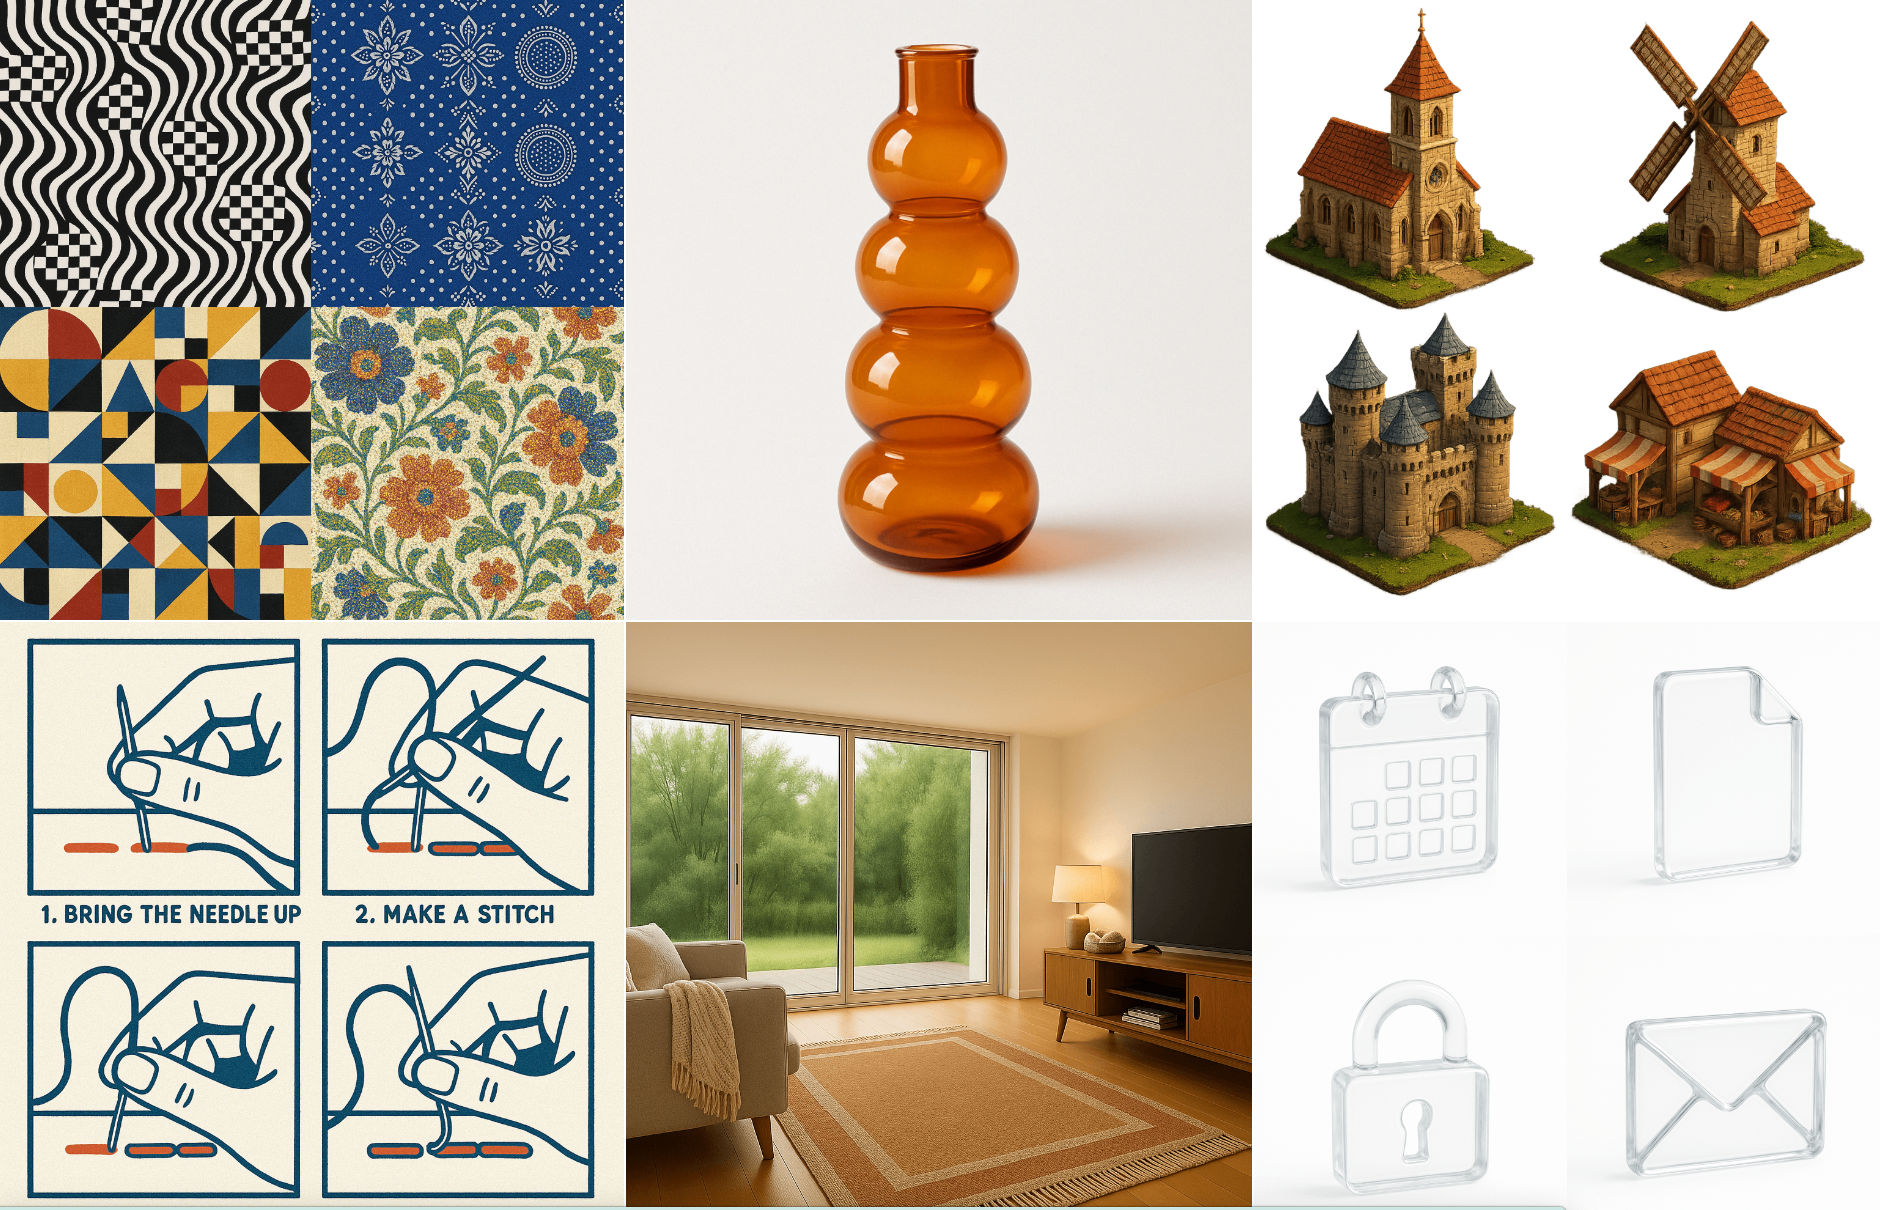
- Diverse Stylistic Range: Go beyond photorealism. Generate images in various styles like oil painting, watercolor, pixel art, 3D render, minimalist line art, and many more, simply by describing the desired aesthetic in your prompt.
- Advanced Image Editing (Inpainting & Outpainting): Modify existing images. You can provide an image and a mask (a transparent area indicating where changes should occur) along with a prompt to seamlessly edit specific parts (inpainting) or extend the image beyond its original borders (outpainting, though typically done via prompt iteration).
- Image Variations: Generate different versions of an input image, maintaining the core subject and style but introducing creative variations.
- Sophisticated Prompt Understanding: The model understands complex sentences, spatial relationships, multiple objects, and abstract concepts described in the prompt.
- Improved Text Rendering: One of the significant advancements is the ability to render legible and contextually appropriate text within generated images, overcoming a major hurdle for previous generations of image models.
- Safety by Design: Integrated safety systems work to prevent the generation of harmful, inappropriate, or policy-violating content based on prompts and image analysis.
API Cost, Latency, and Content Moderation
Understanding the factors influencing cost and response time is crucial when integrating the gpt-image-1 API.
Cost and Latency:
Unlike simple per-image pricing, the cost and latency for gpt-image-1 are directly proportional to the computational effort required, measured in image tokens. The model first generates specialized image tokens representing the visual content before rendering the final image.
The number of image tokens generated depends on the requested image dimensions (size) and quality setting (quality):
| Quality | Square (1024×1024) | Portrait (1024×1536) | Landscape (1536×1024) |
|---|---|---|---|
| Low | 272 tokens | 408 tokens | 400 tokens |
| Medium | 1056 tokens | 1584 tokens | 1568 tokens |
| High | 4160 tokens | 6240 tokens | 6208 tokens |
Higher quality settings and larger dimensions require significantly more image tokens, leading to increased cost and potentially higher latency (longer response times).
Important: You must also account for the input text tokens consumed by your prompt. The total cost per request is based on both the input prompt tokens and the generated image tokens.
For precise, up-to-date pricing per text and image token, always consult the official OpenAI pricing page: https://openai.com/pricing.
Content Moderation:
OpenAI filters all input prompts and generated images against its content policy to ensure safety and responsible use. When using gpt-image-1, you have some control over the moderation strictness via the optional moderation parameter:
auto(Default): Applies standard filtering, aiming to limit the creation of certain potentially age-inappropriate content categories.low: Applies less restrictive filtering.
Choose the setting appropriate for your application's context and user base while remaining compliant with OpenAI's usage policies.
How to Use the OpenAI Image Generation API (gpt-image-1)
This section provides comprehensive code snippets demonstrating how to use the OpenAI Image Generation API with the gpt-image-1 model via the official openai Python library.
Prerequisites & Setup
Ensure you have an OpenAI account and API key. Install the required libraries:
pip install --upgrade openai pillow
Import necessary modules and initialize the client (it automatically uses the OPENAI_API_KEY environment variable):
import os
import base64
from io import BytesIO
from openai import OpenAI
from PIL import Image # For image manipulation if handling b64_json

# Initialize the client
client = OpenAI()
# Ensure API key is set as environment variable or initialize with:
# client = OpenAI(api_key="YOUR_API_KEY")

# Recommended: Use response_format='b64_json' for direct handling
# Helper function (optional) to process b64_json data:
def process_b64_json(b64_json_data, output_path):
    try:
        image_bytes = base64.b64decode(b64_json_data)
        image = Image.open(BytesIO(image_bytes))
        # Optional: Resize or other processing
        # image = image.resize((512, 512), Image.LANCZOS)
        image.save(output_path) # Saves in format inferred from extension
        print(f"Image saved to {output_path}")
    except Exception as e:
        print(f"Error processing image: {e}")

# Create output directory
os.makedirs("generated_images", exist_ok=True)
output_dir = "generated_images"
Generating Images (client.images.generate)
Create new images from text prompts. gpt-image-1 excels at following detailed instructions.
Basic Generation:
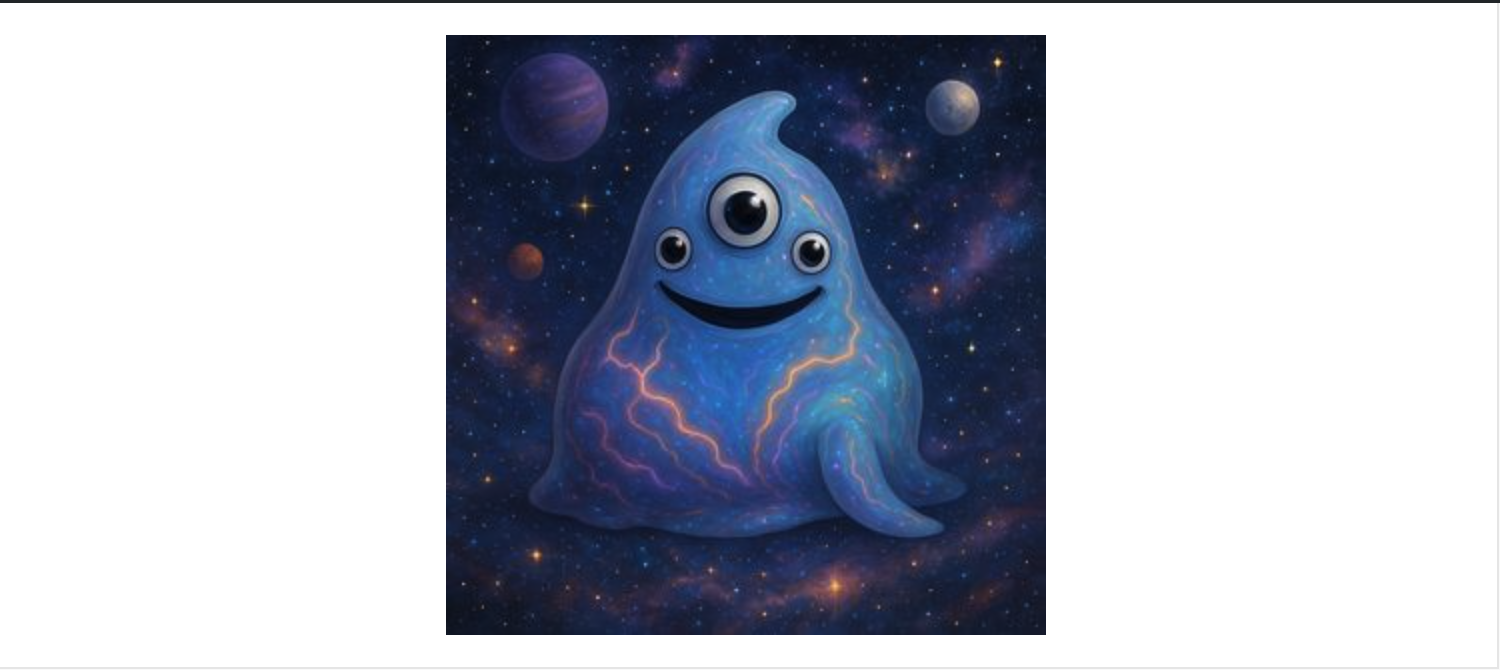
prompt_text = """
Render a realistic image of this character:
Blobby Alien Character Spec Name: Glorptak... [rest of detailed prompt from cookbook]
"""

try:
    response = client.images.generate(
        model="gpt-image-1",
        prompt=prompt_text,
        size="1024x1024",        # Options: "1024x1024", "1024x1792", "1792x1024", "auto" (cookbook also mentions "1536x1024", "1024x1536")
        quality="high",          # Options: "standard", "hd" (API Docs) or "low", "medium", "high", "auto" (Cookbook) - Use 'hd' for best quality via API docs standard.
        style="vivid",           # Options: "vivid", "natural" (Optional, influences realism/drama)
        n=1,                     # Number of images to generate
        response_format="b64_json" # Or "url"
    )

    # Process the response (using helper function)
    image_b64 = response.data[0].b64_json
    output_path = os.path.join(output_dir, "glorptak.png") # Save as PNG
    process_b64_json(image_b64, output_path)

except Exception as e:
    print(f"Error during generation: {e}")
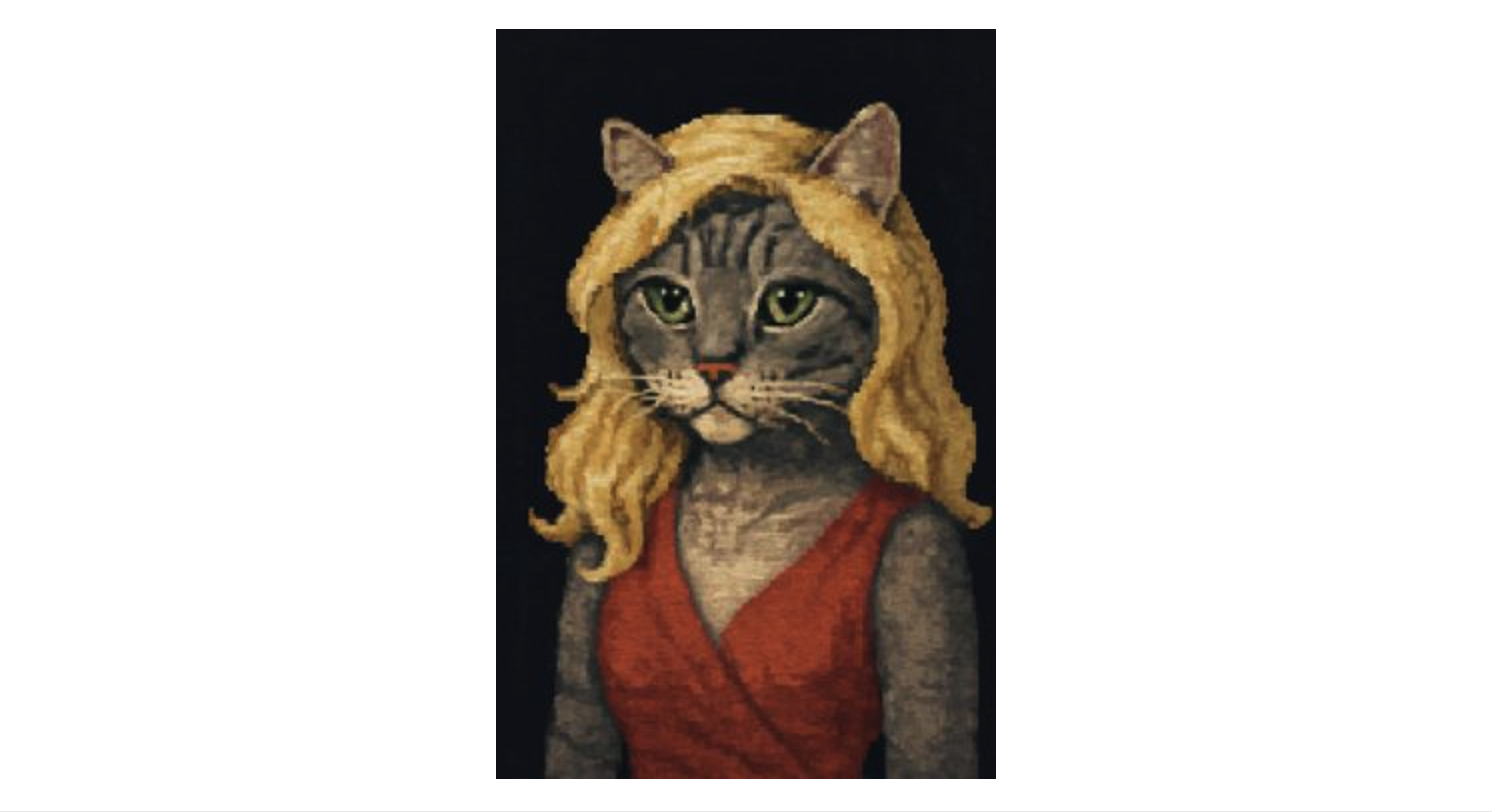
Customizing Output:
The cookbook highlights additional parameters for fine-tuning the output when generating.
prompt_pixel_cat = "generate a portrait, pixel-art style, of a grey tabby cat dressed as a blond woman on a dark background."

try:
    response = client.images.generate(
        model="gpt-image-1",
        prompt=prompt_pixel_cat,
        size="1024x1536",          # Portrait orientation
        quality="low",             # Lower quality setting (from cookbook)
        output_format="jpeg",      # Request JPEG output
        output_compression=50,     # JPEG compression level (0-100)
        response_format="b64_json",
        n=1
    )

    # Process the response
    image_b64 = response.data[0].b64_json
    output_path = os.path.join(output_dir, "pixel_cat.jpeg")
    process_b64_json(image_b64, output_path)

except Exception as e:
    print(f"Error during custom generation: {e}")
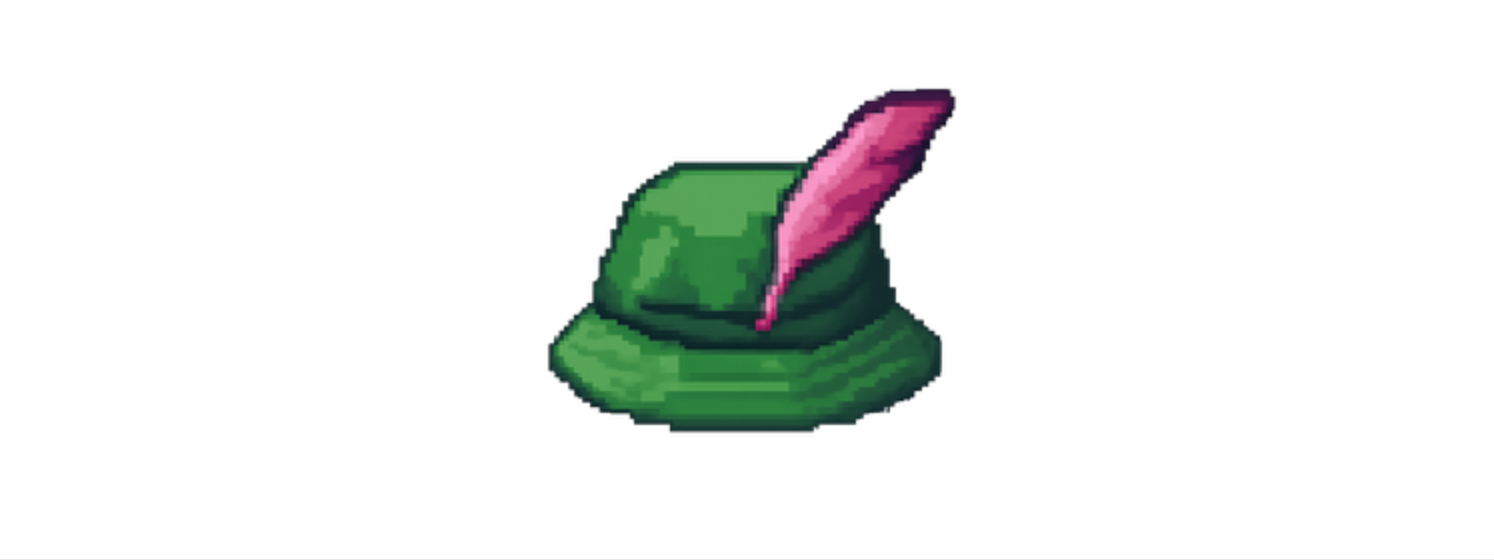
Transparent Background:
Use output_format="png" or "webp" and set background="transparent". Including "transparent background" in the prompt might also trigger this automatically (as per cookbook).
prompt_transparent_hat = "generate a pixel-art style picture of a green bucket hat with a pink quill on a transparent background."

try:
    response = client.images.generate(
        model="gpt-image-1",
        prompt=prompt_transparent_hat,
        size="1024x1024",
        quality="low",
        output_format="png",          # Required for transparency
        # background="transparent",   # Can be explicitly set
        response_format="b64_json",
        n=1
    )

    # Process the response
    image_b64 = response.data[0].b64_json
    output_path = os.path.join(output_dir, "hat_transparent.png")
    process_b64_json(image_b64, output_path)

except Exception as e:
    print(f"Error generating transparent image: {e}")
Editing Images (client.images.edit)
Modify existing images based on a prompt. Can combine multiple images or use masks. Requires image files to be opened in binary read mode ('rb').
Combining/Editing Multiple Images (Cookbook Example):
Provide a list of opened file objects to the image parameter.
prompt_combine = "Combine the images to show the cat wearing the hat while being perched in a tree, still in pixel-art style."
cat_image_path = os.path.join(output_dir, "pixel_cat.jpeg") # Assume exists
hat_image_path = os.path.join(output_dir, "hat_transparent.png") # Assume exists

img1_file = None
img2_file = None
try:
    img1_file = open(cat_image_path, "rb")
    img2_file = open(hat_image_path, "rb")

    response = client.images.edit(
        model="gpt-image-1",
        image=[img1_file, img2_file], # Pass list of file objects
        prompt=prompt_combine,        # Describe the desired combined result
        size="1024x1536",             # Match desired output size
        response_format="b64_json",
        n=1
    )

    # Process the response
    image_b64 = response.data[0].b64_json
    output_path = os.path.join(output_dir, "cat_with_hat.jpeg")
    process_b64_json(image_b64, output_path)

except FileNotFoundError:
    print("Error: Input image file(s) not found.")
except Exception as e:
    print(f"Error during image combination/edit: {e}")
finally:
    # IMPORTANT: Close files
    if img1_file: img1_file.close()
    if img2_file: img2_file.close()
Editing with a Mask:
Provide a single base image and a mask file (PNG with alpha channel). The prompt describes the desired final image, considering the masked area.

Step 1: Obtain/Generate Mask: You might create one manually or use the API itself.
# --- Snippet: Generating a B&W Mask via API (from Cookbook) ---
base_image_path = os.path.join(output_dir, "glorptak.png") # Assume exists
mask_prompt = "generate a mask delimiting the entire character in the picture, using white where the character is and black for the background. Return an image in the same size as the input image."
bw_mask_output_path = os.path.join(output_dir, "glorptak_mask_bw.png")

img_input_file = None
try:
    img_input_file = open(base_image_path, "rb")
    mask_gen_response = client.images.edit( # Yes, edit endpoint can generate masks
        model="gpt-image-1",
        image=img_input_file,
        prompt=mask_prompt,
        size="1024x1024", # Match input size
        response_format="b64_json"
    )
    # Save the generated B&W mask
    mask_b64 = mask_gen_response.data[0].b64_json
    process_b64_json(mask_b64, bw_mask_output_path)
except Exception as e:
    print(f"Error generating mask: {e}")
finally:
    if img_input_file: img_input_file.close()

Step 2: Convert B&W Mask to Alpha Mask (from Cookbook): The API requires the mask to have an alpha channel.
# --- Snippet: Creating Alpha Channel for Mask ---
bw_mask_path = os.path.join(output_dir, "glorptak_mask_bw.png") # Assume exists
alpha_mask_path = os.path.join(output_dir, "glorptak_mask_alpha.png")

try:
    mask = Image.open(bw_mask_path).convert("L") # Load as grayscale
    mask_rgba = mask.convert("RGBA")             # Convert to RGBA
    mask_rgba.putalpha(mask)                     # Use grayscale intensity for alpha
    mask_rgba.save(alpha_mask_path, format="PNG") # Save as PNG
    print(f"Alpha mask saved to {alpha_mask_path}")
except FileNotFoundError:
     print(f"Error: B&W mask not found at {bw_mask_path}")
except Exception as e:
    print(f"Error creating alpha mask: {e}")
Step 3: Perform Masked Edit: Use the base image and the alpha mask.
# --- Snippet: Editing with Alpha Mask ---
base_image_path = os.path.join(output_dir, "glorptak.png") # Assume exists
alpha_mask_path = os.path.join(output_dir, "glorptak_mask_alpha.png") # Assume exists
edit_prompt_masked = "A strange character on a colorful galaxy background, with lots of stars and planets."
masked_edit_output_path = os.path.join(output_dir, "glorptak_masked_edit.jpeg")

img_input_file = None
mask_alpha_file = None
try:
    img_input_file = open(base_image_path, "rb")
    mask_alpha_file = open(alpha_mask_path, "rb") # Use the mask with alpha

    response = client.images.edit(
        model="gpt-image-1",
        image=img_input_file,
        mask=mask_alpha_file, # Provide the alpha mask file
        prompt=edit_prompt_masked,
        size="1024x1024",
        response_format="b64_json",
        n=1
    )

    # Process the response
    image_b64 = response.data[0].b64_json
    process_b64_json(image_b64, masked_edit_output_path)

except FileNotFoundError:
    print("Error: Base image or alpha mask file not found.")
except Exception as e:
    print(f"Error during masked edit: {e}")
finally:
    if img_input_file: img_input_file.close()
    if mask_alpha_file: mask_alpha_file.close()
Creating Image Variations (client.images.create_variation)
Generate variations of an existing image. Not covered in the cookbook example but available via the API.
base_image_for_variation_path = os.path.join(output_dir, "glorptak.png") # Assume exists
variation_output_path_template = os.path.join(output_dir, "glorptak_variation_{i}.png")

img_input_file = None
try:
    img_input_file = open(base_image_for_variation_path, "rb")

    response = client.images.create_variation(
        model="gpt-image-1", # Specify model if different from default (DALL-E 2)
        image=img_input_file, # Base image file object
        n=2,                  # Number of variations to create
        size="1024x1024",     # Desired size for variations
        response_format="b64_json"
    )

    # Process multiple results if n > 1
    for i, data_item in enumerate(response.data):
        image_b64 = data_item.b64_json
        output_path = variation_output_path_template.format(i=i+1)
        process_b64_json(image_b64, output_path)
    print(f"Generated {len(response.data)} variations.")

except FileNotFoundError:
    print(f"Error: Base image not found at {base_image_for_variation_path}")
except Exception as e:
    print(f"Error creating variations: {e}")
finally:
    if img_input_file: img_input_file.close()
These snippets cover the core functionalities demonstrated in the cookbook and API documentation for gpt-image-1, using the official openai library. Remember to handle errors appropriately and manage file resources (closing files) in your full application.
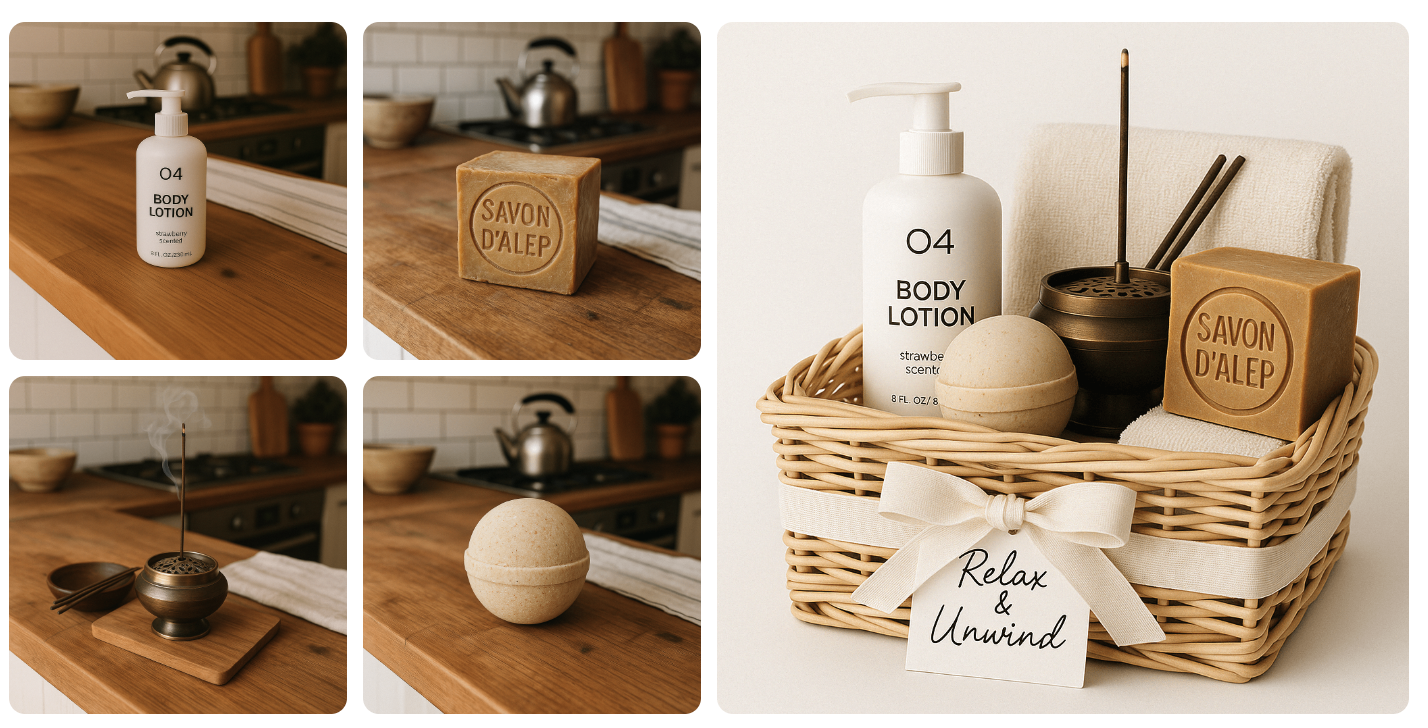
Customize gpt-image-1 API Output Size, Quality and Format
The gpt-image-1 API offers several parameters to fine-tune the generated image output according to your specific needs, including format, quality, dimensions, and background transparency.
Optimize generated images using these gpt-image-1 API parameters:
size: Image dimensions. Affects token cost & latency.
- Options:
"1024x1024"(Square, Default),"1024x1536"(Landscape),"1536x1024"(Portrait),"auto".
quality: Rendering detail & token cost.
- Options:
"low","medium","high","auto"(Default). ("hd"in API docs likely maps to"high"). Higher quality uses significantly more tokens.
output_format: File type for returned b64_json data.
- Options:
"png"(Default, supports transparency, lossless),"jpeg"(lossy, no transparency),"webp"(modern, supports transparency, good compression).
output_compression (for jpeg/webp only): Quality/size tradeoff (0=max compression, 100=min compression). Example: output_compression=75.
Create Transparent Background Image with gpt-image-1
background: Set to "transparent" for transparency.
- Requires
output_format="png"or"webp". - Works best with
quality="medium"or"high". - Mentioning "transparent background" in the prompt might also enable it.
Example: Generating a High-Quality Transparent WebP Image:
from openai import OpenAI
import base64, os

client = OpenAI()
output_dir = "generated_images"; os.makedirs(output_dir, exist_ok=True)

try:
    result = client.images.generate(
        model="gpt-image-1",
        prompt="Vector art icon of a stylized rocket ship, transparent background",
        size="1024x1024",
        quality="high",             # Higher quality for better transparency
        output_format="webp",       # WebP supports transparency and good compression
        background="transparent",   # Explicitly request transparency
        response_format="b64_json",
        n=1
    )
    # Decode and save
    img_b64 = result.data[0].b64_json
    img_bytes = base64.b64decode(img_b64)
    output_path = os.path.join(output_dir, "rocket_icon.webp")
    with open(output_path, "wb") as f: f.write(img_bytes)
    print(f"Transparent WebP image saved to {output_path}")
except Exception as e: print(f"Error: {e}")
How to Adjust gpt-image-1 Content Filtering
By default, OpenAI applies content filtering to both the prompts you submit and the images generated by gpt-image-1, aligning with their content policy to prevent the creation of certain types of content.
However, the API provides a degree of control over this filtering intensity using the moderation parameter within your client.images.generate or client.images.edit calls. This parameter accepts two settings:
auto(Default): This applies the standard level of filtering. It aims to limit the generation of specific categories of potentially sensitive or age-inappropriate material.low: Selecting this option enables less restrictive filtering. While OpenAI's core safety policies still apply, this setting may allow for the generation of content that might be filtered out under theautosetting.
To potentially reduce the level of content restriction on your generated images, you can explicitly set the moderation parameter to low:
# Example snippet within a client.images.generate call
try:
    response = client.images.generate(
        model="gpt-image-1",
        prompt="your prompt here",
        # ... other parameters like size, quality ...
        moderation="low", # Set moderation to less restrictive filtering
        response_format="b64_json"
        # ...
    )
    # ... process response ...
except Exception as e:
    print(f"Error: {e}")
Keep in mind that even with moderation="low", generated content must still comply with OpenAI's overall usage policies.
Using Apidog for Testing gpt-image-1 API
Writing code, running it, checking the output, modifying parameters, and repeating the cycle can be time-consuming, especially when exploring API capabilities or debugging issues. This is where an API testing tool like Apidog becomes incredibly valuable, allowing for rapid iteration before or during code integration.
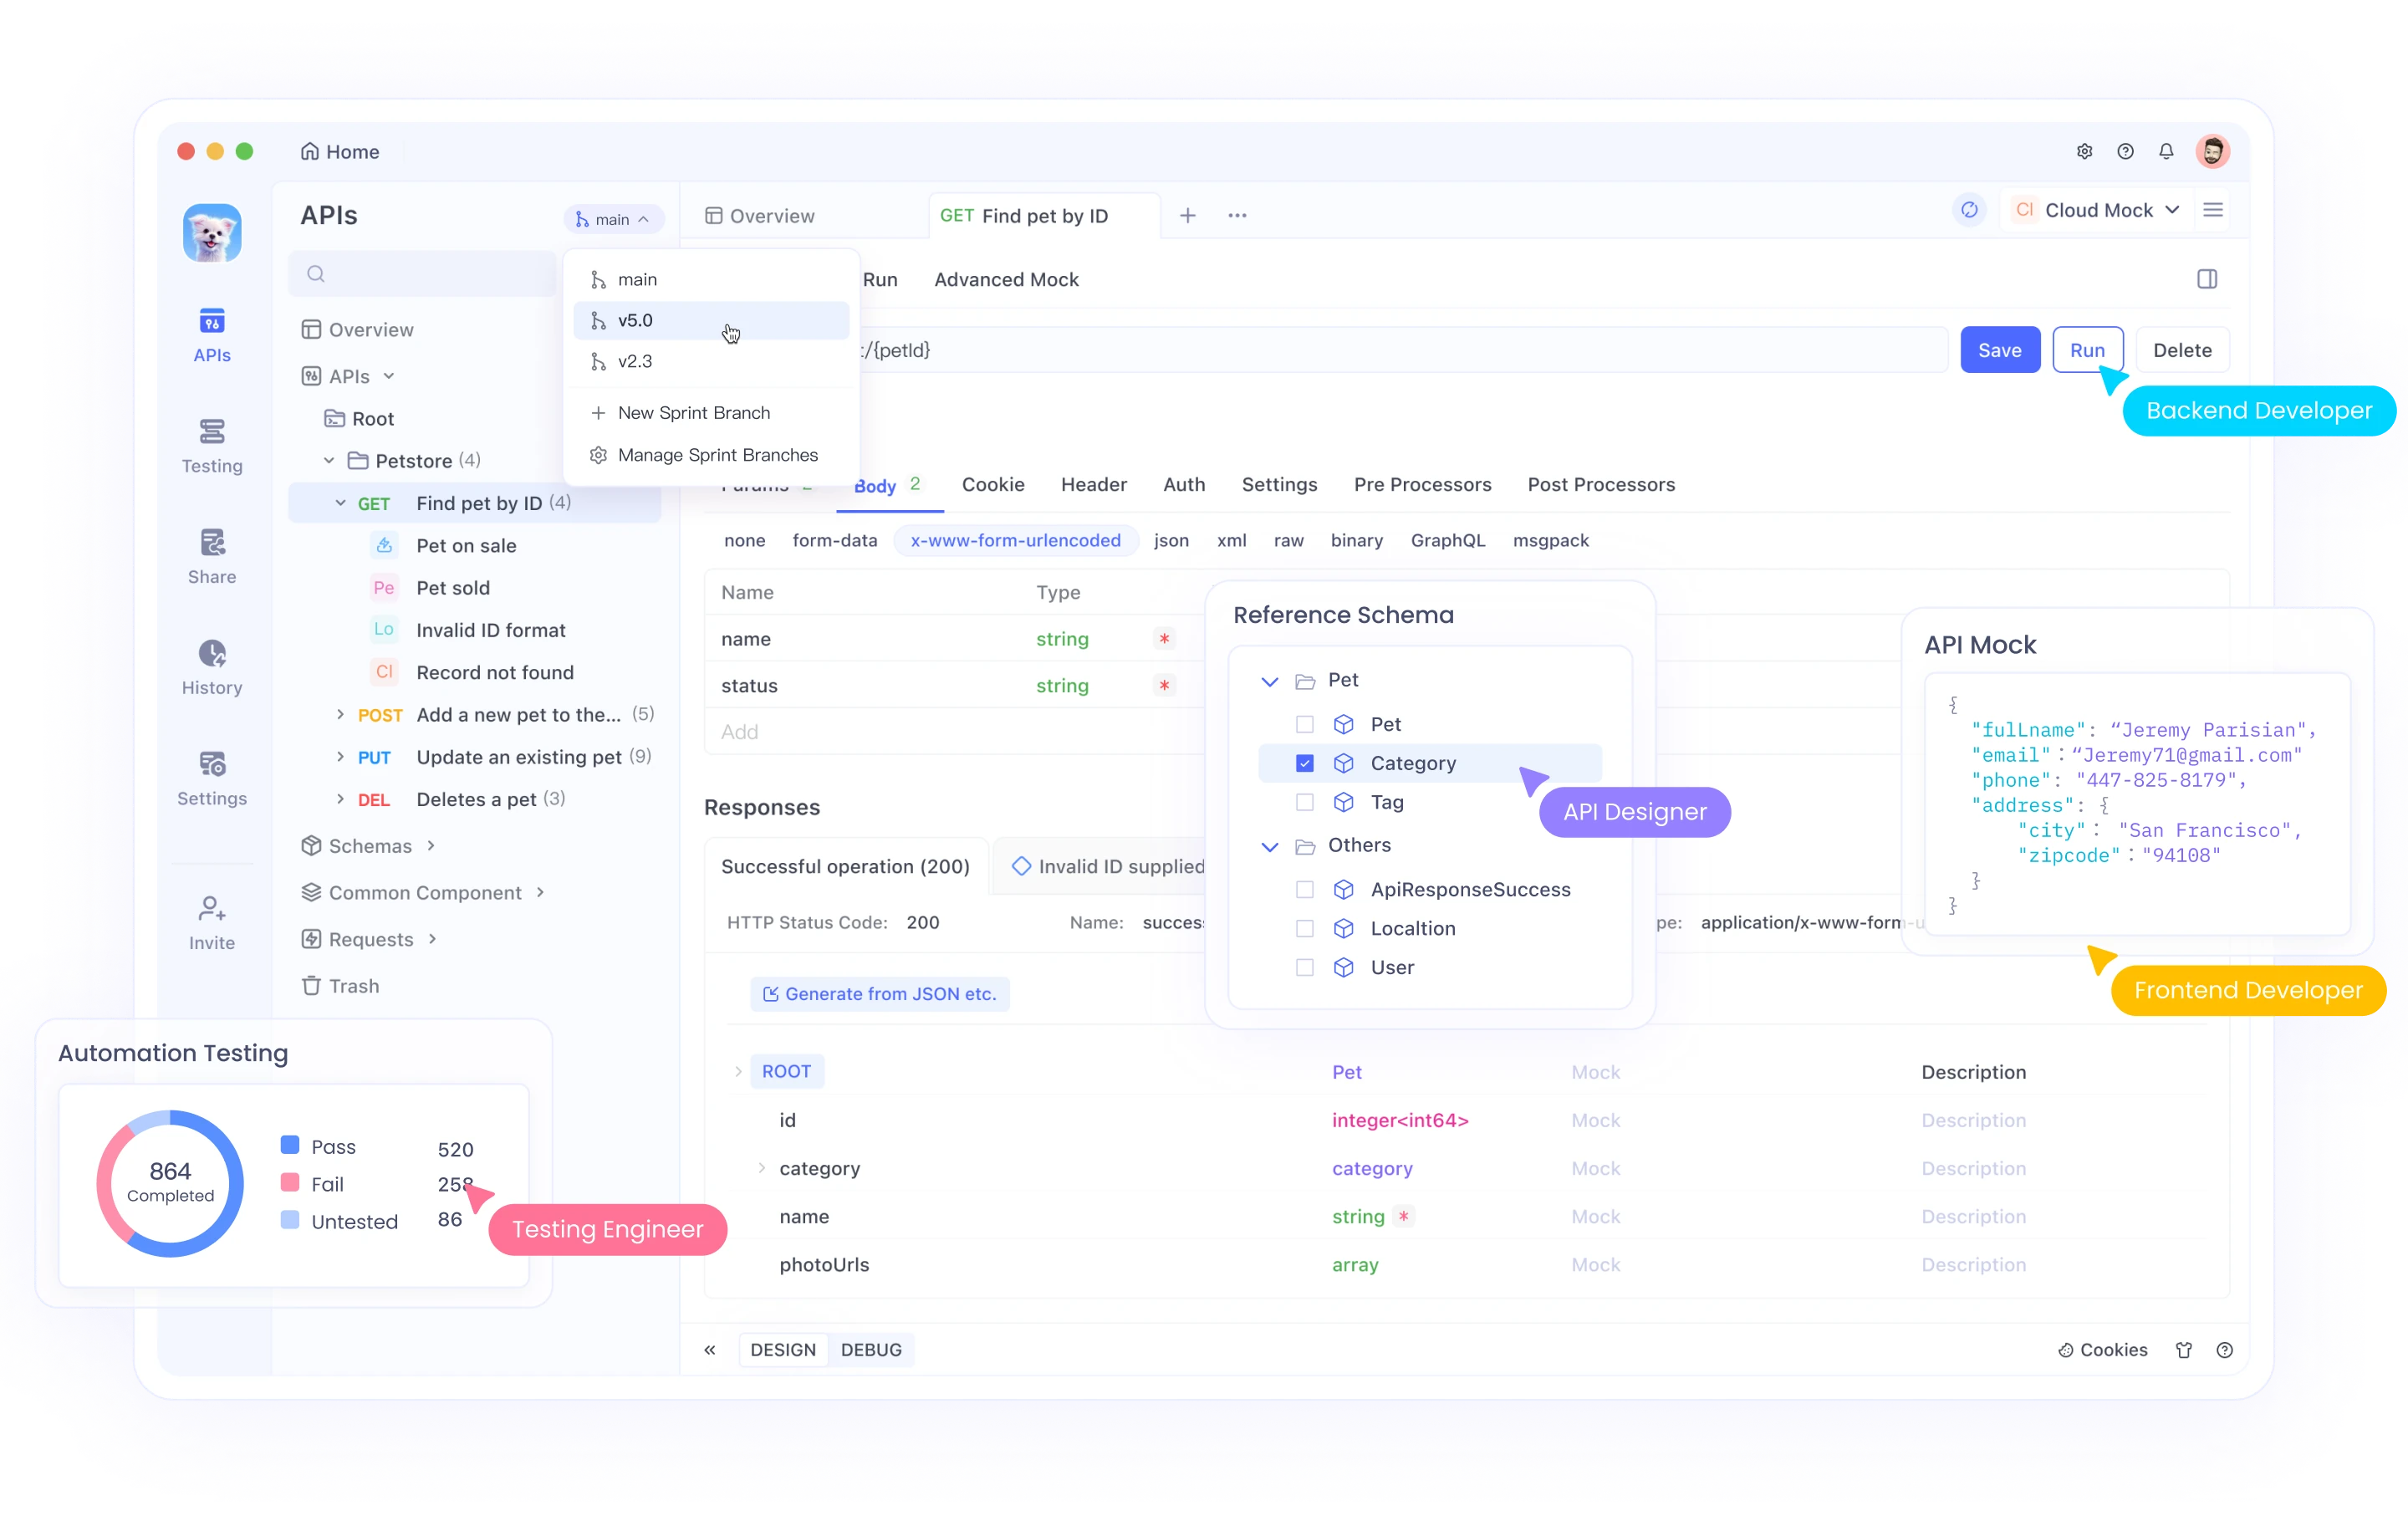
- Open Apidog and create a new request.
- Set method to
POST, URL tohttps://api.openai.com/v1/images/generations. - Go to
Auth, selectBearer Token, paste your API key. - Go to
Headers, ensureContent-Typeisapplication/json. - Go to
Body, selectrawandJSON. Paste your request payload (prompt, model, size, etc.). - Click
Send. - Analyze the
Responsesection (Status, Body, Headers).
By using Apidog to experiment and validate your requests, you gain confidence in how the API behaves before committing changes to your Python code, significantly speeding up the development process.
Conclusion
The OpenAI Image Generation API (gpt-image-1) offers a phenomenal toolkit for developers seeking to integrate cutting-edge AI image creation and manipulation into their applications. By understanding its features, mastering prompt engineering, following API best practices, and leveraging tools like Python with the requests library and Apidog for efficient testing, you can unlock a new realm of visual possibilities.
Whether building creative tools, enhancing e-commerce platforms, streamlining design workflows, or exploring entirely new concepts, this API provides the foundation. Experiment, iterate, and build responsibly to harness the full potential of AI-driven image generation.
Want an integrated, All-in-One platform for your Developer Team to work together with maximum productivity?
Apidog delivers all your demands, and replaces Postman at a much more affordable price!