Struggling to evaluate and optimize your large language model (LLM) pipelines? Enter LangWatch, a game-changing platform that makes it easy to monitor, evaluate, and fine-tune your custom LLM workflows. In this guide, we’ll dive into what LangWatch is, why it’s awesome, and how to install and use it to supercharge your AI projects. We’ll walk through setting up a simple chatbot, integrating LangWatch, and testing it with a sample question—all while keeping things easy to follow. Let’s get started!
Want an integrated, All-in-One platform for your Developer Team to work together with maximum productivity?
Apidog delivers all your demands, and replaces Postman at a much more affordable price!
What Is LangWatch and Why Should You Care?
LangWatch is your go-to platform for tackling the tricky problem of LLM evaluation. Unlike traditional models with standard metrics like F1 score for classification, BLEU for translation, or ROUGE for summarization, generative LLMs are non-deterministic and tough to pin down. Plus, every company has its own data, fine-tuned models, and custom pipelines, making evaluation a headache. That’s where LangWatch shines!
LangWatch lets you:
- Experiment and Optimize: Test and improve your LLM pipelines with ease.
- Monitor Performance: Track how your AI behaves in real-time.
- Evaluate Results: Use datasets and evaluators to measure accuracy and quality.
- Support Custom Pipelines: Works with your unique data and models.
Whether you’re building a chatbot, a translation tool, or a custom AI app, LangWatch helps you ensure your LLM delivers top-notch results. Ready to see it in action? Let’s install and use LangWatch!
Step-by-Step Guide to Install and Use LangWatch
Prerequisites
Before we start, you’ll need:
- Python 3.8+: For running the project (python.org).
- LangWatch Account: Sign up at app.langwatch.ai.
- OpenAI API Key: For the chatbot demo (get one at platform.openai.com).
- Code Editor: VS Code, PyCharm, or your favorite IDE.
- Git and Docker: Optional, for local LangWatch setup.
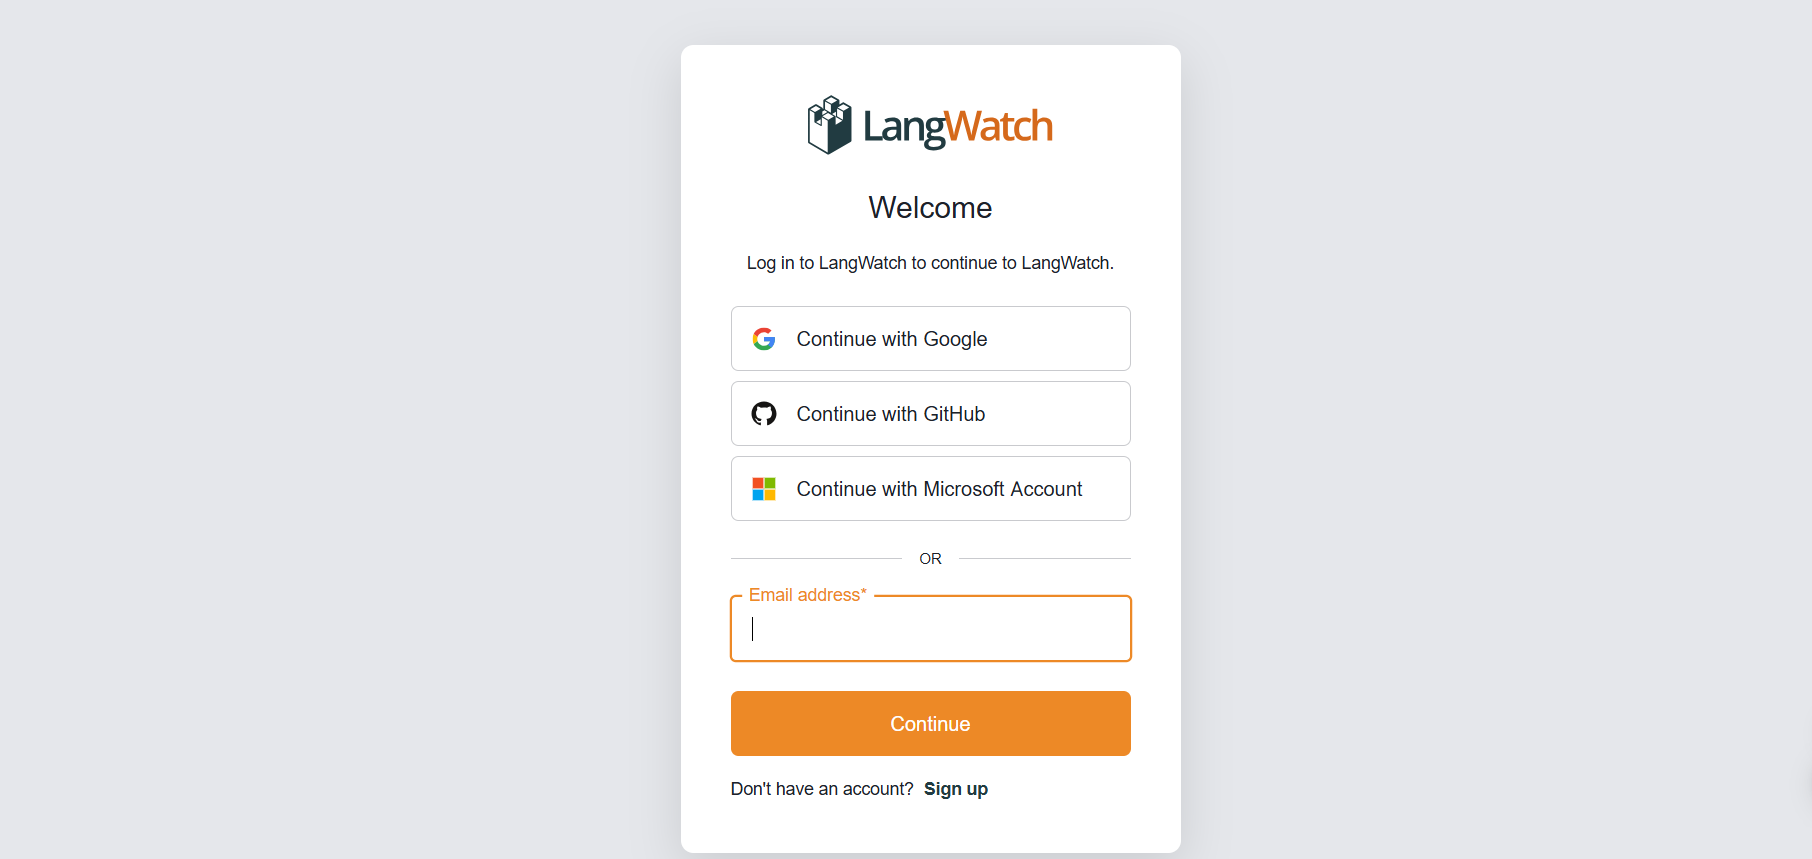
Step 1: Sign Up for LangWatch
Create an Account:
- Head to app.langwatch.ai and sign up for a free account.
- A default project called “AI Bites” is created for you. We’ll use it for this tutorial, but you can create a new one if you prefer.
Get Your API Key:
- In your LangWatch dashboard, go to Project Settings to find your
LANGWATCH_API_KEY. You’ll need this later.
Step 2: Set Up a Python Project with LangWatch
Let’s create a Python project and integrate LangWatch to track a simple chatbot.
- Create a Project Folder:
- Make a new directory (e.g.,
langwatch-demo) and navigate into it:
mkdir langwatch-demo
cd langwatch-demo
2. Set Up a Virtual Environment:
- Create and activate a virtual environment to keep dependencies isolated:
python -m venv venv
source venv/bin/activate  # On Windows: venv\Scripts\activate
3. Install LangWatch and Dependencies:
- Install LangWatch and Chainlit (for the chatbot UI):
pip install langwatch chainlit openai
4. Create the Chatbot Code:
- Create a file called
app.pyand paste this code to build a simple chatbot using OpenAI’s GPT-4o-mini model:
import os
import chainlit as cl
import asyncio
from openai import AsyncClient

openai_client = AsyncClient()  # Assumes OPENAI_API_KEY is set in environment
model_name = "gpt-4o-mini"
settings = {
    "temperature": 0.3,
    "max_tokens": 500,
    "top_p": 1,
    "frequency_penalty": 0,
    "presence_penalty": 0,
}

@cl.on_chat_start
async def start():
    cl.user_session.set(
        "message_history",
        [
            {
                "role": "system",
                "content": "You are a helpful assistant that only reply in short tweet-like responses, using lots of emojis."
            }
        ]
    )

async def answer_as(name: str):
    message_history = cl.user_session.get("message_history")
    msg = cl.Message(author=name, content="")
    stream = await openai_client.chat.completions.create(
        model=model_name,
        messages=message_history + [{"role": "user", "content": f"speak as {name}"}],
        stream=True,
        **settings,
    )
    async for part in stream:
        if token := part.choices[0].delta.content or "":
            await msg.stream_token(token)
    message_history.append({"role": "assistant", "content": msg.content})
    await msg.send()

@cl.on_message
async def main(message: cl.Message):
    message_history = cl.user_session.get("message_history")
    message_history.append({"role": "user", "content": message.content})
    await asyncio.gather(answer_as("AI Bites"))
5. Set Your OpenAI API Key:
- Add your OpenAI API key as an environment variable:
export OPENAI_API_KEY="your-openai-api-key" # On Windows: set OPENAI_API_KEY=your-openai-api-key
6. Run the Chatbot:
- Start the Chainlit app:
chainlit run app.py
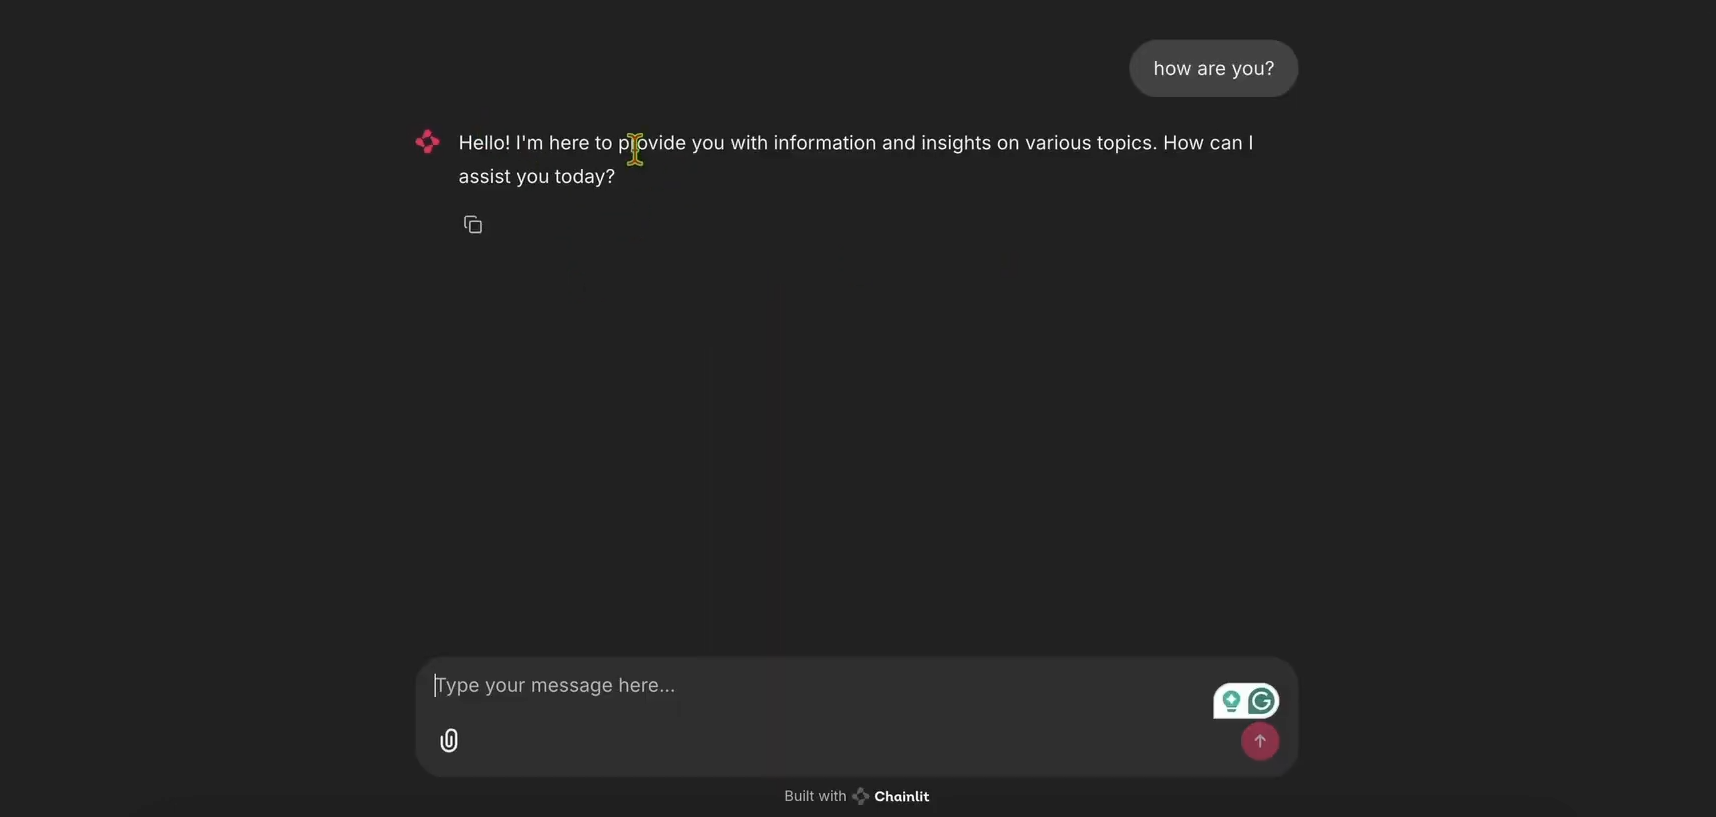
- Open http://localhost:8000 to see the chatbot UI. Try it out to ensure it works!
Step 3: Integrate LangWatch for Tracking
Now, let’s add LangWatch to track the chatbot’s messages.
- Modify
app.pyfor LangWatch:
- Update
app.pyto include LangWatch and add the@langwatch.trace()decorator to themainfunction:
import os
import chainlit as cl
import asyncio
import langwatch
from openai import AsyncClient

openai_client = AsyncClient()
model_name = "gpt-4o-mini"
settings = {
    "temperature": 0.3,
    "max_tokens": 500,
    "top_p": 1,
    "frequency_penalty": 0,
    "presence_penalty": 0,
}

@cl.on_chat_start
async def start():
    cl.user_session.set(
        "message_history",
        [
            {
                "role": "system",
                "content": "You are a helpful assistant that only reply in short tweet-like responses, using lots of emojis."
            }
        ]
    )

async def answer_as(name: str):
    message_history = cl.user_session.get("message_history")
    msg = cl.Message(author=name, content="")
    stream = await openai_client.chat.completions.create(
        model=model_name,
        messages=message_history + [{"role": "user", "content": f"speak as {name}"}],
        stream=True,
        **settings,
    )
    async for part in stream:
        if token := part.choices[0].delta.content or "":
            await msg.stream_token(token)
    message_history.append({"role": "assistant", "content": msg.content})
    await msg.send()

@cl.on_message
@langwatch.trace()
async def main(message: cl.Message):
    message_history = cl.user_session.get("message_history")
    message_history.append({"role": "user", "content": message.content})
    await asyncio.gather(answer_as("AI Bites"))
2. Test the Integration:
- Restart the Chainlit app:
chainlit run app.py
- In the chatbot UI, ask: “What’s the French word for today?”
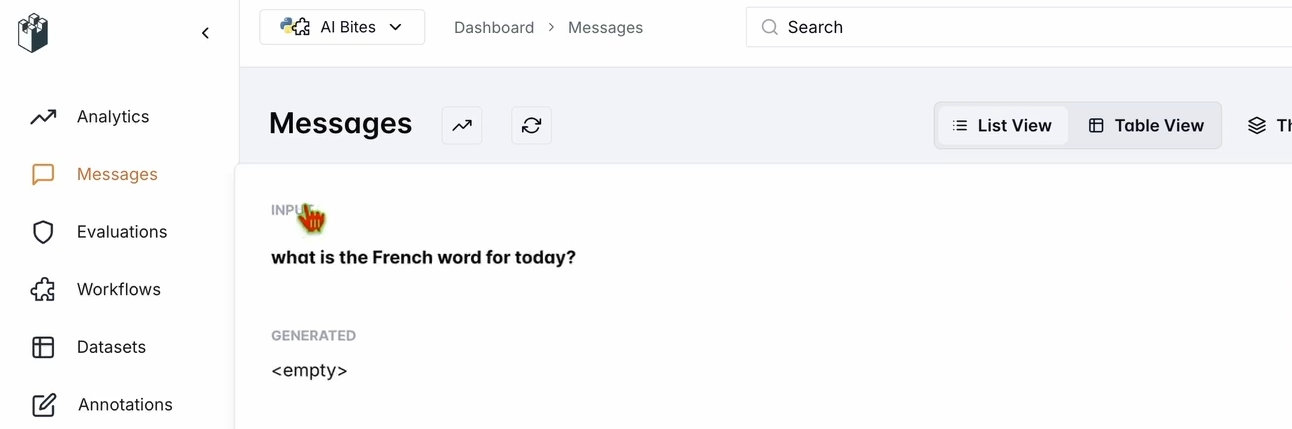
- Check your LangWatch dashboard:
- Go to app.langwatch.ai.
- Select Messages from the left sidebar.
- Verify that your question and the chatbot’s response (e.g., “Aujourd’hui! 🇫🇷😊”) are tracked.
Step 4: Set Up a Workflow to Evaluate Your Chatbot
Let’s create a dataset and evaluator in LangWatch to assess the chatbot’s performance.
- Create a Dataset:
- In the LangWatch dashboard, go to Datasets and click New Dataset.
- Add a simple dataset with at least one question and answer. For example:
| Question | Expected Answer |
|---|---|
| What’s the French word for today? | Aujourd’hui |
2. Set Up an Evaluator:
- Go to Evaluators in the LangWatch dashboard.
- Drag the LLM Answer Match evaluator into the workspace.
- Configure it:
- Set the Input Question to your database input questions (e.g. “What’s the French word for today?”).
- Set the Expected Output also to your database's responses (e.g. “Aujourd’hui”).
- Optionally, change the evaluator’s LLM model (e.g., Llama, Gemini, or Claude Sonnet) for variety.
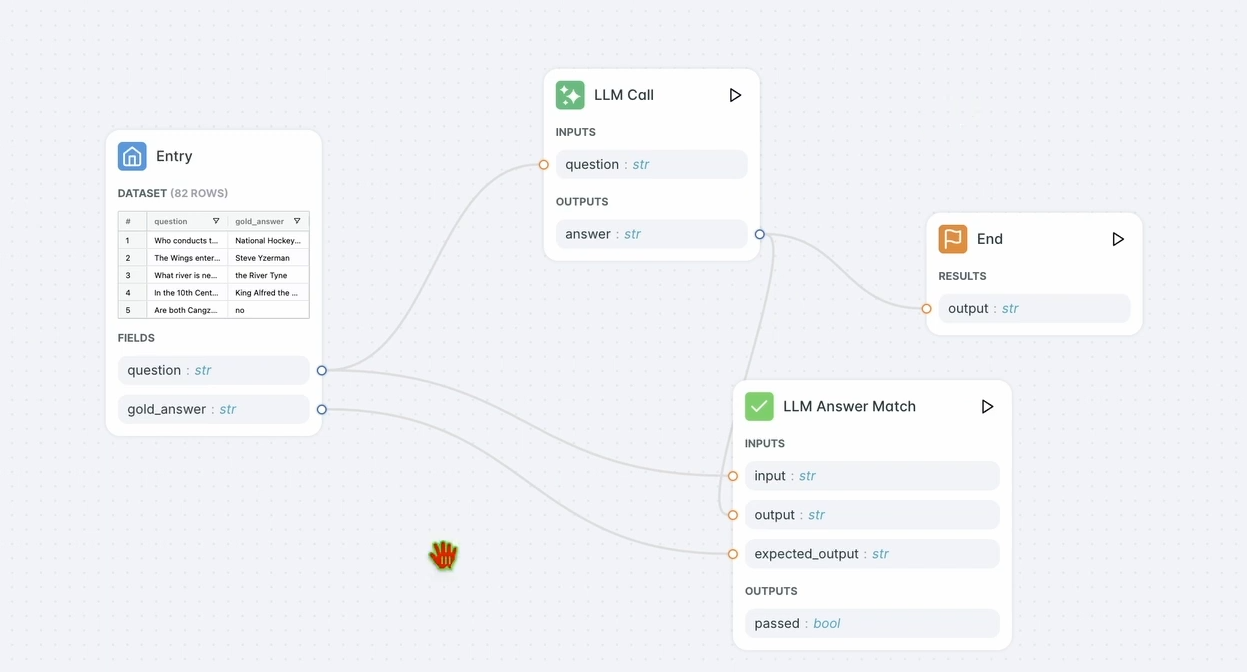
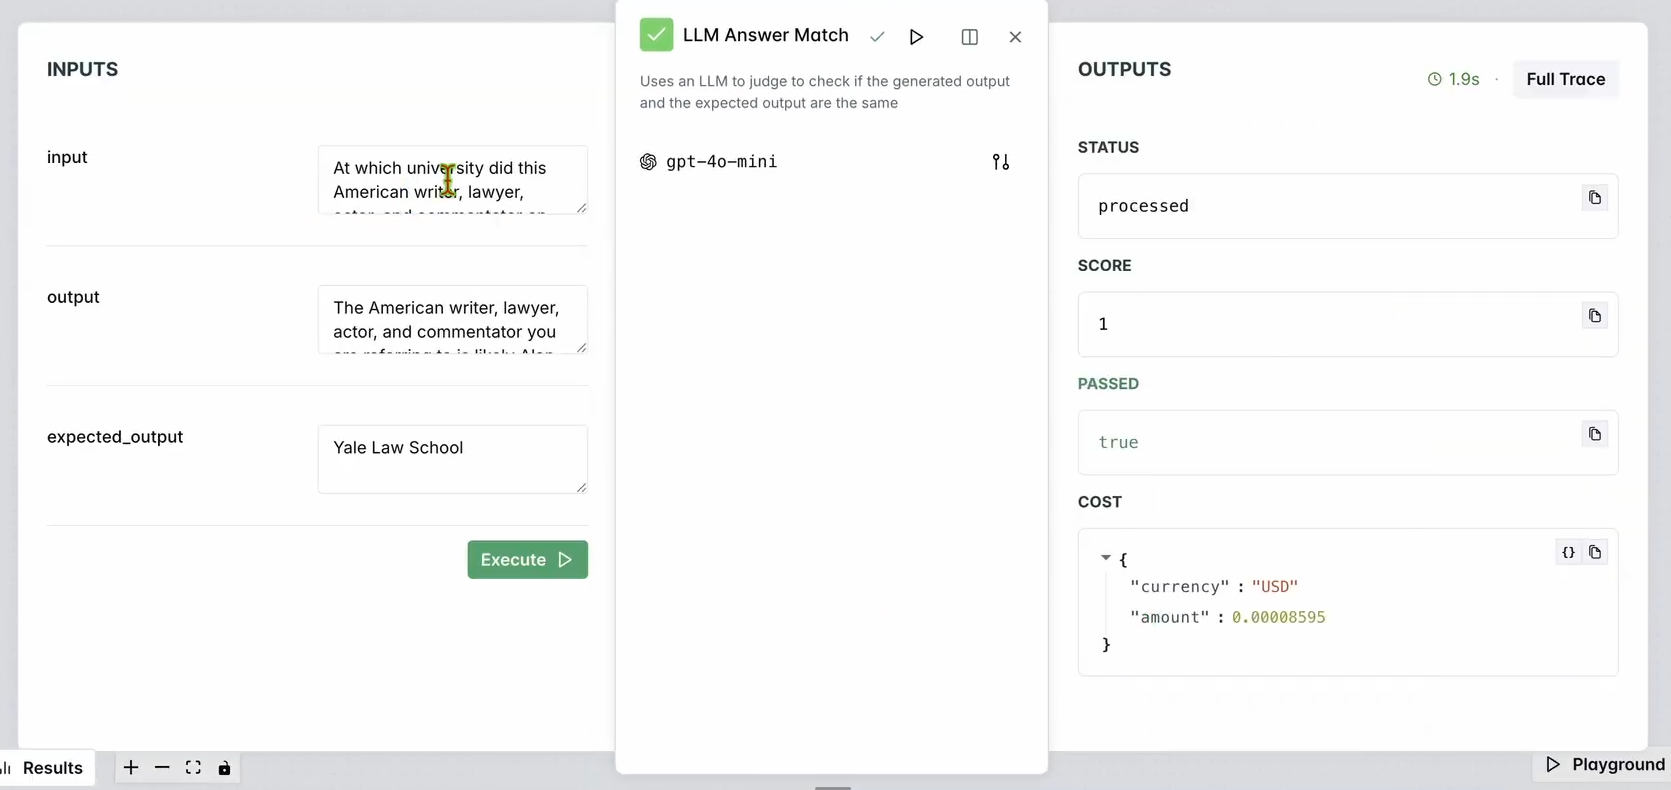
3. Run the Evaluator:
- Click Run Workflow Until Here to test the evaluator.
- Check the results to ensure the chatbot’s response matches the expected output.
You should see something like:
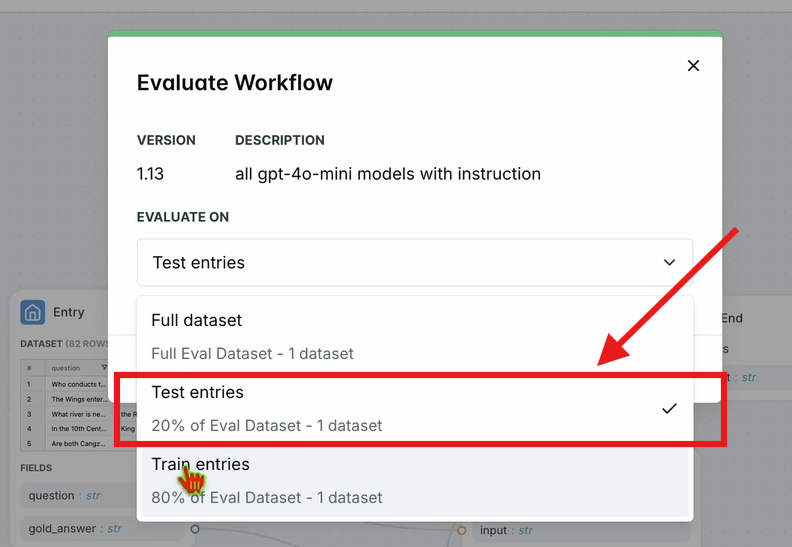
4. Evaluate the Workflow:
- In the top navbar, click Evaluate Workflow and select Test Entries.
- This evaluates the entire workflow against your dataset. Results will appear after a short processing time.
Step 5: Optimize Your Workflow
Once your evaluation is complete, let’s optimize the chatbot’s performance.
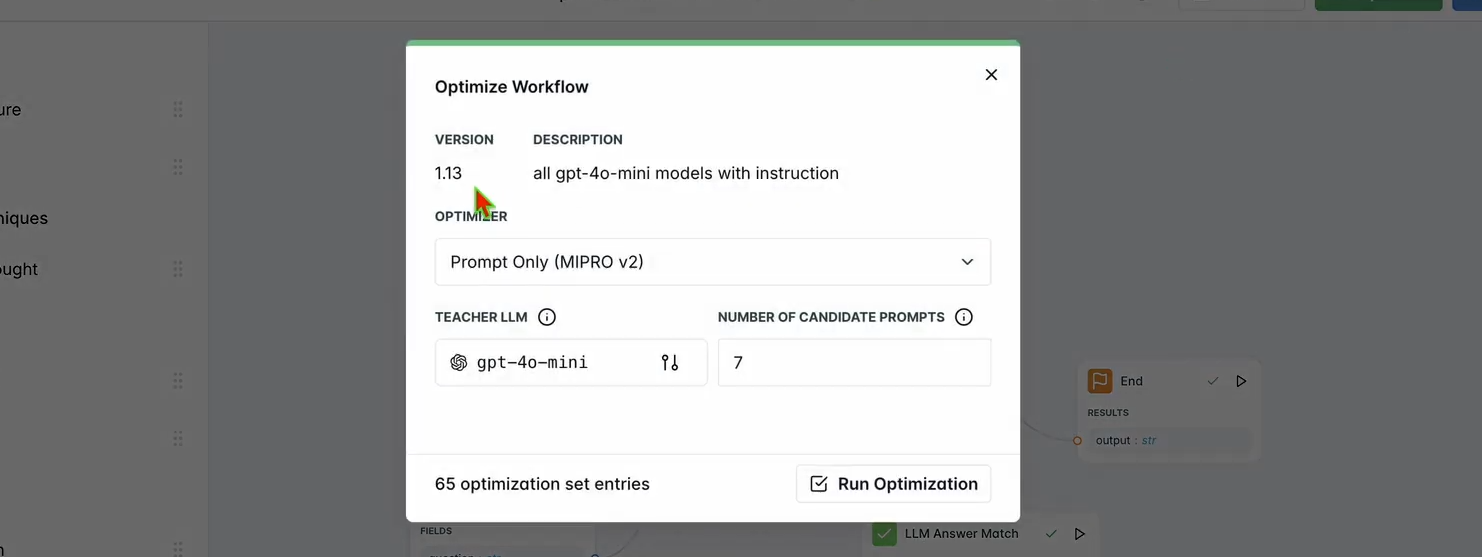
1. Run Optimization:
- In the LangWatch dashboard, click Optimize in the top navbar.
- Select Prompt Only to fine-tune the chatbot’s prompt.
- Wait a few minutes for the optimization to complete.
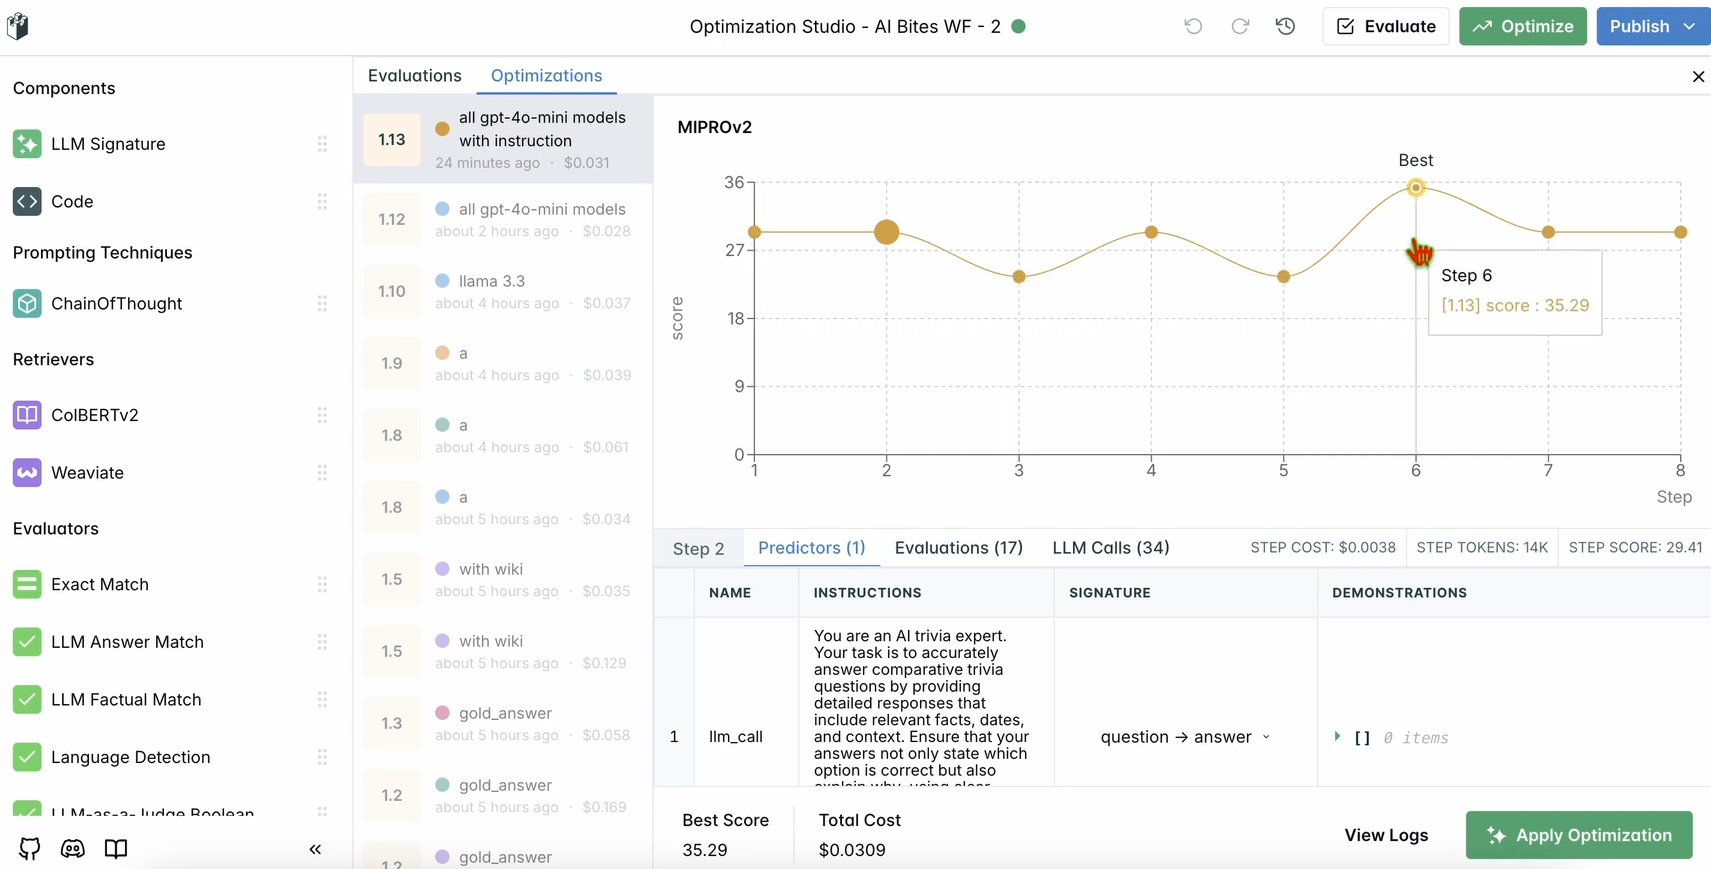
2. Check Improvements:
- Review the optimized results in the dashboard. You should see improved response accuracy or quality based on LangWatch’s suggestions.
Step 6: Optional Local LangWatch Setup
Want to run LangWatch locally for testing with sensitive data? Follow these steps:
- Clone the Repository:
git clone https://github.com/langwatch/langwatch.git
cd langwatch
2. Set Up Environment:
- Copy the example environment file:
cp langwatch/.env.example langwatch/.env
3. Run with Docker:
- Start the LangWatch server:
docker compose up -d --wait --build
4. Access the Dashboard:
- Open http://localhost:5560 to enter LangWatch’s onboarding flow.
- Follow the prompts to set up your local instance.
Note: The Docker setup is for testing only and not scalable for production. For production, use LangWatch Cloud or Enterprise On-Premises.
Why Use LangWatch?
LangWatch solves the LLM evaluation puzzle by providing a unified platform to monitor, evaluate, and optimize your AI pipelines. Whether you’re tweaking prompts, analyzing performance, or ensuring your chatbot gives accurate answers (like “Aujourd’hui” for “today” in French), LangWatch makes it a breeze. Its integration with Python and tools like Chainlit and OpenAI means you can start tracking and improving your LLM apps in minutes.
For example, our demo chatbot now responds in tweet-like bursts with emojis, and LangWatch helps ensure it’s accurate and optimized. Want to scale up? Add more questions to your dataset or experiment with different LLM models in the evaluator.
Conclusion
There you have it! You’ve learned what LangWatch is, how to install it, and how to use it to monitor and optimize a chatbot. From setting up a Python project to tracking messages and evaluating performance with a dataset, LangWatch empowers you to take control of your LLM pipelines. Our test question—“What’s the French word for today?”—showed how easy it is to track and improve AI responses.
Ready to level up your AI game? Head to app.langwatch.ai, sign up, and start experimenting with LangWatch today.
Want an integrated, All-in-One platform for your Developer Team to work together with maximum productivity?
Apidog delivers all your demands, and replaces Postman at a much more affordable price!