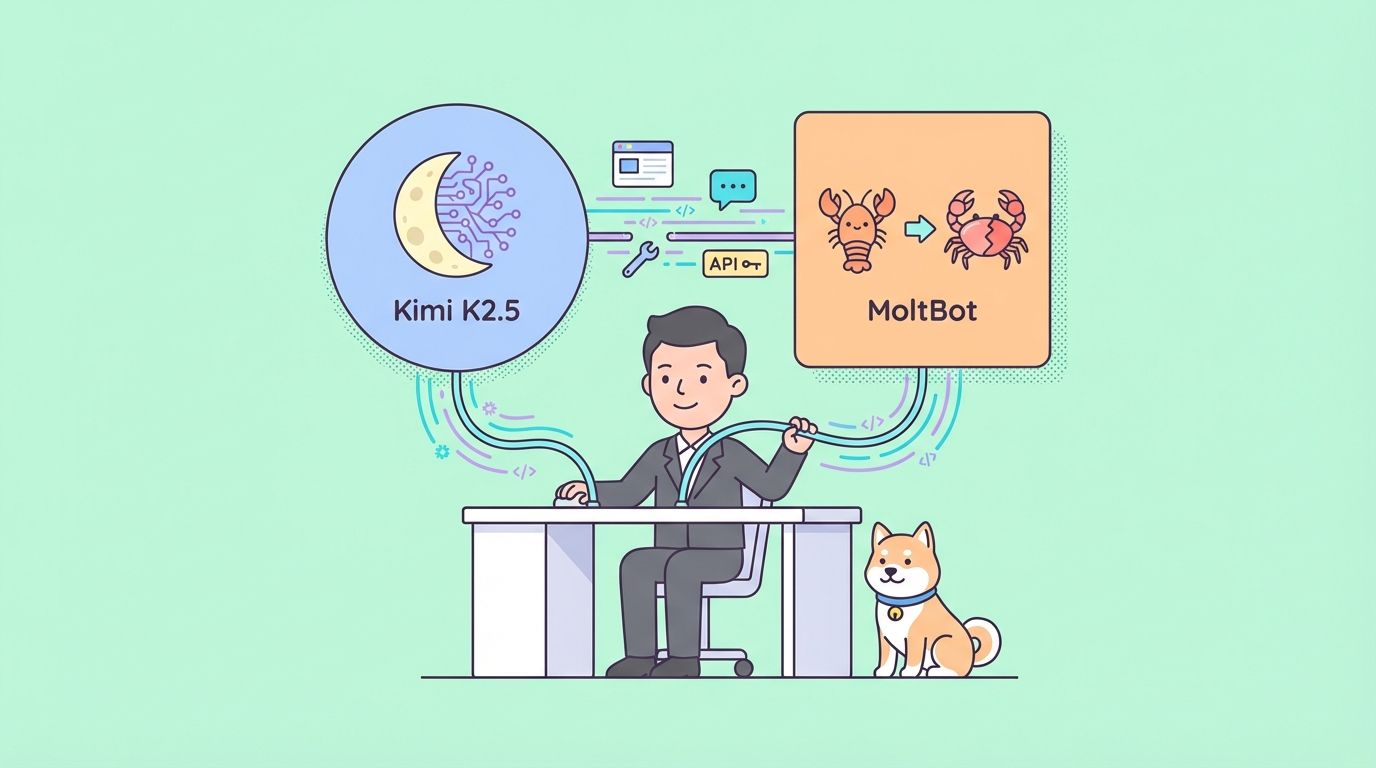
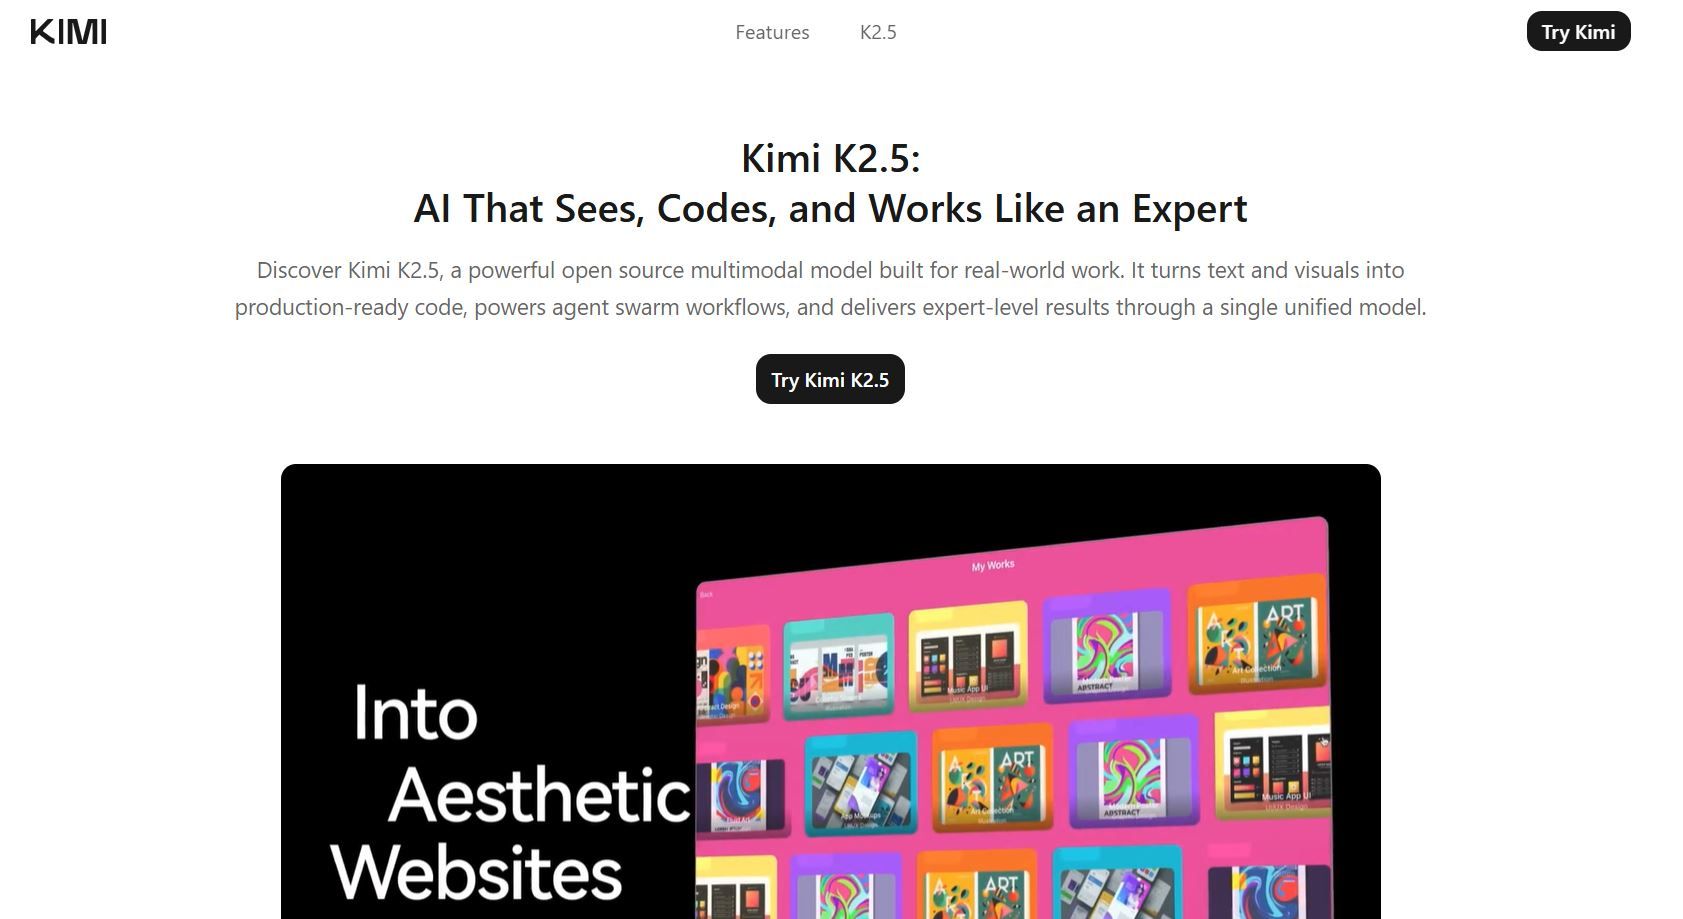
Kimi K-2.5 represents a major advancement in multimodal large language models. Moonshot AI built this 1-trillion-parameter Mixture-of-Experts architecture that activates roughly 32 billion parameters per inference step. The model excels at reasoning, coding, visual understanding, short video analysis, and agentic behaviors with support for up to 100 parallel sub-agents. Developers frequently look for cost-effective ways to leverage Kimi K-2.5 in production-like environments.
OpenClaw (rebranded from ClawdBot to MoltBot in early 2026, often still called OpenClaw in community discussions) provides an open-source, self-hosted agent framework. It connects LLMs such as Kimi K-2.5 to messaging platforms including Telegram, Discord, Slack, and WhatsApp. Because OpenClaw follows OpenAI-compatible API standards, integration remains straightforward.
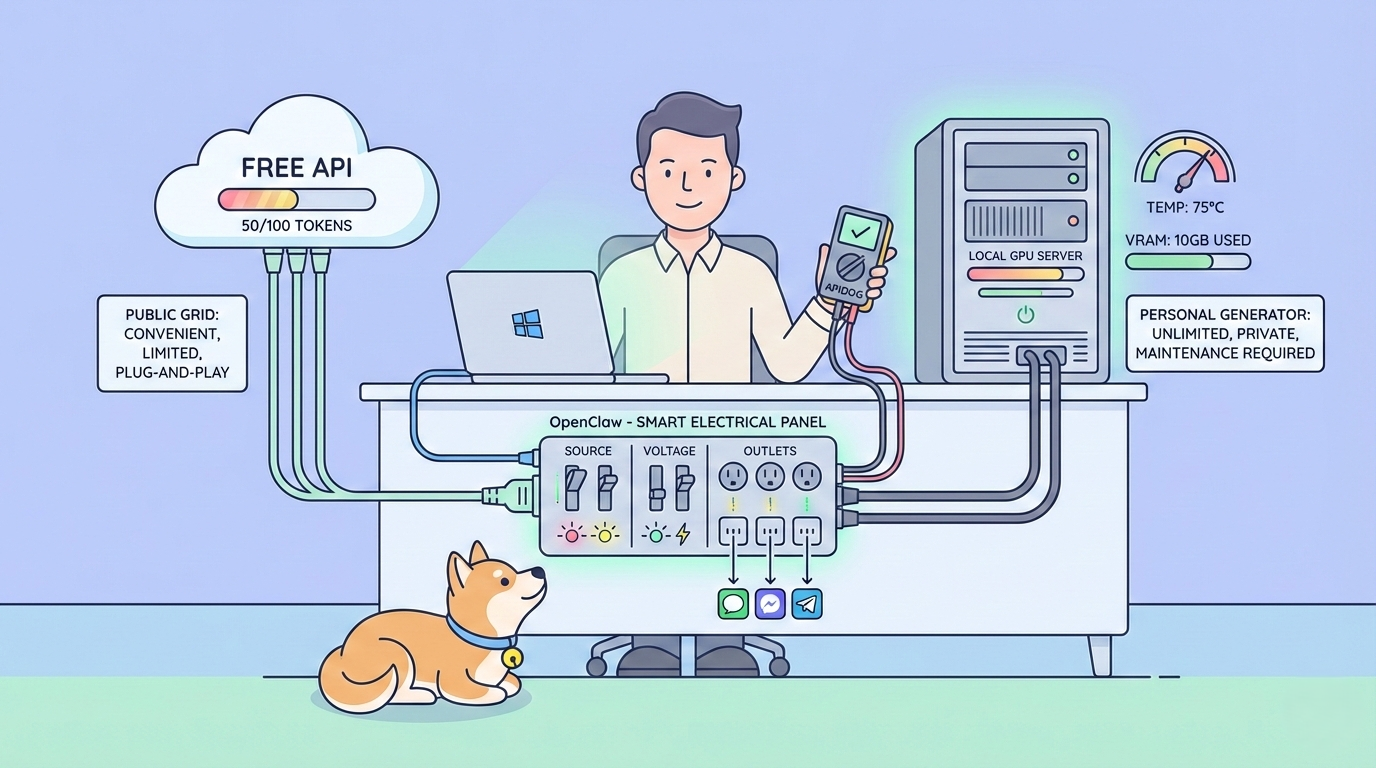
Local inference options and limited free API tiers enable truly free or near-free usage of Kimi K-2.5 with OpenClaw. This approach delivers strong privacy, reduced latency for real-time tasks, and no recurring cloud bills for moderate workloads.
Why Kimi K-2.5 + OpenClaw Delivers High-Value Free AI Access
Kimi K-2.5 stands out with native multimodal processing. It handles text, images (base64-encoded in messages), UI screenshots, diagrams, and short video frames extracted into visual tokens. The official API supports a 256K token context window, enabling analysis of entire code repositories, lengthy documents, or extended chat histories in one pass.
Agentic features allow Kimi K-2.5 to spawn sub-agents that execute parallel subtasks, coordinate tool calls, and iterate toward complex goals. Benchmarks frequently place Kimi K-2.5 ahead of or close to models like Claude 3.5 Sonnet or GPT-4o in coding, math, and visual reasoning while costing substantially less per token.
OpenClaw turns these capabilities into practical agents. It manages conversation state, routes messages across channels, executes skills (custom tools), and maintains persistent memory. Running OpenClaw locally keeps all data on your hardware, which matters for sensitive workflows.

Free access paths include:
- Moonshot API free tier (≈1.5 million tokens/day in many regions, subject to change)
- Fully local inference using community-quantized GGUF weights from Hugging Face
Both routes integrate cleanly with OpenClaw.
Prerequisites: Proper Setup for Windows / WSL2 in 2026
OpenClaw performs best inside a Linux environment, so on Windows machines the recommended path uses WSL2 (Windows Subsystem for Linux 2) with Ubuntu. This provides a full Linux shell, GPU acceleration (via NVIDIA CUDA if you have compatible hardware), and seamless file sharing with Windows.
Install WSL2 + Ubuntu on Windows (Recommended for Beginners)
As of 2026, Microsoft has streamlined installation to a single command that enables WSL2, installs the latest Ubuntu distribution by default, and sets everything up automatically.
- Open PowerShell as Administrator:
- Right-click the Start button → select Windows PowerShell (Admin) or Terminal (Admin).
- Confirm any UAC prompt.
2. Run the one-line installer:
wsl --installThis command:
- Enables the required Windows features ("Windows Subsystem for Linux" and "Virtual Machine Platform").
- Downloads and installs the latest WSL kernel.
- Installs Ubuntu (the default distribution, usually the latest LTS like 24.04).
- Sets WSL 2 as the default version.
3. Restart your machine when prompted (a reboot is required to apply the feature changes).
4. After reboot, Ubuntu setup starts automatically in a new terminal window:
- Wait for the initial installation to finish (a few minutes).
- Create a Linux username and password when asked (these are separate from your Windows credentials).
- This username becomes your default Linux user.
5. Open the Ubuntu terminal (app):
- Search for Ubuntu in the Windows Start menu and launch it (it appears as "Ubuntu" or "Ubuntu 24.04 LTS").
- Alternatively, in PowerShell or Windows Terminal, simply type:
ubuntuor
wsl(this opens the default distribution, which is Ubuntu).
- You are now inside the Ubuntu bash shell (prompt like username@hostname:~$).
6. Verify WSL2 is active: In PowerShell (not inside Ubuntu):
wsl --list --verboseYou should see:text
NAME      STATE           VERSION
* Ubuntu    Running         2
(The asterisk * marks the default distro; VERSION 2 confirms WSL2.)
Optional tweaks
- To install a specific Ubuntu version (e.g., 22.04): wsl --install -d Ubuntu-22.04
- List all available distros: wsl --list --online
- Update Ubuntu packages immediately: Inside the Ubuntu terminal run sudo apt update && sudo apt upgrade -y.
Once Ubuntu is running, continue the OpenClaw prerequisites inside this Ubuntu terminal.
- Install Node.js ≥ 24 (v22 breaks recent OpenClaw dependencies): Use NodeSource or nvm; example with apt:
curl -fsSL https://deb.nodesource.com/setup_24.x | sudo -E bash -
sudo apt install -y nodejs
2. Enable Corepack and prepare pnpm 10:
corepack enable
corepack prepare pnpm@10 --activate
3. Set up global pnpm bin path:
pnpm setup
source ~/.bashrc   # or restart the terminal
4. Verify:
node -v    # must show ≥24
pnpm -v    # 10.x
echo $PATH # includes ~/.local/share/pnpm
Installing OpenClaw Correctly (February 2026)
The old moltbot / clawdbot npm packages and molt.bot/install.sh are legacy. Use the current official installer:
curl -fsSL https://openclaw.ai/install.sh | bash- Run this inside your Ubuntu (WSL2) terminal.
- After install, reload shell: source ~/.bashrc.
- Verify CLI:
command -v openclaw- Config lives in ~/.openclaw/openclaw.json (auto-migrates from older paths).
- Update frequently: npm update -g openclaw@latest.

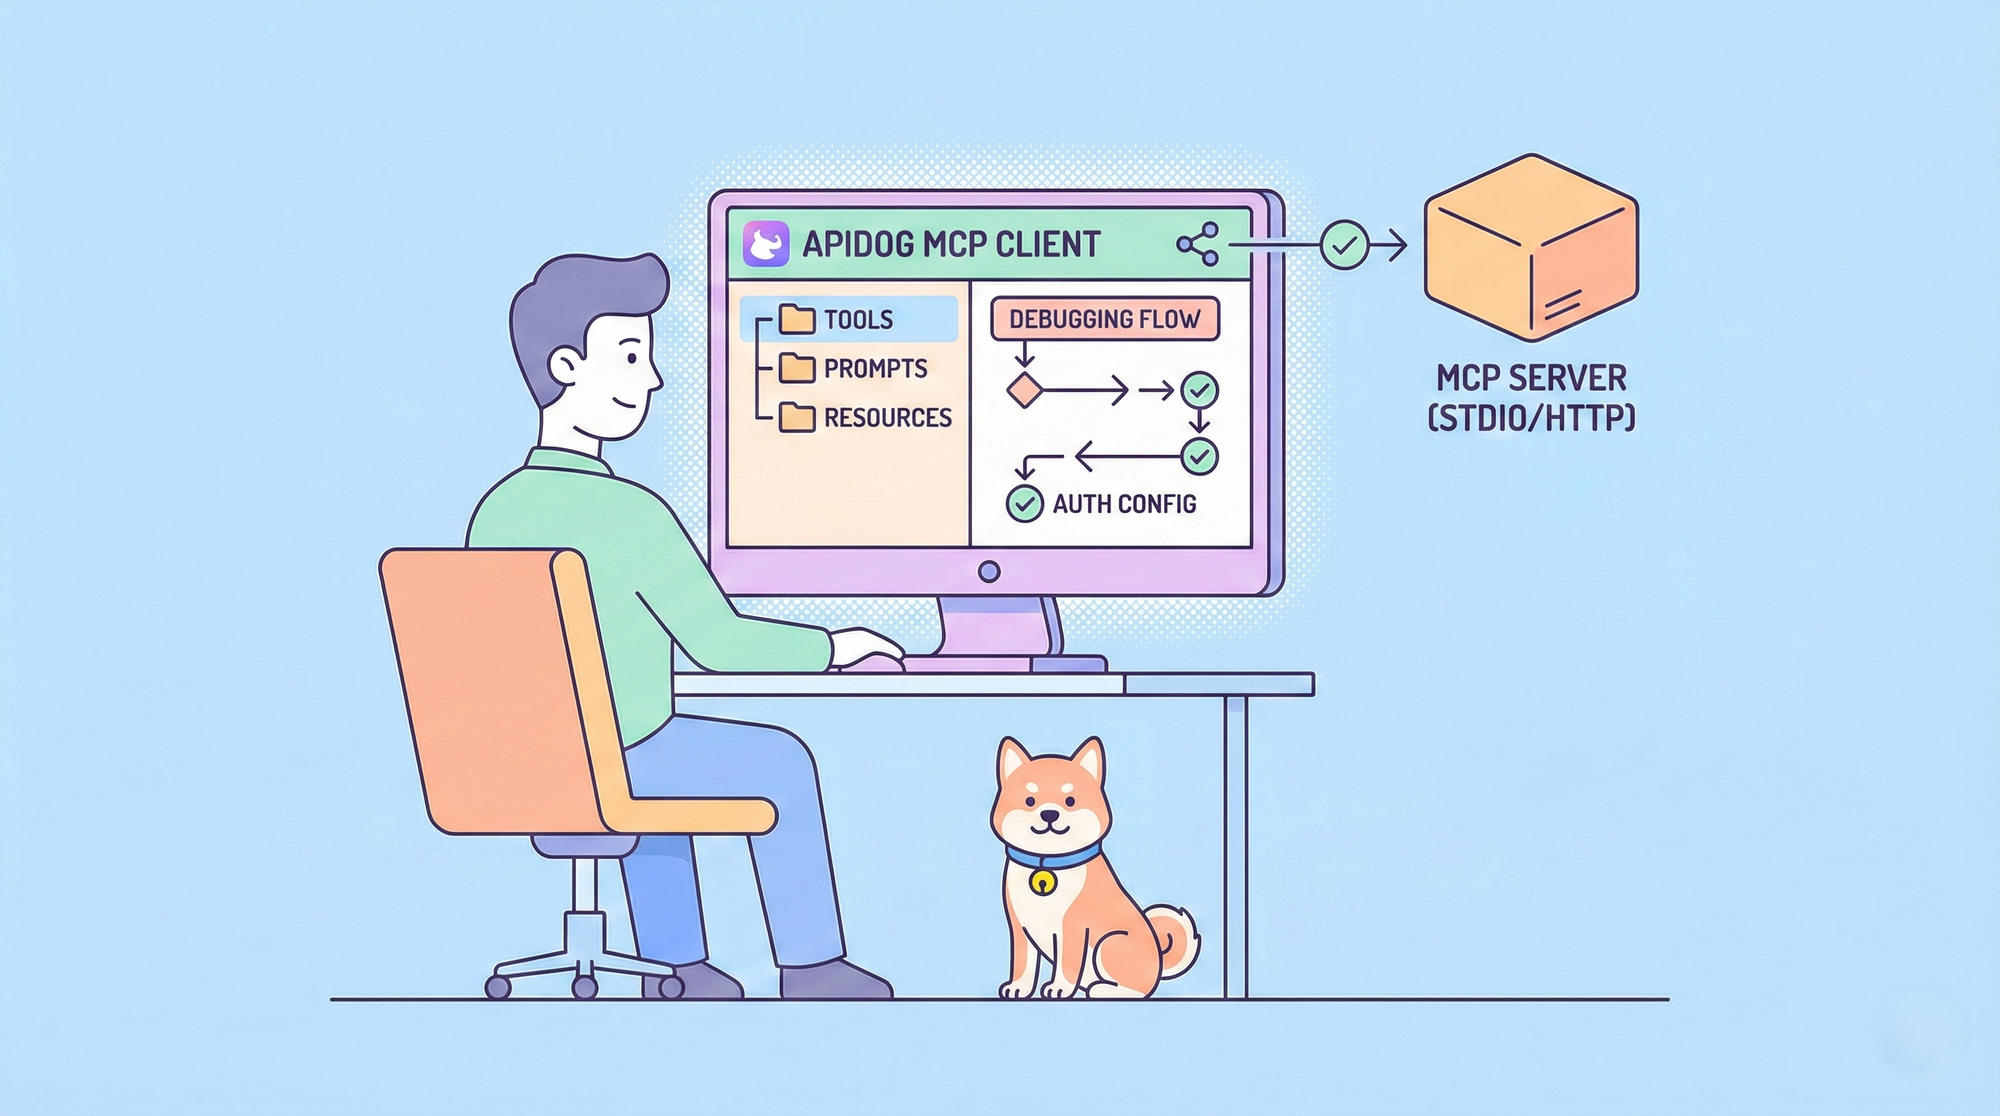
Test Kimi K-2.5 Endpoints with Apidog First (Critical Validation Step)
Always validate Kimi K-2.5 access before touching OpenClaw configs most integration failures stem from invalid keys or endpoints.
- Download and launch Apidog (free version works perfectly) on your Windows machine.
- Create a new POST request.
- Set URL:text
https://api.moonshot.ai/v1/chat/completions4. Add headers:
- Authorization: Bearer sk-your-moonshot-key
- Content-Type: application/json
5. Paste this test body for Kimi K-2.5:
{
  "model": "kimi-k2.5",
  "messages": [
    {
      "role": "user",
      "content": "Confirm you are Kimi K-2.5 and describe three key multimodal or agentic capabilities."
    }
  ],
  "temperature": 0.7,
  "max_tokens": 256
}
6. Send the request.
A 200 OK with a relevant response confirms your key works. Apidog shows real-time latency, full request/response payloads, token usage, and auto-generates code snippets (Node.js, Python, cURL) for OpenClaw integration. This 1-minute check saves hours of debugging.
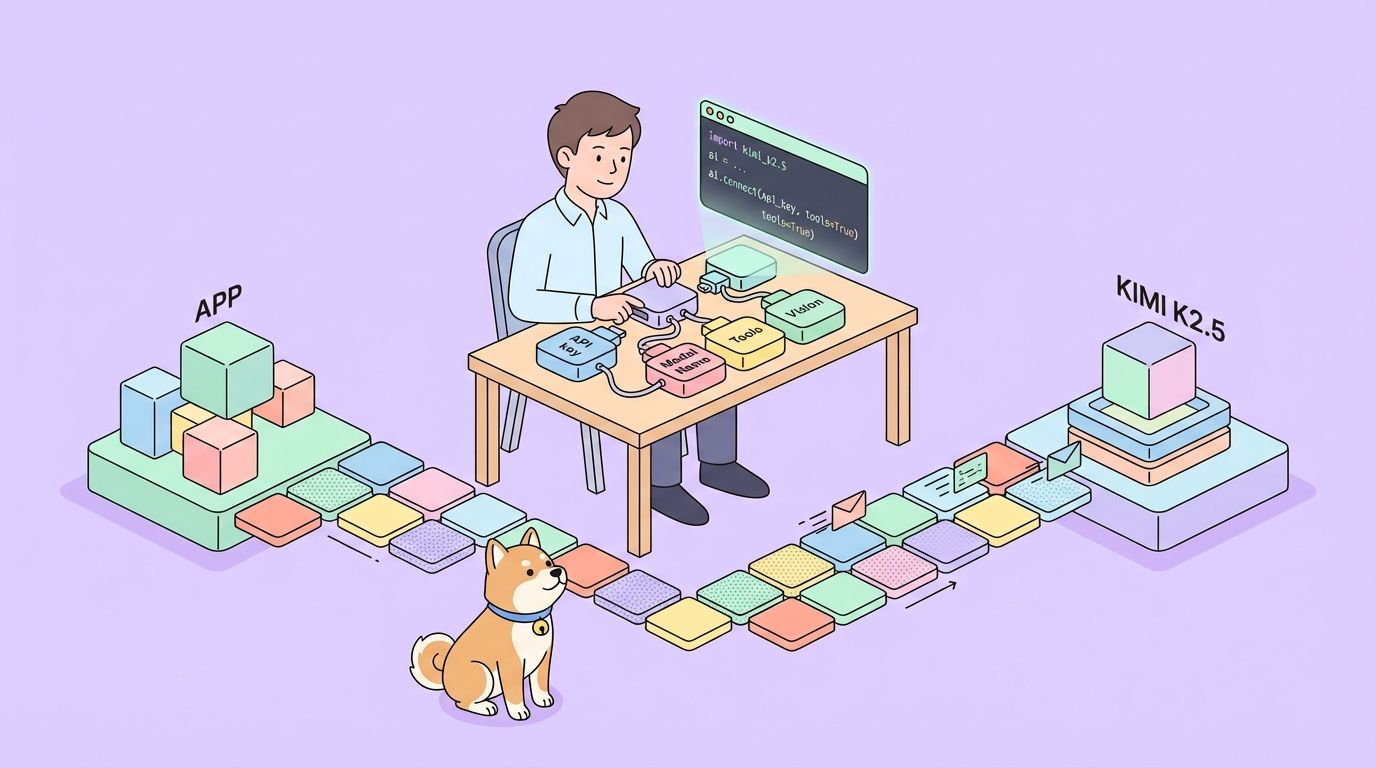
Integrate Kimi K-2.5 via Moonshot API in OpenClaw
- Sign up at platform.moonshot.ai, generate API key (sk-...).
- Edit ~/.openclaw/openclaw.json (inside Ubuntu):JSON
{
  "agent": {
    "model": { "primary": "moonshot/kimi-k2.5" }
  },
  "models": {
    "providers": {
      "moonshot": {
        "baseUrl": "https://api.moonshot.ai/v1",
        "apiKey": "sk-your-moonshot-key",
        "api": "openai-completions",
        "models": [
          {
            "id": "kimi-k2.5",
            "name": "Kimi K-2.5 API 256K",
            "contextWindow": 262144,
            "maxTokens": 8192
          }
        ]
      }
    }
  }
}
3. Secure the key: export MOONSHOT_API_KEY=sk-... (or use .env).
4. Restart: openclaw restart.
5. Test in connected app (e.g., Telegram): Send "Who powers you today?" → reply references Moonshot / Kimi K-2.5.
Deploy Kimi K-2.5 Locally for 100% Free, Unlimited Access
- Build llama.cpp with GPU acceleration (inside Ubuntu; install build deps first: sudo apt install build-essential cmake git):
git clone https://github.com/ggerganov/llama.cpp
cd llama.cpp && make LLAMA_CUDA=1   # or ROCm/Metal if applicable
2. Download GGUF weights (recommended: unsloth/Kimi-K2.5-GGUF):
huggingface-cli download unsloth/Kimi-K2.5-GGUF --local-dir ./kimi-gguf(Install huggingface-hub if needed: pip install -U huggingface_hub)
3. Start OpenAI-compatible server:
./llama-server -m ./kimi-gguf/kimi-k2.5-UD-IQ2_XXS.gguf --port 8080 --ctx-size 32768 --n-gpu-layers 99 --host 0.0.0.0 --flash-attn4. Update OpenClaw config:
{
  "agent": { "model": { "primary": "local-kimi/kimi-k2.5" } },
  "models": {
    "providers": {
      "local-kimi": {
        "baseUrl": "http://127.0.0.1:8080/v1",
        "apiKey": "sk-no-key-required",
        "api": "openai-completions",
        "models": [
          { "id": "kimi-k2.5-local", "name": "Kimi K-2.5 Local GGUF", "contextWindow": 32768, "maxTokens": 4096 }
        ]
      }
    }
  }
}
5. Restart: openclaw restart.
API vs Local Kimi K-2.5 Comparison (2026)
| Feature | Moonshot API (Free Tier) | Local GGUF Inference |
|---|---|---|
| Context Window | 256K tokens | 8K–128K (VRAM-limited) |
| Multimodal (Images/Video) | Full native | Images supported; video partial |
| Cost | Free ~1.5M tokens/day (Tier 0) | Zero after download |
| Privacy | Sent to Moonshot | Fully local |
| Latency | Low (cloud) | GPU-dependent (5–40 t/s) |
| Agent Swarm | Excellent | Good, but context-constrained |
| Recommended VRAM | None | 24–96 GB for decent quants |
Choose API for maximum capability; switch to local for heavy or sensitive usage.
Optimize Kimi K-2.5 Performance in OpenClaw Setups
- Match contextWindow in config exactly to server --ctx-size to prevent silent failures.
- Lower temperature (0.6–0.8) for precise coding/agent tasks.
- Use Apidog to benchmark latency and token efficiency across providers.
- Enable flash attention in llama.cpp for 20–40% speed gains.
- For local runs, start with lower quantization (e.g., IQ3 or Q4) then upgrade as VRAM allows.
- Add custom system prompts in OpenClaw to guide Kimi K-2.5 toward concise outputs.
- Monitor VRAM with nvidia-smi during inference; offload layers aggressively.
- Implement exponential backoff in custom skills if API rate limits appear.
Troubleshooting Common Kimi K-2.5 + OpenClaw Issues
- 401 Unauthorized: Re-validate key in Apidog.
- Context overflow crashes: Reduce --ctx-size or summarize history.
- Slow local generation: Decrease --n-gpu-layers, use lower quant, enable optimizations.
- Multimodal fails locally: Confirm GGUF includes vision support; fall back to API.
- No response in chat: Check OpenClaw logs for provider errors; restart service.
Final Recommendations for Kimi K-2.5 and OpenClaw
Kimi K-2.5 combined with OpenClaw creates flexible, powerful AI agents. Start with the Moonshot API free tier for quick wins and full multimodal/agentic features. Transition to local GGUF inference for unlimited private runs once hardware supports it.
Download Apidog for free to streamline every validation step. Small configuration tweaks matching context sizes, securing keys, benchmarking endpoints produce the largest reliability gains.
Experiment with both paths today. Kimi K-2.5 and OpenClaw together offer frontier-level AI capabilities at minimal or zero cost.