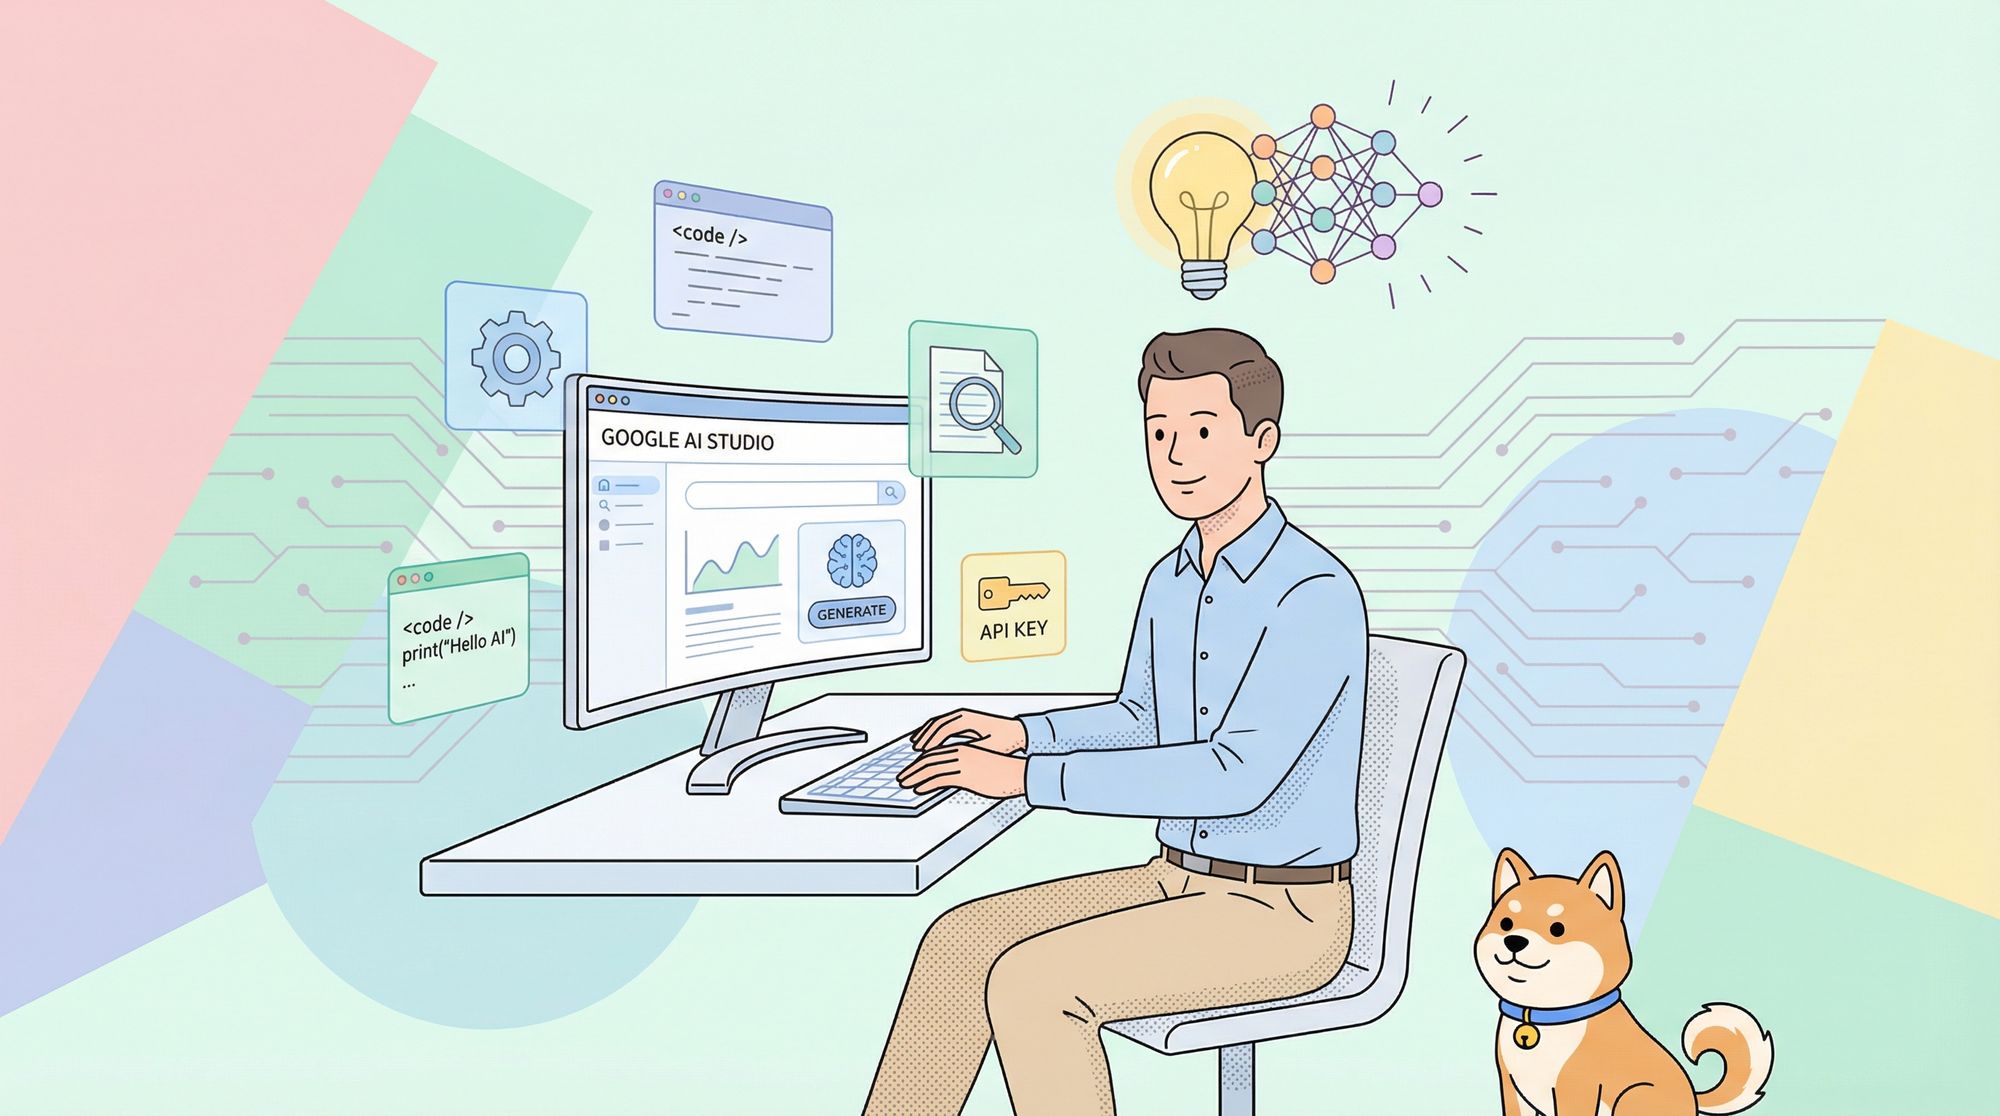
Google AI Studio is a powerful web-based platform designed for developers, data scientists, and API engineers who want to rapidly prototype, test, and integrate Google’s advanced generative AI models—at no initial cost. Whether you’re building intelligent apps, generating content, or streamlining data workflows, Google AI Studio offers an accessible environment with robust tools for experimentation and deployment.
In this guide, you’ll learn how to get started with Google AI Studio for free, leverage its core features (including Gemini Pro and Gemini Pro Vision), understand usage limits, and integrate AI-powered endpoints into your own applications. You’ll also discover how Apidog can help you test and manage your AI API workflows more efficiently.
What is Google AI Studio? Key Features for API Developers
Google AI Studio is an integrated development environment (IDE) available directly in your browser. It’s built for rapid prototyping and hands-on experimentation with Google’s latest language and multimodal models, such as Gemini Pro and Gemini Pro Vision.
Core Capabilities
- Model Selection: Choose from multiple Google AI models, each specialized for tasks like text generation or processing mixed data (text + images).
- Prompt Engineering Tools: Use structured, freeform, or conversational prompt interfaces to experiment with model responses.
- Parameter Tuning: Adjust parameters like temperature, top-K, top-P, and max output tokens for fine-grained control.
- Safety Controls: Enable and configure safety filters to manage the generation of sensitive or inappropriate content.
- API Key Generation: Create API keys directly in the Studio to enable programmatic access and integration.
- Code Export: Instantly export code snippets in Python, Node.js, cURL, and other popular languages to kickstart your own projects.
- Prompt Gallery: Access a curated library of sample prompts for common AI use cases.
- My Library: Organize, save, and iterate on your custom prompts for future use.

Why Use Google AI Studio? Benefits for Technical Teams
- Zero Infrastructure Setup: Start prototyping with just a Google account and web browser.
- Rapid Iteration: Quickly test, refine, and validate ideas before committing to production workflows.
- Free Tier Access: Generous free usage limits make it ideal for learning, R&D, and small-scale projects.
- Early Access to Latest Models: Experiment with Google’s newest generative and multimodal models as they launch.
- Seamless API Integration: Smoothly transition from testing in the Studio to integrating with the Gemini API in your own systems.
Getting Started: Step-by-Step Walkthrough
1. Access Google AI Studio
- Go to aistudio.google.com and sign in with your Google account.
- If you’re new, create a Google account first.
- Accept the terms of service and review the introductory overview.

2. Understand Free Tier Quotas and Limits
Google AI Studio’s free tier is generous for individual developers and small teams, but does have usage quotas:
- Requests per Minute (RPM): Limits API call frequency for fair usage.
- Tokens per Minute (TPM): Restricts how much data (text tokens) can be sent or received per minute.
- Daily Limits: Total daily usage cap.
These limits accommodate most prototyping and learning needs. For production or scaling, consider upgrading through Google Cloud Vertex AI for higher quotas.
Always refer to the official documentation for the latest quota details.
Prototyping Multimodal AI: Using Gemini Pro Vision
One standout feature in Google AI Studio is Gemini Pro Vision, which enables multimodal AI—combining text and image inputs for richer applications.

What is Multimodal AI?
Multimodal AI models can process and reason across different data types simultaneously. For example, Gemini Pro Vision can analyze text prompts and images together, returning text-based responses.
Supported Input Types
- Text: Instructions, context, or questions.
- Images: Upload JPEG, PNG, or WEBP files directly into prompts. Be mindful of image size and per-request limits.
Example Use Cases
- Image Captioning:
Prompt: “Describe this image in detail.”
Input: Image of a golden retriever in a park. - Object Recognition:
Prompt: “What are the main components on this circuit board?”
Input: Image of a circuit board. - Visual Question Answering:
Prompt: “How many cars are visible? What color is the building on the left?”
Input: Image of a busy street. - Creative Content Generation:
Prompt: “Write a suspenseful story opening based on this image.”
Input: Image of a mysterious forest door.
How to Use Image Inputs
- Select the Vision Model: Choose
gemini-pro-visionor another multimodal model. - Compose Your Prompt: Write your question or instruction.
- Add Images: Use the image upload icon to attach images.
- Interleave Text and Images: Structure prompts as needed (e.g., “What is this landmark?” + [image]).
- Submit and Analyze: Review the model’s response and iterate as needed.
From Prototyping to Integration: Exporting Code & API Keys
Google AI Studio is more than an interactive playground—it’s a launchpad for real-world integration.
Exporting Code Snippets
After finalizing your prompt and parameters, use the “Get Code” or “Export Code” button to generate ready-to-use snippets in:
- Python
- Node.js (JavaScript)
- cURL
- (Other languages, depending on API support)
These snippets will include the API endpoint, request payload structure, and a placeholder for your API key.
Obtaining API Keys
- Go to the API Keys or Credentials section within Google AI Studio.
- Create a new API key and accept any required terms.

Validating Your AI Endpoints with Apidog
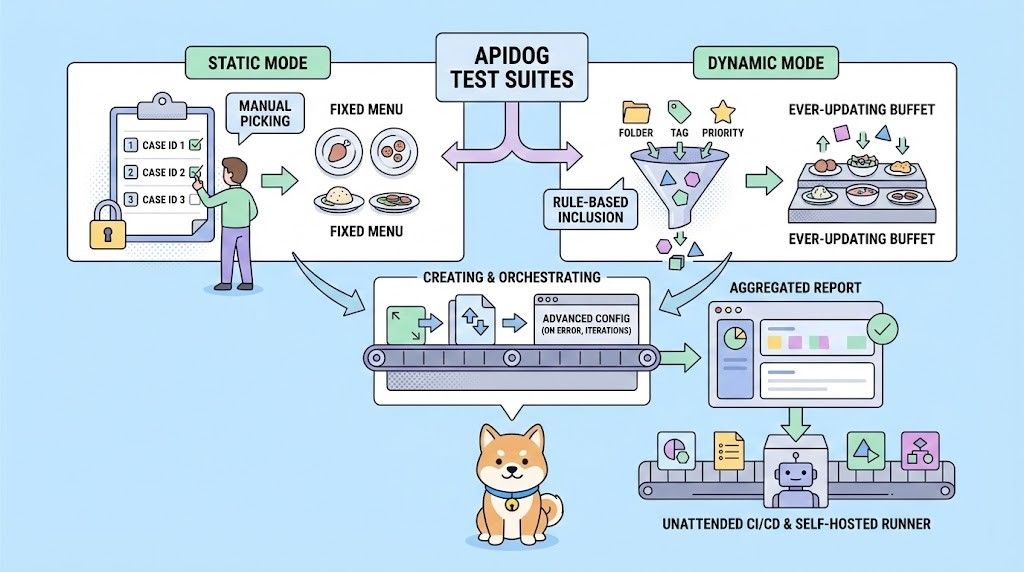
Before deploying your integration, robust testing of your AI-powered API endpoints is essential. Apidog streamlines this process for technical teams by combining API design, documentation, debugging, mocking, and automated testing in a single platform.

How to Test Your Gemini API Integration with Apidog
- Import or Define the API Request:
Manually set up the Gemini API endpoint using the code snippet from Google AI Studio. - Parameterize and Secure Keys:
Store your API key as an environment variable in Apidog for safe, repeatable testing. - Send and Inspect Requests:
Use Apidog’s interface to send requests, view responses, and debug issues. - Automate Your Tests:
Write test cases for different prompts, parameter settings, and edge cases (e.g., safety filters triggered). - Collaborate and Share:
Share API definitions and test results with your team for seamless handoff and review.
By using Apidog in your workflow, you ensure your Gemini API integration is reliable, scalable, and ready for production.
Conclusion: Accelerate Your AI Projects with Google AI Studio & Apidog
Google AI Studio offers developers and technical teams a flexible, no-cost environment to experiment with Google’s latest AI models. By following this guide, you can create, test, and iterate on AI-driven features—then use Apidog to validate, document, and manage your API integrations for a seamless developer experience.
Ready to build smarter applications? Start using Google AI Studio today. For professional API testing and collaboration, download Apidog to complement your workflow.