Looking to speed up your coding, automate routine tasks, and make your IDE smarter with AI? Continue.dev is a cutting-edge AI-powered IDE extension trusted by API developers, backend engineers, and technical leads to boost productivity and streamline workflows. In this guide, discover how to install, configure, and maximize Continue.dev’s advanced features—plus how Apidog can make your API integration and debugging even easier.
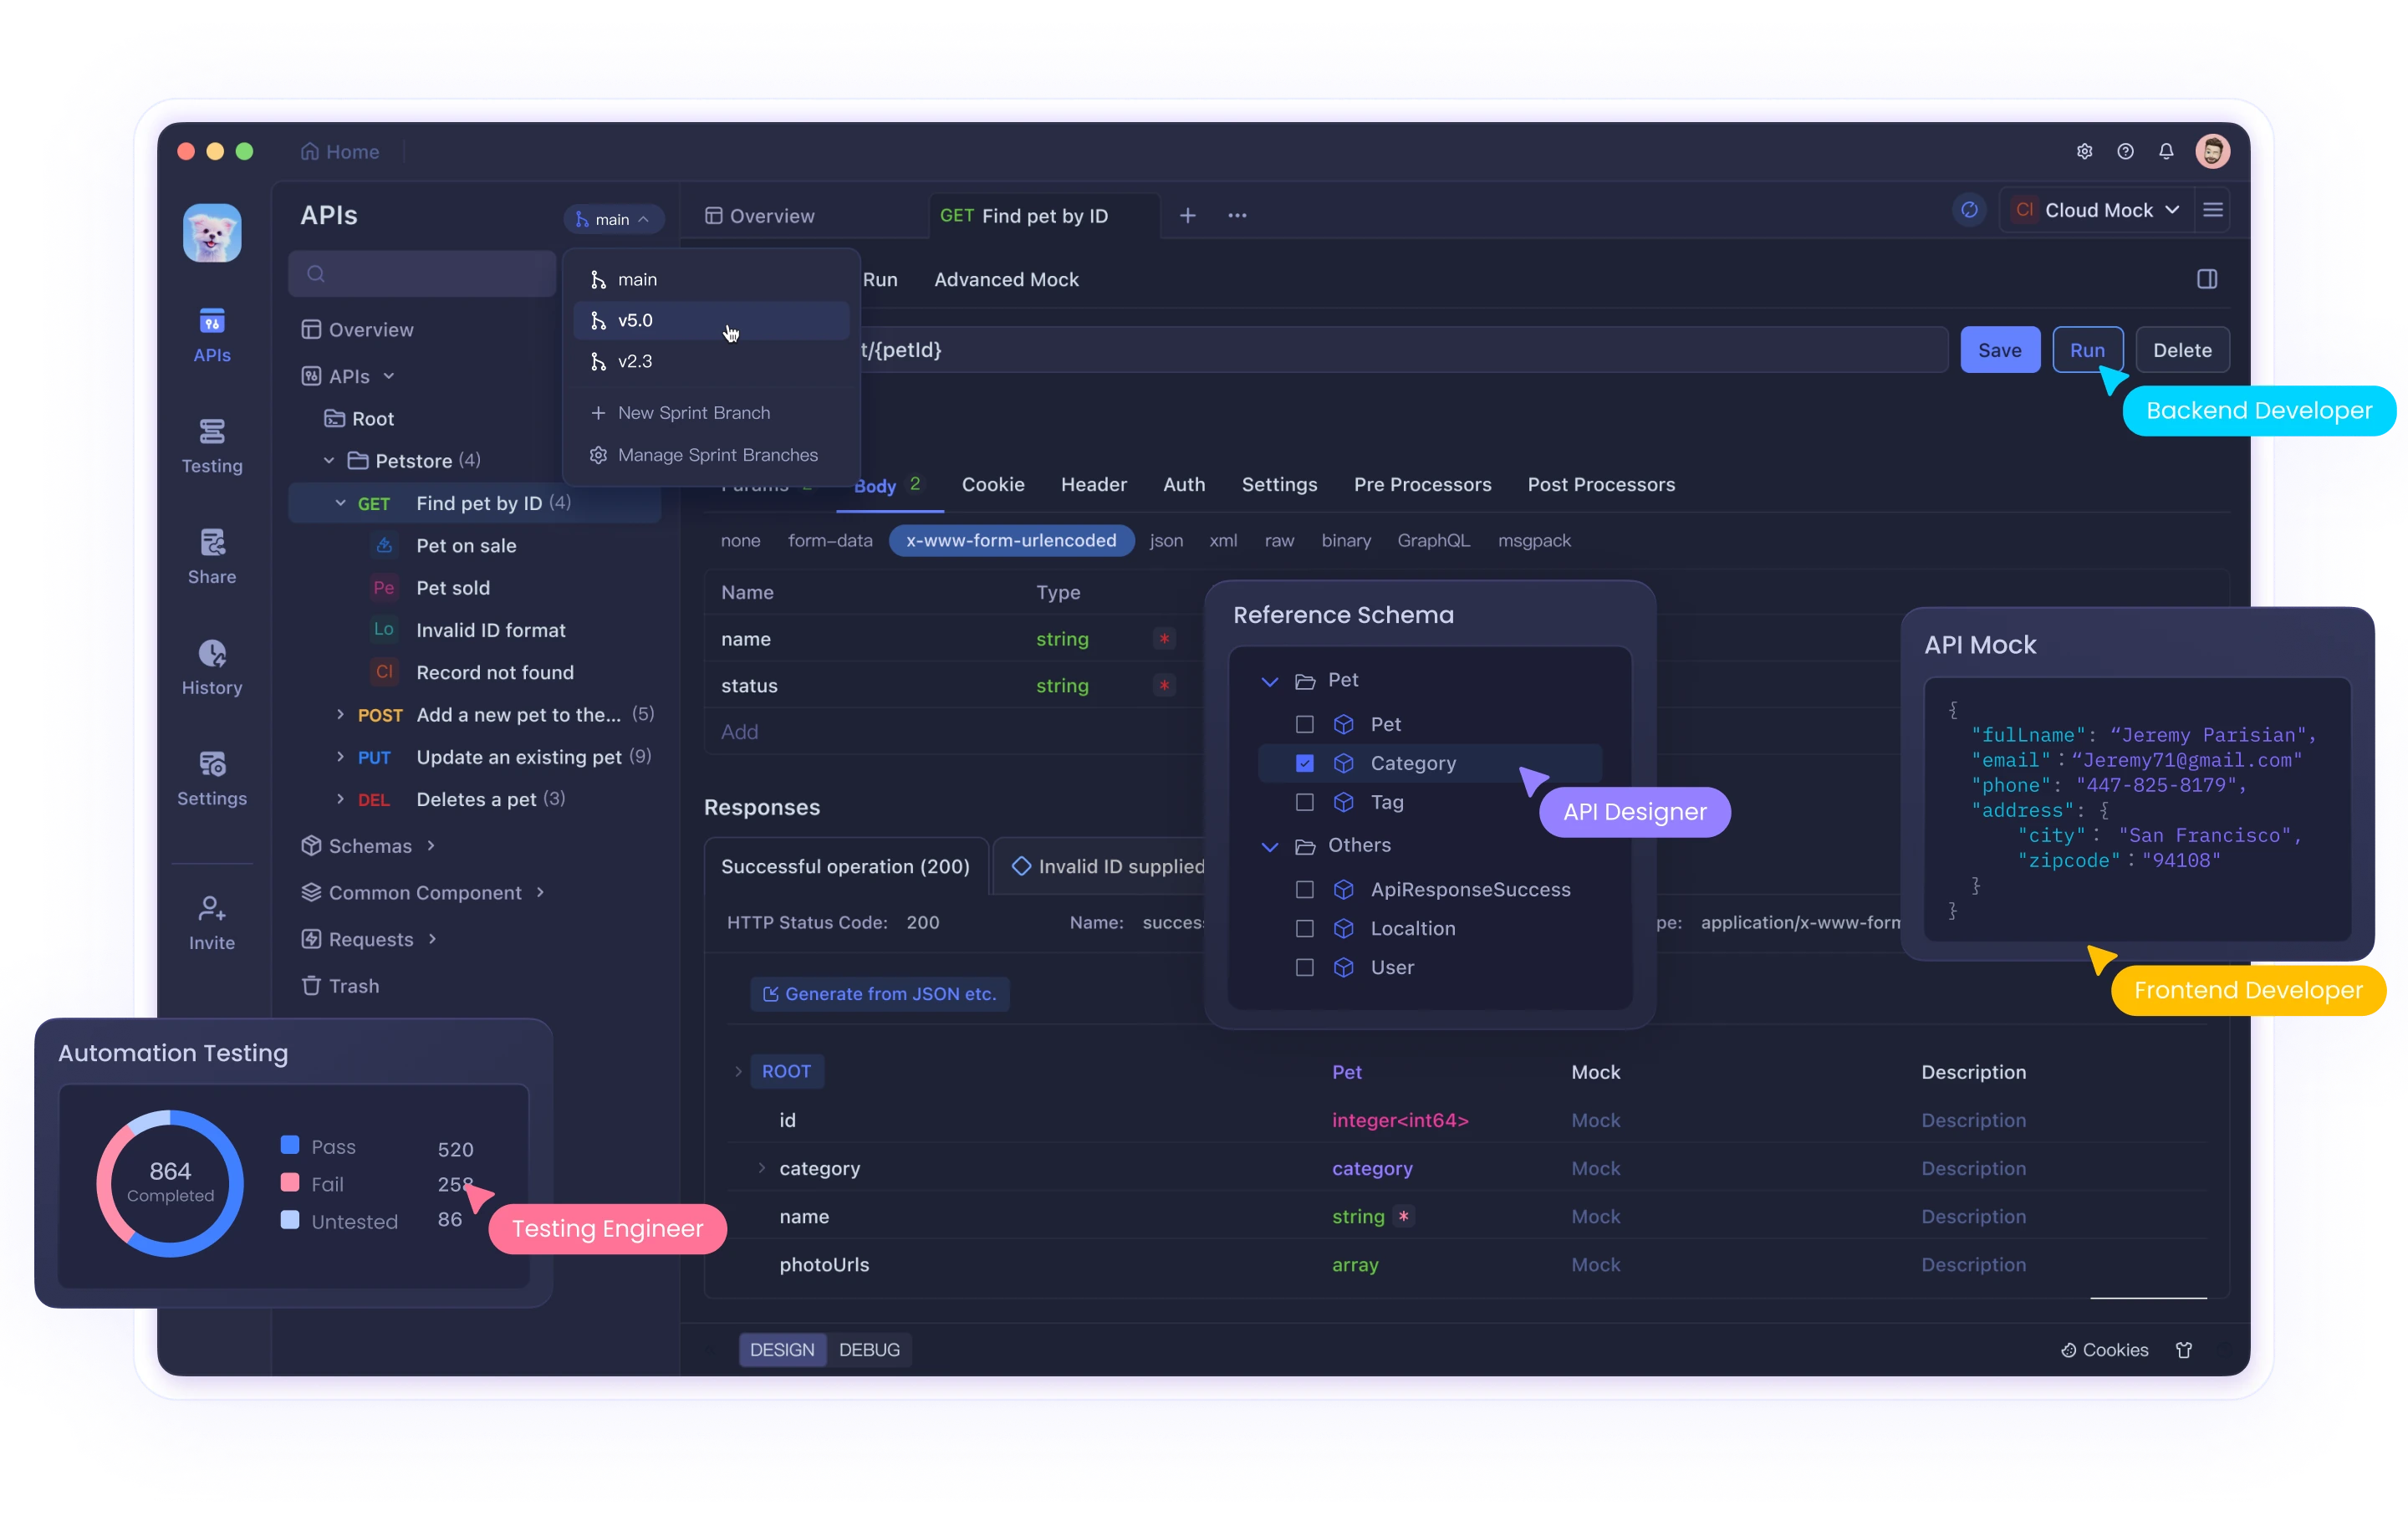
💡 Before you dive into AI-powered workflows, try Apidog—an intuitive, free API design and testing platform. Apidog’s streamlined interface and robust debugging tools work seamlessly with your development process, letting you optimize API endpoints and catch issues early.
Getting Started: Installing and Setting Up Continue.dev
1. Installation Steps
For VS Code
- Download the Plugin: Go to the official Continue.dev site and choose the right plugin for your editor.
- Install Extension:
- Open the Extensions Marketplace in VS Code.
- Search for “Continue.dev” and click Install.
- You’ll see the Continue icon in your left sidebar (move it to the right sidebar if you prefer).
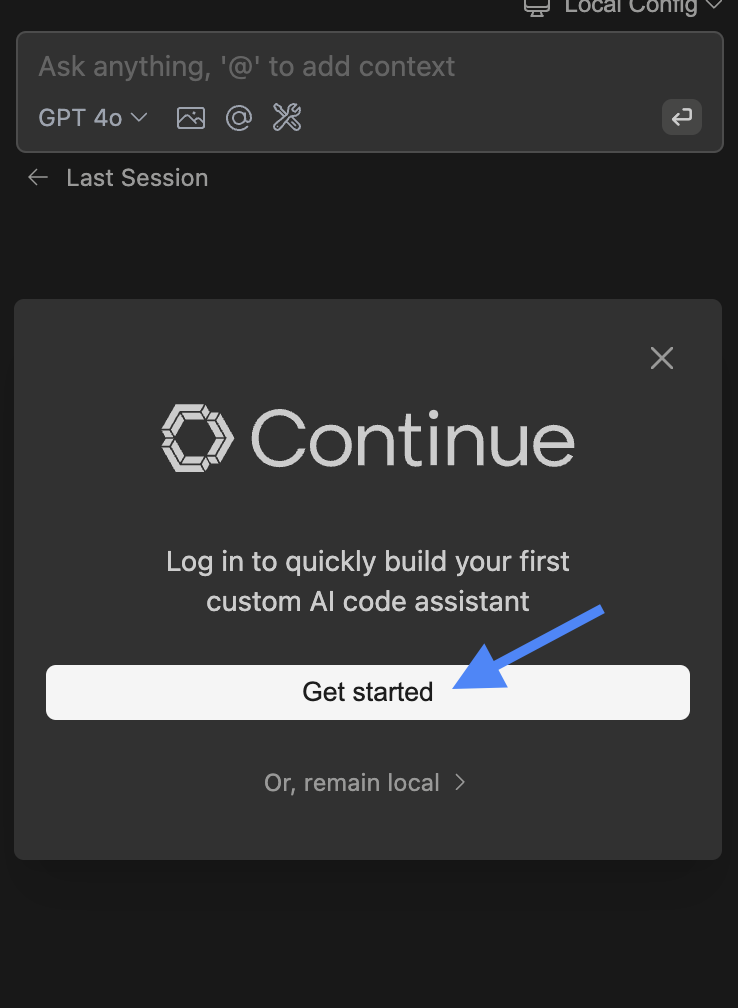
- Sign In: Click “Get started” to sign in to the Continue Hub and unlock your first AI assistant.
For JetBrains IDEs
- Open your JetBrains IDE and press
Ctrl + Alt + Sto access Settings. - Go to the Plugin Marketplace, search for “Continue.dev,” and install it.
- The Continue logo will appear on your right toolbar.
- Sign in to the hub to start using your AI assistant.
- Restart Your IDE: After installation, restart your IDE to enable all AI features.
Configuring Continue.dev for Best Performance
After installing, fine-tune Continue.dev for your needs:
- Sign In: Use your Continue.dev account for full access.
- Set API Key: If required, add your AI model API key in the settings.
- Customize AI Behavior: Adjust suggestions, auto-completion, and debugging preferences.
Key Features and How to Use Them
1. AI-Powered Code Completion
Continue.dev learns from your codebase to suggest accurate completions and snippets as you code—helping you write functions, fill in boilerplate, or finish logic blocks in seconds.
How to Enable Autocomplete:
- Click the “Continue” button in the status bar (bottom right), or check “Enable Tab Autocomplete” in your IDE settings.
Managing Suggestions:
- Accept: Press
Tab. - Reject: Press
Esc. - Partial Accept: Use
Cmd/Ctrl + →to accept suggestions word-by-word for precision.
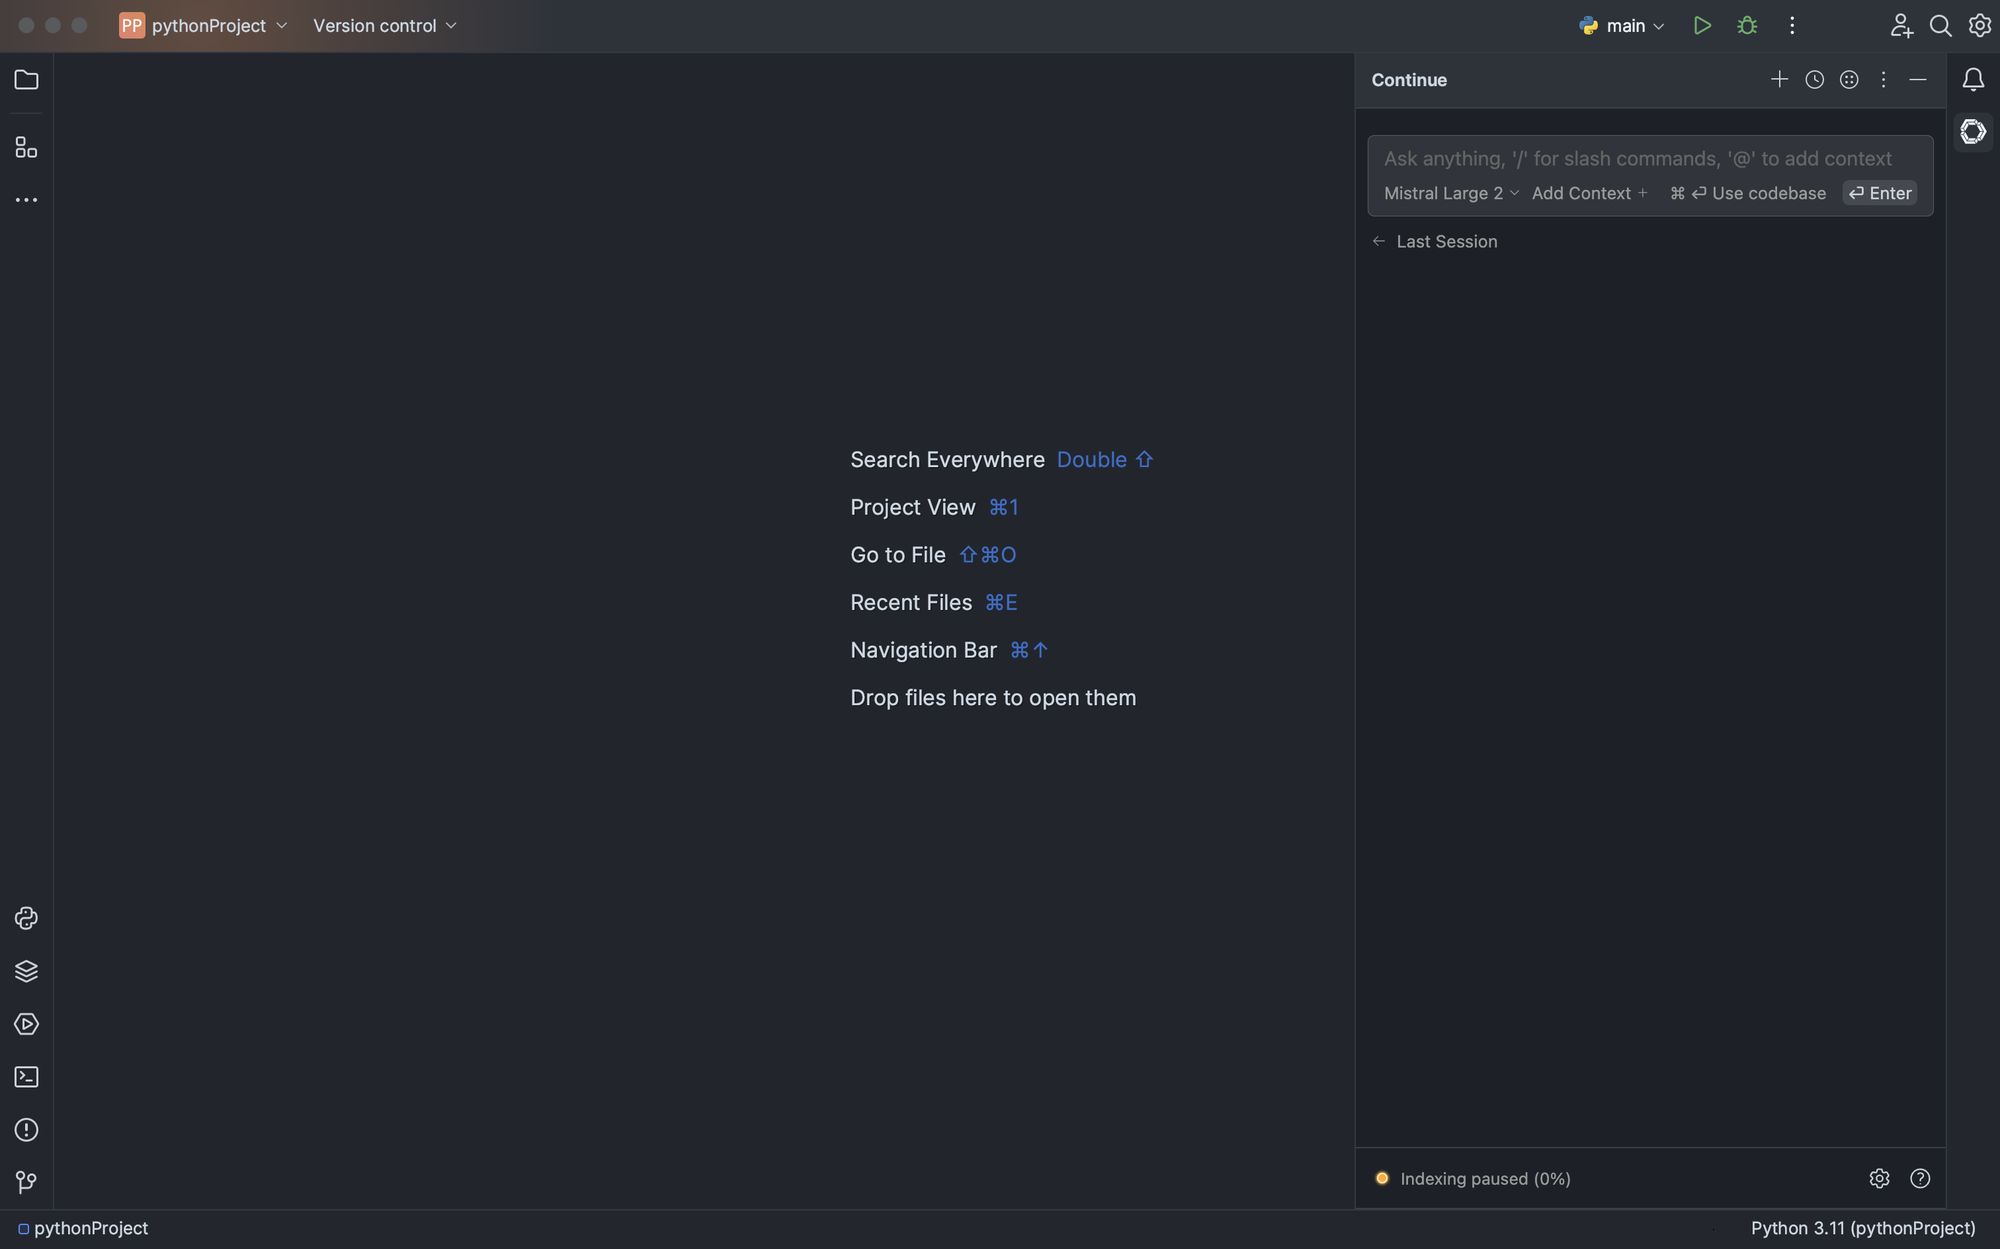
2. Chat with LLM: Real-Time AI Assistance
The integrated chat lets you ask AI for code explanations, troubleshooting, or even code generation—all without leaving your editor.
Basic Usage:
- Send a Request: Type your question/request and press
Enter. - Add Context: Highlight code and press
Cmd/Ctrl + L(VS Code) orCmd/Ctrl + J(JetBrains) to send it to the AI. - Reference with @: Use
@to include codebase or documentation context in your queries.
Advanced Usage:
- Apply Code Suggestions: Click “Apply” to insert generated code directly.
- Start Fresh Session: Use
Cmd/Ctrl + LorCmd/Ctrl + Jfor a new context. - Switch Models: Select different AI models via dropdown or
Cmd/Ctrl + '.
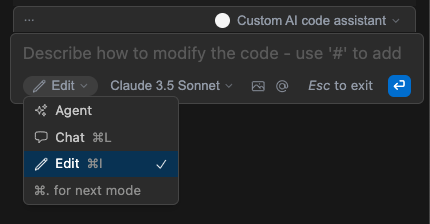
3. Edit: Fast, Inline Code Modifications
Use Edit mode for targeted changes—such as adding comments, generating tests, or refactoring methods—without leaving your current file.
How to Use Edit:
- Highlight Code & Activate Edit: Select code and press
Cmd/Ctrl + I. - Describe the Change: Clearly state what you want to modify.
- Accept/Reject Inline Diffs:
- Accept:
Cmd/Ctrl + Opt + Y - Reject:
Cmd/Ctrl + Opt + N - Accept/Reject all:
Cmd/Ctrl + Shift + Enter/Cmd/Ctrl + Shift + Delete
- Accept:

Extra Tips:
- In VS Code, Edit is accessible in the extension sidebar with a chat-like interface.
- In JetBrains, Edit appears as an inline popup for single-file edits.
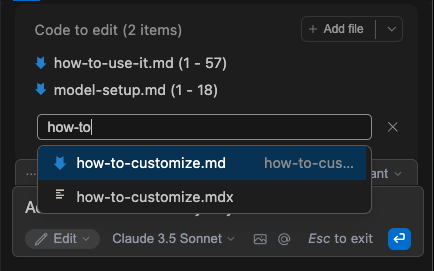
Adding More Files for Edit:
- Use the “Add file” combobox or select “Add all open files” to edit multiple files at once.
- For single-file edit, changes stream directly into the editor.
- For multi-file, review and accept/reject changes per file.
0
1
2
3
4. Agent: Automate Tasks with Natural Language
Agent mode lets you instruct your IDE in plain English—for example:
“Set the @typescript-eslint/naming-convention rule to 'off' for all eslint configurations.”
The Agent will choose the right tools and actions automatically, handling everything from configuration changes to code updates.
4
How to Use Agent:
- Type your task in the chat.
- Add context using @ or by highlighting code.
- Agent will execute the necessary steps, asking for permission before using tools.
5
6
View Tool Responses:
Tool outputs are shown as context items. Errors are displayed, so you can decide how to proceed.
7
Advanced Integration: Apidog MCP + Continue.dev
Take your AI IDE further by integrating Continue.dev with the Apidog MCP Server. This lets your AI assistant access API specs directly from your Apidog projects—enabling smarter code generation, instant API discovery, and automated model creation inside your IDE.
8
Best Practices for Using Continue.dev
- Leverage Context Awareness: Configure Continue.dev to analyze full project files for more relevant suggestions.
- Review AI Code: Always review AI-generated code for correctness and security before merging.
- Integrate with Git: Track all changes with version control to maintain code quality.
- Customize Settings: Adjust verbosity, completion style, and debugging for your workflow.
- Learn from AI: Use explanations and suggestions to deepen your understanding of code and best practices.
Conclusion
Continue.dev transforms your IDE into a smart, AI-driven workspace—accelerating code completion, refactoring, and debugging. When paired with Apidog for seamless API testing and integration, you’ll spend less time on boilerplate and more time shipping reliable features. Start optimizing your workflow today.