Are you looking for a faster, smarter way to code directly in Visual Studio Code? Meet Cline—a powerful AI coding assistant extension that brings advanced code generation and editing right into your workspace. In this comprehensive guide, you'll learn exactly what Cline is, how it compares to other AI tools like Cursor, and why it's an excellent choice for developers and QA engineers aiming to accelerate their workflow without sacrificing control.
💡 Quick Tip: For teams building and testing API-driven applications, robust tools like Apidog can streamline your entire API development lifecycle—from design to testing and documentation. Apidog is a modern Postman alternative built to support collaborative workflows and automated quality assurance.

What is Cline? AI Coding Inside VS Code
Cline is a VS Code extension that embeds an interactive AI assistant directly into your editor. Instead of switching between browser-based chatbots and your codebase, Cline lets you:
- Chat with an AI (powered by models like Claude, OpenAI GPT, Google Gemini, and more)
- Generate and edit code in your current workspace
- Approve or reject each change for full control
- Run commands, create/edit files, and automate repetitive coding tasks
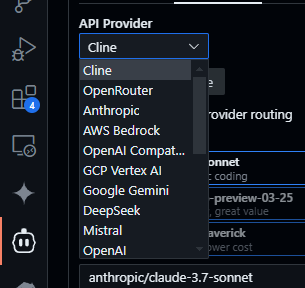
Unlike typical code suggestion tools, Cline acts as an agent—interpreting your instructions, planning changes, and implementing them (with your approval). Originally based on Claude 3.5 Sonnet, Cline now supports multiple AI providers including OpenAI, Google Gemini, Anthropic, and OpenRouter. You choose which AI model to power your assistant, optimizing for cost or capability as needed.
Why does this matter? By eliminating the constant copy-paste cycle between your browser and editor, Cline keeps you focused and improves productivity—especially when iterating on code or learning new patterns.
Why Developers & QA Engineers Should Care About Cline
Cline offers significant advantages for developers, QA engineers, and technical leads:
- Direct Integration: All coding, reviewing, and chatting happen inside VS Code—no external tools required.
- Learning by Doing: Watch, edit, and understand AI-generated code in real projects as you work.
- Customizable Behavior: Select your preferred AI model and set usage rules for tailored experiences.
- Granular Control: Review and approve every change, maintaining code quality and compliance with team standards.
For those new to AI coding, Cline is like having a patient, knowledgeable collaborator—one that adapts to your pace and requirements.
Cline vs. Cursor: Key Differences for Developers
You may have heard of Cursor, another AI-powered coding tool. Here’s how Cline stands out:
| Feature | Cline (VS Code Extension) | Cursor (Standalone Editor) |
|---|---|---|
| Platform | Works in standard VS Code | Custom VS Code fork |
| AI Model Choice | Flexible (Claude, Gemini, OpenAI, etc.) | Built-in, fixed models |
| Pricing | Pay-per-use (via your API keys) | Subscription required |
| Ecosystem Lock-in | None (keep your toolchain) | Yes (must use Cursor editor) |
| Beginner Friendly | Yes, with review controls and custom rules | Very easy, but less flexible |
Cline delivers more freedom and integration with your existing workflow, making it ideal for professional teams and engineers who want to control costs and AI behavior.
How to Set Up Cline in VS Code: Step-by-Step
Getting started with Cline is straightforward—even for beginners. Here’s how:
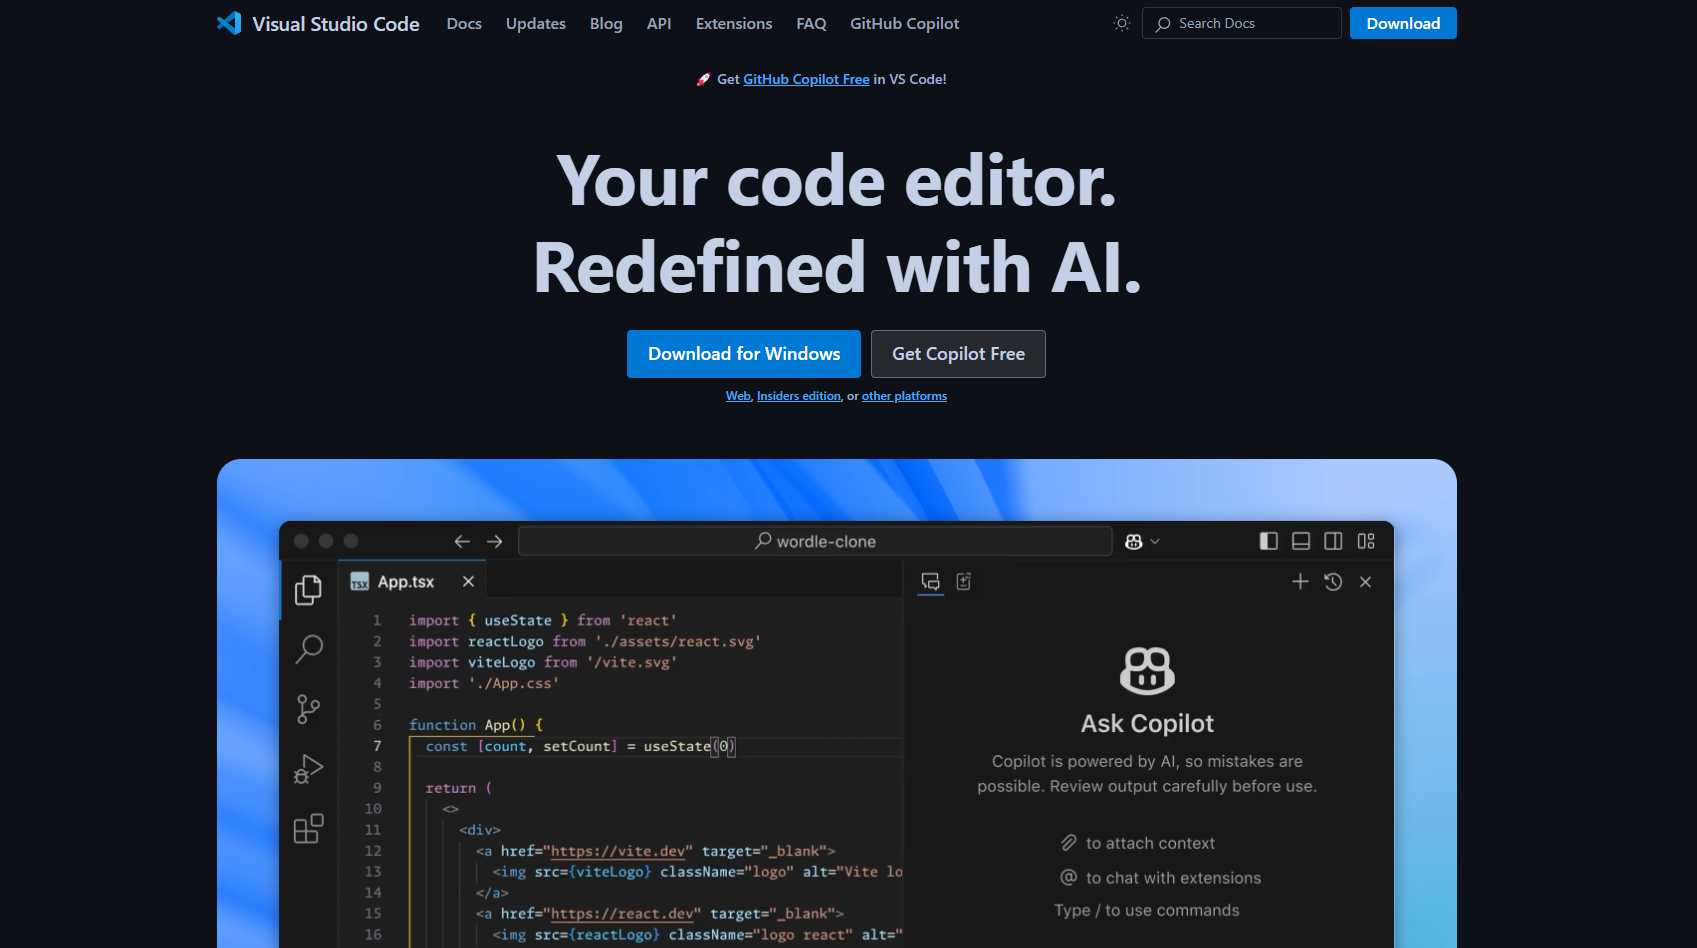
1. Install Visual Studio Code
If you haven’t already, download VS Code from code.visualstudio.com. It’s free and widely used across the industry.
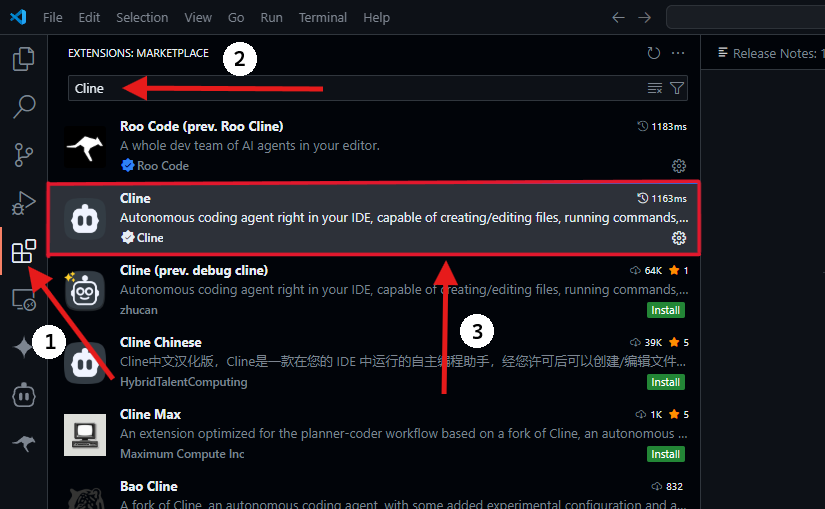
2. Add Cline Extension
- Open VS Code.
- Click the Extensions icon (or press
Ctrl+Shift+X/Cmd+Shift+X). - Search for "Cline" and install it.
3. Obtain an AI Provider API Key
Cline requires an API key from an AI provider for code generation. Recommended options:
- Anthropic: Get $5 in free credits at anthropic.com.
- OpenAI: Sign up at openai.com for GPT models.
- Google Gemini: Free-tier API keys available at aistudio.google.com (great for beginners).
- OpenRouter: Aggregate multiple models at openrouter.ai (best for advanced users).
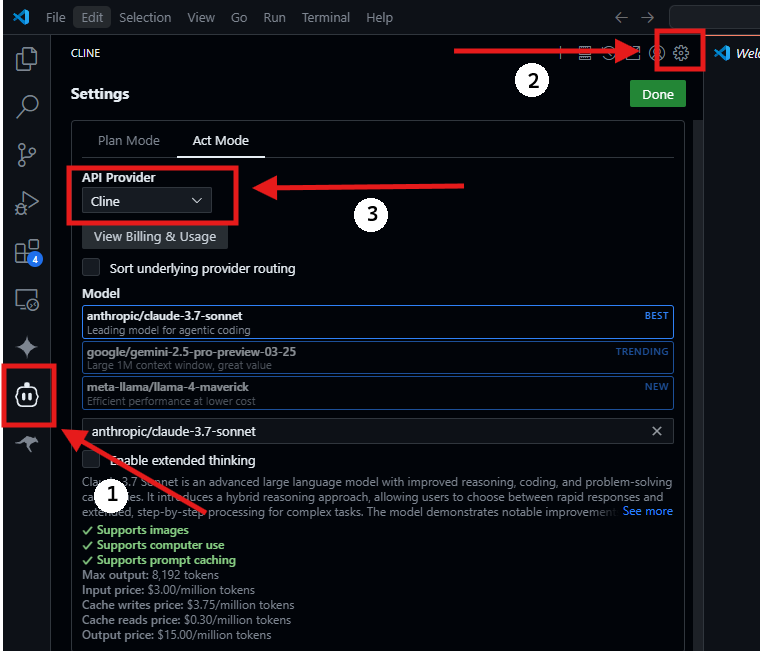
Once you have your key, open Cline settings in VS Code, select your provider, and paste in the API key.
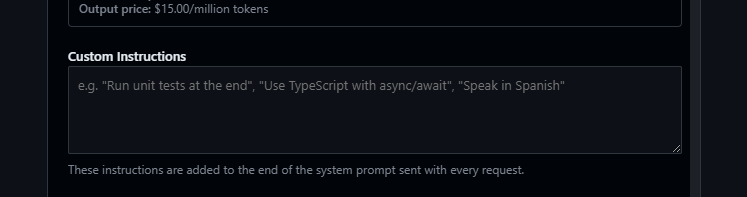
4. Set Custom Instructions (Optional)
Fine-tune Cline’s behavior by setting custom instructions. For example:
Speak in Spanish. Use Python by default. Keep changes small and ask for my review after each file edit.
Set this in: Cline > Settings > Custom Instructions. This is especially helpful for onboarding new team members or enforcing coding standards.
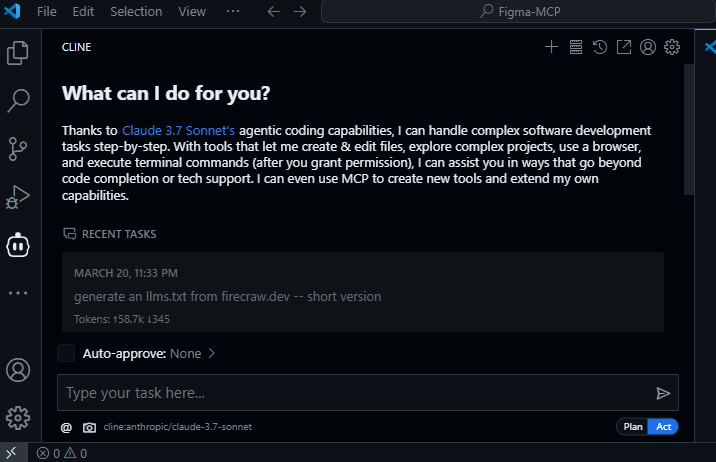
5. Start Interacting with Cline
Open the Cline sidebar and type your coding task in the chat box (e.g., “Create a simple Python calculator”). Press Enter and Cline will handle the rest—always prompting for your approval before making changes.
Practical Example: Build a Python Calculator with Cline
Let’s walk through a real-world example. In a new VS Code project, ask Cline:
“Make a Python script for a calculator that adds, subtracts, multiplies, and divides two numbers.”
Cline will:
- Suggest file creation (e.g.,
calculator.py) - Generate the following code for your approval:
def calculate(num1, num2, operation):
    if operation == "+":
        return num1 + num2
    elif operation == "-":
        return num1 - num2
    elif operation == "*":
        return num1 * num2
    elif operation == "/":
        return num1 / num2 if num2 != 0 else "Error: Division by zero"
    else:
        return "Invalid operation"

num1 = float(input("Enter first number: "))
num2 = float(input("Enter second number: "))
op = input("Enter operation (+, -, *, /): ")

result = calculate(num1, num2, op)
print(f"Result: {result}")
You can review, edit, or run the script right away—seeing exactly how AI can augment your coding workflow.

Tips for Mastering Cline as a Developer
Break Down Tasks
Large, complex prompts can lead Cline to generate too many changes at once. Start with small, focused requests like “Write a function” or “Fix this error.”
Use .clinerules for Project Control
Add a .clinerules file in your project root to specify rules. Example:
# Speak in Spanish
# Ask for review after each file change
# Don’t edit README or docs unless requested
# Suggest files to edit before making changes
Cline will adhere to these rules, improving consistency across teams and projects.
Monitor API Usage and Costs
AI models consume tokens, which can add up in cost for lengthy tasks. Cline’s UI displays estimated costs; switch models or break up requests if expenses rise. Free-tier providers like OpenRouter are useful for experimentation.
Avoid Mid-Edit Interruptions
While Cline is making edits, avoid switching files or changing code manually. This helps prevent sync errors and maintains code integrity. Commit changes often, for example:
git commit -m "Update with Cline changes"
For further comparisons, see our in-depth review:
Roocode VS Cline: Which AI Coding IDE Is Best?
How Apidog Supports API-Driven Teams
When working with APIs, robust tooling is essential for maintaining code quality and accelerating delivery. Apidog offers an all-in-one platform for API design, debugging, automated testing, and documentation—helping developers, QA engineers, and product teams validate API functionality throughout the development lifecycle. Features like collaborative workspaces and environment management enable teams to ensure that API responses meet business needs before production.
Common Cline Issues & How to Fix Them
“Rest of Code Here” Skipped Code Problem
Cline may omit lines in large files with a note like “// rest of code here.” To resolve this, split tasks into smaller requests or wait for updates such as “Fast Edit Mode.”
API Rate Limits
If you encounter rate limits, wait for your quota to reset or switch to another API provider. Having multiple keys is helpful for high-frequency users.
Overactive AI Changes
If Cline proposes overly broad edits (like rewriting entire files), use .clinerules or more precise prompts to limit its scope.
Conclusion: Why Cline Is a Top AI Coding Tool for VS Code
Cline stands out as a versatile AI-powered coding assistant for Visual Studio Code—ideal for backend developers, QA engineers, and API teams who value control, flexibility, and seamless workflow integration. Its granular approval process, customizable rules, and support for multiple AI models make it a practical choice over standalone editors like Cursor.
Ready to try Cline? Download it from the VS Code Marketplace, connect your favorite AI model, and experience a smarter, more collaborative approach to software development.
 1
1