When working with APIs using Postman, encountering a 422 Unprocessable Entity error can be both frustrating and perplexing. This HTTP status code indicates that while the server successfully received and understood the request, it cannot process it due to semantic errors within the request payload. Unlike other common HTTP errors, a 422 error often points to issues that are more subtle and related to the data being sent rather than the structure of the request itself.
In this guide, we'll delve into the common causes of the 422 error and provide a comprehensive, step-by-step approach to resolving it.
Understanding the 422 Error
The 422 Unprocessable Entity error is part of the HTTP/1.1 specification and is frequently encountered in RESTful APIs. It typically arises in scenarios where, the request is syntactically correct and well-formed. However, the data within the request fails to meet the required validation rules or business logic.
This error is often associated with input validation issues, such as missing required fields or data that does not conform to the server's expectations.

Common Causes of 422 Errors
Understanding the root causes of a 422 error is crucial for effectively addressing it. Here are some of the most common triggers:
- Invalid Data Format: The request body does not match the expected format. For example, sending JSON data when the server expects XML.
- Missing Required Fields: The request omits mandatory parameters or fields that the API requires.
- Data Validation Failures: The data provided in the request does not meet the server’s validation criteria, such as incorrect formats or out-of-range values.
- Incorrect Content-Type Header: The
Content-Typeheader does not align with the actual content of the request, leading to confusion during processing. - Outdated API Version: The request is targeting an outdated or deprecated version of the API that may have different validation rules or requirements.
Step-by-Step Guide to Resolving 422 Errors
Resolving a 422 error involves a systematic review of your API request. Follow these steps to diagnose and fix the issue:
Step 1: Verify Request Body
The first step in troubleshooting a 422 error is to carefully examine the request body you are sending. The request body is the payload of data that you send to the server, and if it doesn’t meet the API’s requirements, the server will return a 422 error.
- Check Required Fields: Start by ensuring that your request body includes all the mandatory fields required by the API. For example, if you are sending a request to create a new user, fields like
email,password, andusernamemight be required. If any of these fields are missing, the server will not be able to process the request. - Validate Data Format: Different APIs require data in different formats, such as JSON, XML, or form data. Verify that the format of the request body matches what the API expects. For instance, if the API expects JSON data, make sure your data is properly structured as JSON.
- Use Validation Tools: Before sending the request, use online tools or Postman’s built-in features to validate your JSON or XML structure. These tools can help you identify any syntax errors or inconsistencies in your data format that could lead to a 422 error.
- Correct Field Names: Field names in the request body must exactly match the names expected by the API. Even a minor typo or incorrect casing can cause the server to reject the request. Double-check the API documentation to ensure that all field names are correct.
Step 2: Check Content-Type Header
The Content-Type header plays a crucial role in how the server interprets the data you send. This header tells the server the format of the request body, so it knows how to parse the incoming data.
- Match the Content-Type: Verify that the
Content-Typeheader in your request matches the format of your request body. If you’re sending JSON data, theContent-Typeshould be set toapplication/json. Similarly, if you’re sending form data, useapplication/x-www-form-urlencoded, and for XML, useapplication/xml. - Ensure Accuracy: The server relies on the
Content-Typeheader to correctly process your request. If this header is incorrect, the server might not understand the request, leading to a 422 error. For example, if you send JSON data but specify theContent-Typeasapplication/xml, the server will likely fail to process the request correctly.
Step 3: Validate Data Types
Another common cause of 422 errors is mismatched data types. The data types in your request must align with what the API expects for each field.
- Match Data Types: Review the API documentation to confirm the expected data types for each field. For example, if a field requires an integer, ensure that you are sending a number and not a string. Similarly, for date fields, use the correct date format specified by the API.
- Avoid Common Mistakes: One common mistake is sending numbers as strings or boolean values as strings (
"true"instead oftrue). Such discrepancies can cause the server to reject the request. Always ensure that the data types match exactly what the API expects. - Consider Edge Cases: Pay attention to any special cases or edge cases that the API might have. For example, some APIs may require specific date formats or may not support certain characters in string fields.
Step 4: Review API Documentation
Thoroughly reviewing the API documentation is essential to resolving a 422 error. The documentation provides detailed information on the API’s requirements, including field names, data types, and any constraints.
- Read the API Docs: Spend time carefully reading the API documentation to understand the specific requirements for each endpoint. Look for details on mandatory fields, acceptable data formats, and any special conditions that must be met.
- Check for Restrictions: Some fields might have restrictions, such as maximum length, allowed characters, or enumerated values. Ensure that the data you are sending complies with these restrictions. For example, if a field only accepts certain predefined values, sending anything else will result in a 422 error.
- Identify Interdependencies: In some cases, fields may be interdependent or conditional on one another. For example, an API might require that if you provide one field, another related field must also be included. Understanding these interdependencies is key to crafting a valid request.
Step 5: Use Postman's Console
Postman’s console is a powerful tool for debugging API requests. It provides detailed information about the requests you send and the responses you receive, which can be invaluable when troubleshooting a 422 error.
- Leverage Debugging Tools: Open the Postman console by navigating to
View > Show Postman Console. The console will display a log of all requests sent, along with their corresponding responses. This detailed output can help you identify issues that might not be immediately apparent in the main Postman interface. - Examine Server Responses: Pay close attention to the server’s response in the console. The response might include specific error messages or details about why the request failed. These details can guide you in correcting the request and avoiding the 422 error.
Step 6: Implement Error Handling
Proper error handling is crucial for dealing with 422 errors effectively, especially when working with dynamic data or in a production environment.
- Add Script Logging: In Postman, you can use scripts to add custom error handling to your requests. For example, you can write a script to log detailed error messages, including the status code and any error messages returned by the server. This logging can help you quickly identify and fix issues.
- Gracefully Handle Errors: Implementing error handling allows your application to respond gracefully to errors, such as by retrying the request or providing a user-friendly error message. This is especially important in production environments where users expect a seamless experience.
Step 7: Check for Duplicate Requests
Accidentally sending duplicate requests is a common issue that can trigger a 422 error, particularly if the API enforces uniqueness constraints or rate limits.
- Avoid Duplicates: Review your request history in Postman to ensure that you are not sending the same request multiple times. If the API requires unique values for certain fields, such as IDs or email addresses, duplicate requests will likely fail.
- Be Mindful of Rate Limits: Some APIs enforce rate limits to prevent excessive requests. If you exceed these limits, subsequent requests might be rejected, leading to errors. Make sure you are aware of any rate limits and avoid sending duplicate requests within a short time frame.
Step 8: Verify API Version
Using the correct version of the API is essential to avoid compatibility issues that can result in a 422 error.
- Use the Correct Version: APIs often evolve over time, with new versions introducing changes to the data format, required fields, or validation rules. Ensure that your request targets the correct version of the API by checking the documentation and updating your request URL or headers accordingly.
- Update Your Requests: If you are using an outdated version of the API, consider updating your requests to align with the latest version. This might involve adjusting field names, data types, or other request parameters to match the updated API requirements.
Step 9: Test with Minimal Data
When troubleshooting a 422 error, it can be helpful to start with a minimal request that includes only the required fields. This approach allows you to isolate the issue more easily.
Start with a bare-bones request containing only mandatory fields. Gradually add more fields to identify which one is causing the 422 error.
Step 10: Check for Server-Side Issues
In some cases, the cause of a 422 error might not be on your end but rather due to issues on the server side. These problems can range from temporary server glitches to deeper issues with the API's logic or configuration.
- Monitor the API's Status: Start by checking the API's status page or any public dashboards that monitor the service's health. Many API providers offer real-time status updates, which can help you determine if there is an ongoing issue affecting your request. If the API is experiencing downtime or degraded performance, the 422 error might be a temporary issue that will resolve itself once the service is restored.
- Communicate with the API Provider: If the status page doesn’t indicate any problems, or if the issue persists, it may be necessary to reach out to the API provider's support team. When doing so, provide as much detail as possible, including the exact request you are sending, the error response you’re receiving, and any steps you’ve already taken to troubleshoot the issue. This information will help the support team diagnose the problem more quickly and accurately.
- Consider Server-Side Logic: Sometimes, the issue might lie within the server-side logic or business rules that the API is enforcing. For instance, there might be constraints or validation rules on the server that you are unaware of, which are causing the 422 error. Communicating with the API provider can help you uncover these nuances and adjust your request accordingly.
By following these steps and implementing the suggested solutions, you should be able to identify and resolve most 422 Unprocessable Entity errors in Postman. Remember that the key to solving these errors lies in careful analysis of your request data, a thorough understanding of the API requirements, and systematic debugging.
Switching to APIDog: The Best Postman Alternative

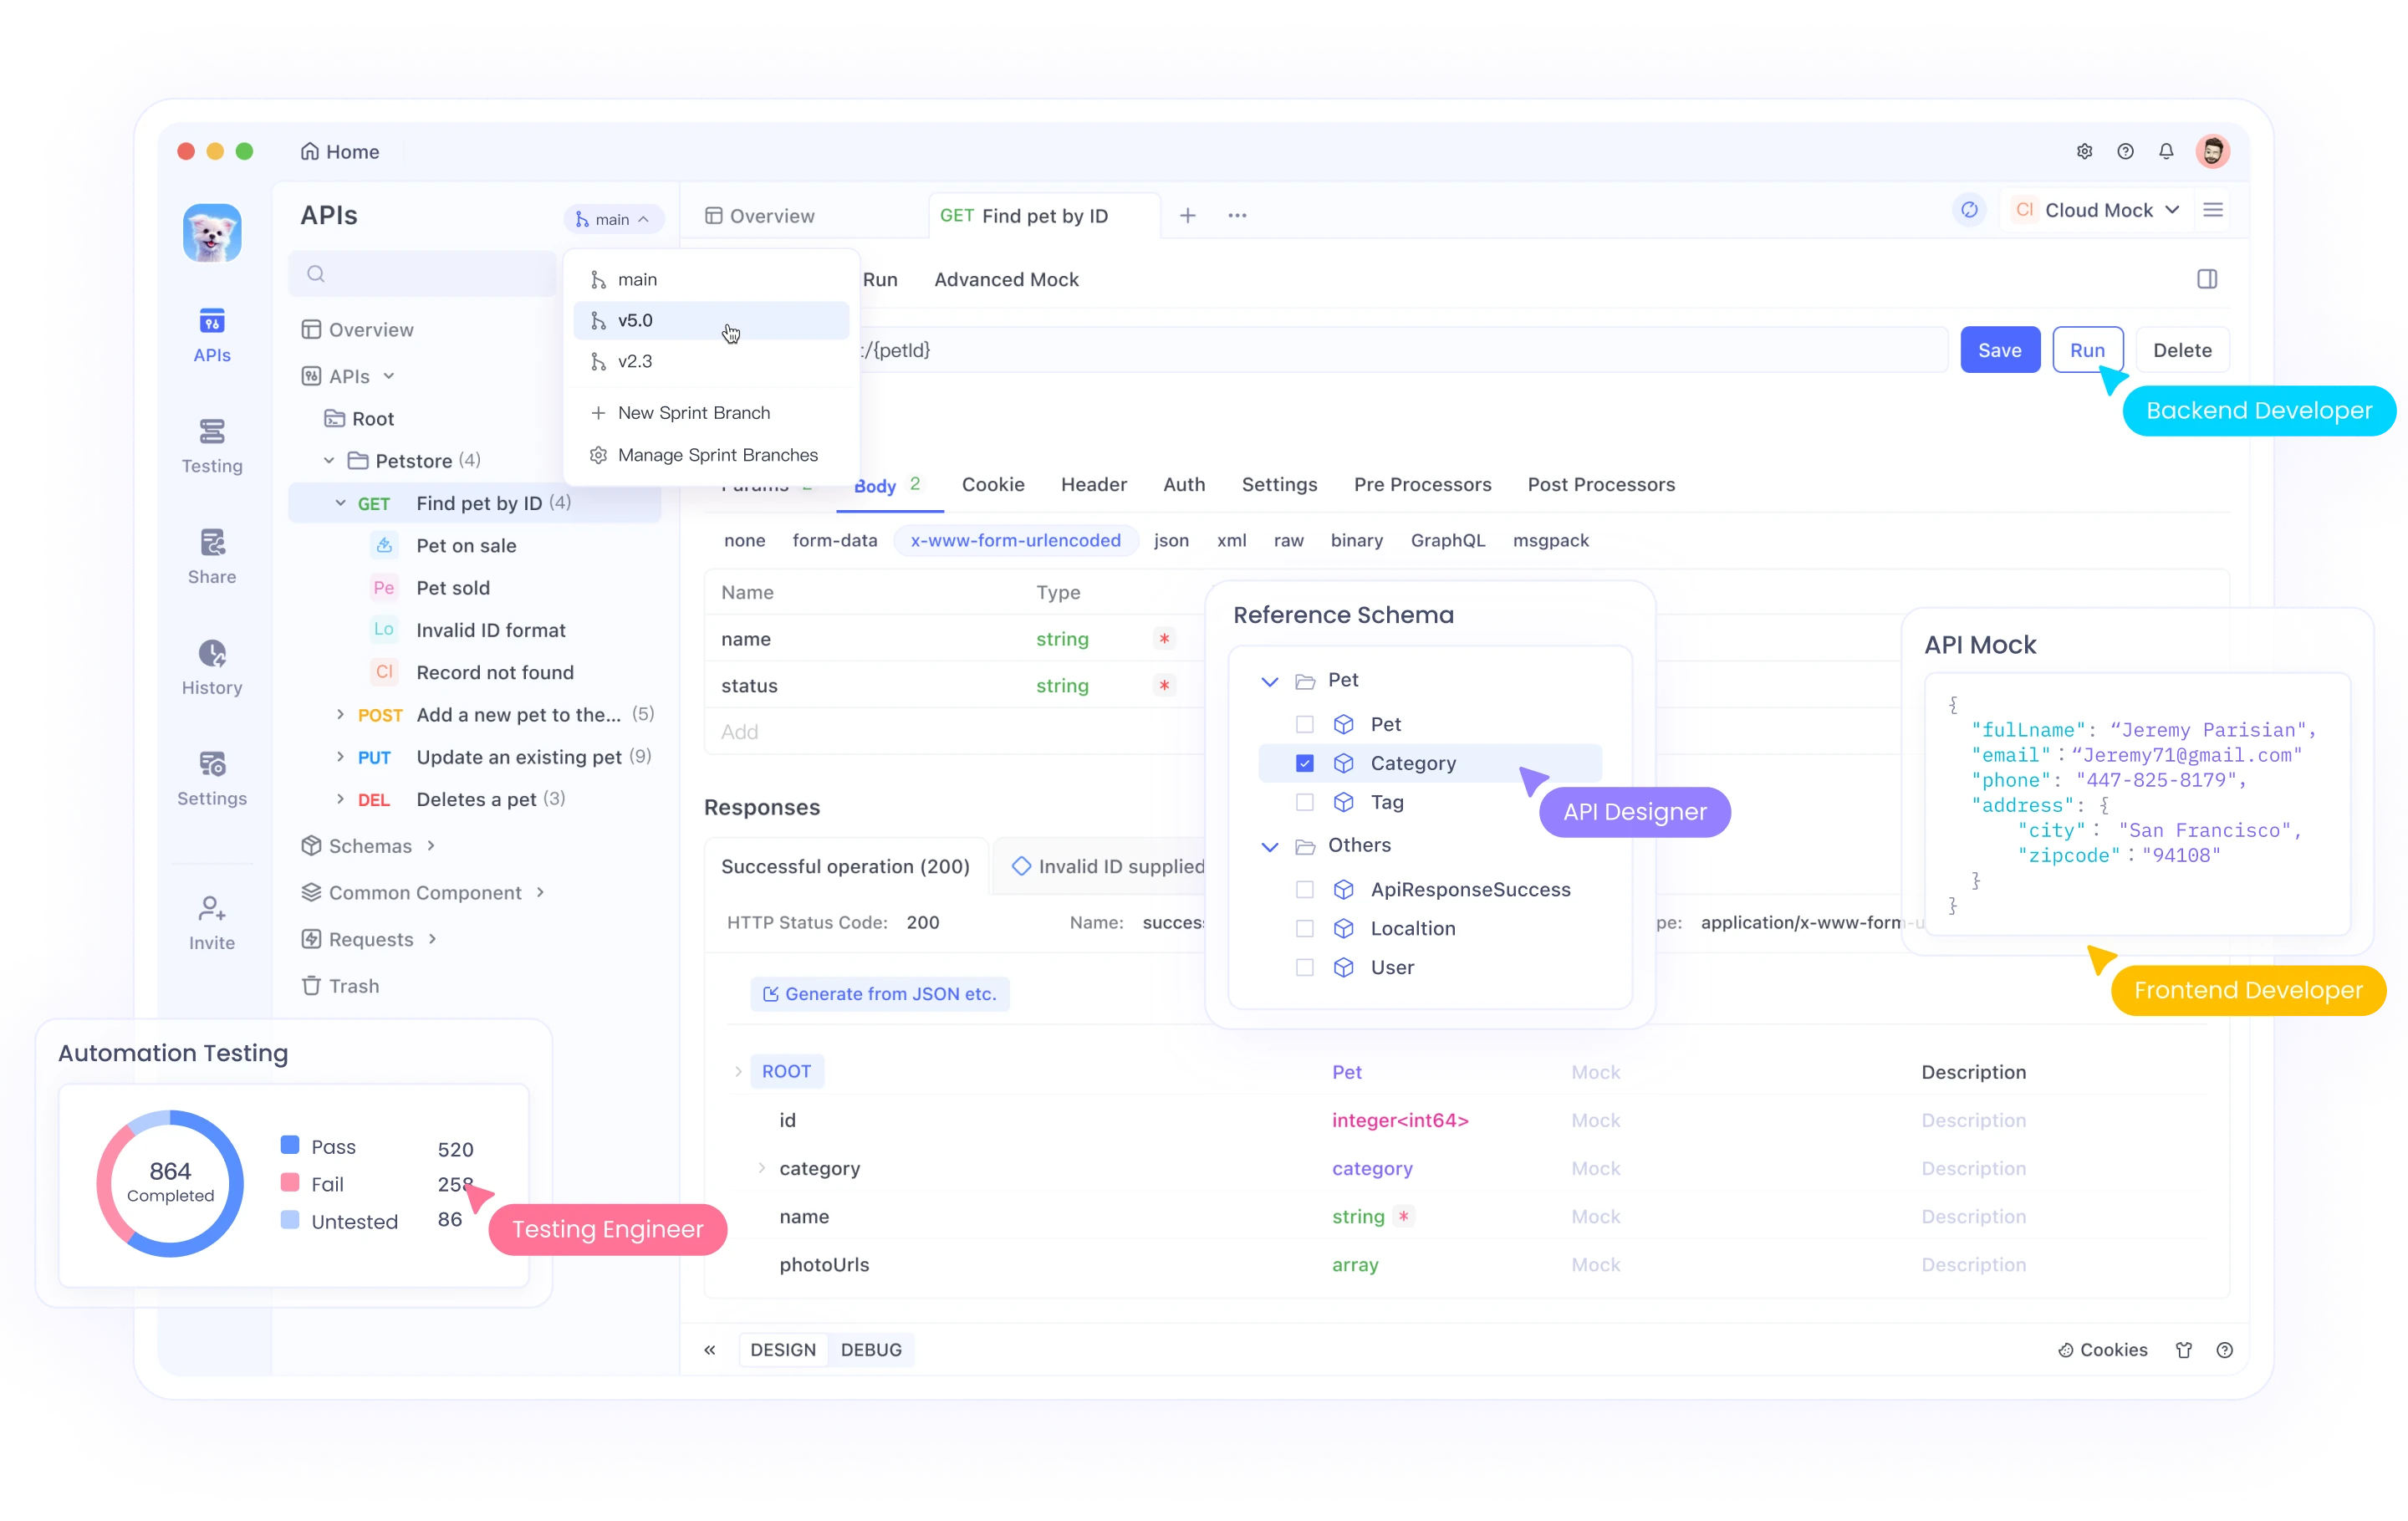
Apidog enhances API security by offering robust API design, documentation, debugging, mocking, and testing in a single platform, streamlining your workflow. Apidog also aids in compliance with industry standards like GDPR and HIPAA, ensuring your APIs protect user data effectively.
Additionally, Apidog supports team collaboration, fostering a security-focused development environment. By integrating Apidog, you can build secure, reliable, and compliant APIs, protecting your data and users from various security threats.
If you’re considering switching from Postman to Apidog, the following steps will guide you through the process, ensuring a smooth transition and effective use of Apidog’s features.

1. Export Your Postman Collections
Begin by exporting your existing Postman collections. This step involves saving your API requests and configurations from Postman in a format that Apidog can recognize. To do this, open Postman, navigate to the collection you want to export, and select the export option. Choose the JSON format for compatibility with Apidog.
2. Sign Up for an Apidog Account
Next, create an account on the Apidog website. Visit the Apidog registration page and complete the sign-up process. This will grant you access to Apidog’s features and allow you to manage your API collections.
3. Import Collections into Apidog
Once you have your collections exported and an Apidog account set up, you can proceed with importing your Postman collections into Apidog. Log in to your Apidog account, navigate to the import section, and upload the JSON files you exported from Postman. Apidog will parse these files and recreate your API requests and configurations within its interface.
4. Adjust Settings in Apidog
After importing your collections, review and adjust any environment variables or authentication settings. Ensure that any environment-specific details, such as API keys or tokens, are correctly configured in Apidog. This step is crucial to ensure that your API requests function as expected in the new environment.
5. Explore Apidog’s Features
Familiarize yourself with Apidog’s interface and its unique features. Apidog offers various functionalities that may differ from Postman, such as automatic documentation generation and integrated mock servers. Spend some time exploring these features to understand how they can enhance your API development and testing workflows.
6. Migrate Gradually
To ensure a seamless transition, consider using Apidog for new projects while continuing to maintain and use Postman for your existing projects. This gradual migration approach allows you to become comfortable with Apidog’s interface and features at your own pace, reducing the risk of disruptions in your workflow.
By switching to Apidog, you may find that some of the issues you've encountered in Postman, including 403 errors, are easier to diagnose and resolve due to the platform's enhanced features and user-friendly interface.
FAQ
What is error code 422 on Postman?
Error code 422 on Postman, also known as the Unprocessable Entity error, occurs when the server understands the content type of the request but is unable to process the contained instructions. This typically happens when the request is well-formed and syntactically correct, but semantically erroneous.
How to resolve 422 error code?
To resolve a 422 error code, start by verifying your request body and ensuring all required fields are present and correctly formatted. Check that your Content-Type header matches the format of your request body. Review the API documentation for any specific data validation requirements or constraints. Use Postman's console to gather more detailed error information, and implement proper error handling in your request scripts.
How to debug 422 error?
Debugging a 422 error involves several steps. First, use Postman's console to view detailed error messages. Implement pre-request scripts to validate your data before sending. Test with minimal data to isolate the issue. Utilize Postman's Visualizer feature for custom error displays. Collaborate with team members using Postman's sharing features. Set up Postman Monitors to track error occurrences over time.


