
Looking for a seamless way to boost your coding productivity with AI? Cursor AI is a next-generation code editor designed for developers who want smarter code completion, rapid debugging, and built-in AI assistance. Whether you’re working on APIs, backend logic, or automation scripts, Cursor AI streamlines your workflow across Mac, Windows, and Linux.
If you’re involved in API development and testing, Apidog is a powerful platform that complements Cursor AI. Apidog accelerates API design, testing, and documentation with automation, making it easier to manage your API lifecycle from end to end.
Why Choose Cursor AI?
- AI-Powered Code Assistance: Get suggestions, fixes, and code generation in real-time.
- Multi-Language Support: Work with Python, JavaScript, TypeScript, and more.
- Cross-Platform: Available for Mac, Windows, and Linux.
- Developer-Friendly Interface: Familiar layout inspired by Visual Studio Code.
Installation Guides by Operating System
Installing Cursor AI on Mac
1. Download the Cursor AI Installer
- Visit cursor.com and download the macOS installer.
- Locate the downloaded file in your Downloads folder.
2. Install the Application
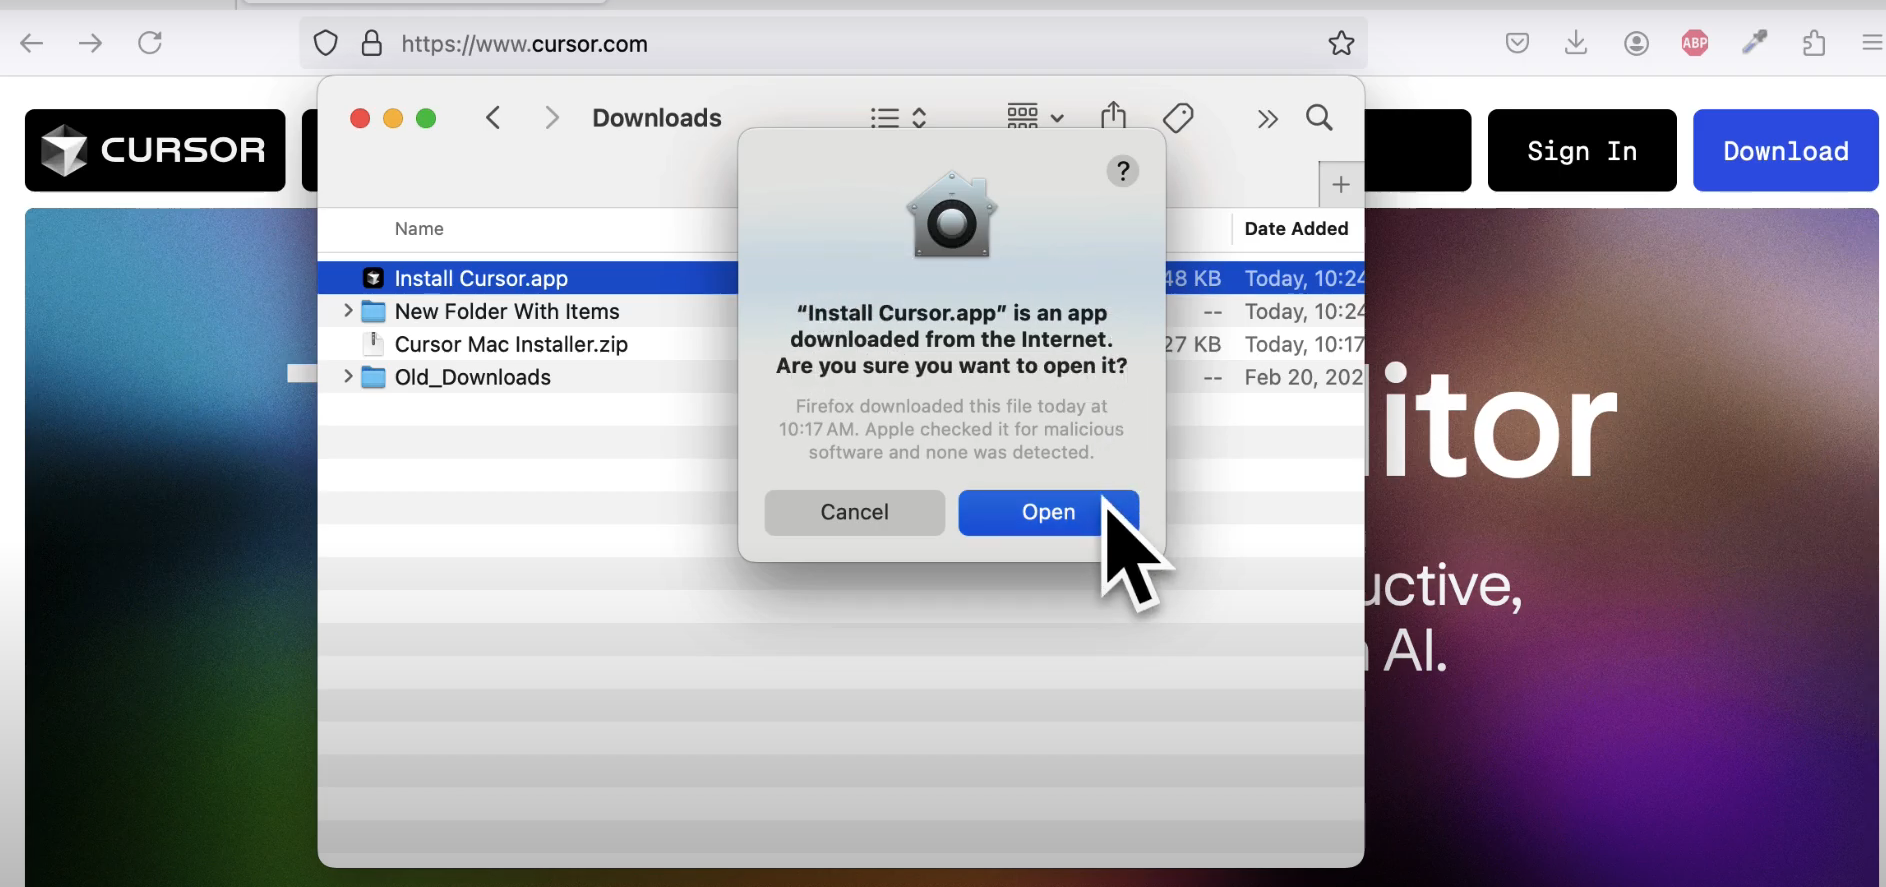
- Double-click the installer to unzip.
- Alternatively, right-click and select Open.
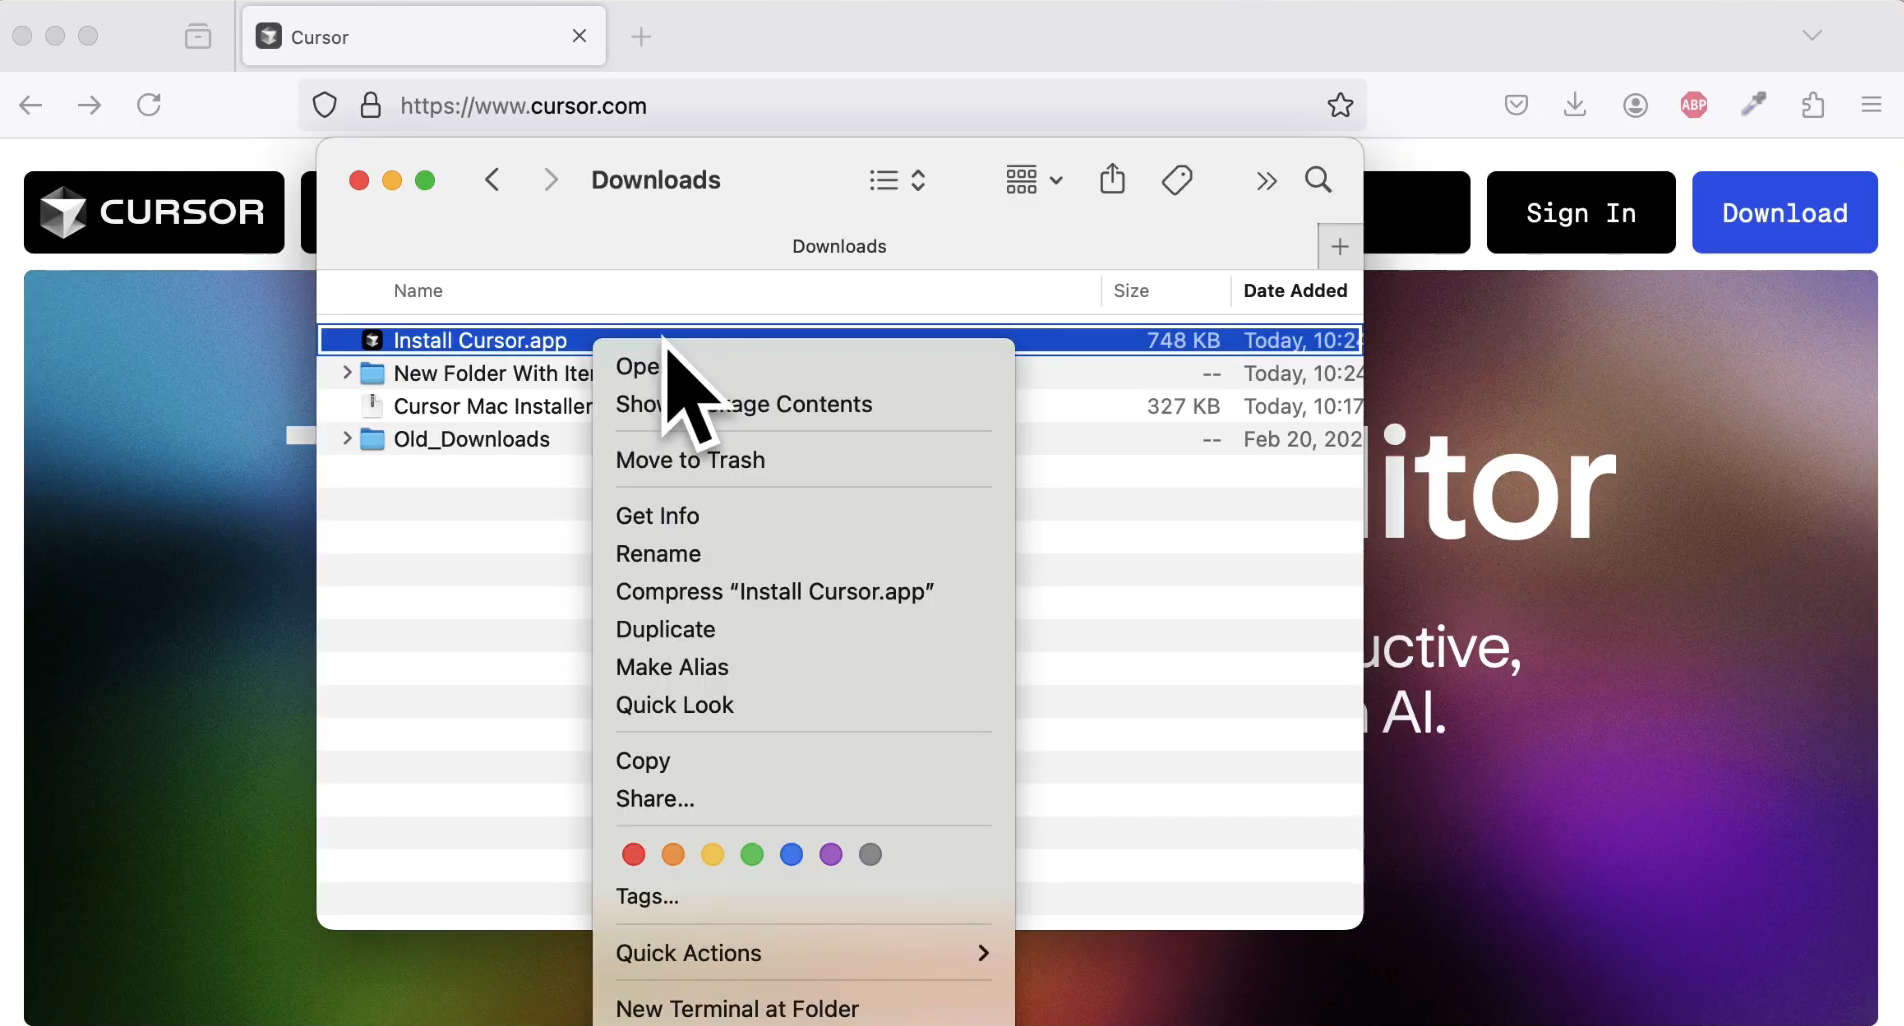
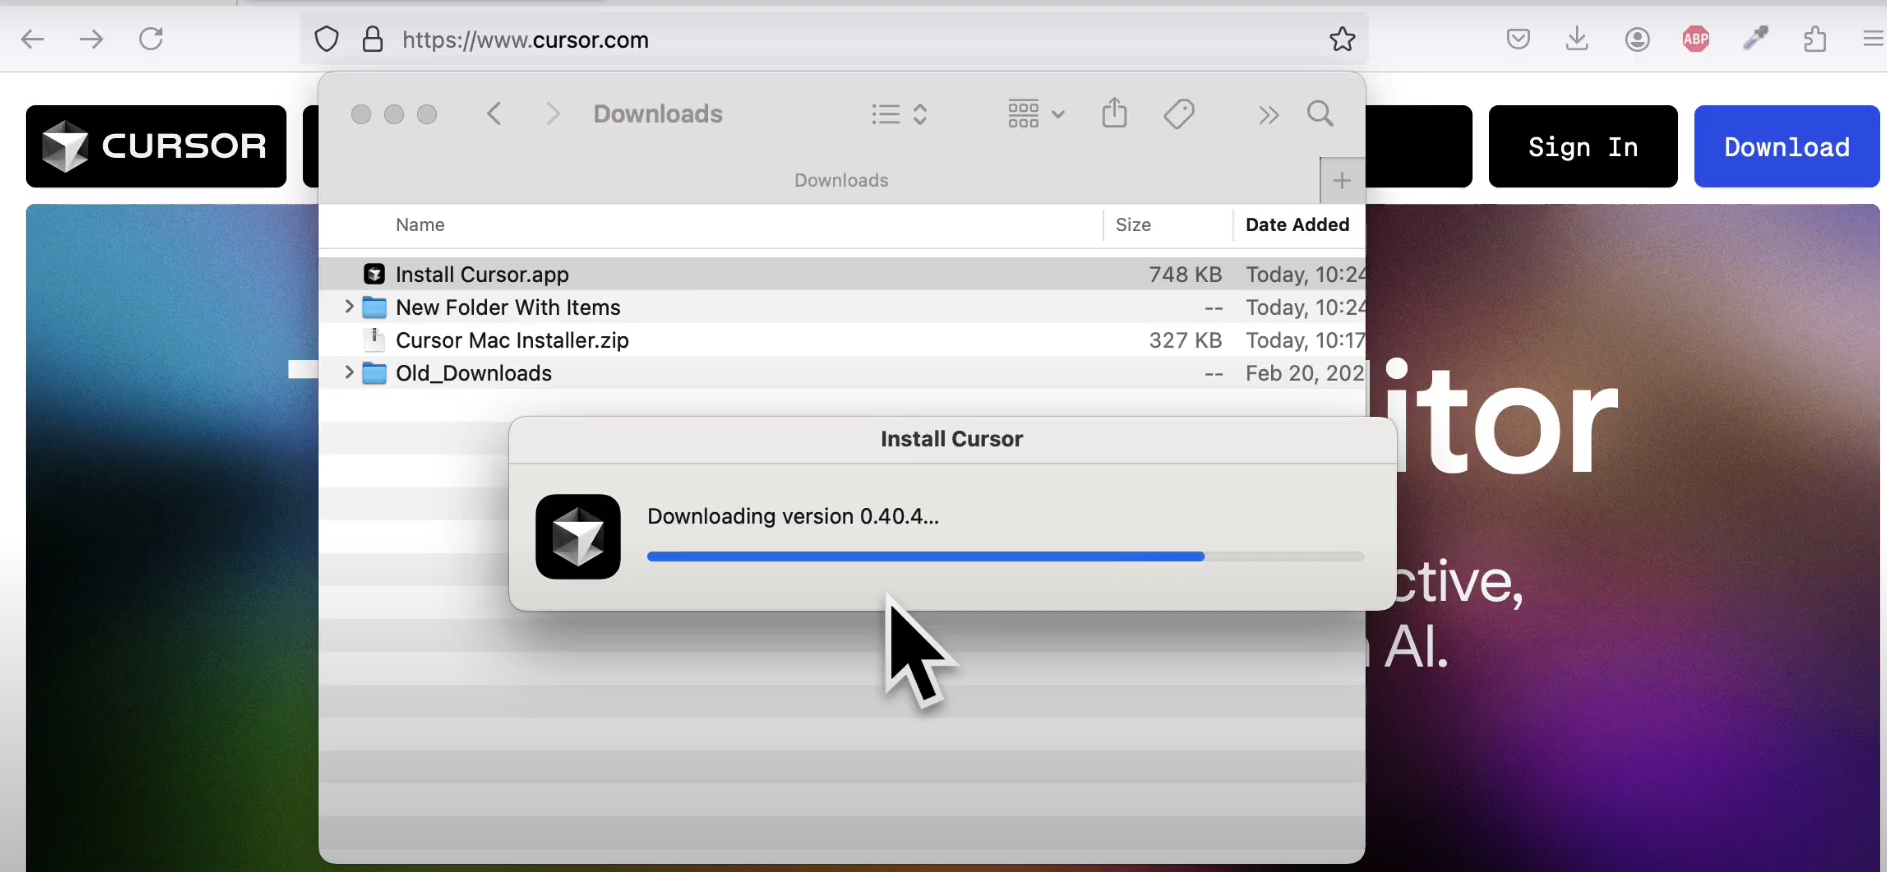
- After unzipping, double-click the Install Cursor app.
- If a security prompt appears, click Allow to proceed.
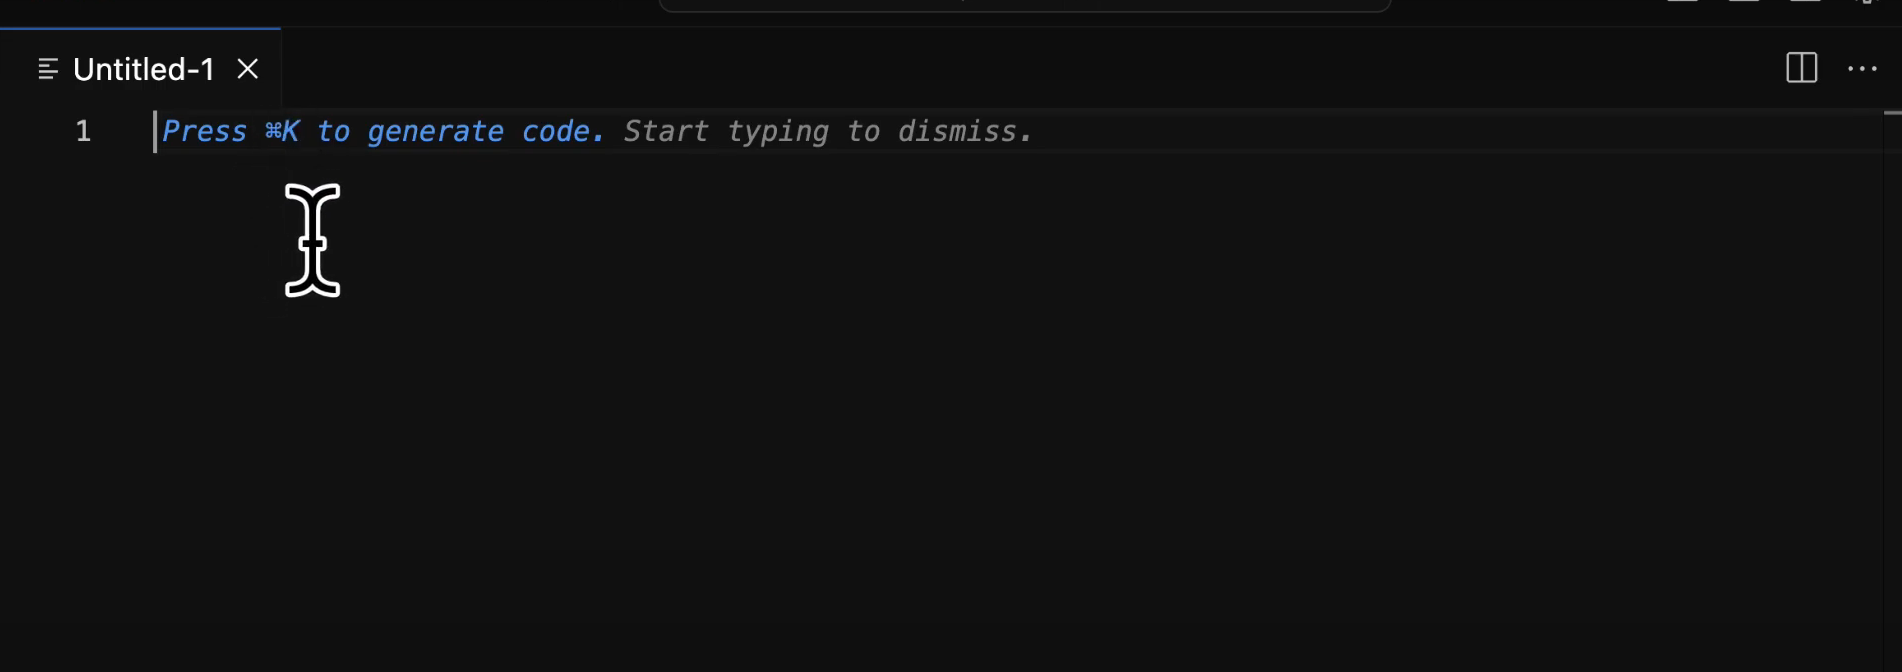
3. Launch Cursor AI & Create a New File
- Open Cursor from your Applications folder.
- Create a new file via File > New Text File or use Command + N.
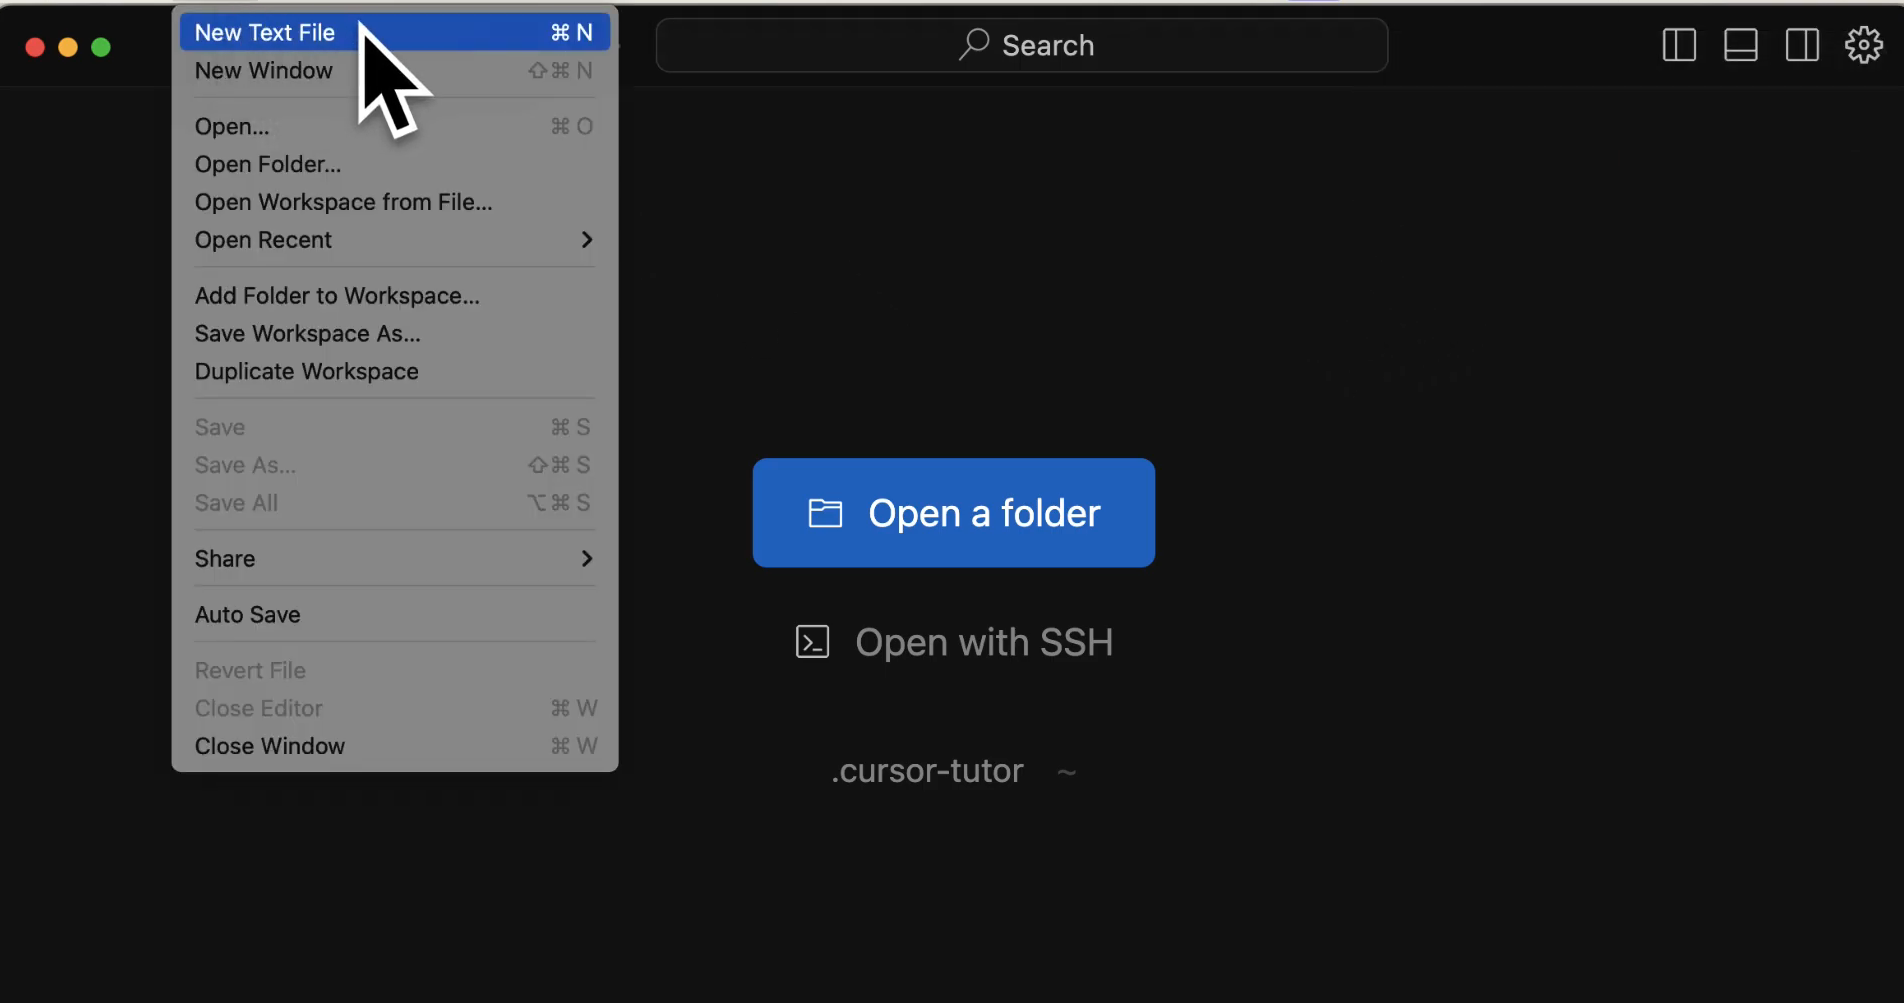
- Use Command + K (Mac) or Control + K (Windows/Linux) to generate code with AI assistance.

4. Write & Save Python Code
Example:
print("Hello, World!")
- Save the file: File > Save, name it with a
.pyextension.
5. Set Up Python Environment
- Open the extension panel: View > Extensions.
- Search for and install the Python (MS Python) extension.
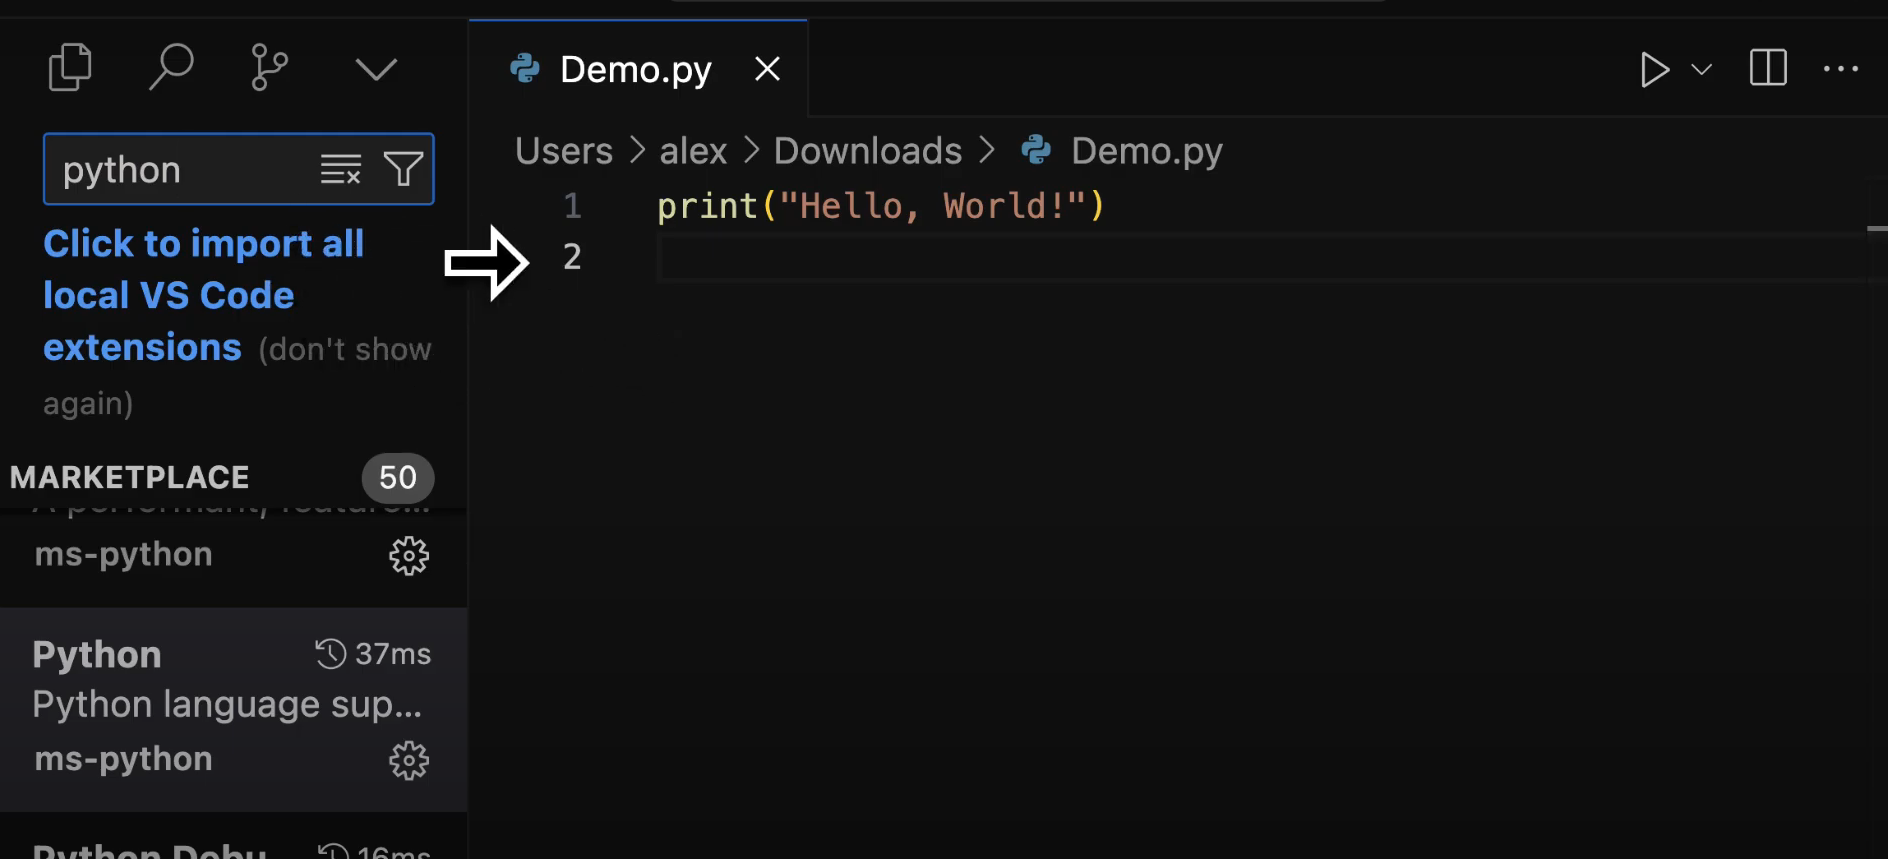
This enables syntax highlighting and enhanced Python features.
6. Run Python Code
- Ensure Python is installed (download here).
- Open the integrated terminal: View > Terminal.
- (Optional) Set up a virtual environment:
python3 -m venv my_env source my_env/bin/activate # For Mac/Linux - Find your script’s path (right-click > Copy File as Pathname).
- Run:
python3 /path/to/your/script.py
7. Use AI Features
- Generate code: Command + K and type instructions.
- Chat about code: Command + L.
- Modify code: Select code, then Command + K for edits.
Installing Cursor AI on Windows

1. Download and Install
- Download Cursor AI from cursor.com.
- Run the installer and follow the setup wizard.
 0
0
- Click Continue for default settings.
1
2. Import Extensions (Optional)
- Cursor AI supports VS Code extensions.
- You can import existing extensions or click Start from Scratch.
2
3. Set Privacy Preferences
- Choose your data and privacy settings.
- Click Continue.
3
4. Sign Up or Sign In
4
- Log in with your Google account or email.
5. Explore the Interface
- After login, you’ll see a familiar VS Code-like workspace.
6. Use AI Chat and Code Editing
- Open AI chat: Control + L.
- Ask for code, e.g., “Give me a single file with HTML and CSS code for a login screen.” Click Apply to insert.
- Edit code: Control + K, highlight code, request changes (e.g., “Add a gradient background”), and click Accept.
5
6
7. Save and Run Code
- Save files after editing.
- Open HTML files in Chrome or Edge to view results.
Key Shortcuts:
- Control + L: Open AI chat
- Control + K: Edit selected code with AI
Installing Cursor AI on Linux
7
1. Download the AppImage
- Go to cursor.com.
- Click Download for Free (gets an
.AppImagefile).
2. Make AppImage Executable
cd Downloads
chmod +x cursor-*.AppImage
8
3. (Optional) Organize Application
mkdir -p ~/Applications
mv cursor-*.AppImage ~/Applications/
9
4. Run Cursor AI
- Double-click the AppImage in your file manager, or:
~/Applications/cursor-*.AppImage
0
5. Edit Code Using AI
- Highlight code to modify.
- Press Ctrl + K for AI-powered editing and suggestions.
If you’re working on APIs, pairing Cursor AI with Apidog can help you automate API design, testing, and docs for a more robust development workflow.
1
Pro Tips & Common Commands
- Windows: Use Ctrl + L (AI chat), notepad
to create/edit files. - Mac: Use Command + L (AI chat), open
to access directories. - Linux: Launch Cursor AI from terminal; use Ctrl + K/Ctrl + L for AI features.
Combine Cursor AI with Apidog for advanced API workflows, automated testing, and collaborative documentation—streamlining every phase of your API lifecycle.
Conclusion
Cursor AI delivers a modern, AI-powered coding experience on any OS. With its intuitive interface and robust AI integration, developers can accelerate coding, debugging, and automation. When paired with platforms like Apidog, your API development becomes even more efficient—giving you more time to focus on building great products.


