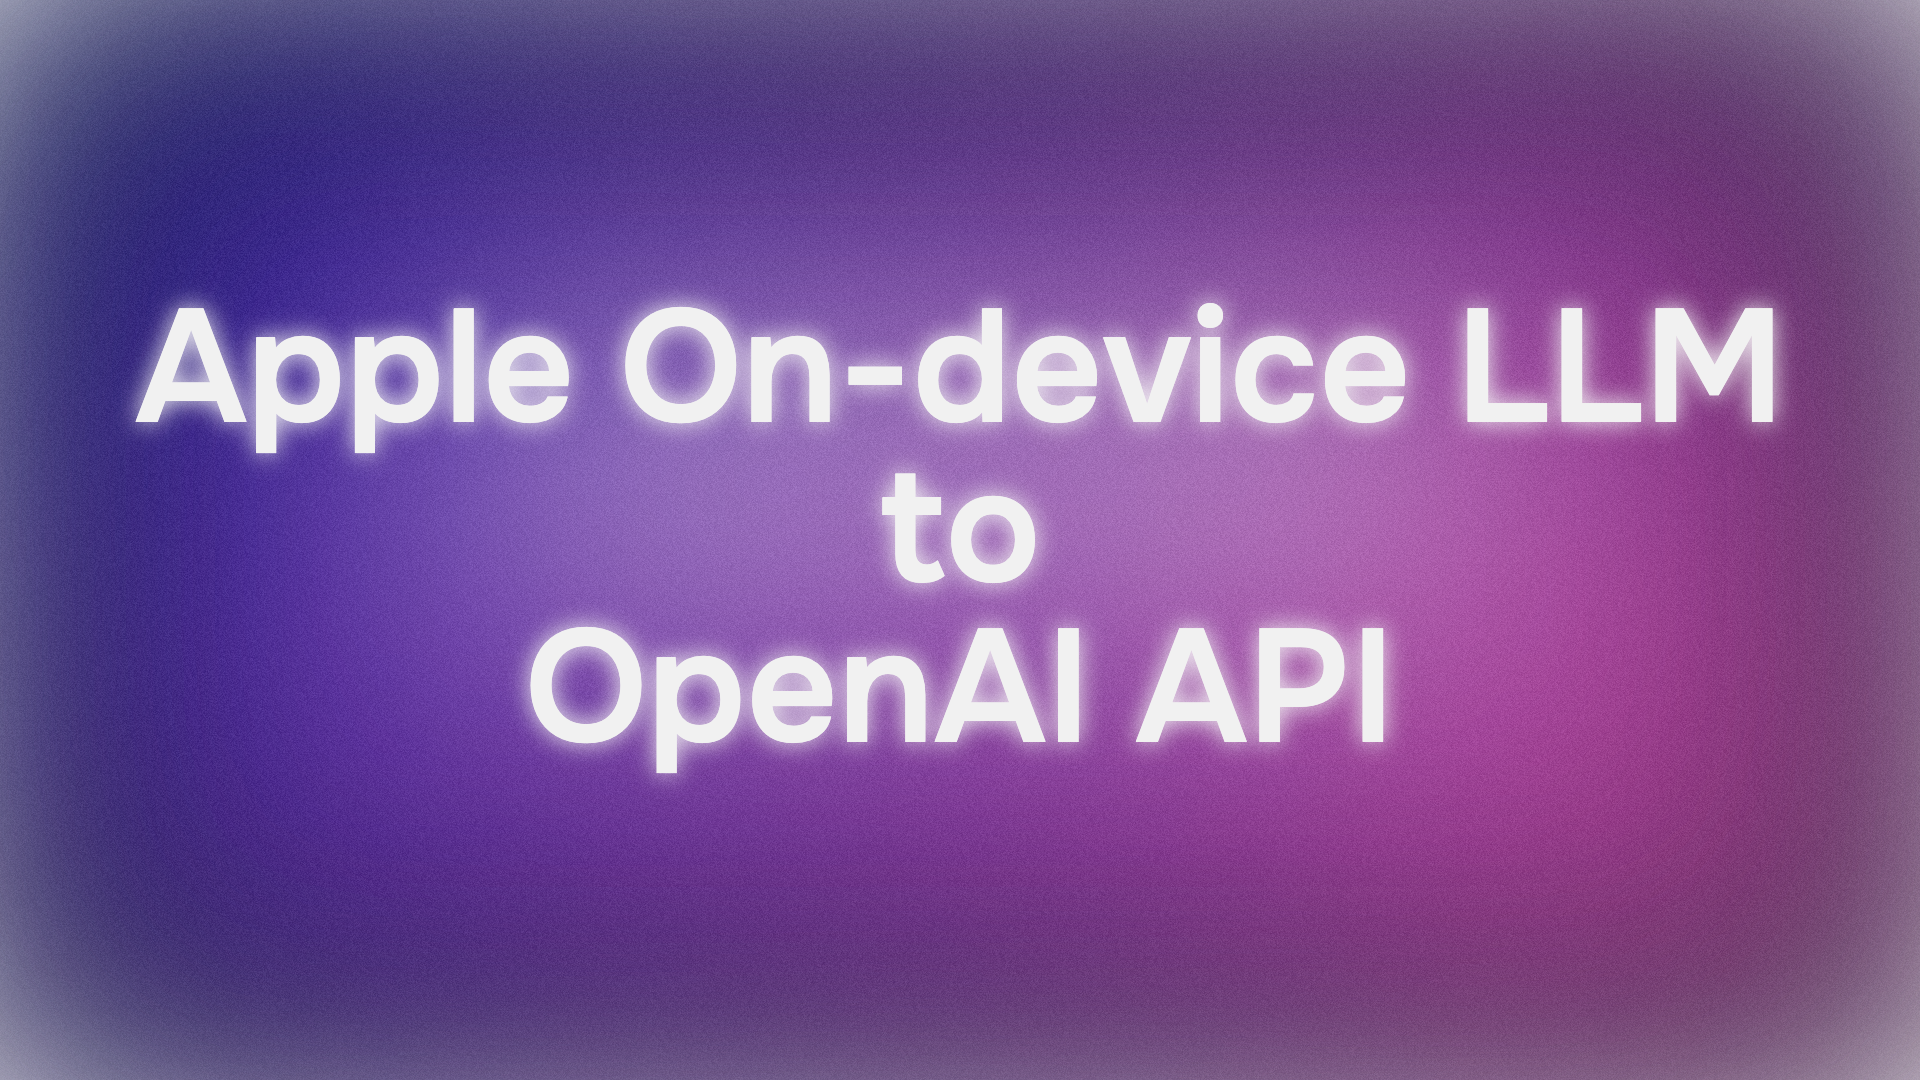
In an era where artificial intelligence is increasingly moving from the cloud to the edge, Apple has made a significant leap forward with the introduction of its on-device Foundation Models, a core component of the newly unveiled Apple Intelligence. These powerful, privacy-preserving models run directly on users' devices, offering unprecedented speed and data security. However, for the vast community of developers and the ecosystem of applications built around the industry-standard OpenAI API, a crucial question arises: How can we tap into this new, on-device power without completely re-engineering our existing tools?
The answer comes from the developer community in the form of an elegant and powerful solution: the "Apple On-Device OpenAI API" project. This open-source tool acts as a brilliant bridge between Apple's new AI capabilities and the familiar world of the OpenAI API. It creates a local, lightweight server on your Mac that exposes Apple's Foundation Models through OpenAI-compatible endpoints. In essence, it allows any application that knows how to talk to OpenAI to now, with minimal changes, talk directly to the AI running on your own Apple device.

This article serves as a comprehensive guide to understanding, installing, and utilizing this groundbreaking repository. We will delve into why such a tool is necessary, walk through the setup process step-by-step, explore practical usage with code examples, and look at what the future holds. By the end, you will be equipped to convert your Apple device into a local AI powerhouse, fully compatible with the tools and workflows you already know and love.
Want an integrated, All-in-One platform for your Developer Team to work together with maximum productivity?
Apidog delivers all your demands, and replaces Postman at a much more affordable price!
The "Why": On-Device Power Meets a Universal Standard
To fully appreciate the significance of the apple-on-device-openai project, one must understand the two powerful forces it unites: the benefits of on-device AI and the ubiquity of the OpenAI API.
The On-Device Revolution: For years, powerful AI has been synonymous with massive data centers and cloud-based processing. While effective, this model comes with inherent trade-offs in privacy, latency, and cost. By running models locally, Apple Intelligence offers a compelling alternative:
- Privacy: Your data, prompts, and conversations never leave your device. They are not sent to a remote server for processing, offering a level of confidentiality that is simply not possible with cloud-based services.
- Latency: Without the need for a network round-trip, responses are nearly instantaneous. This is crucial for creating seamless and responsive user experiences, from real-time text generation to quick summarizations.
- Cost-Effectiveness: Since the processing happens on hardware you already own, there are no API fees, token costs, or subscription charges associated with using the base models.
The Developer Dilemma: While Apple provides native APIs for developers to interact with these Foundation Models, the reality is that a massive portion of the AI development landscape has standardized around the OpenAI API. Countless applications, developer tools, libraries, and frameworks—from simple scripts to complex enterprise-level systems—are built to communicate using OpenAI's specific request and response structure. For a developer, adopting a new, platform-specific API would mean rewriting significant amounts of code, learning new paradigms, and fragmenting their work across different standards.
This is where the apple-on-device-openai repository provides its immense value. It acts as a compatibility layer, a translator that sits between the OpenAI-speaking world and the Apple-native AI. It allows developers to point their existing applications to a local server address instead of OpenAI's servers. The local server then receives the standard OpenAI request, translates it into a call that Apple's Foundation Models can understand, processes it on-device, and then formats the response back into the familiar OpenAI structure. It's a "drop-in replacement," a seamless solution that unlocks a world of possibilities without the friction of redevelopment.
Getting Started: Prerequisites and Installation
Before you can turn your Mac into a local AI server, you need to ensure your system is ready. The project relies on beta software from Apple, which is where these new on-device models were introduced.
Prerequisites:
- macOS 26 beta (or later): This is the operating system version that includes the necessary frameworks and access to Apple Intelligence.
- Apple Intelligence Enabled: You must have Apple Intelligence enabled in your system settings. This is typically found under
Settings > Apple Intelligence & Siri. - Xcode 26 beta (or later): Required if you plan to build the project from its source code.
Once the prerequisites are met, you have two paths for installation: the simple, recommended approach for most users, and the source-building approach for developers who wish to inspect or modify the code.
Option 1: Download the Pre-built App (Recommended)
This is the quickest and easiest way to get up and running.
- Navigate to the Releases Page: Find the project's official repository on GitHub. On the right-hand side of the page, click on the "Releases" section.
- Download the Latest Version: Find the latest release and download the
.zipfile asset. - Extract and Launch: Once downloaded, unzip the file and you will find the application. Move it to your Applications folder and launch it. It's that simple.
Option 2: Build from Source
If you're a developer who wants to see how the magic happens, or perhaps contribute to the project, you can build it yourself.
- Clone the Repository: Open your Terminal and run the following command to download the source code: Bash
git clone https://github.com/gety-ai/apple-on-device-openai.git
- Navigate into the Directory: Change into the newly created project folder: Bash
cd apple-on-device-openai
- Open in Xcode: Open the project file in Xcode with this command: Bash
open AppleOnDeviceOpenAI.xcodeproj
- Build and Run: Within Xcode, simply click the "Build and Run" button (the play icon) to compile and launch the application.
A Crucial Note: Why a GUI App?
You might wonder why this tool is a graphical user interface (GUI) application rather than a simple command-line tool. The project's author made a very clever design choice based on Apple's policies. According to an Apple DTS Engineer, foreground apps with a user interface do not have a rate limit when using the Foundation Models. Command-line tools, however, do. By packaging the server into a GUI app, the project ensures you can make as many requests as you need without being throttled, providing a smooth and unrestricted development experience. It's a perfect example of thoughtful engineering that works around platform constraints to deliver a better product.
Putting It to Use: Running the Server and Making API Calls
With the application installed, you are now ready to unleash the power of on-device AI.
1. Launching the Server:
- Open the
AppleOnDeviceOpenAIapplication. - You'll see a simple interface with server settings. The default address,
127.0.0.1:11535, is perfect for local testing. - Click the "Start Server" button.
That's it. A server is now running silently in the background on your machine, ready to accept OpenAI-compatible API requests. The app also provides a status check to confirm that Apple Intelligence models are available and ready on your system.
2. Understanding the Endpoints:
The server exposes several endpoints for management and interaction:
GET /health: A simple health check to see if the server is running.GET /status: Provides the availability and status of the on-device models.GET /v1/models: Lists the available models. In this case, it will return the primary model identifier,"apple-on-device".POST /v1/chat/completions: This is the main event. It's the endpoint that mirrors OpenAI's chat completion API for generating text.
3. Practical Examples:
Let's see how to interact with the server. The following examples assume your server is running at the default address.
Using curl (Command Line)
For a quick test from your terminal, you can use the curl command. This sends a direct HTTP request to the server.Bash
curl -X POST http://127.0.0.1:11535/v1/chat/completions \
  -H "Content-Type: application/json" \
  -d '{
    "model": "apple-on-device",
    "messages": [
      {"role": "user", "content": "Explain the importance of on-device AI in 3 points."}
    ],
    "temperature": 0.7,
    "stream": false
  }'
Let's break this down:
- The URL points to the local chat completion endpoint.
- The
-Hflag sets the header, telling the server we're sending JSON data. - The
-dflag contains the JSON payload with the request details: "model": "apple-on-device": This is crucial. You must use this model identifier."messages": The conversation history."temperature": Controls the creativity of the response."stream": false: Tells the server to send the full response back at once.
Using the OpenAI Python Client (For Developers)
This is where the true power of compatibility shines. If you have any Python code that uses the openai library, you can redirect it to your local server with just two lines of code.Python
from openai import OpenAI

# Point to your local server instead of the standard OpenAI API address
client = OpenAI(
    base_url="http://127.0.0.1:11535/v1",
    api_key="not-needed"  # API key is not required for the local server
)

print("Sending request to local Apple AI model...")

# Now, use the client exactly as you would with the OpenAI API
response = client.chat.completions.create(
    model="apple-on-device",
    messages=[
        {"role": "user", "content": "Write a short poem about a computer dreaming."}
    ],
    temperature=0.8,
    stream=True  # Enable streaming for real-time output
)

print("Response:")
# Iterate through the streaming response chunks
for chunk in response:
    if chunk.choices[0].delta.content:
        print(chunk.choices[0].delta.content, end="", flush=True)

print() # for a newline at the end
In this example, the key change is in the OpenAI() client instantiation. By setting the base_url to our local server and providing a dummy api_key, all subsequent calls to client.chat.completions.create are routed to the on-device model. The stream=True parameter demonstrates the server's ability to stream tokens back as they are generated, allowing for a real-time, typewriter-like effect in your applications.
Testing and API Compatibility
To ensure everything is working as expected, the repository includes a helpful test script. After starting the server, you can open your terminal, navigate to the project directory, and run:Bash
python3 test_server.py
This script will run a comprehensive suite of tests, verifying server health, model availability, multi-turn conversation logic, and both streaming and non-streaming responses. It's an excellent way to confirm your setup is correct and to see more example usage patterns.
The server supports the most critical parameters of the OpenAI Chat Completions API:
model: Must be"apple-on-device".messages: The array of conversation messages.temperature: Controls randomness (0.0 to 2.0).max_tokens: The maximum number of tokens to generate.stream: A boolean to enable or disable streaming.
Conclusion and Future Outlook
The apple-on-device-openai project is more than just a clever piece of code; it's a vital catalyst for innovation. It democratizes access to Apple's powerful, private, and fast on-device AI, making it available to a vast ecosystem of developers and applications without a steep learning curve or costly redevelopment. By embracing the de facto standard of the OpenAI API, it ensures that the tools, scripts, and services we use today can seamlessly benefit from the on-device AI of tomorrow.
The project is still evolving, with tantalizing hints of future capabilities. The README mentions "Tool Using (WIP)," which suggests that function calling—the ability for the AI model to call external tools and APIs—is on the horizon. This would exponentially increase the model's utility, allowing it to not just generate text but to take actions, fetch live data, and interact with other applications, all while maintaining its on-device privacy core.
In a world clamoring for more powerful, personal, and private AI, the ability to run sophisticated models locally is a game-changer. The apple-on-device-openai repository stands as a testament to the power of open-source development in bridging technological gaps, providing a simple yet profound solution that empowers developers to build the next generation of intelligent applications.
Want an integrated, All-in-One platform for your Developer Team to work together with maximum productivity?
Apidog delivers all your demands, and replaces Postman at a much more affordable price!