
Higgsfield API empowers developers to integrate advanced generative AI models into applications seamlessly. This platform unifies access to tools for creating images, videos, voices, and audio from simple inputs like text or static images. Developers often turn to it for building automation workflows in content creation, marketing, or entertainment.
What Is Higgsfield API and Why Should Developers Use It?
Higgsfield API serves as a centralized interface for generative media models. It connects users to a vast library that includes text-to-image generators like FLUX, image-to-video animators, and more. Developers access over 100 models through a single endpoint structure, which simplifies development compared to managing multiple provider integrations.

The system automatically scales to process requests, whether you handle one query or thousands concurrently. This feature proves essential for high-volume applications, such as social media content generators or e-commerce visual tools. Moreover, Higgsfield API receives regular updates, incorporating the latest advancements in AI without requiring code changes on your end.
Why choose it? First, it reduces complexity. Instead of juggling APIs from various providers, you rely on one unified system. Second, it supports diverse media types, enabling versatile applications. For example, a developer builds an app that turns product descriptions into promotional videos effortlessly. Third, its infrastructure ensures reliability during peak loads, preventing downtime in production environments.
However, success depends on proper setup. You must secure an account and API key before sending requests. This foundation allows you to explore its full potential.
How to Get Started with Higgsfield API: Account Setup and Prerequisites
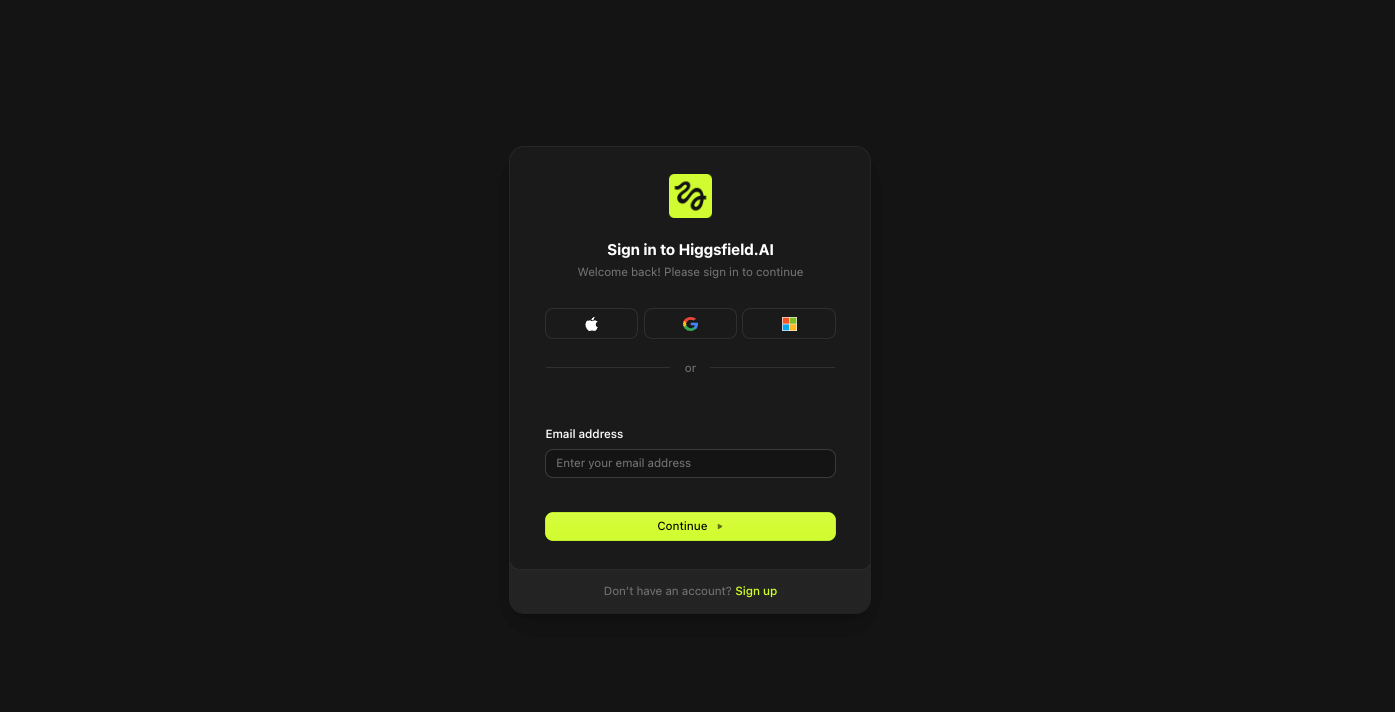
Developers begin by creating an account on the Higgsfield platform. Visit cloud.higgsfield.ai and sign in using email, Google, Apple, or Microsoft credentials.
Once registered, activate a subscription if required—options range from free tiers for testing to paid plans for production use.

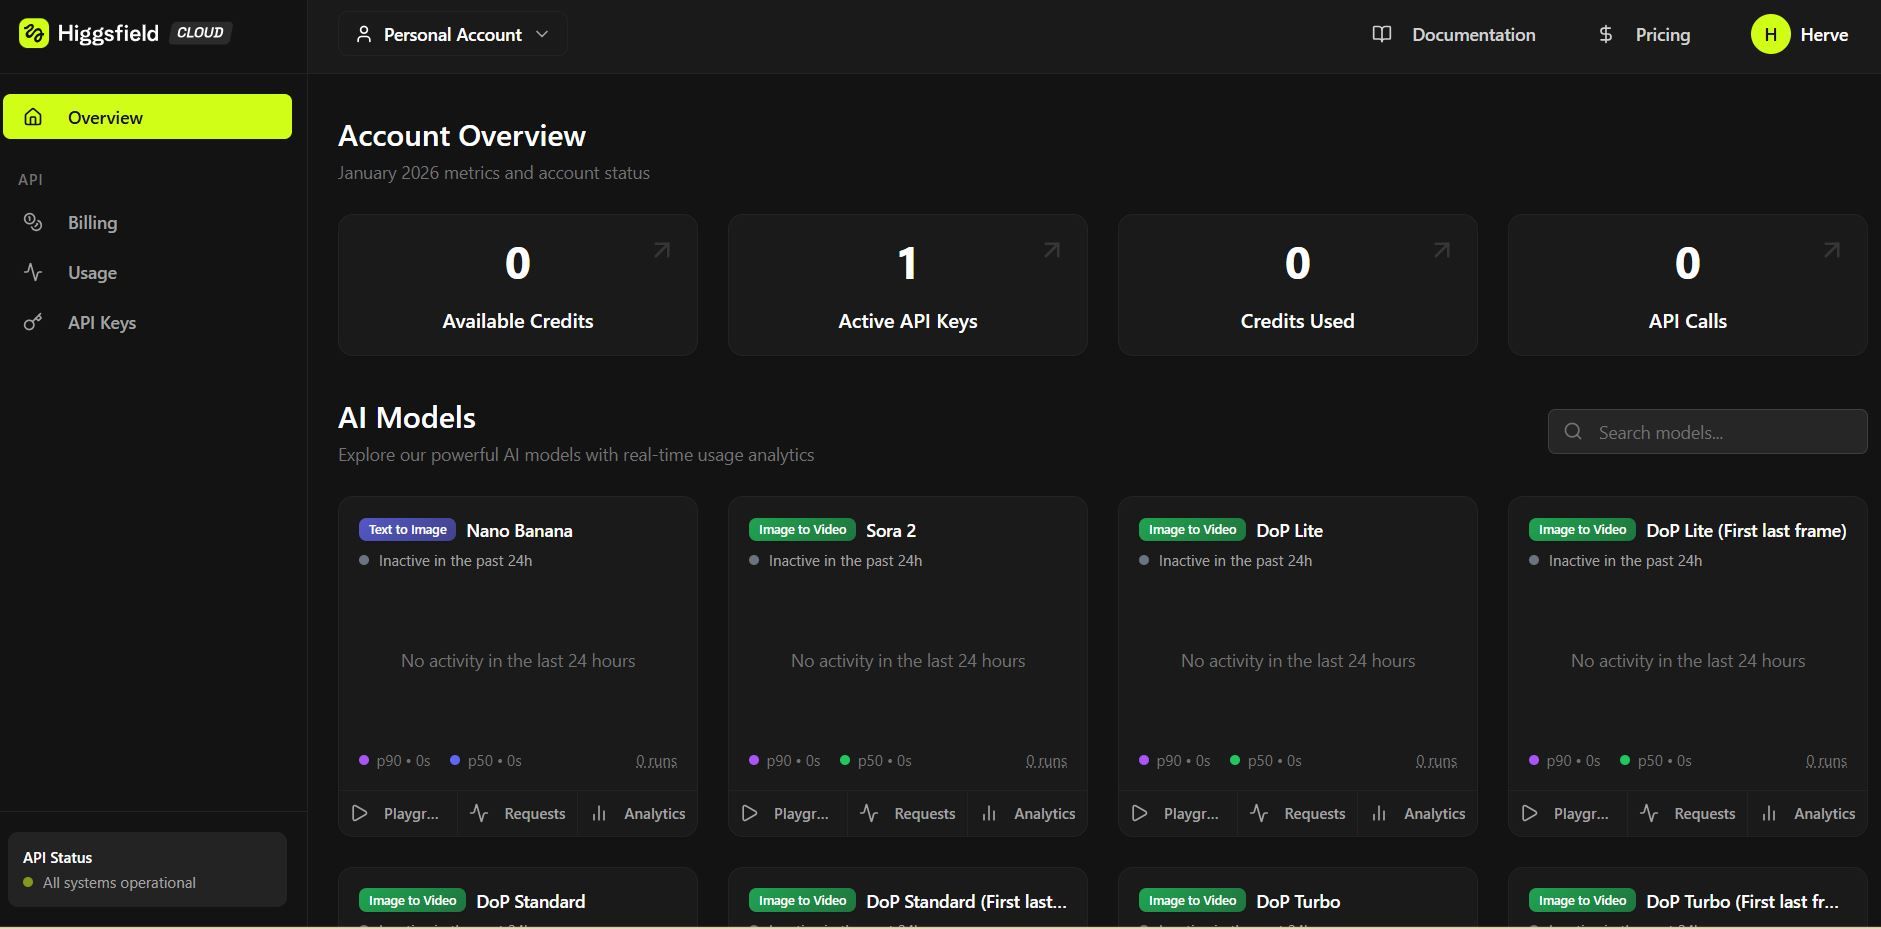
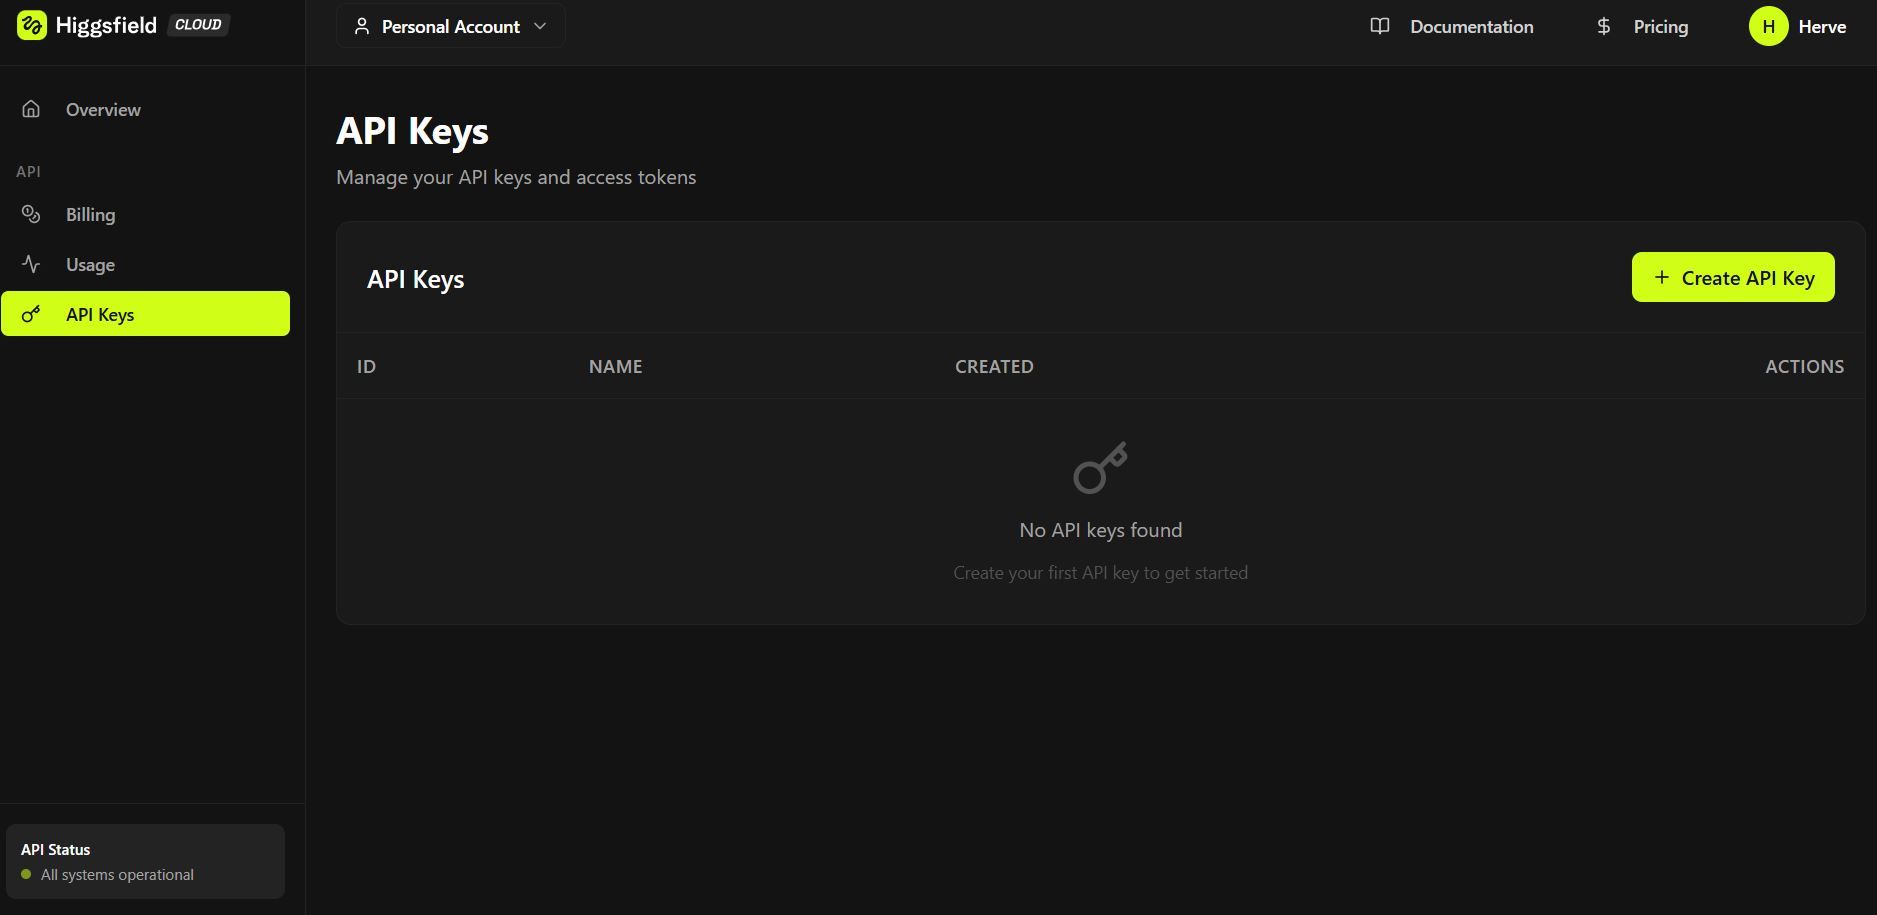
Next, generate your API key. Log into your dashboard and navigate to the API section.
Here, you create a new key, which acts as your authentication token. Copy it securely, as it grants access to all features. Avoid sharing it publicly to prevent unauthorized usage.
Prerequisites include basic programming knowledge in languages like Python, JavaScript, or cURL for command-line testing. You also need an HTTP client library, such as requests in Python or fetch in Node.js. For advanced setups, ensure your environment supports JSON handling and asynchronous operations, given the API's queue-based processing.
Additionally, familiarize yourself with RESTful principles. Higgsfield API uses standard HTTP methods: POST for generation requests, GET for status checks. This setup mirrors common API designs, making adoption straightforward for experienced developers.
With these elements in place, you proceed to authentication, ensuring secure communication.
Authenticating Requests in Higgsfield API: Secure Your Integrations
Higgsfield API requires API key authentication for all endpoints. You include the key in the Authorization header as a Bearer token. For example, in a cURL request, you add: -H "Authorization: Bearer YOUR_API_KEY".
This method verifies your identity and tracks usage against your account limits. Without it, servers reject requests with a 401 Unauthorized error. Always regenerate keys if compromised, and use environment variables in code to store them safely.
Furthermore, some endpoints might demand additional headers, like Content-Type set to application/json for payload submissions. Test authentication first with a simple status endpoint if available, confirming connectivity before complex operations.
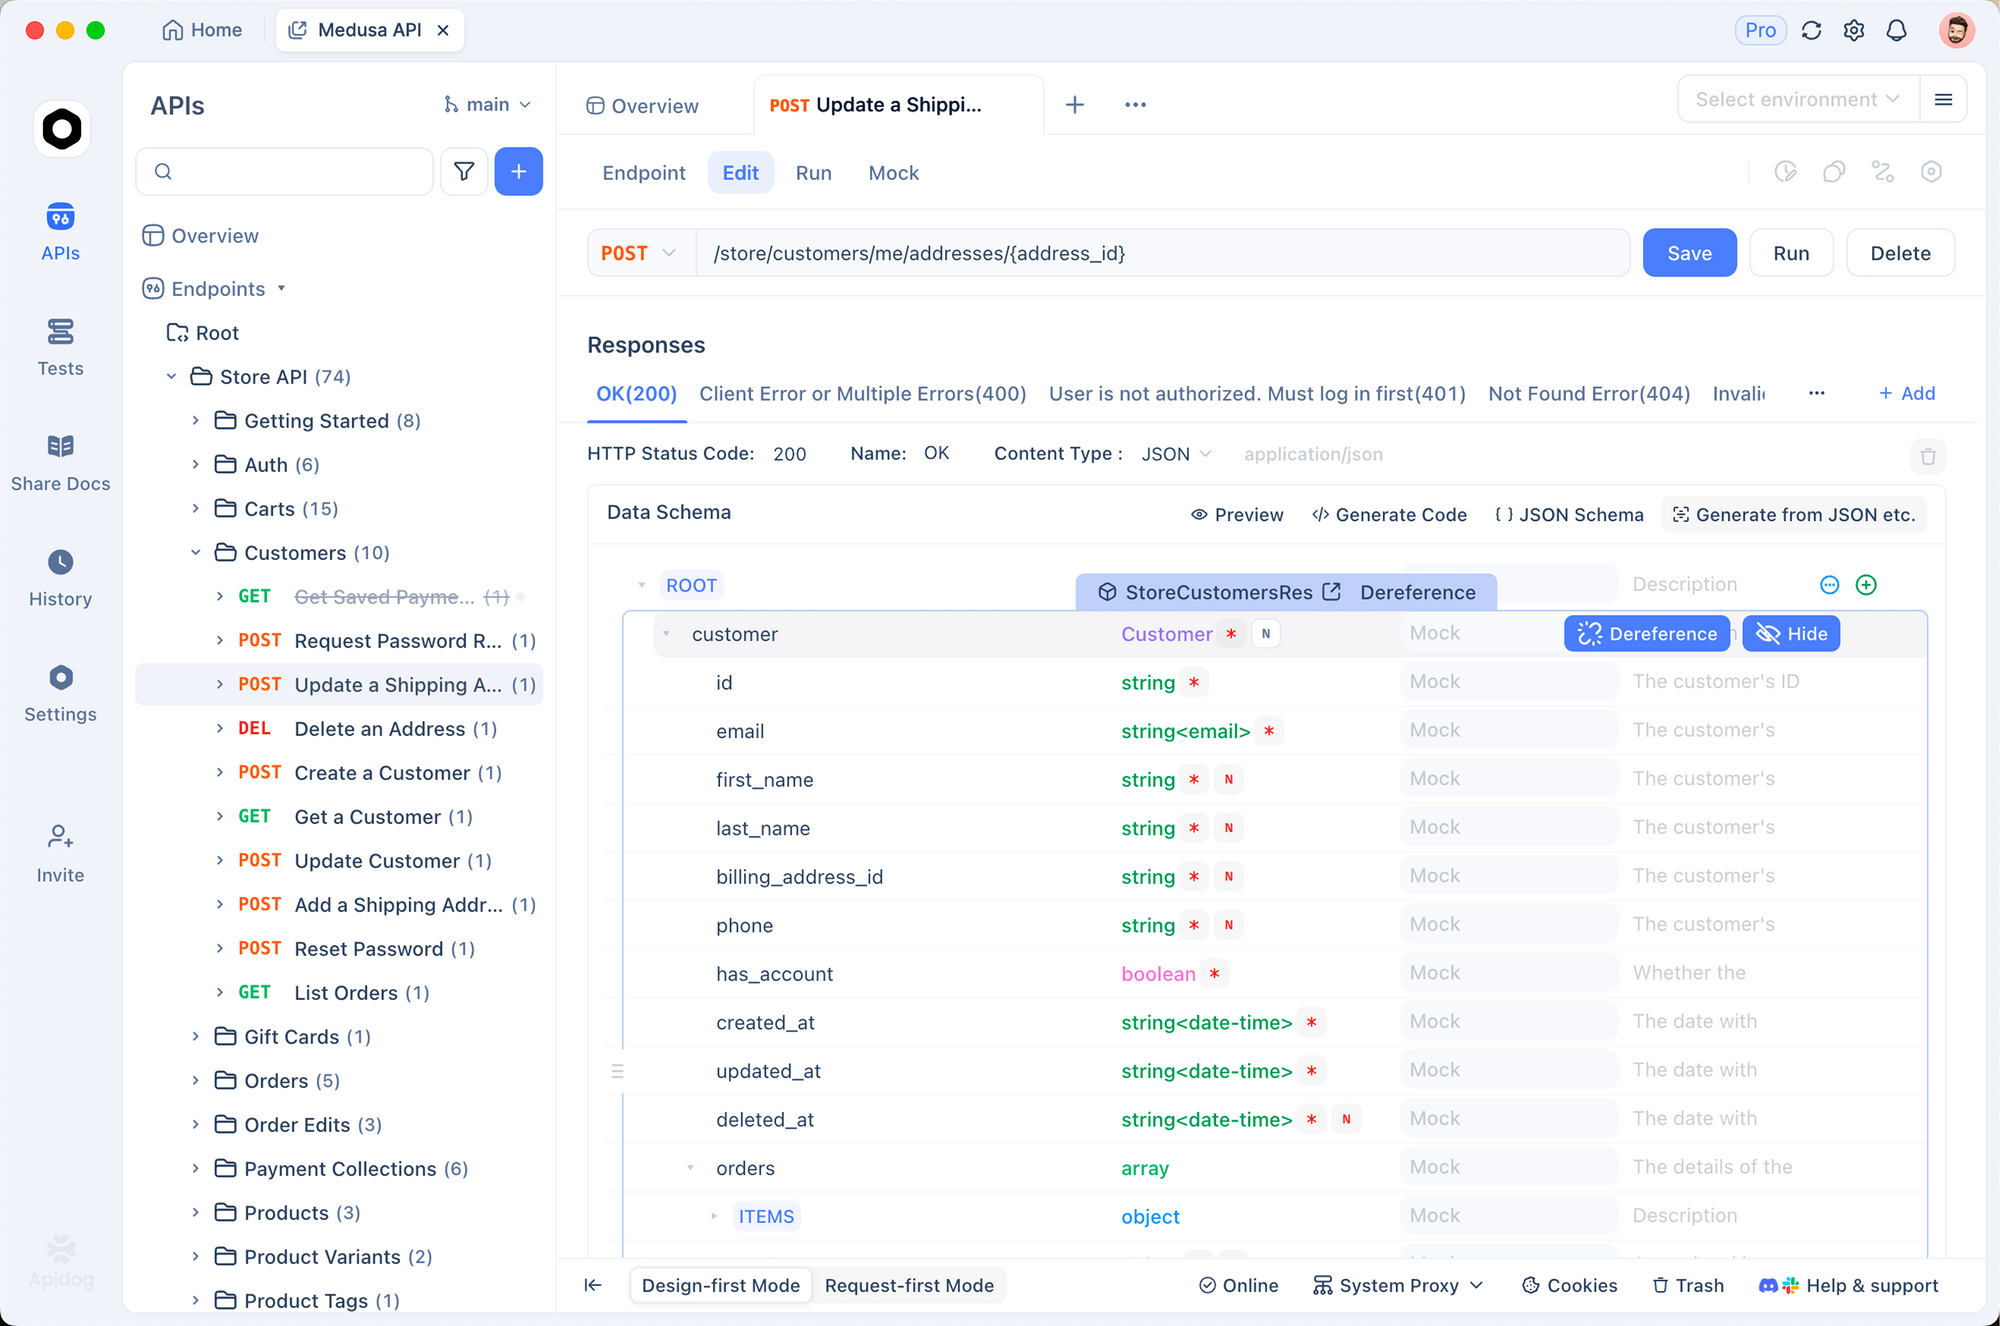
Tools like Apidog enhance this process. You set up authentication once in a project, and it applies to all requests automatically. This saves time during iterative development.
Once authenticated, you send generation requests, starting with basic image creation.
Key Endpoints in Higgsfield API: Overview of Core Functionalities
Higgsfield API organizes endpoints around media generation tasks. The primary one handles submissions: POST /v1/generations. You send parameters like model type, prompt, and input data here.
- For image generation, specify "text-to-image" as the task. Include a text prompt describing the desired output. Optional parameters control aspects like resolution, style, or aspect ratio.
- Video generation uses a similar structure but requires an image URL or base64 data as input. Set the task to "image-to-video" and define motion parameters, duration, or effects.
- Status checks occur via GET /v1/generations/{id}, where {id} is the request identifier returned upon submission. This endpoint provides progress updates, as generations queue asynchronously.
- Cancellation employs DELETE /v1/generations/{id} for aborting pending tasks, useful in managing resources.
These endpoints form the backbone. You chain them in workflows: submit, monitor, retrieve results. Understanding their interactions optimizes performance.
How to Generate Images from Text Using Higgsfield API
Developers generate images by crafting a JSON payload for the /v1/generations endpoint. Start with the model: "flux" for high-quality outputs. Then, add the prompt: "A futuristic cityscape at dusk."
In Python, use the requests library:
import requests

url = "https://api.higgsfield.ai/v1/generations"
headers = {
    "Authorization": "Bearer YOUR_API_KEY",
    "Content-Type": "application/json"
}
data = {
    "task": "text-to-image",
    "model": "flux",
    "prompt": "A futuristic cityscape at dusk",
    "width": 1024,
    "height": 768,
    "steps": 50
}

response = requests.post(url, headers=headers, json=data)
if response.status_code == 202:
    generation_id = response.json()["id"]
    print(f"Generation started: {generation_id}")
This code initiates the process. The server responds with an ID for tracking.
Next, poll the status:
status_url = f"https://api.higgsfield.ai/v1/generations/{generation_id}"
status_response = requests.get(status_url, headers=headers)
status = status_response.json()["status"]
Repeat until "completed," then access the output URL in the response.
Parameters influence quality. Increase "steps" for finer details, but note longer processing times. Experiment with negative prompts to exclude elements, like "no people."
Integration with Apidog allows visual payload editing. You import the endpoint, set variables for keys, and run tests without coding initially. This accelerates prototyping.
As you master image generation, transition to video tasks, building on similar principles.
Generating Videos from Images with Higgsfield API: Step-by-Step Implementation
Higgsfield API excels in animating static images into videos. Prepare an input image, either uploading it or providing a URL.
Construct the payload:
data = {
    "task": "image-to-video",
    "model": "default-video-model",
    "input_image": "https://example.com/image.jpg",
    "duration": 10,  # seconds
    "fps": 30,
    "motion_intensity": "medium",
    "prompt": "Animate the scene with flowing water and moving clouds"
}
Post to the same /v1/generations endpoint. The API processes the image, applying AI-driven motion based on the prompt.
- Monitor progress similarly. Upon completion, retrieve the video URL for download or embedding.
- Advanced options include style transfers or multi-frame interpolations. For instance, set "style" to "cartoon" for artistic effects.
- Challenges arise with complex scenes; optimize inputs for clarity. Use high-resolution images to avoid artifacts.
Apidog supports this by allowing file uploads in requests, simulating real scenarios. Download Apidog for free to handle multipart forms if your implementation requires direct image uploads.
This capability opens doors to dynamic content creation, such as automated ads or educational visuals.
Advanced Features in Higgsfield API: Scaling and Customization
Beyond basics, Higgsfield API offers webhook support for notifications. Configure a webhook_url in your payload, and the system posts updates to your server upon completion.
For scaling, batch requests by submitting multiple in parallel, respecting rate limits. Check your dashboard for quotas—typically, free tiers cap at 10 concurrent generations.
Customization extends to model fine-tuning, though limited in standard plans. You select variants like "flux-pro" for professional outputs.
Integration with other services amplifies value. For example, combine with cloud storage for automatic asset saving.
Error handling requires robust code. Catch 429 Too Many Requests by implementing exponential backoff.
These features ensure Higgsfield API adapts to enterprise needs, providing flexibility.
Error Handling and Best Practices for Higgsfield API
Developers encounter errors like invalid parameters (400 Bad Request). Validate payloads client-side to minimize them.
For timeouts, use asynchronous polling with retries. Libraries like aiohttp in Python facilitate this.
Best practices include logging requests for debugging. Monitor usage metrics via the dashboard to avoid overages.
Secure your API key with vaults like AWS Secrets Manager. Rotate keys periodically.
Optimize prompts: concise descriptions yield better results. Test variations to refine outputs.
Incorporate user feedback loops in apps, allowing regenerations.
Using Apidog, simulate errors by modifying headers or data, preparing your code for edge cases.
Following these, you maintain reliable integrations.
Integrating Apidog with Higgsfield API: Enhance Your Development Workflow
Apidog acts as a comprehensive API client, ideal for Higgsfield API. Install it and create a new project.
- Import endpoints by entering the base URL. Set global variables for your API key, applying authentication universally.
- Build requests visually: select POST, add JSON body for generations. Run and inspect responses in real-time.
- Group image and video endpoints in modules. Mock servers simulate responses for offline work.
- Share projects with teams, accelerating development.
Since Apidog handles cURL exports, the transition to code is seamless.
Download Apidog for free to experience these benefits with Higgsfield API.
Troubleshooting Common Issues in Higgsfield API Usage
- Queue delays occur during high traffic. Check status frequently, or use webhooks.
- Invalid inputs cause 422 errors; ensure image formats are JPEG or PNG.
- Subscription issues block access verify your plan.
- If models underperform, update to latest versions via API parameters.
- Community forums, like n8n or Reddit, offer insights from other users.
- Persistent problems? Contact support through your dashboard.
Conclusion: Master Higgsfield API for Innovative Projects
You now possess the tools to use Higgsfield API effectively. From setup to advanced integrations, this guide covers essential aspects. Implement these steps, and leverage Apidog for streamlined testing. As AI evolves, Higgsfield API positions you at the forefront.


