Developers constantly seek powerful tools to build innovative applications. One such tool is the Grok-3 API, developed by xAI, which offers advanced capabilities for natural language processing and more. To maximize its potential, integrating it with a robust API client like Apidog simplifies the process significantly. This technical blog post explores how to use the Grok-3 API effectively with Apidog, providing a step-by-step guide for developers. Whether you’re generating text or exploring advanced features, this article equips you with the knowledge to get started.
What Is the Grok-3 API?
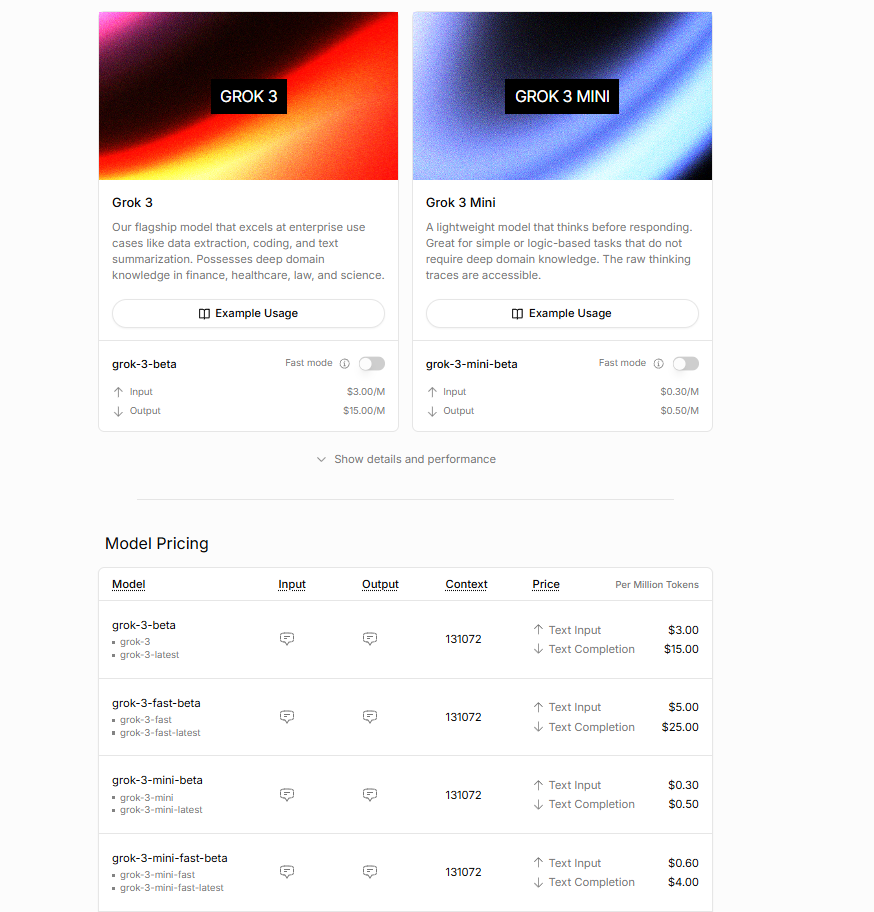
Developed by xAI, Grok-3 is a cutting-edge AI model designed to handle tasks like text generation, comprehension, and potentially other multimodal capabilities. The Grok-3 API provides programmatic access to this model, allowing developers to integrate its features into their applications. Notably, the API aligns with standards used by OpenAI and Anthropic’s SDKs, ensuring compatibility and ease of use for those familiar with these ecosystems.
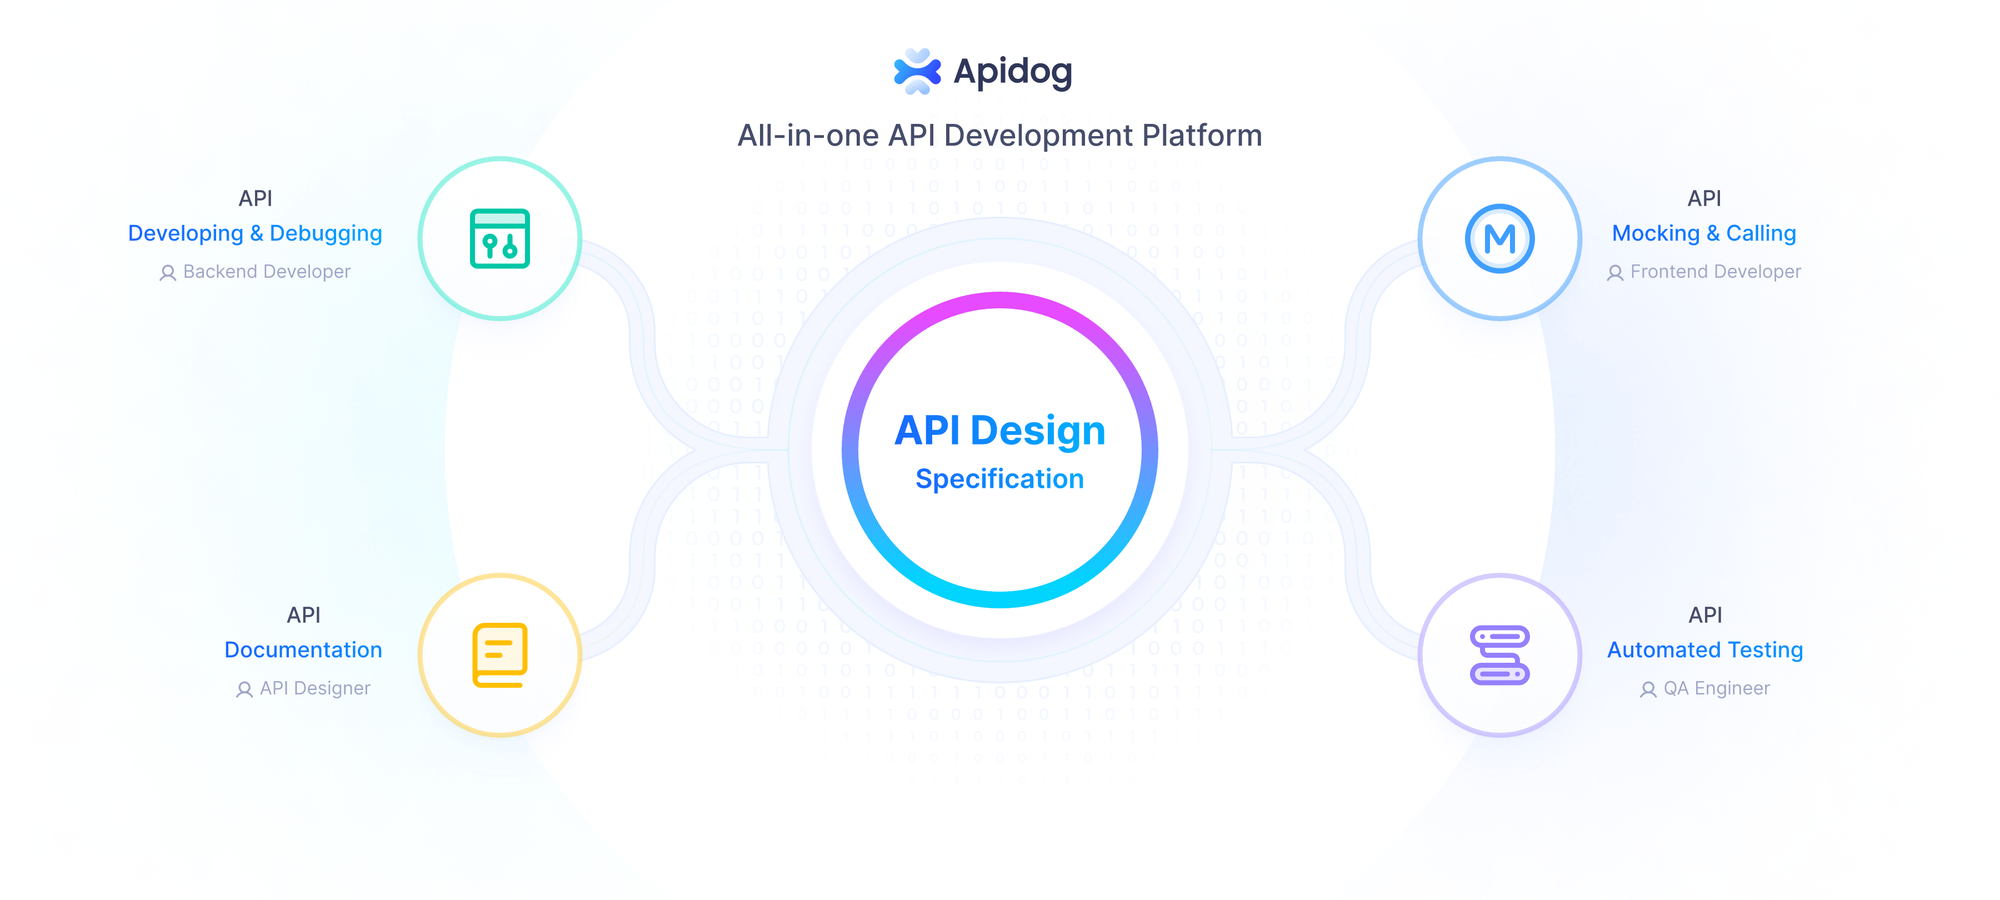
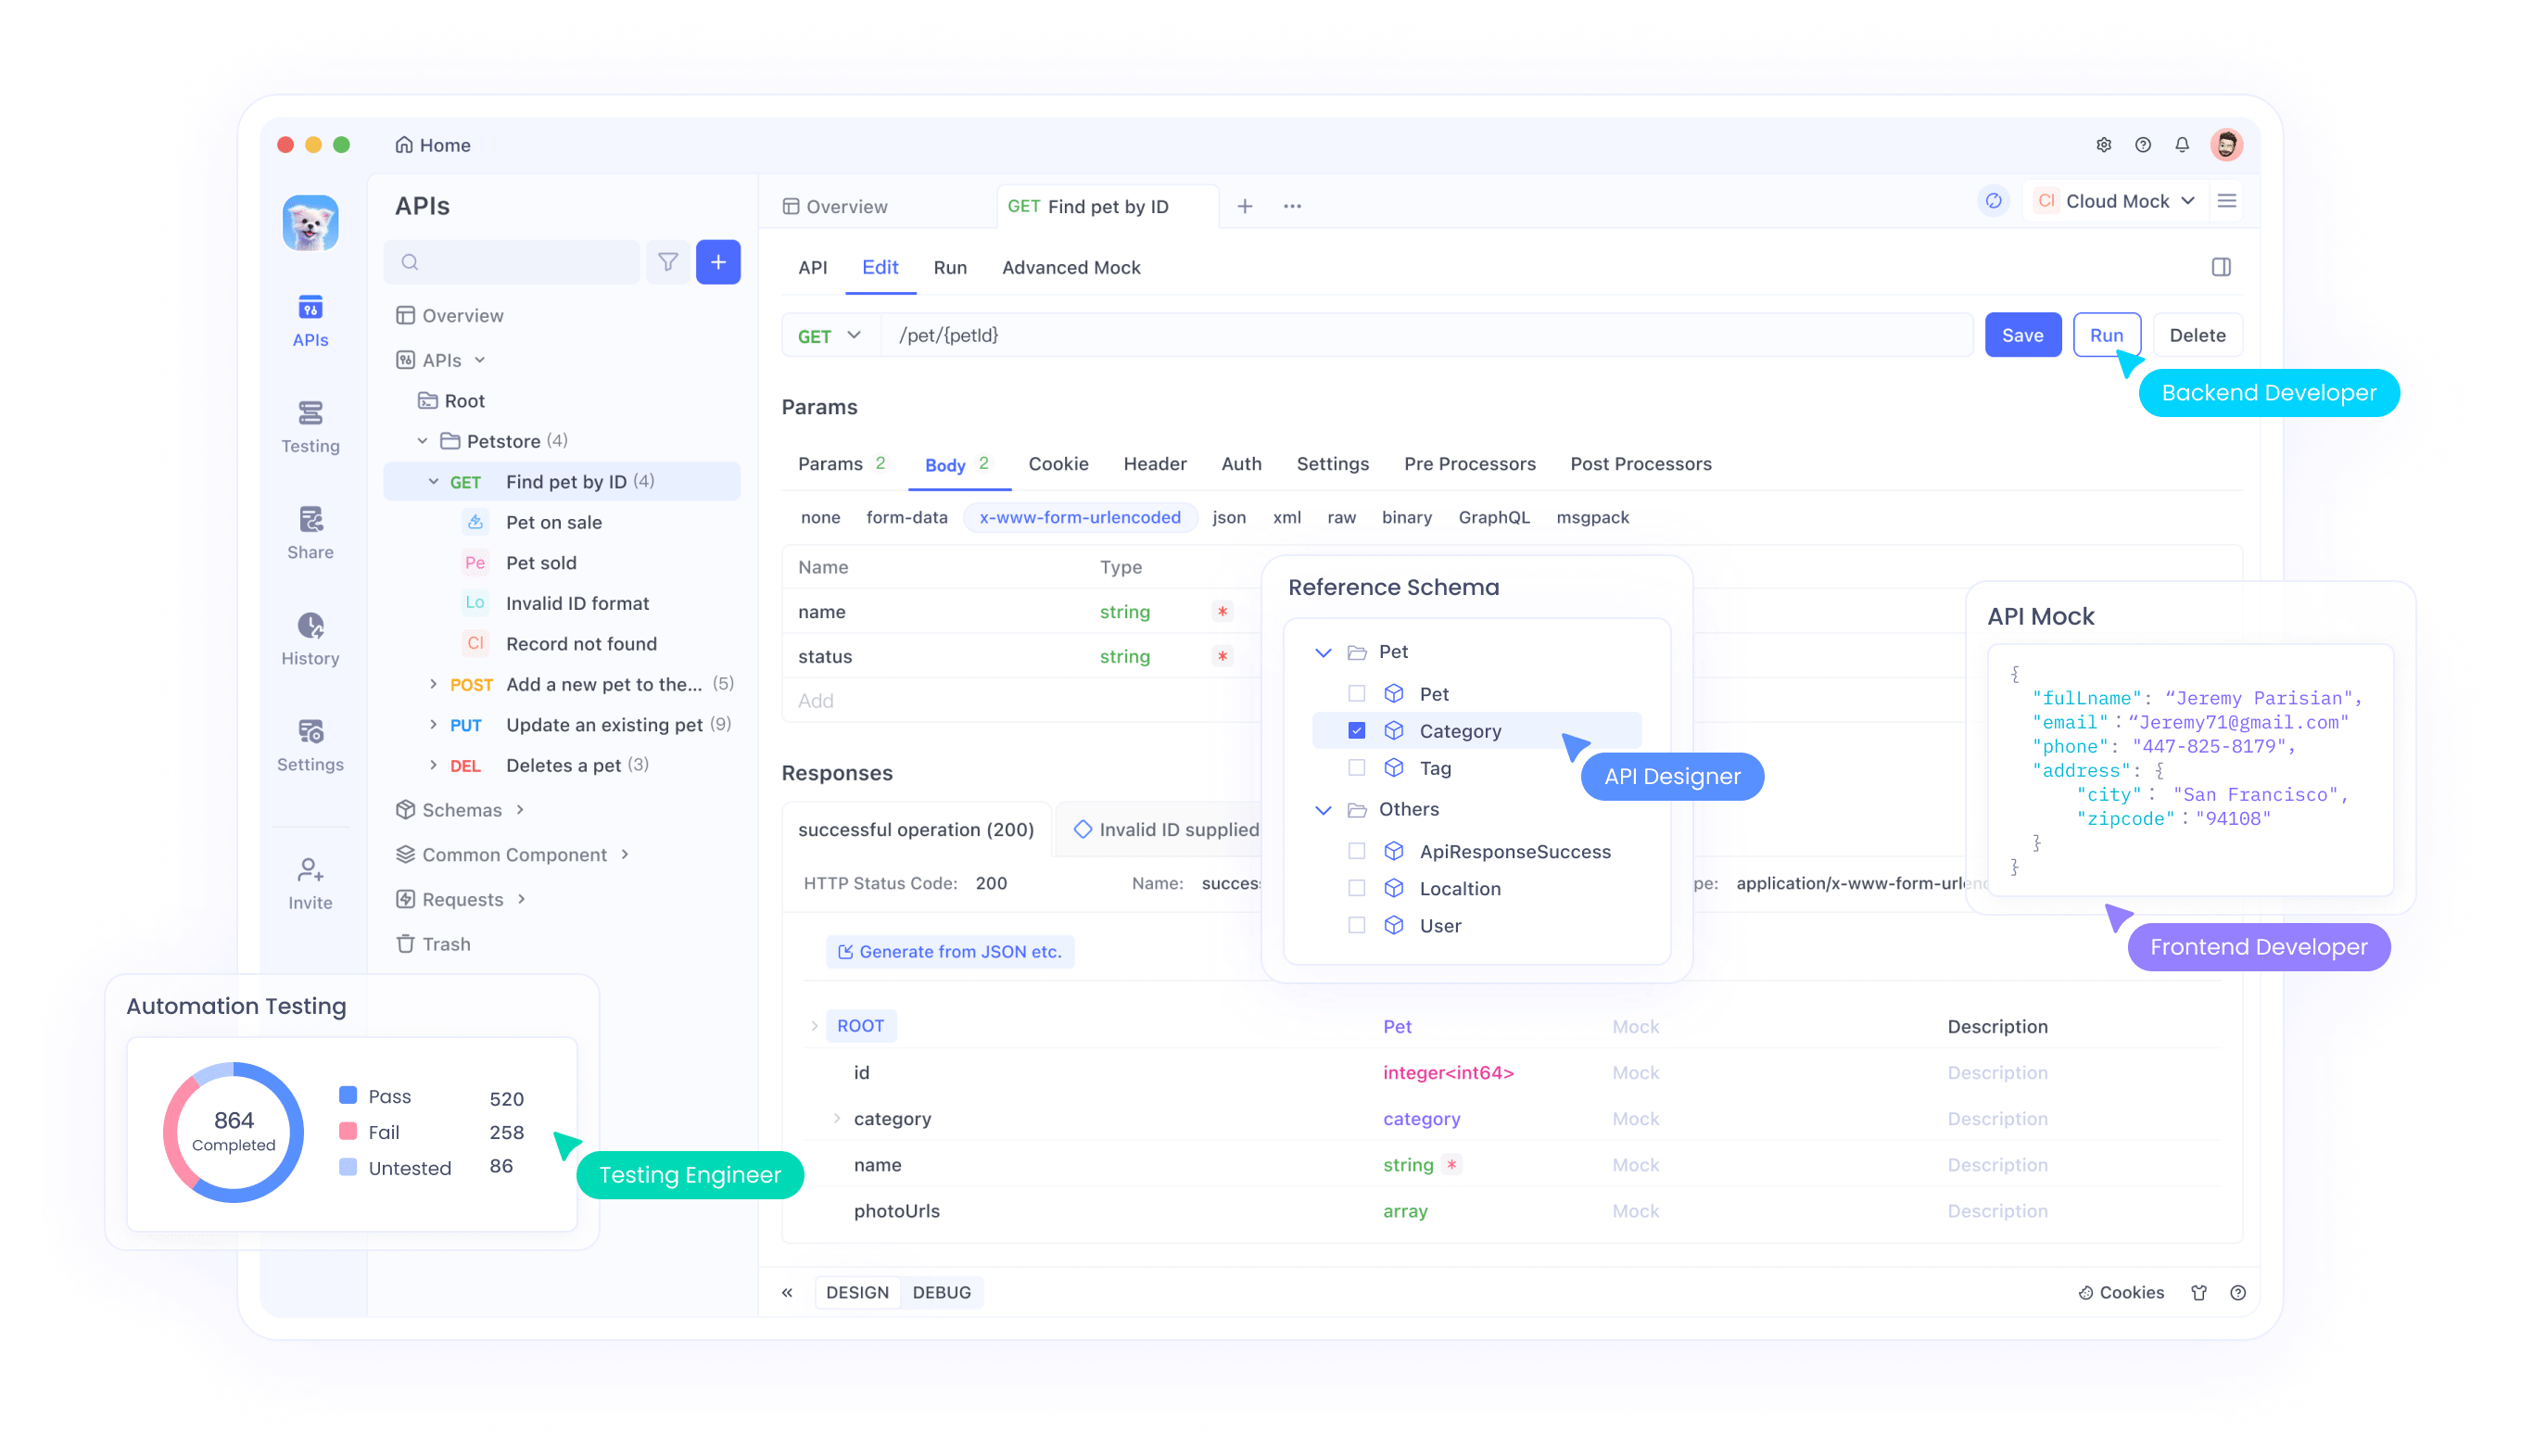
Meanwhile, Apidog enters the picture as a versatile API development and testing platform. It empowers developers to manage, test, and document APIs efficiently. By combining the Grok-3 API with Apidog, you gain a streamlined workflow that enhances productivity and reduces complexity. Now, let’s set up the environment to start using this powerful combination.
Setting Up the Grok-3 API with Apidog
To begin, you must prepare your development environment. This section walks you through installing Apidog, obtaining your Grok-3 API credentials, and configuring everything for seamless integration.
Step 1: Install Apidog
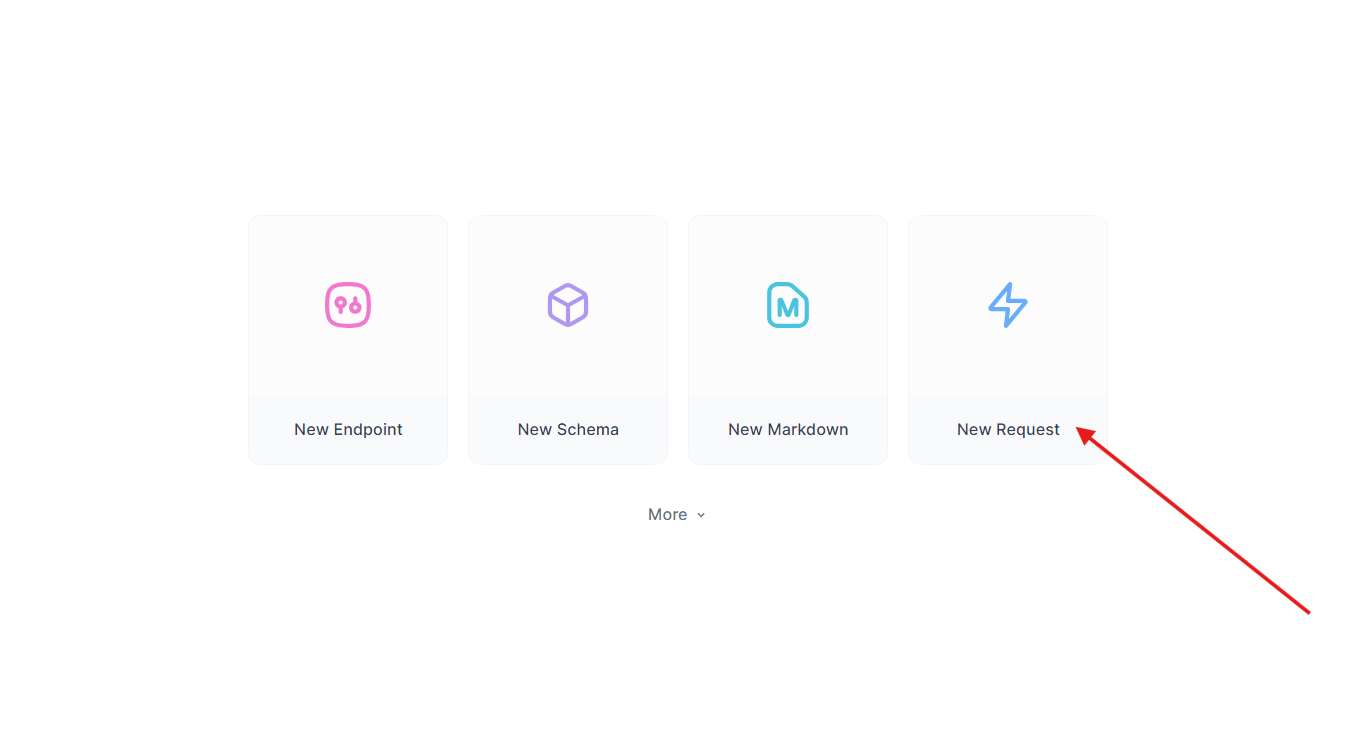
First, visit the official Apidog website and download the software. The installation process is quick and straightforward. After downloading, run the installer and follow the prompts to set it up on your system. Once installed, launch Apidog and create a new project dedicated to your Grok-3 API work. This project serves as your workspace for all API-related tasks.
Step 2: Obtain Your Grok-3 API Key
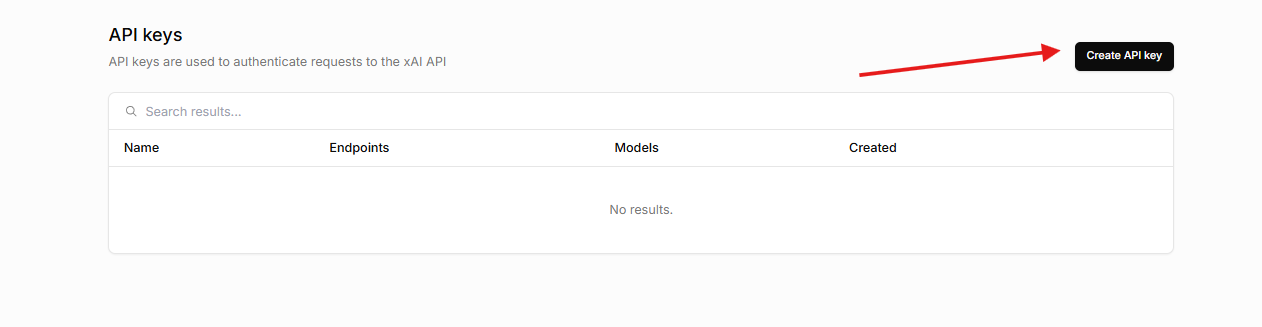
Next, you need an API key to authenticate your requests. Head to the xAI console at . If you don’t have an account, sign up; otherwise, log in. Navigate to the API section and generate a new API key.
Copy this key carefully—it’s your ticket to accessing the Grok-3 API. For security, avoid sharing it publicly or hardcoding it into your applications.
Using the Grok-3 API with Apidog
Now that your environment is ready, let’s explore how to interact with the Grok-3 API using Apidog. This section covers making basic requests and interpreting responses.
Making a Text Generation Request
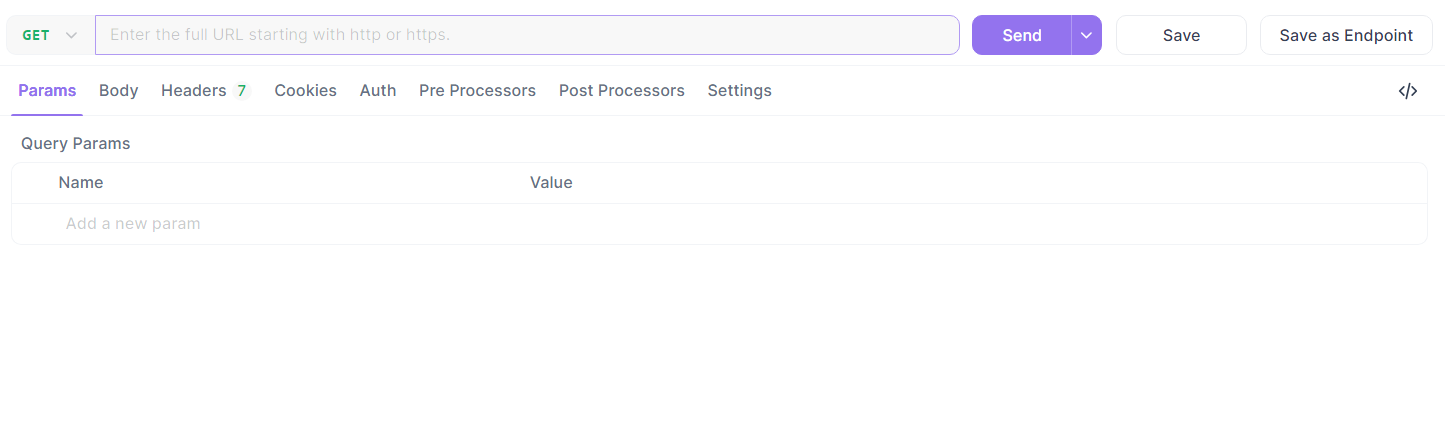
One of the primary functions of the Grok-3 API is text generation. To test this, create a new request in Apidog. Set the method to POST and configure the URL as {{base_url}}/completions, where {{base_url}} pulls from your environment variable.
In the request body, use JSON to define your parameters. Here’s a simple example:
{
  "model": "grok-3",
  "prompt": "Write a short story about a robot explorer.",
  "max_tokens": 150,
  "temperature": 0.8
}
model: Specifies "grok-3" as the target model.prompt: Provides the input text to generate from.max_tokens: Limits the response length (adjust as needed).temperature: Controls creativity (0 to 1; higher values increase randomness).
Before sending, add an Authorization header. Set the key to Authorization and the value to Bearer {{api_key}}, referencing your stored API key. Click "Send" and watch Apidog display the response, which might look like this:
{
  "choices": [
    {
      "text": "In a distant galaxy, a robot explorer named R3X roamed the metallic plains of Planet Z-9, its sensors buzzing with curiosity...",
      "index": 0
    }
  ],
  "usage": {
    "prompt_tokens": 10,
    "completion_tokens": 50,
    "total_tokens": 60
  }
}
This response includes the generated text and usage metrics, helping you track API consumption.
Testing Other Endpoints
If the Grok-3 API supports additional features—like image analysis or function calling—repeat the process. Refer to the xAI documentation for exact endpoints (e.g., /images or /functions). In Apidog, create new requests, adjust the URL and parameters accordingly, and test each capability. This flexibility makes Apidog an ideal tool for experimenting with the API’s full range.
Best Practices for Grok-3 API Integration
To optimize your experience, follow these technical best practices when using the Grok-3 API with Apidog.
Handle Errors Effectively
APIs can fail due to invalid inputs or rate limits. Always check the response status code (e.g., 200 for success, 400 for bad requests). In Apidog, inspect the response body for error details, such as:
{
  "error": {
    "message": "Invalid API key",
    "code": 401
  }
}
Implement retries or fallback logic in your application based on these insights.
Manage Costs
The Grok-3 API likely uses a pay-per-use model . Monitor the usage field in responses to track token consumption. In Apidog, log your requests to analyze patterns and avoid exceeding your budget.
Secure Your API Key
Never expose your API key in client-side code. By storing it in Apidog’s environment variables, you keep it safe and reusable across requests. Regularly rotate keys in the xAI console for added security.
Document Your Work
Use Apidog’s documentation feature to record your API calls. Export this as a shareable file for team collaboration or troubleshooting. Clear documentation saves time and ensures consistency.
Conclusion: Unleashing Grok-3 with Apidog
In conclusion, integrating the Grok-3 API with Apidog offers a powerful, efficient way to harness xAI’s advanced AI model. From setting up your environment to making requests and exploring advanced features, this guide provides a clear path forward. By using active voice and tools like Apidog, you simplify the technical process, enabling faster development and experimentation.
Moreover, adhering to best practices ensures you maximize performance while minimizing costs and risks. Whether you’re building a text generator, fine-tuning a model, or scaling with batch requests, the Grok-3 API and Apidog form a dynamic duo. Ready to get started? Download Apidog for free and elevate your Grok-3 API projects today.