
Google Jules is changing how developers build software by automating repetitive coding tasks—freeing you up to focus on innovation and complex problem-solving. Unlike traditional code assistants, Google Jules works asynchronously, integrating directly with your GitHub repositories to tackle bug fixes, write tests, update dependencies, and more, all with minimal input.
If you're exploring AI-driven development tools, this hands-on guide walks you through setting up and leveraging Google Jules for your workflow. Plus, discover how pairing Google Jules with Apidog can streamline your entire API lifecycle—from code generation to robust API testing.
What Is Google Jules? Your Asynchronous AI Coding Agent
Google Jules is an AI-powered coding assistant that autonomously manages development tasks in the background. Built on the Gemini 2.5 Pro model, Jules securely clones your GitHub repository into a cloud VM, analyzes the code context, and delivers actionable changes through pull requests.
Key Functions:
- Automated bug fixes
- Version and dependency updates
- Test generation
- Autonomous code improvements via pull requests
Who Is It For?
Whether you maintain a small open-source project or scale enterprise APIs, Google Jules adapts to your workflow—making it a practical asset for API developers, backend engineers, and technical leads.
Why Choose Google Jules for Software Automation?
Google Jules stands out for:
- Automation Efficiency: Offload repetitive work like bug fixing, routine upgrades, and test writing.
- Code Quality Improvements: AI-generated tests and fixes help reduce errors and improve maintainability.
- Seamless GitHub Integration: Directly creates pull requests for easy code review and merging.
- Hands-Off Operation: Assign tasks, let Jules process them in the background, and get notified when done.
By integrating Jules into your stack, you reclaim hours otherwise spent on manual coding chores. When combined with tools like Apidog, which specializes in API testing and design, your development cycle becomes even more efficient.
How to Set Up Google Jules (Step by Step)
Follow these clear steps to get Google Jules working on your projects:
1. Sign In with Your Google Account
- Go to the Google Jules website.
- Sign in using your Google account (create one if you don’t have it).
- Accept the privacy notice to continue.
2. Connect Your GitHub Account
- Click "Connect to GitHub account."
- Authorize Google Jules to access your repositories (choose all or select specific ones).
- After authentication, you’ll be redirected to the Jules dashboard.

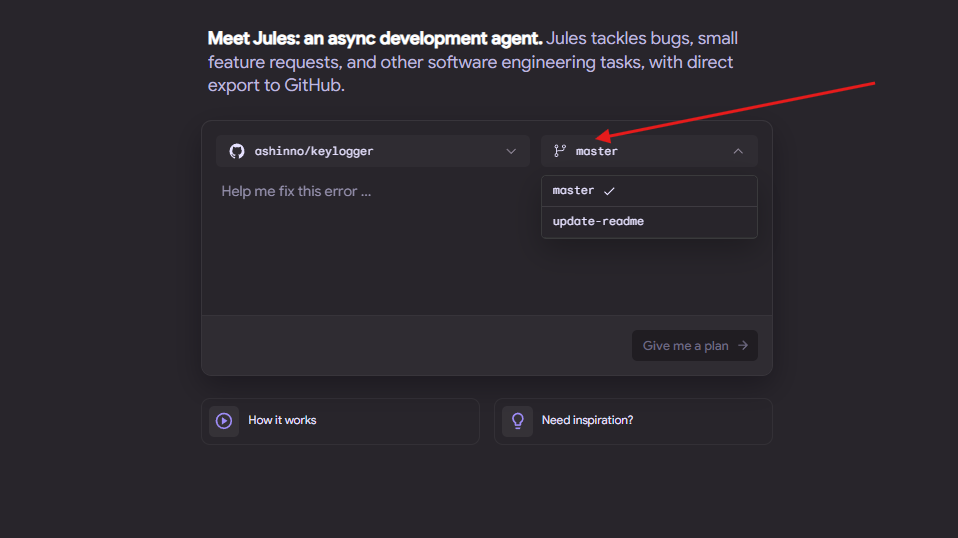
3. Select Your Repository and Branch
- In the dashboard, use the repository selector to pick the target codebase.
- Choose the branch Jules should modify (usually "main", but you can select any branch).
Once set up, you're ready to assign coding tasks to Jules.
Assigning Tasks to Google Jules: Practical Methods
Method 1: Submit a Detailed Prompt
In your Google Jules dashboard, enter a clear, specific prompt describing your task. Examples include:
"Fix the null pointer error in auth.js's login function.""Upgrade dependencies to React 18.""Write unit tests for mathUtils.js."
Tip: Specific prompts yield the most accurate results.
Method 2: Assign via GitHub Issues (Coming Soon)
Google Jules will soon support task assignment directly from GitHub issues. By labeling an issue with "assign-to-jules", the AI agent will pick up and process the request—a feature that will bring even tighter workflow integration.
How Google Jules Works: The Technical Process
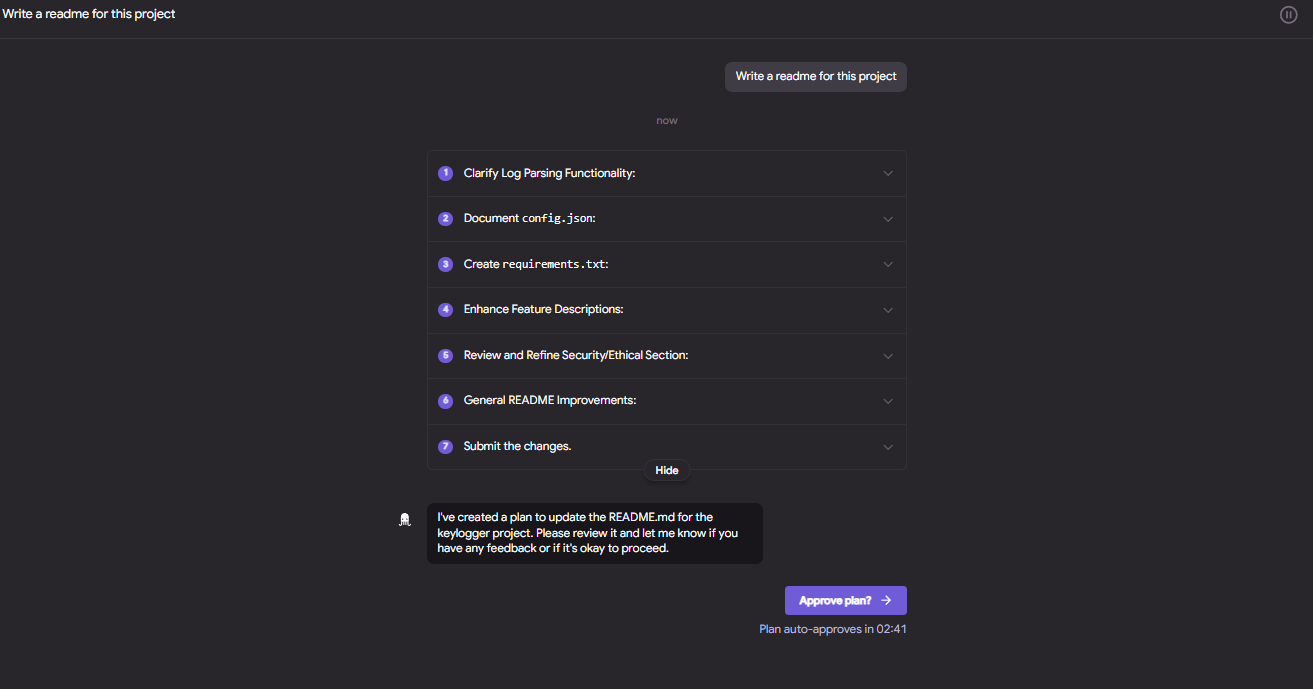
When you submit a task, Google Jules:
- Clones your repository and branch into a secure Google Cloud VM.
- Parses your prompt with Gemini 2.5 Pro, planning the necessary changes.
- Locates relevant files/functions and makes code edits (add, modify, delete).
- Runs available tests to validate changes and prevent regressions.
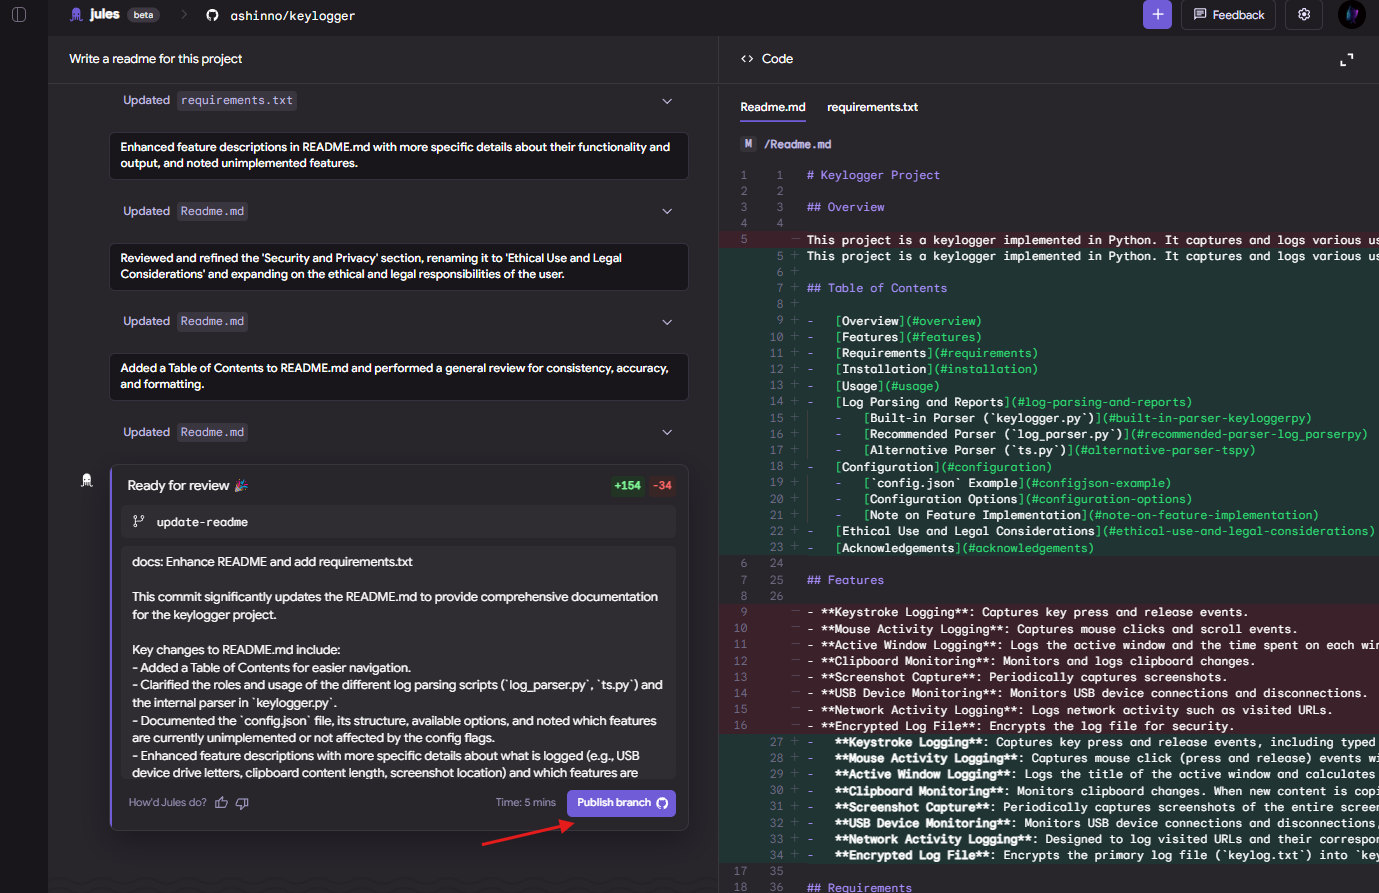
- Displays a diff of all modifications for your review in the dashboard.
- Creates a GitHub pull request summarizing the work when you approve.
This asynchronous workflow means you can continue coding, managing APIs, or running tests with Apidog while Jules handles assigned tasks in the background.
Reviewing & Merging Changes
Once Jules completes a task, follow these best practices before merging:
- Review Diffs: Use the Jules dashboard to inspect code changes line-by-line.
- Manual Testing: Run your project’s test suite for additional verification.
- Approve the Pull Request: Instruct Jules to create a PR, then review and merge via GitHub.
This keeps you in control while benefiting from AI-accelerated development.
Top Benefits: Why Developers Are Adopting Google Jules
- Accelerated Development: Free up time by automating mundane coding work.
- Fewer Bugs: Automated test writing and smart fixes reduce production issues.
- Scalable for Teams: Handles small scripts and large enterprise codebases alike.
- Learning Value: Reviewing Jules’ output can reveal new approaches or best practices.
Practical Examples: What Can Google Jules Automate?
- Bug Fixes: Resolve race conditions in multi-threaded scripts.
- Dependency Updates: Move a Python project from Flask 2.0 to 2.3, updating
requirements.txt. - Test Generation: Create Jest tests for a React component.
- Code Refactoring: Optimize inefficient loops or outdated code patterns.
- API Endpoint Creation: Scaffold new REST endpoints—then use Apidog to test them for correctness.
Limitations to Consider
While powerful, Google Jules is currently in beta and has some constraints:
- Daily Task Limit: Up to five tasks per day.
- Prompt Sensitivity: Vague prompts may produce unexpected results.
- Beta Stability: Occasional downtime or minor bugs.
- Context Size: Files exceeding 768,000 tokens may be skipped.
Plan your workflow accordingly and start with simpler tasks to gauge performance.
Proven Tips for Maximizing Google Jules
- Be Specific: Include file names, functions, and outcomes in your prompts.
- Always Review Output: Check diffs and run tests before merging.
- Start Small: Assign minor fixes before scaling up.
- Enable Notifications: Stay informed of task progress.
- Leverage Summaries: Use Jules’ audio overviews for a quick review.
Advanced Integration: Expanding Your Workflow
For API-focused teams, combining Google Jules with Apidog creates a robust, automated pipeline:
- Jules handles code generation, refactoring, and endpoint creation.
- Apidog manages API design, mocking, and comprehensive automated testing.
This synergy accelerates backend/API development while ensuring functional reliability.
Troubleshooting Common Issues
- Task Not Starting: Verify GitHub permissions and internet connectivity.
- Unexpected Edits: Refine your prompt for clarity and resubmit.
- PR Missing: Ensure Jules has write access to the repository.
- Slow Performance: Divide large tasks into smaller, manageable ones.
The Future of Google Jules
Expect rapid improvements as Google Jules evolves—look for expanded GitHub issue integration, broader programming language support, increased task limits, and greater stability as it matures out of beta.
Conclusion: Streamline Coding (and API Testing) with Google Jules & Apidog
Google Jules enables developers to automate tedious coding work, allowing for faster iteration and higher code quality. By following this setup guide and adopting best practices, you can optimize how you build, review, and deploy software.
For backend/API teams, pairing Google Jules with Apidog delivers a powerful, automated development and testing toolkit. Download Apidog for free to enhance your API lifecycle while Google Jules handles your codebase.


