
If you're a developer, you’ve probably noticed that AI coding tools are evolving at breakneck speed. But among all the emerging platforms, two tools are stealing the spotlight: Gemini 3.0 Pro Google’s most powerful coding-oriented model to date and Cursor, the AI-powered code editor that feels like Visual Studio Code with a built-in pair programmer.
And here’s the exciting part: you can combine them.
Using Gemini 3.0 Pro inside Cursor gives you a coding experience that feels futuristic. You get a smart IDE, a powerful reasoning-first AI model, deep codebase understanding, and fast prototyping all in one place.
What Is Gemini 3.0 Pro? (And Why Developers Love It)
Gemini 3.0 Pro is Google’s most advanced developer-oriented large language model to date. Think of it as:
- A reasoning-first AI model
- Stronger at multi-step logic than previous Gemini versions
- Highly capable with large codebases
- Extremely good at understanding architecture-level questions
- Built to handle longer context windows
- Designed for real engineering work rather than demos
In other words, this is the kind of model that can:
- Read and understand entire repos
- Help you build new features with minimal prompts
- Catch edge cases and bugs
- Generate better-structured code
- Work with APIs using OpenAPI schemas
- Build complex backend workflows
And when you pair that with Cursor which lets the AI edit your code directly you get a massively upgraded workflow.
Why Combine Gemini with Cursor?
First, you might be wondering: "Cursor already has great AI features. Why bother setting up Gemini?" That's a fair question. Here's why this combination is so powerful:
Cursor's Strengths:
- Deep codebase awareness and context
- Excellent file navigation and editing
- Smooth IDE integration
- Chat that understands your project structure
Gemini's Superpowers:
- Advanced reasoning and problem-solving
- Strong performance on complex, multi-step tasks
- Google's latest AI technology
- Potentially different "perspective" on coding problems
When you combine them, you get the best of both worlds: an AI that understands your entire project context and brings Google's cutting-edge reasoning to the table.
Step-by-Step: How to Use Gemini 3.0 Pro in Cursor
Step 1: Get Your Gemini API Key
Before we can connect anything, you need access to Gemini. Here's how to get set up:
- Head to Google AI Studio: Navigate to aistudio.google.com. You'll need a Google account for this.
- Create a New API Key: Once you're in, look for the "Get API key" option. Google typically gives you a generous free tier to start with, which is perfect for testing.
- Copy and Store Your Key Safely: When your API key is generated, copy it immediately. Store it somewhere secure we'll need it in just a moment. Treat this key like a password; anyone with it can make requests on your account.
Pro Tip: The free tier is quite generous, but keep an eye on your usage if you start doing heavy coding sessions with Gemini.
Step 2: Configure Cursor for Custom Models
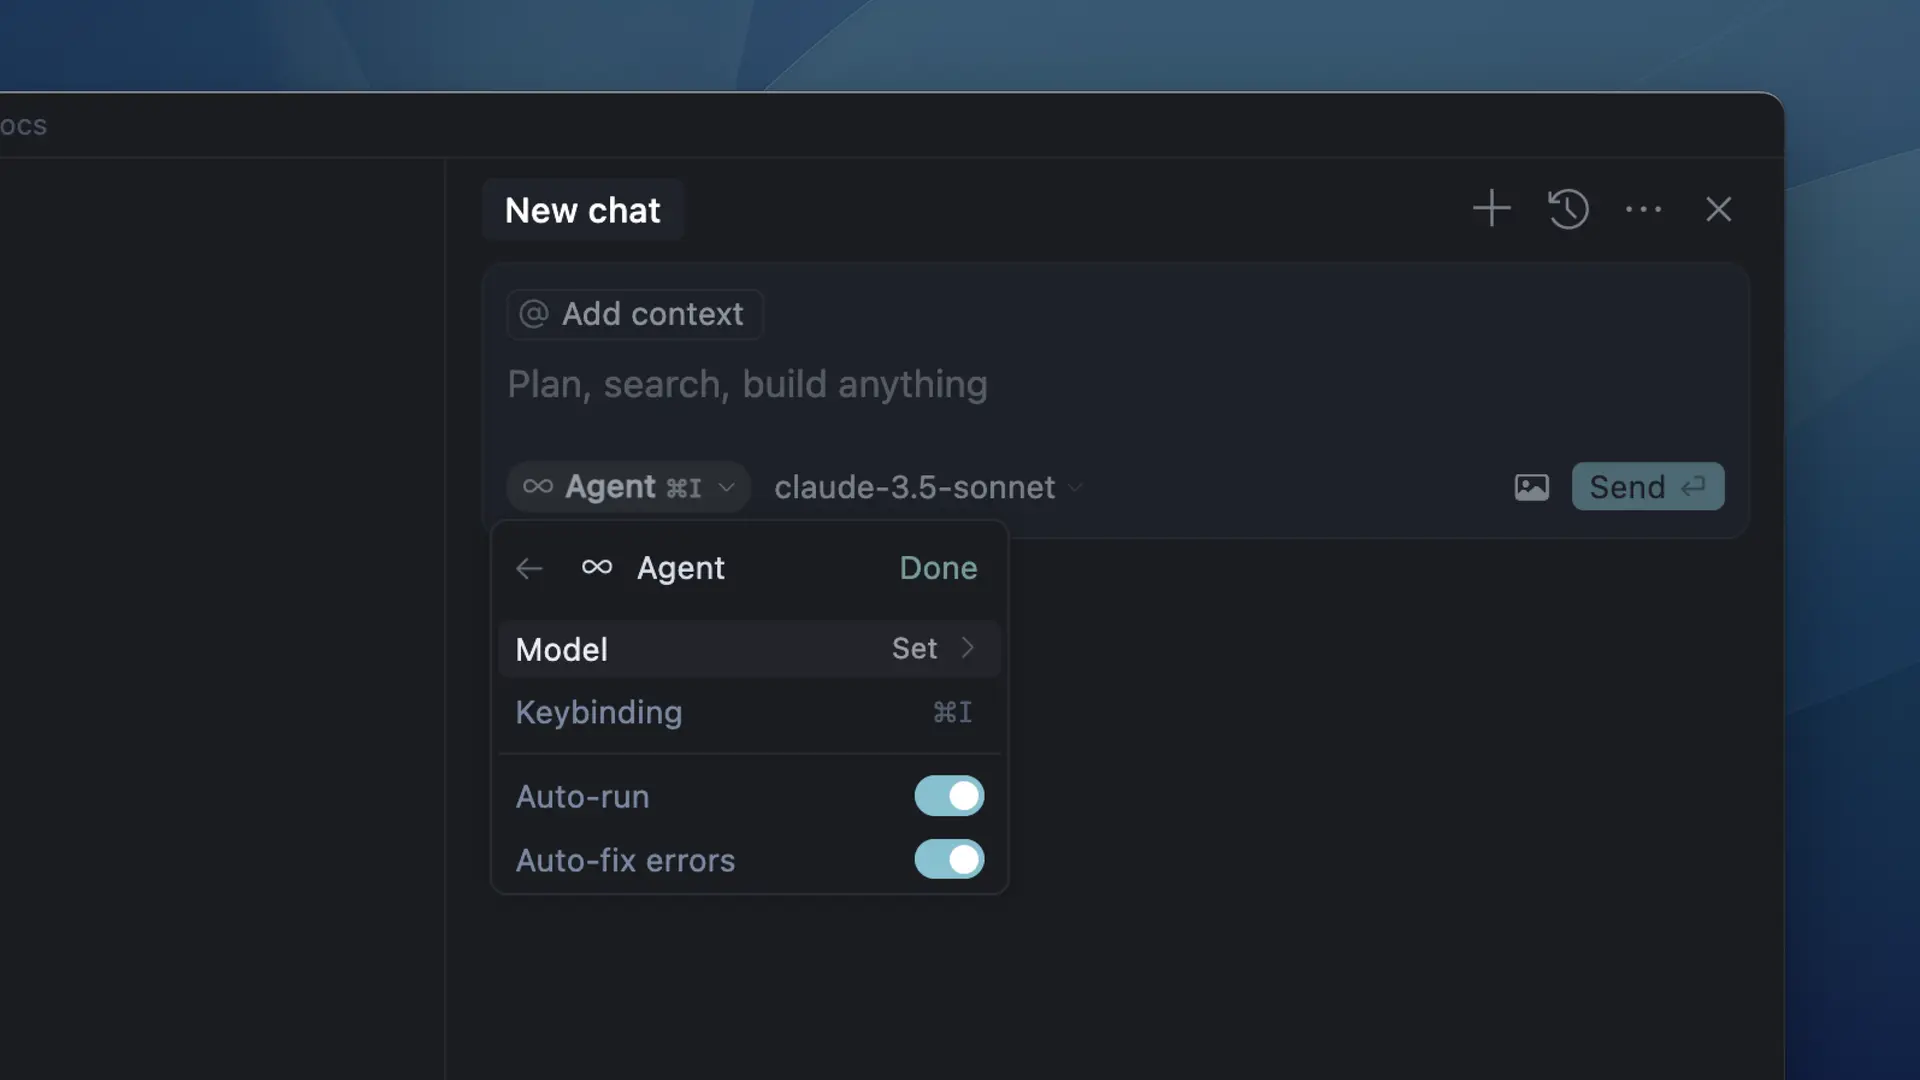
This is where the magic happens. Cursor has a somewhat hidden but incredibly powerful feature: custom model configuration.
- Open Cursor Settings: Press
Ctrl + ,(orCmd + ,on Mac) to open settings, or find it in the menu. - Search for Model Settings: Type "model" in the search bar. Look for settings related to AI models or custom models.
- Open settings.json: You might need to open the full settings JSON file. Look for an option that says "Open Settings (JSON)" or similar.
- Add Custom Model Configuration: Here's the crucial part. You'll need to add configuration that tells Cursor how to talk to the Gemini API. It should look something like this:
{
  "cursor.gemini.model": "gemini-3.0-pro",
  "cursor.gemini.apiKey": "your-actual-api-key-here",
  "cursor.gemini.baseURL": "<https://generativelanguage.googleapis.com/v1beta>"
}
Important Note: The exact configuration might vary depending on your Cursor version. Check Cursor's documentation for the most up-to-date custom model configuration syntax.
Step 3: Alternative Approach: Use Cursor's Custom Model Feature
If the direct configuration doesn't work, Cursor often has a dedicated "Custom Models" section in settings:
- Find Custom Models in Settings: Look for "Custom Models" or "External Models" in the settings panel.
- Add Gemini Configuration: You'll typically see options to add a new model with:
- Model Name: "Gemini 3.0 Pro" (or whatever you want to call it)
- API Base URL:
https://generativelanguage.googleapis.com/v1beta - API Key: Your Gemini API key
- Model Identifier:
models/gemini-3.0-pro
3. Test the Connection: Save your settings and try asking a question in Cursor's chat. If everything is working, you should see responses coming from Gemini instead of Cursor's default AI.
Testing Your Setup with Apidog
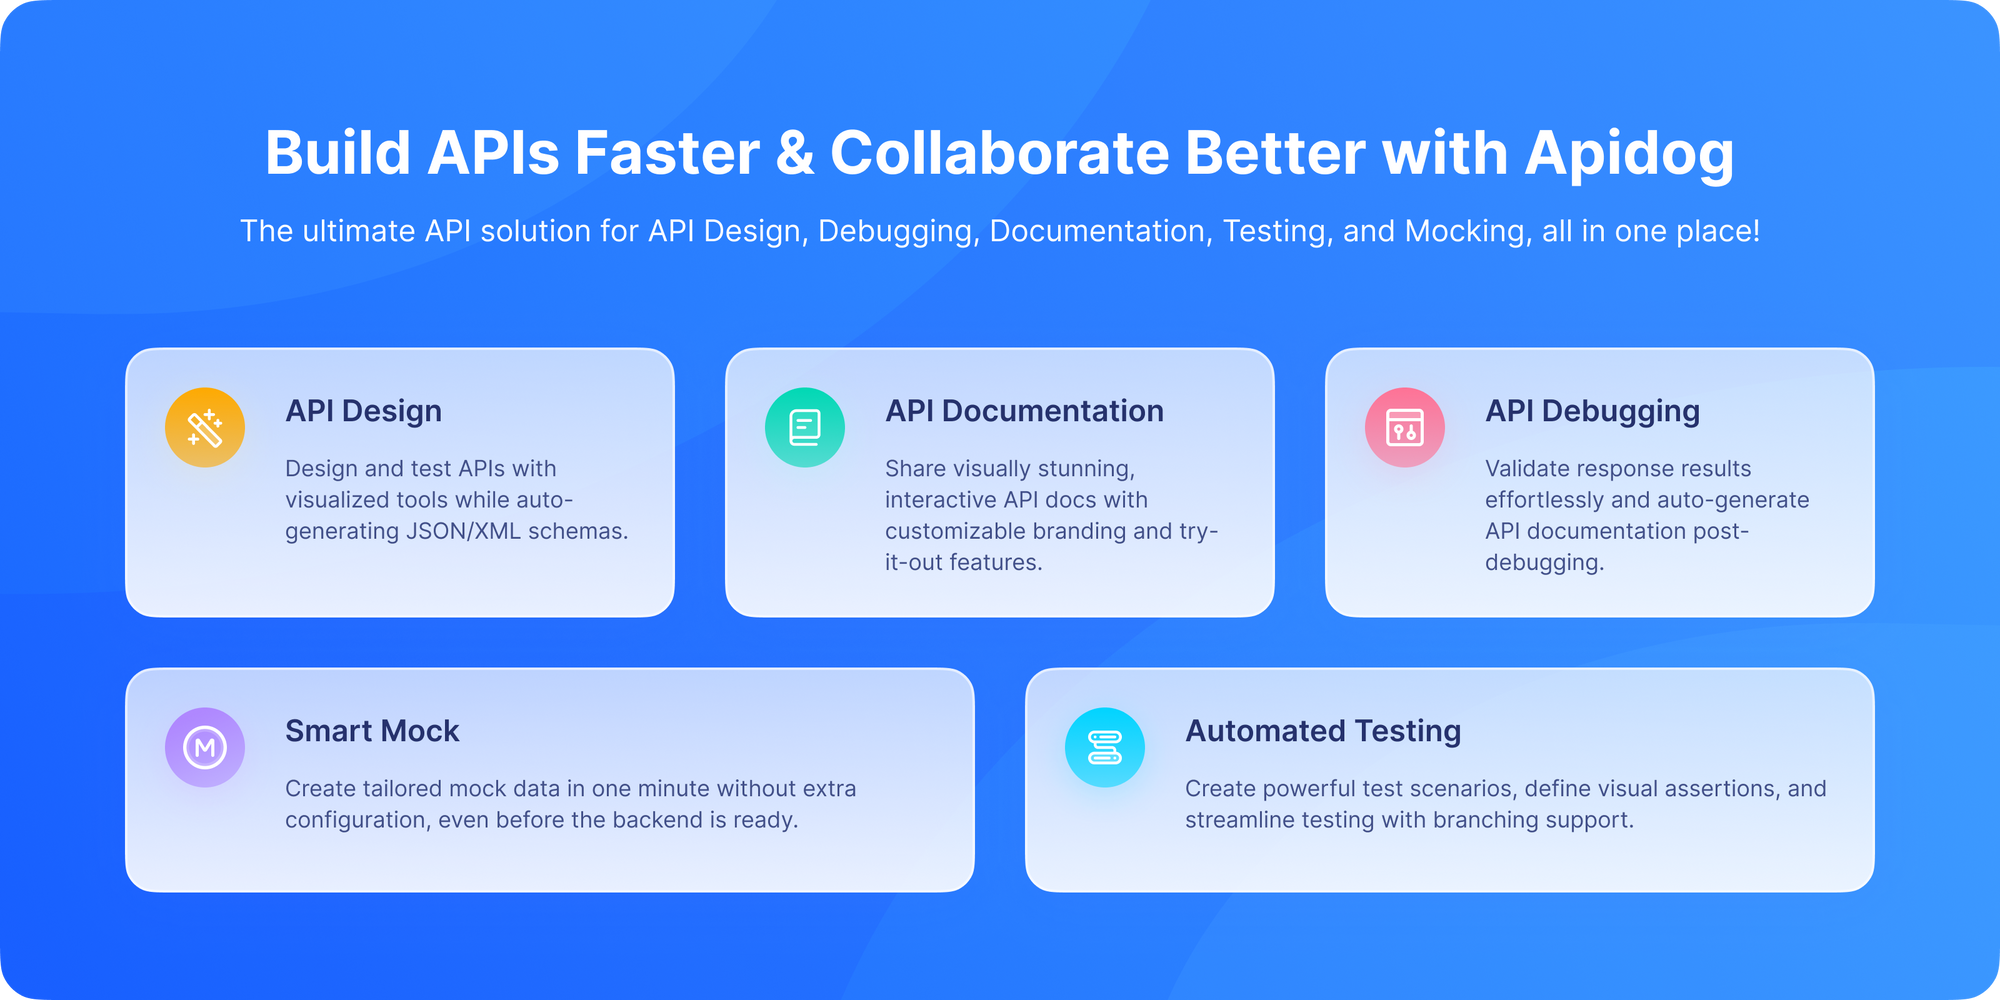
Before diving into complex coding tasks, it's smart to verify your Gemini API is working correctly. This is where Apidog shines.
With Apidog, you can:
- Test Your API Key: Create a simple request to the Gemini API to make sure your key is valid and working.
- Experiment with Prompts: Test different coding-related prompts to see how Gemini responds before using it in Cursor.
- Monitor Usage: Keep track of your API calls and token usage to avoid surprises.
- Create Request Templates: Save successful prompts as templates for future use.
Here's a simple test you can run in Apidog:
POST <https://generativelanguage.googleapis.com/v1beta/models/gemini-3.0-pro:generateContent?key=YOUR_API_KEY>
Content-Type: application/json
{
  "contents": [{
    "parts": [{
      "text": "Write a Python function to calculate fibonacci numbers. Explain your approach."
    }]
  }]
}
If you get a coherent response, your API setup is working perfectly!
Troubleshooting: Problems You May Encounter
1. Gemini not showing in Cursor
Possible causes:
- API key wrong
- Region not supported
- Billing not enabled
- Cursor version outdated
Fix:
- Update Cursor
- Regenerate Gemini key
- Make sure you’re using supported models
2. Gemini is slow
The model may be in high demand.
Use:
- Gemini Flash for quick tasks
- Gemini Pro for reasoning tasks
3. AI-generated code doesn’t match your style
Use a style-enforcing prompt:
Rewrite following project conventions. Use the style in @src/example.ts as the reference.
4. Gemini produces outdated patterns
Give explicit instructions:
Use NestJS v10 patterns.
Use React 19 + Server Components.
Use Express + TypeScript + Zod validation.
Gemini will adjust accordingly.
Advanced Tips and Best Practices
1. Provide Context Effectively
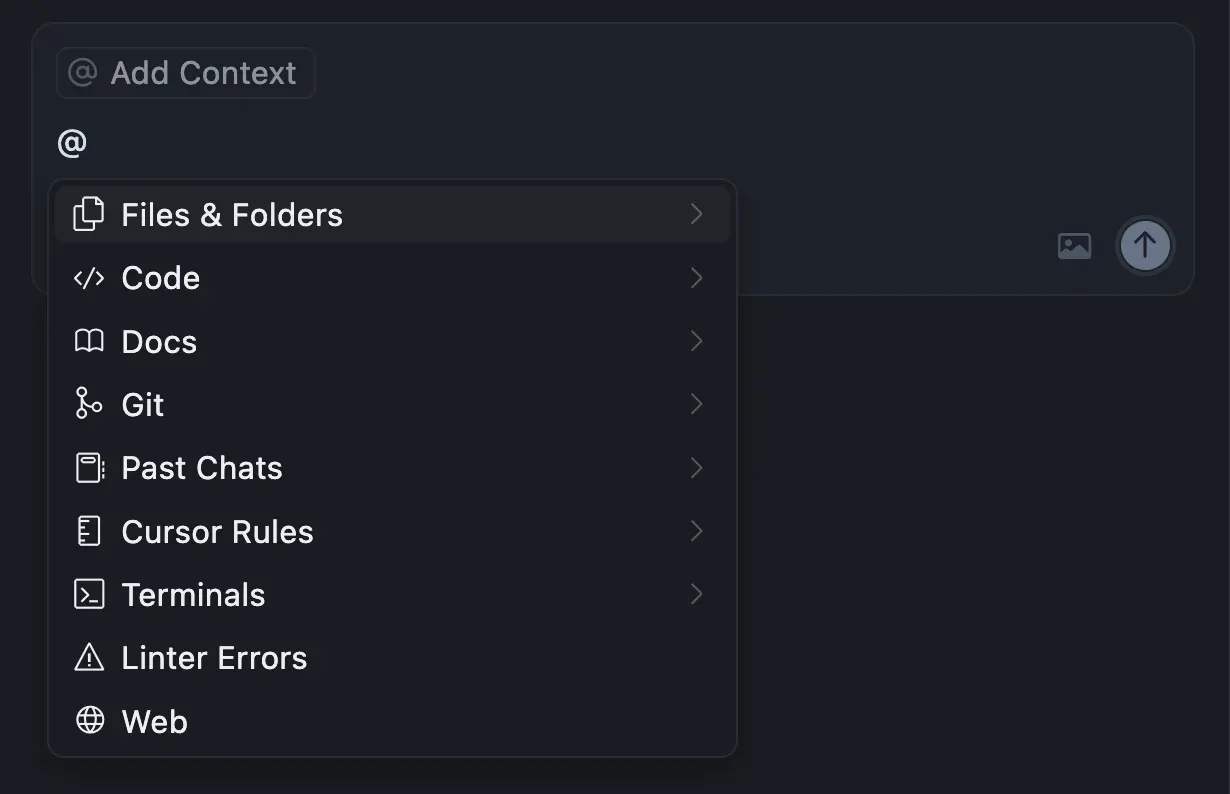
Gemini works best when it understands your project's context. When asking questions:
- Mention the programming language and framework
- Include relevant file paths or architecture decisions
- Share error messages and stack traces
- Reference specific parts of your codebase
2. Use Iterative Refinement
Don't expect perfect code on the first try. Work iteratively:
- Ask for an initial implementation
- Request improvements based on your specific needs
- Ask for explanations of complex parts
- Request tests for the generated code
3. Leverage Gemini's Specialized Strengths
Gemini particularly excels at:
- Algorithm design and optimization
- Architectural planning
- Complex problem decomposition
- Multi-language solutions
- Mathematical and scientific computing
4. Manage Your API Usage
Keep an eye on your token usage, especially with longer conversations. Gemini's context window is large, but it's not infinite.
Comparing Gemini vs. Default Cursor Models
You might wonder when to use Gemini versus Cursor's built-in models. Here's my experience:
Use Gemini when:
- You need sophisticated reasoning on complex problems
- You're working on algorithm design or architecture
- You want a different perspective on a challenging issue
- You're learning new concepts and want detailed explanations
Use Cursor's default models when:
- You need quick, straightforward code completions
- You're doing simple refactoring tasks
- You want faster response times
- You're working within token/rate limits
Should You Use Gemini or Another Model Inside Cursor?
Here’s a simple comparison:
| Task Type | Best Model |
|---|---|
| Deep reasoning, architecture | Gemini 3.0 Pro |
| Refactoring, code cleanliness | Claude 3.7 |
| Fast code stubs | GPT-4.1 or Flash |
| Local offline coding | Llama 3 or Qwen local |
| Large codebase summaries | Gemini Pro or Claude |
Most developers use two or three models in rotation.
The Future of AI-Powered Development
This setup represents where software development is heading: developers using multiple AI tools specialized for different tasks. Gemini brings Google's massive research investment in AI to your coding workflow, while Cursor provides the perfect environment to apply that intelligence to your specific projects.
As both tools continue to evolve, this integration will only become more powerful. We're looking at a future where AI doesn't just help with simple tasks but becomes a true collaborative partner in software design and development.
Conclusion: Your New AI Pair Programmer
Getting Gemini working with Cursor might take a few minutes to set up, but the payoff is enormous. You're essentially adding Google's most advanced AI as a dedicated member of your development team.
The combination of Cursor's deep code understanding and Gemini's sophisticated reasoning creates a development experience that feels like having a senior engineer looking over your shoulder one who never gets tired and has instant recall of every programming concept ever documented.
Remember, the goal isn't to replace your thinking but to augment it. Use Gemini as a powerful tool in your arsenal, and don't forget to test your API integrations with Apidog to ensure everything is working smoothly.
Happy coding with your new AI pair programmer! The future of development is here, and it's more exciting than ever.


