
Picture this: You’re excited to test your API calls using the Apidog browser extension, maybe on Chrome, and you hit the "Try it Out" button, only to be greeted by the dreaded ETIMEDOUT error. Frustrating, right? This timeout issue often pops up when the Apidog browser extension doesn’t know where to send your API requests, especially if you’re working with a self-hosted API. The root cause? The domain string or base URL might not be set correctly in your published API Hub docs. But don’t worry—there’s a straightforward fix using Apidog’s Environments configuration to set a default server URL and banish those timeout errors for good. In this article, we’ll walk through how to solve the Apidog browser extension timeout issue, specifically tackling the Fix Apidog extension ETIMEDOUT error by leveraging Apidog Environments configuration. Whether you’re using a self-hosted API Apidog extension or testing on Chrome or Edge, we’ve got you covered with a conversational guide to get your API testing back on track.
Want an integrated, All-in-One platform for your Developer Team to work together with maximum productivity?
Apidog delivers all your demands, and replaces Postman at a much more affordable price!
I recently came across a user story that perfectly sums up this issue. They installed the Apidog Chrome extension, tried making API calls, and hit a timeout. After some digging, they realized the domain was missing in the "Try it Out" section. The lightbulb moment? Setting the environment in the published docs site fixed it! Let’s dive into how you can do the same, from installing the extension to configuring environments, and even touch on some limitations and alternatives. By the end, you’ll be confidently managing your self-hosted API Apidog extension projects.
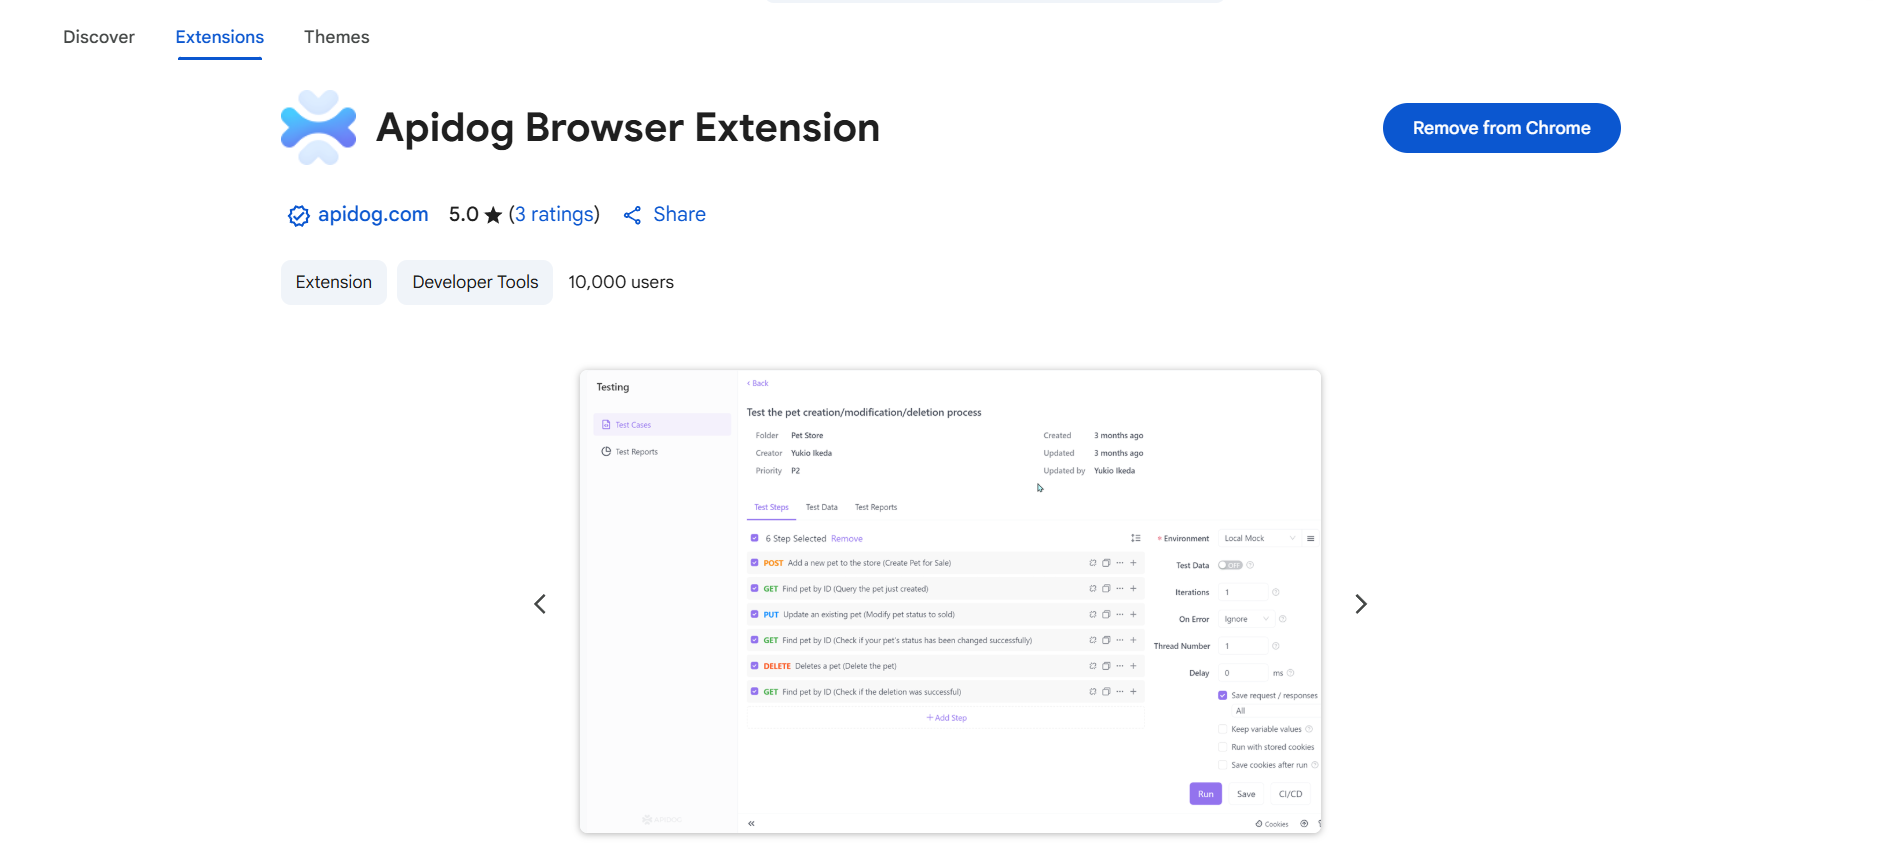
Installing the Apidog Browser Extension
Before we tackle the Fix Apidog extension ETIMEDOUT error, let’s ensure you have the Apidog extension installed. Apidog offers extensions for both Chrome and Microsoft Edge, making it easy to design, test, and debug APIs right from your browser. Here’s how to get started with Apidog Chrome extension installation and Apidog Edge extension installation.
Installing the Apidog Chrome Extension
To install the Apidog Chrome extension, head over to the Chrome Web Store or follow the official guide at Apidog’s Chrome Extension Installation Guide. Here’s the quick rundown:
- Open Chrome and navigate to the Chrome Web Store.
- Search for “Apidog” or visit the Apidog extension page directly.
- Click “Add to Chrome” and confirm the installation.
- Once installed, go to
chrome://extensions, find the Apidog extension, and pin it to your toolbar for easy access.
You’re now ready to send API requests directly from Chrome—perfect for quick debugging or testing your self-hosted API Apidog extension.
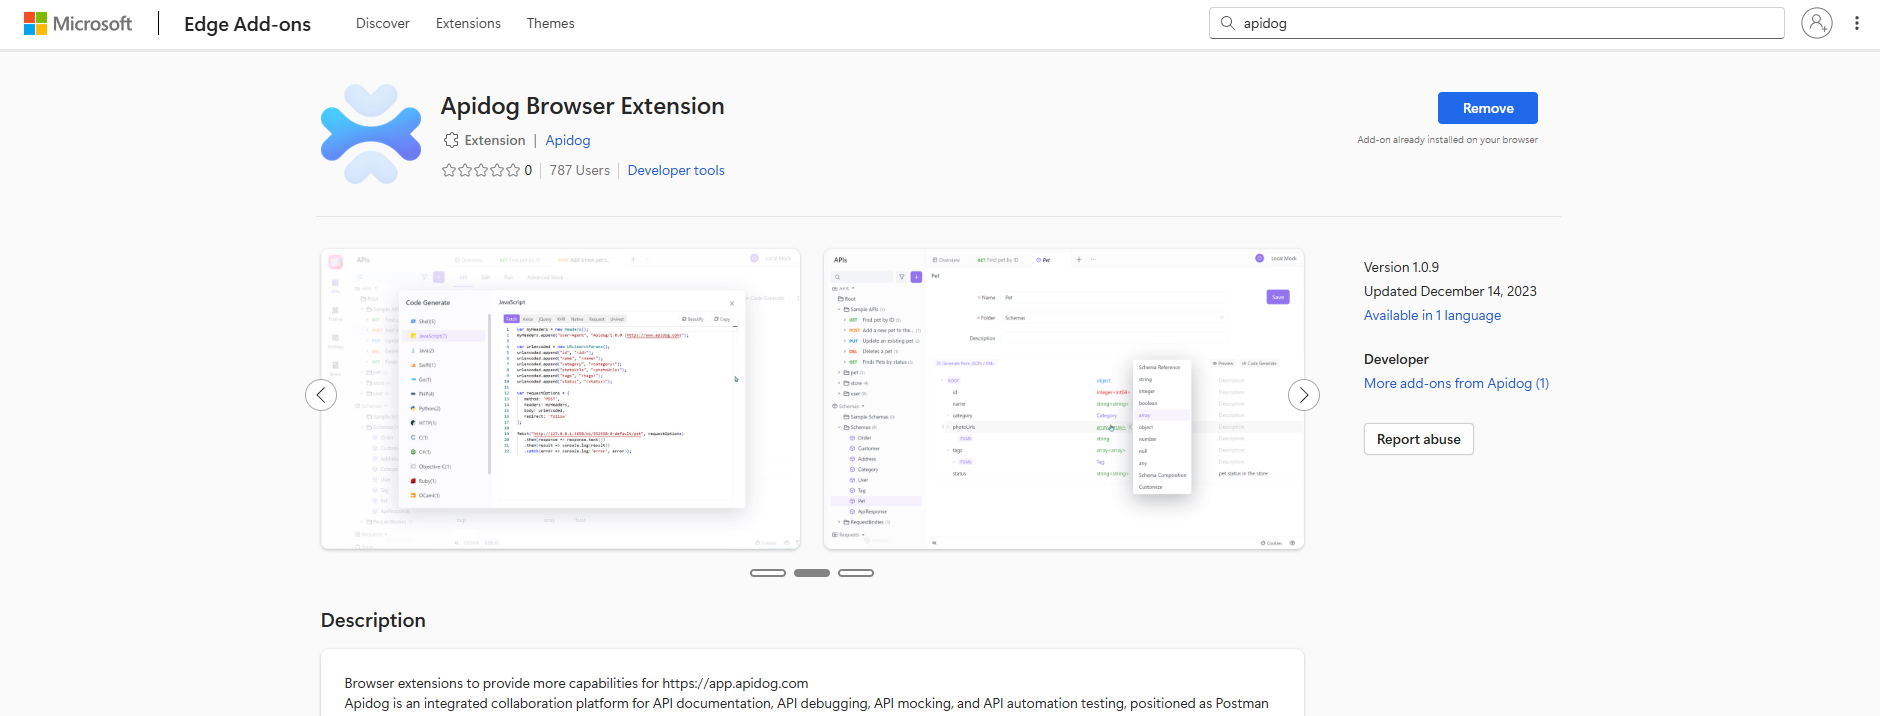
Installing the Apidog Microsoft Edge Extension
For Edge users, the process is just as simple. Check out the official guide at Apidog’s Edge Extension Installation Guide. Here’s how:
- Open Microsoft Edge and visit the Microsoft Edge Addons store.
- Search for “Apidog” or go straight to the Apidog extension page.
- Click “Get” and follow the prompts to install.
- Head to
edge://extensions, locate Apidog, and pin it for quick use.
With the extension installed, you’re set to test APIs in either browser. But if you’re hitting those pesky Apidog browser extension timeout errors, let’s fix that by diving into Apidog Environments configuration.
Solving Timeout Errors with Apidog Environments
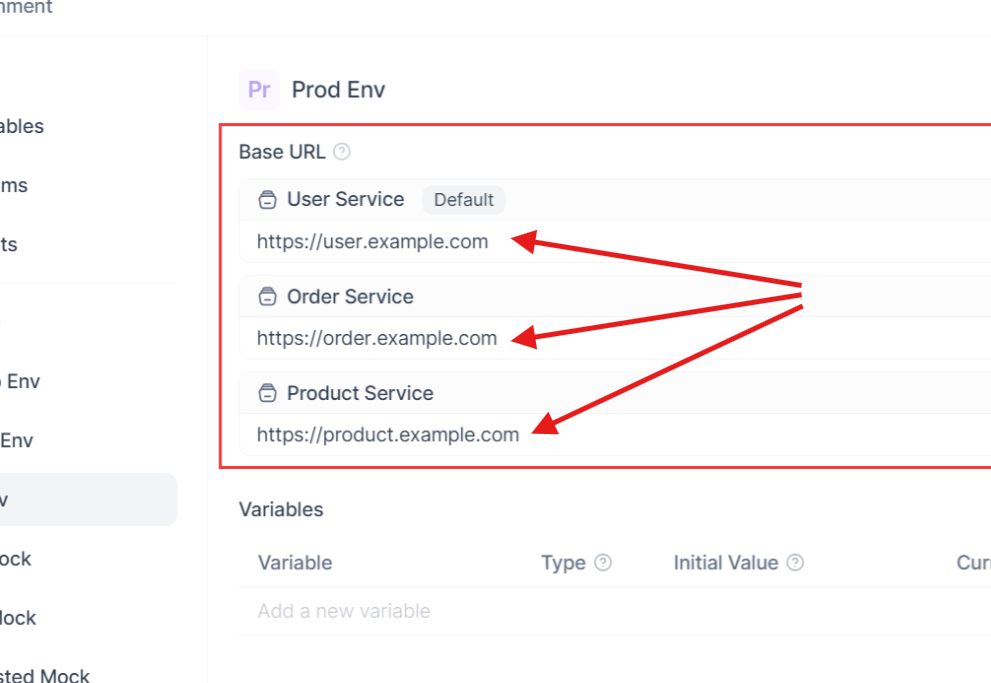
The Fix Apidog extension ETIMEDOUT error often stems from the extension not knowing the correct base URL for your API, especially for self-hosted servers. Apidog’s Environments feature is your secret weapon here. Environments let you define variables like base URLs, authentication tokens, or other dynamic values that can be reused across your API requests. By setting a default server URL in your environment, you ensure requests in the "Try it Out" section of your API Hub published docs always point to the right place. Let’s break down how to configure base URL Apidog using environments, step by step. For detailed guidance, refer to Apidog’s Environment Management Guide.
Step 1: Creating an Environment
In Apidog, environments are like profiles for different API contexts—think staging, production, or your local self-hosted server. To create one:
- Open your Apidog project in the browser extension or web app.
- Navigate to the “Environments” section, usually found in the top-right corner of the interface.
3. Click “New Environment” and name it something meaningful, like “Production” or “Local-Self-Hosted.”
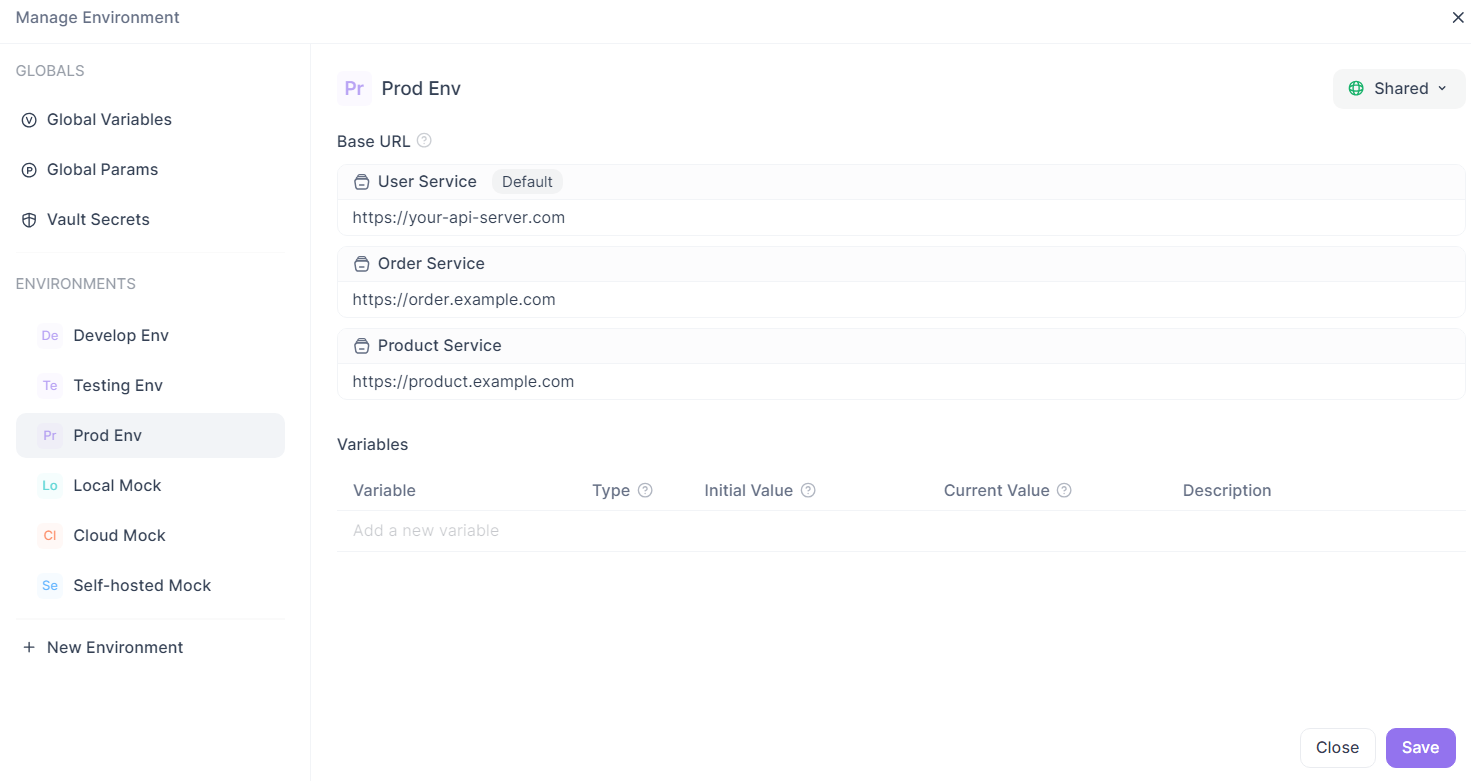
4. Save the environment. You’ll now see it listed in the environment dropdown.
This is your foundation for managing self-hosted API Apidog extension settings.
Step 2: Configuring the Base URL
Now, let’s set the default server URL to prevent those Apidog browser extension timeout issues:
- In your new environment, add a variable called
baseUrl. - Set its value to your API’s base URL, e.g.,
https://api.yourdomain.comfor a production server orhttp://localhost:8080for a local self-hosted API. Ensure there’s no trailing slash (e.g., nothttps://api.yourdomain.com/). - In your API project, go to the endpoint settings (or global settings) and set the “Service” field to use the
{{baseUrl}}variable. Apidog will prepend this to all endpoint paths (e.g.,{{baseUrl}}/usersbecomeshttps://api.yourdomain.com/users).
This step is critical for configure base URL Apidog correctly, especially for published docs in API Hub. When users hit “Try it Out,” Apidog pulls the base URL from the active environment, avoiding the missing domain issue that causes ETIMEDOUT.
Step 3: Using Multiple Base URLs with Modules
Got a complex API with multiple services or microservices? Apidog’s Environments can handle that too. You can create multiple environments for different base URLs (e.g., auth-service.yourdomain.com, user-service.yourdomain.com). Alternatively, use modules within a single environment:
- In your environment, define multiple base URL variables, like
authBaseUrlanduserBaseUrl. - In your project, organize endpoints into modules (e.g., “Auth” and “Users”).
- Assign the appropriate base URL variable to each module’s endpoints via the “Service” field.
This setup is perfect for self-hosted API Apidog extension projects with distributed architectures, ensuring flexibility without timeouts.
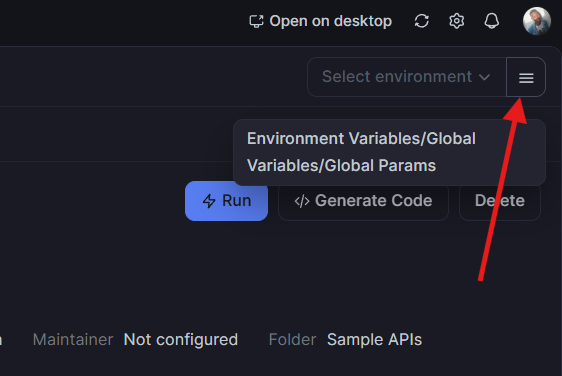
Step 4: Switching Between Environments
One of Apidog’s coolest features is how easy it is to switch environments. In the browser extension, use the environment dropdown to toggle between, say, “Local” and “Production.” This updates all requests to use the corresponding base URL. For published API Hub docs:
- Go to the "top right" section in Apidog.
- Select the environment you want the docs to default to (e.g., your self-hosted server’s environment).
- Now, when users access the “Try it Out” feature, it automatically uses the configured base URL, fixing the Apidog browser extension timeout issue.

This is exactly what our user discovered—setting the environment in the published docs site was the moment that solved their ETIMEDOUT error!
Limitations of Apidog’s Browser Extensions and Alternatives
While the Apidog browser extensions (Chrome and Edge) are fantastic for quick API testing, they do have limitations, especially for self-hosted API Apidog extension setups. Browser security policies impose restrictions, as noted in Apidog’s docs:
- Blocked Headers: Certain headers like
Cookie,Host, orOriginare automatically blocked by browsers, which can complicate authentication flows. - Cross-Origin Restrictions: Requests may fail to carry cookies unless CORS is configured, potentially causing timeouts or errors.
- No Local File/Database Access: Browser extensions can’t directly interact with local code or databases, limiting some advanced testing scenarios.
If these limitations are cramping your style, consider two alternatives:
- Apidog Desktop Client: Download it from Apidog’s Download Page. The desktop client has no browser restrictions, supports local file access, and offers a richer testing experience. It’s ideal for complex self-hosted API Apidog extension projects where you need full control.
2. Enable Cloud Agent: Check out Apidog’s Request Proxy Guide. Enabling the Cloud Agent bypasses browser limitations by routing requests through Apidog’s servers (without storing data, ensuring security). This is a quick fix for timeout issues without switching to the desktop client.
Both options ensure your Fix Apidog extension ETIMEDOUT error is a thing of the past, especially for self-hosted setups.
Conclusion
Timeout errors like ETIMEDOUT can be a real buzzkill when testing APIs with the Apidog browser extension. Configuring a default server URL via Apidog Environments configuration is the key to smooth sailing. By installing the Chrome or Edge extension, setting up environments with base URLs, and applying them to your API Hub published docs, you can eliminate those pesky timeouts. Plus, with support for multiple base URLs and easy environment switching, Apidog makes managing self-hosted API Apidog extension projects a breeze. If browser limitations become a hurdle, the Desktop Client or Cloud Agent are solid backups. So, go ahead—set up your environment, publish those docs, and test your APIs like a pro!


