
Amazon Kiro AI IDE, a next-generation agentic IDE, is making waves for its spec-driven development and agent-powered automation. But with demand soaring, many developers find themselves stuck on a waitlist. What if you could skip the line and start coding with Kiro right now?
This guide delivers exactly that: direct download links, a step-by-step installation walkthrough, and expert tips for getting the most out of Kiro.
Why Amazon Kiro AI IDE Is a Game-Changer for AI Coding
Amazon Kiro AI IDE isn’t just another code editor. It’s a purpose-built environment for:
- Spec-driven development: Turn natural language prompts into structured specs, then into working code, docs, and tests.
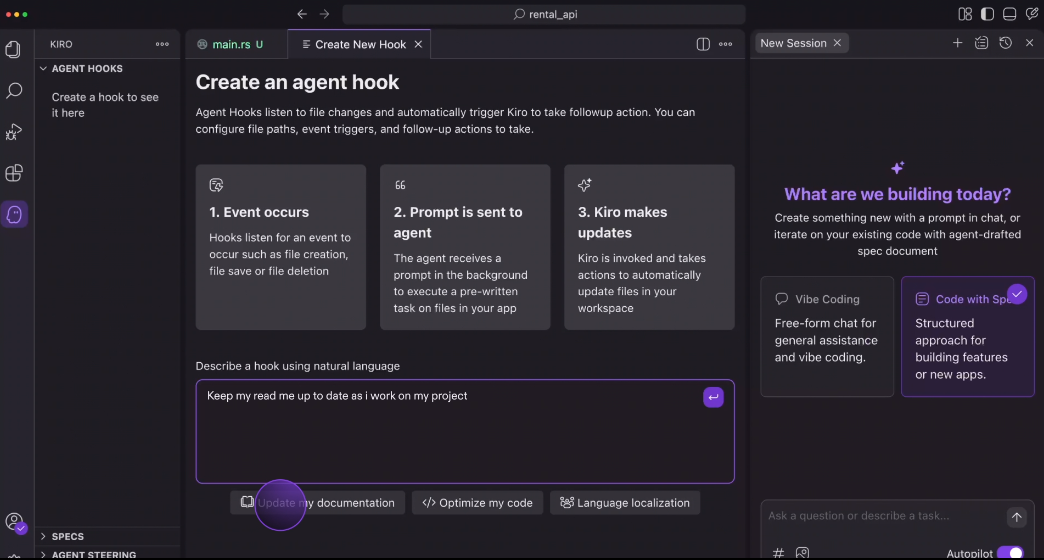
- Agentic automation: Assign background tasks to AI agents—generate docs, create tests, refactor code, and more.
- Multimodal context: Drop in screenshots, diagrams, or schemas; Kiro incorporates them into its suggestions.
- Enterprise-grade security: Data encryption, IAM integration, and audit logs for peace of mind.
- VS Code compatibility: Import your settings, themes, and plugins for a familiar experience.
Supported Languages: Python, Java, JavaScript, TypeScript, C#, Go, Rust, PHP, Ruby, Kotlin, C, C++, shell scripting, SQL, Scala, JSON, YAML, HCL, and more.
Pricing: Free during preview, with Pro and Pro+ tiers coming soon. See Kiro Pricing.
Download Amazon Kiro AI IDE Instantly (No Waitlist Required)
Forget the waitlist—use these direct links to download Kiro AI IDE for your platform:
| Platform | Download Link |
|---|---|
| Mac(arm) | Download |
| Mac(Intel) | Download |
| Windows | Download |
No registration, no wait—just download and start coding.
Step-by-Step Guide: Installing and Setting Up Kiro AI IDE
Step 1. Download the Installer
- Click the link above for your operating system above.
- Save the file to your computer.
Step 2. Run the Installer
- Windows: Double-click the
.exefile and follow the prompts. - Mac: Open the
.dmgfile and drag Kiro to your Applications folder.
Step 3. Accept the License Agreement
- Review and accept the AWS Customer Agreement and Intellectual Property License.

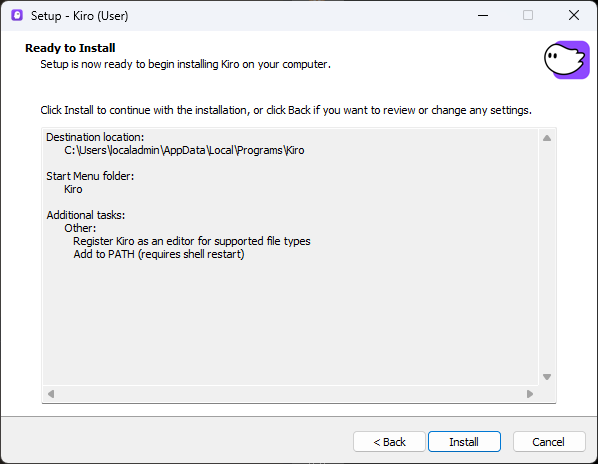
Step 4. Choose Installation Location
- Default is fine for most users, or select a custom folder.

Step 5. Select Start Menu/Shortcut Options
- Choose whether to create desktop/start menu shortcuts.

Step 6. Complete Installation
- Click Install and wait for the process to finish.
- On completion, launch Kiro AI IDE.
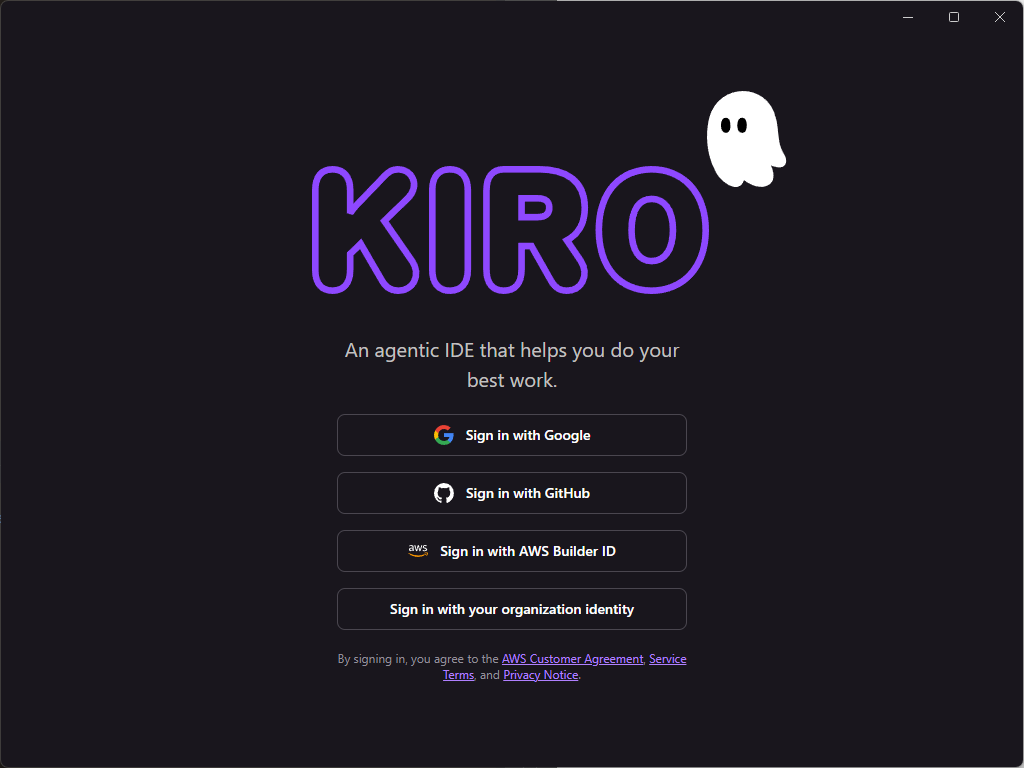
Step 7. First Run: Sign In
- Log in with Google, GitHub, AWS Builder ID, or your organization’s identity.
- No AWS account required for basic use.
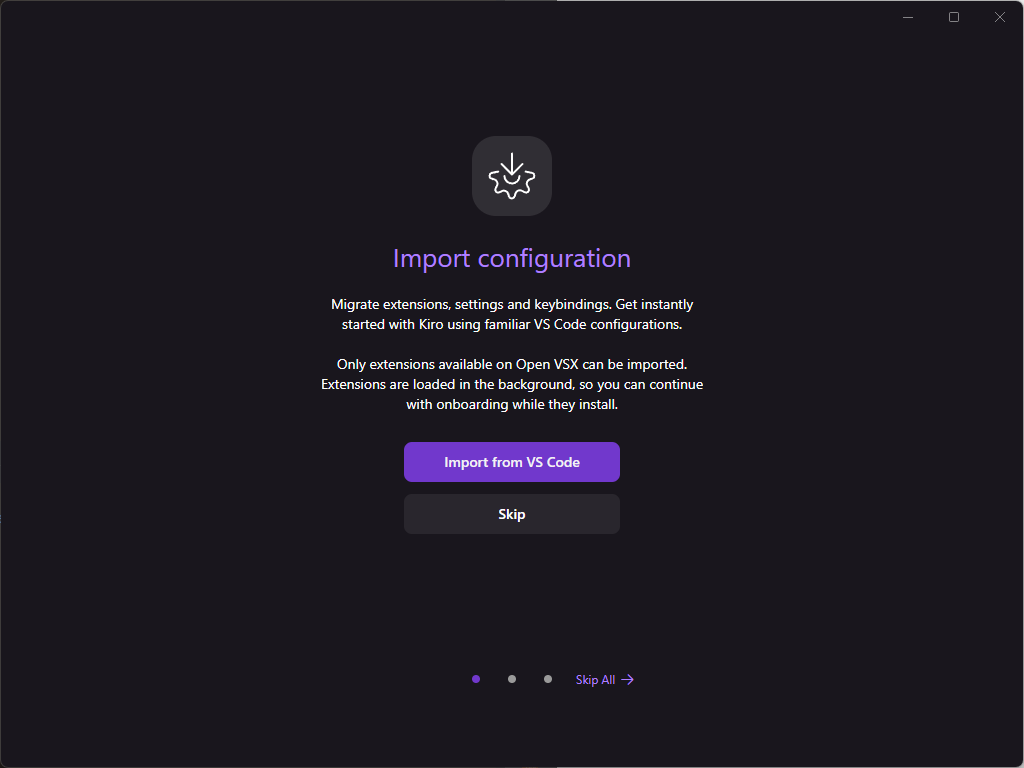
Step 8. Import VS Code Settings (Optional)
- Bring over your extensions, keybindings, and themes for a familiar setup.
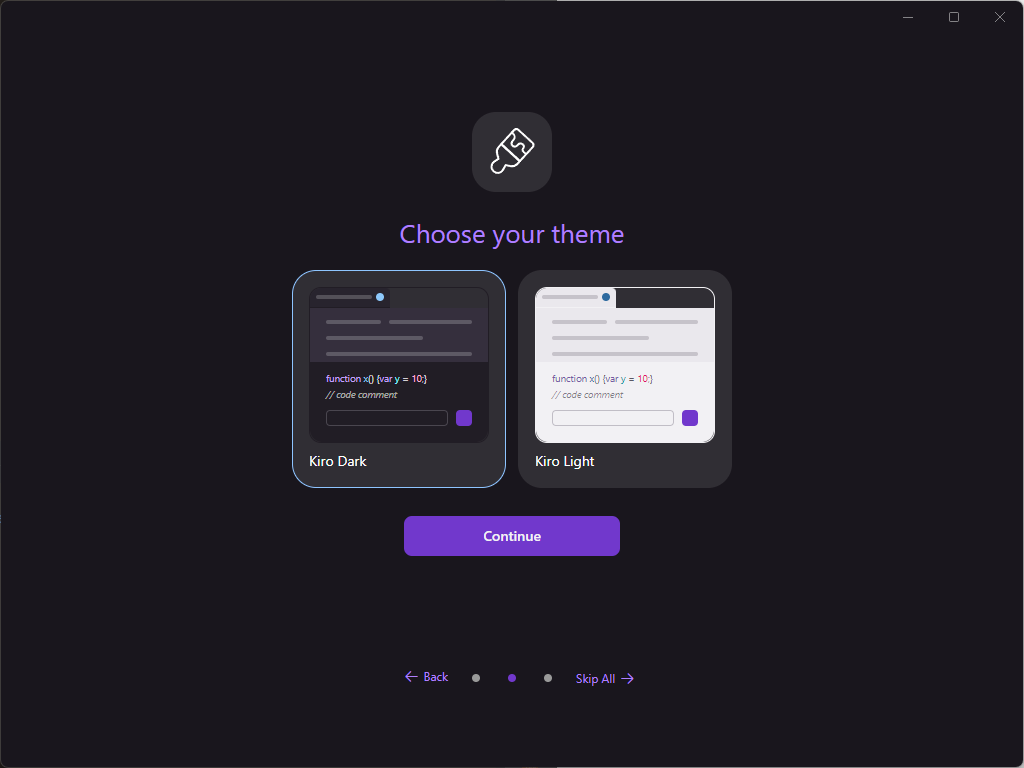
Step 9. Choose Your Theme
- Select Kiro Dark or Kiro Light.
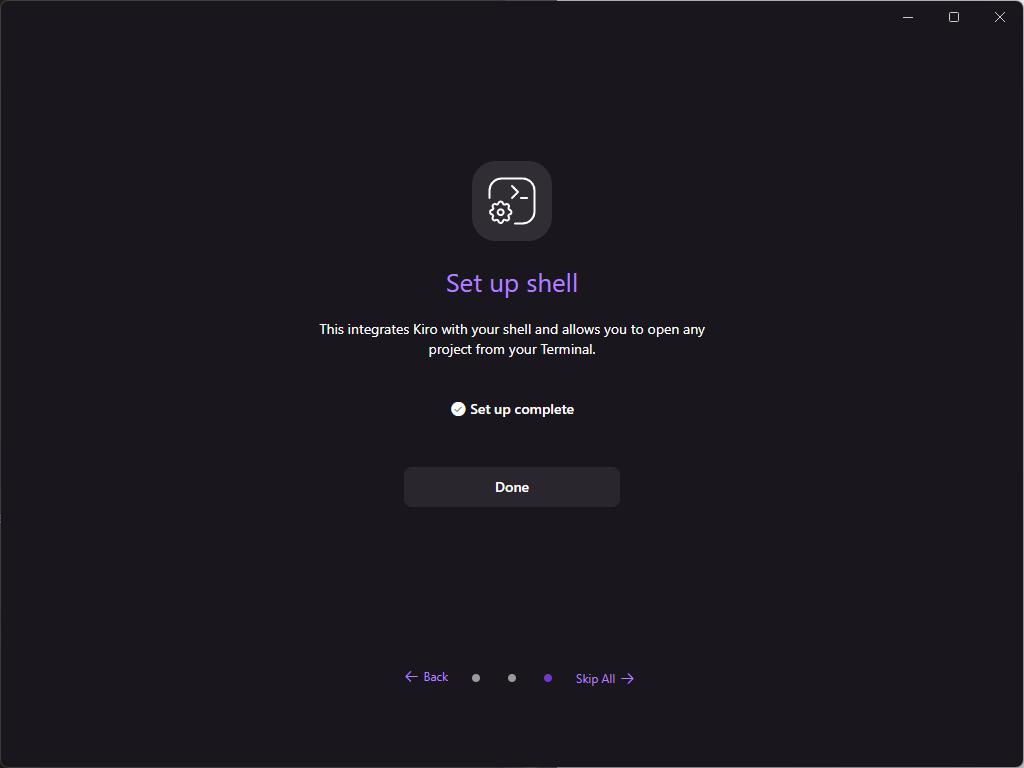
Step 10. Set Up Shell Integration
- Enable shell integration to open projects from your terminal.
Step 11. Start Your First Project
- Open a local or remote workspace and begin coding.

Tip: Kiro supports most major programming languages and is optimized for English. More language support is coming soon.
Why Pair Kiro AI IDE with Apidog for API-Driven Projects?
While Kiro excels at agentic, spec-driven coding, every modern AI project relies on robust APIs. That’s where Apidog comes in:
- All-in-One API Platform: Design, test, mock, and document APIs in a single workspace.
- Instant API Testing: Test endpoints as you document, catching issues early.
- Mock APIs: Front-end teams can develop independently of backend readiness.
- Effortless Code Generation: Export ready-to-use API code for popular frameworks.
- Collaboration: Real-time teamwork between front-end, back-end, and QA.
- Seamless Integration: Use Apidog’s MCP Server to connect your API specs directly to AI-powered IDEs like Kiro and Cursor.
Pro Tip:Use Apidog MCP Server to let Kiro’s AI agents access your API specs directly—generate code, update DTOs, and automate documentation with ease.
Frequently Asked Questions about Kiro AI IDE (FAQ)
Q: Is Kiro AI IDE free?
A: Yes, Kiro is free during the preview period, with Pro and Pro+ tiers coming soon.
Q: Do I need an AWS account to use Kiro?
A: No, you can log in with Google, GitHub, or your organization’s identity.
Q: What programming languages does Kiro support?
A: Most popular languages, including Python, Java, JavaScript, TypeScript, C#, Go, Rust, PHP, Ruby, and more.
Q: Can I import my VS Code settings?
A: Yes, Kiro is based on Code OSS and supports importing VS Code settings, themes, and plugins.
Q: How does Apidog integrate with Kiro?
A: Use Apidog MCP Server to connect your API specs to Kiro’s AI agents for code generation, documentation, and more.
Conclusion: Start Coding with Kiro and Apidog—No Waiting, No Limits
In the rapidly changing world of AI development, speed and flexibility are everything. With this guide, you can skip the Kiro AI IDE waitlist and get started instantly—no more delays, no more FOMO. Download Kiro for your platform, follow the simple setup steps, and unlock a new era of agentic, spec-driven coding.
But don’t stop there. For every API-driven project, Apidog is the essential companion—streamlining design, testing, mocking, and documentation in one powerful platform. Together, Kiro and Apidog empower you to build, test, and ship smarter, faster, and with total confidence.
Ready to level up your AI coding?


