Windsurf, developed by Codeium, is a cutting-edge integrated development environment (IDE) that redefines coding with its agentic intelligence. Unlike traditional IDEs, Windsurf leverages artificial intelligence to act as a virtual assistant, offering features like autocompletion, debugging, and seamless API integration. Whether you’re a seasoned developer or a beginner, Windsurf’s intuitive design and powerful capabilities make it a top choice for modern software development. Additionally, its compatibility with tools like Apidog, a free API management platform, enhances its utility for API-driven projects.
Why Choose Windsurf?
Before proceeding with the installation, understand why Windsurf stands out. Its agentic intelligence, powered by features like Cascade, enables real-time collaboration with your codebase. Windsurf predicts your intent, automates repetitive tasks, and integrates seamlessly with APIs through tools like Apidog. Moreover, it’s built on Visual Studio Code (VS Code), ensuring familiarity while introducing advanced AI-driven features. Consequently, developers experience faster coding, fewer errors, and enhanced productivity. Now, let’s explore the system requirements and installation steps for each operating system.
System Requirements for Windsurf
To ensure a smooth installation, verify that your system meets Windsurf’s requirements:
- Windows: Windows 10/11 (x64 or Arm64), 8 GB RAM (16 GB recommended), 2 GB free disk space.
- Mac: macOS 11 (Big Sur) or later, 8 GB RAM (16 GB recommended), 2 GB free disk space.
- Linux: Ubuntu 20.04 or later (or equivalent), 8 GB RAM (16 GB recommended), 2 GB free disk space.
- Internet: Stable connection for downloading and syncing plugins.
- Optional: Apidog for API testing and management.
These specifications ensure optimal performance, especially when using Windsurf’s AI features and Apidog for API workflows. Next, we’ll cover the installation process for each platform.

Downloading and Installing Windsurf on Windows
Step 1: Download the Windsurf Installer
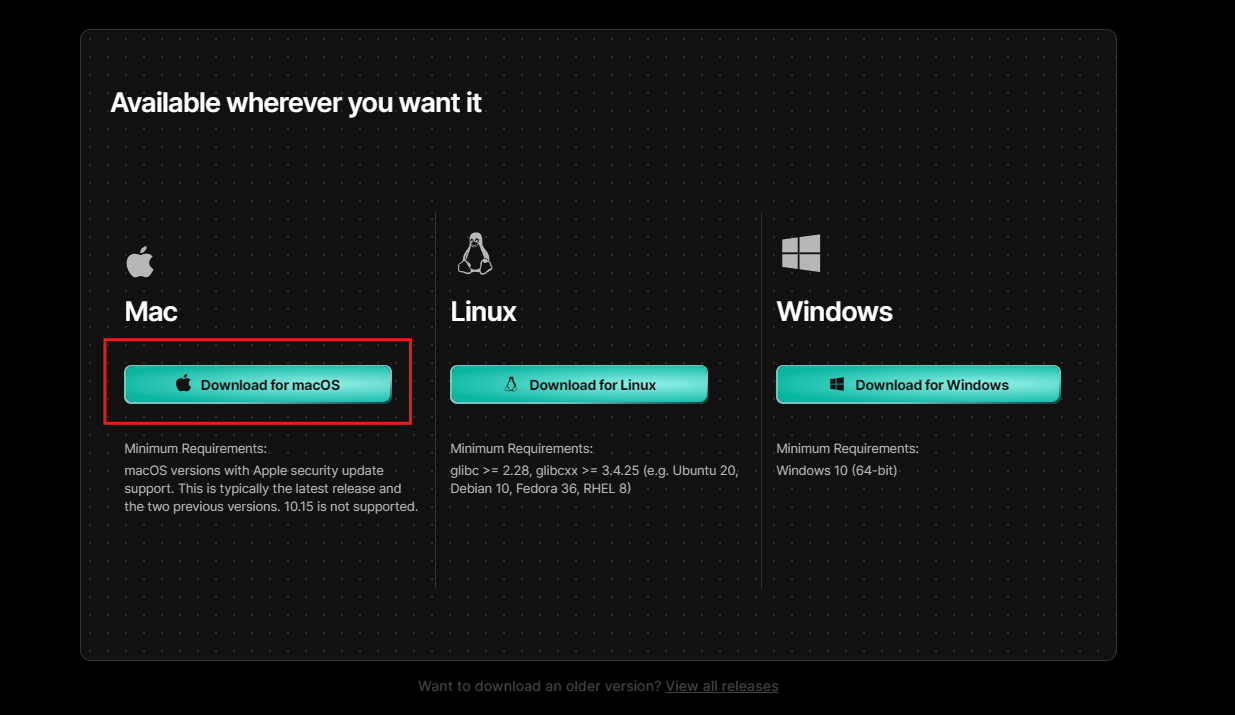
First, navigate to the official Windsurf website . Locate the “Download” section and select the Windows option. The site offers an .exe installer for both x64 and Arm64 architectures. Choose the appropriate version based on your system. For instance, most modern PCs use x64. Click the download link, and the browser will save the file (e.g., WindsurfSetup-x64.exe) to your default download folder.

Step 2: Run the Installer
Once downloaded, locate the .exe file in your Downloads folder. Double-click to launch the installer. Windows may display a User Account Control (UAC) prompt; click “Yes” to proceed. The setup wizard opens, guiding you through the process. Select your preferred installation directory (default is C:\Program Files\Windsurf) and choose whether to create a desktop shortcut. Click “Next” to continue.
Step 3: Install Windsurf
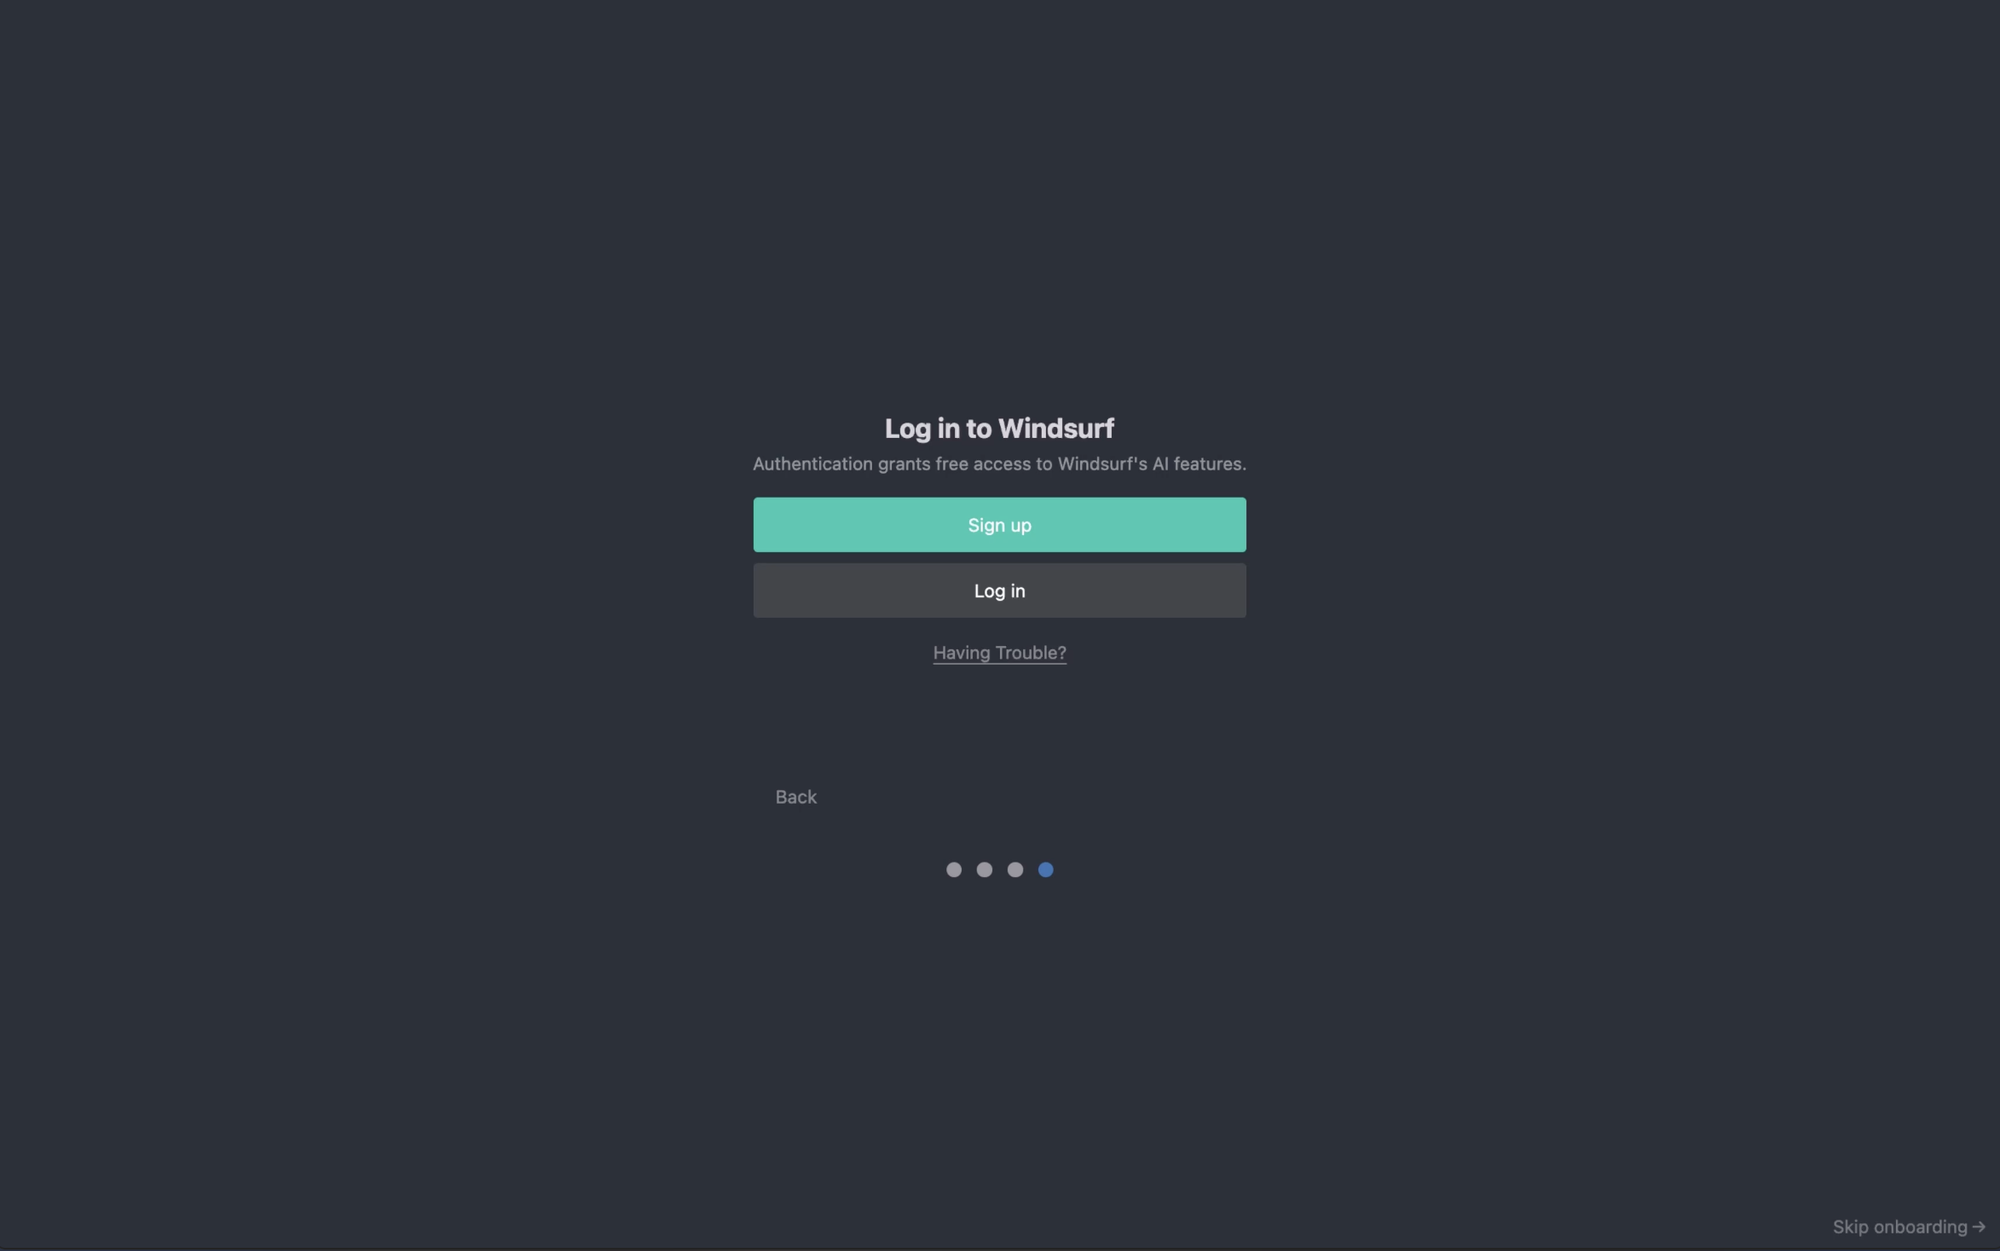
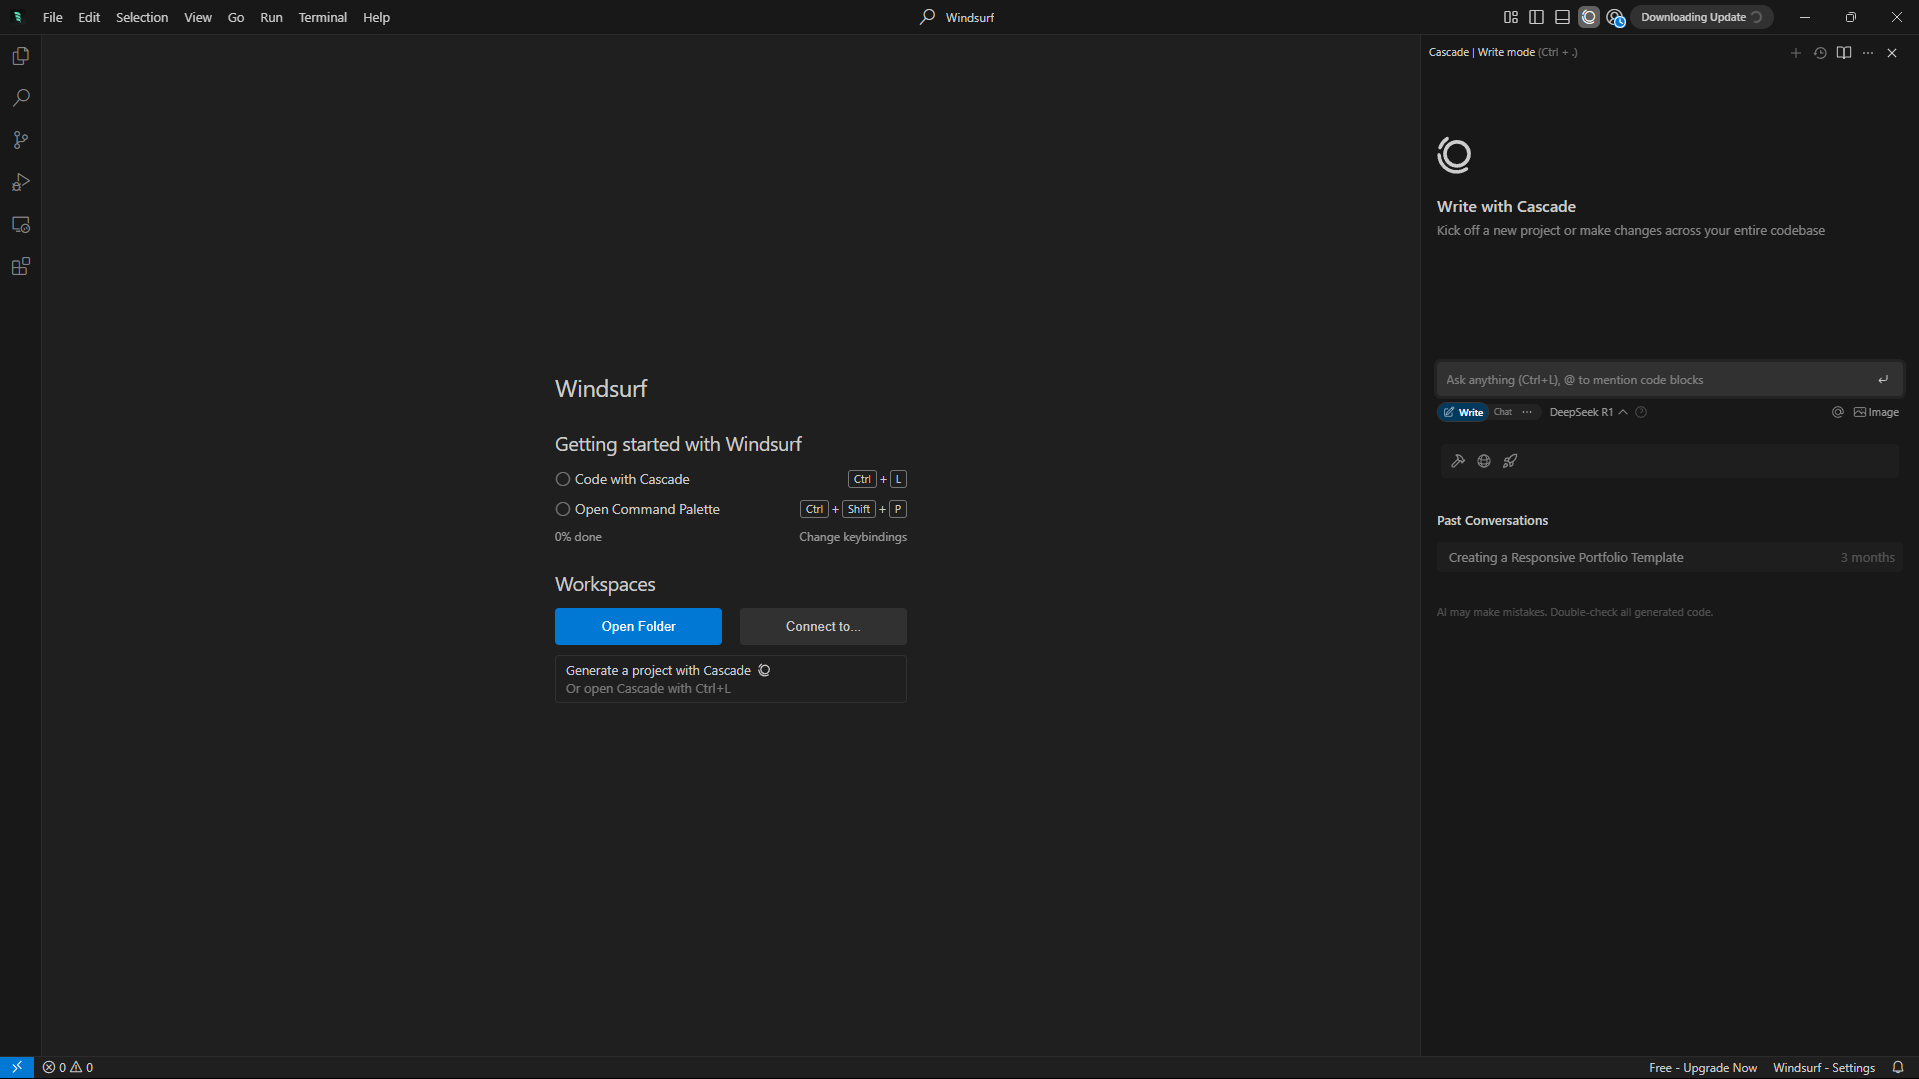
The installer extracts files and installs Windsurf, which typically takes 1–2 minutes. Ensure your internet connection remains active, as the installer may download additional dependencies. Upon completion, check the box to launch Windsurf immediately and click “Finish.” Windsurf opens, prompting you to sign in or create a Codeium account to access AI features.
Step 4: Sync VS Code Settings
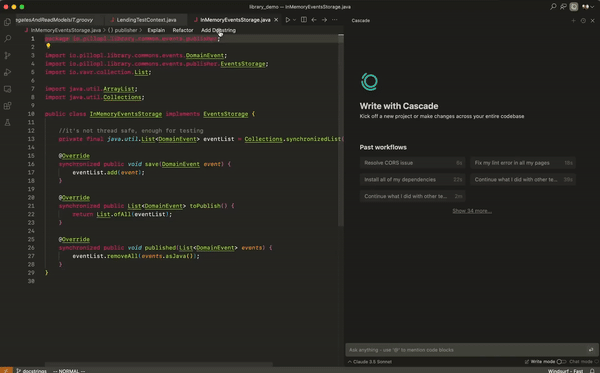
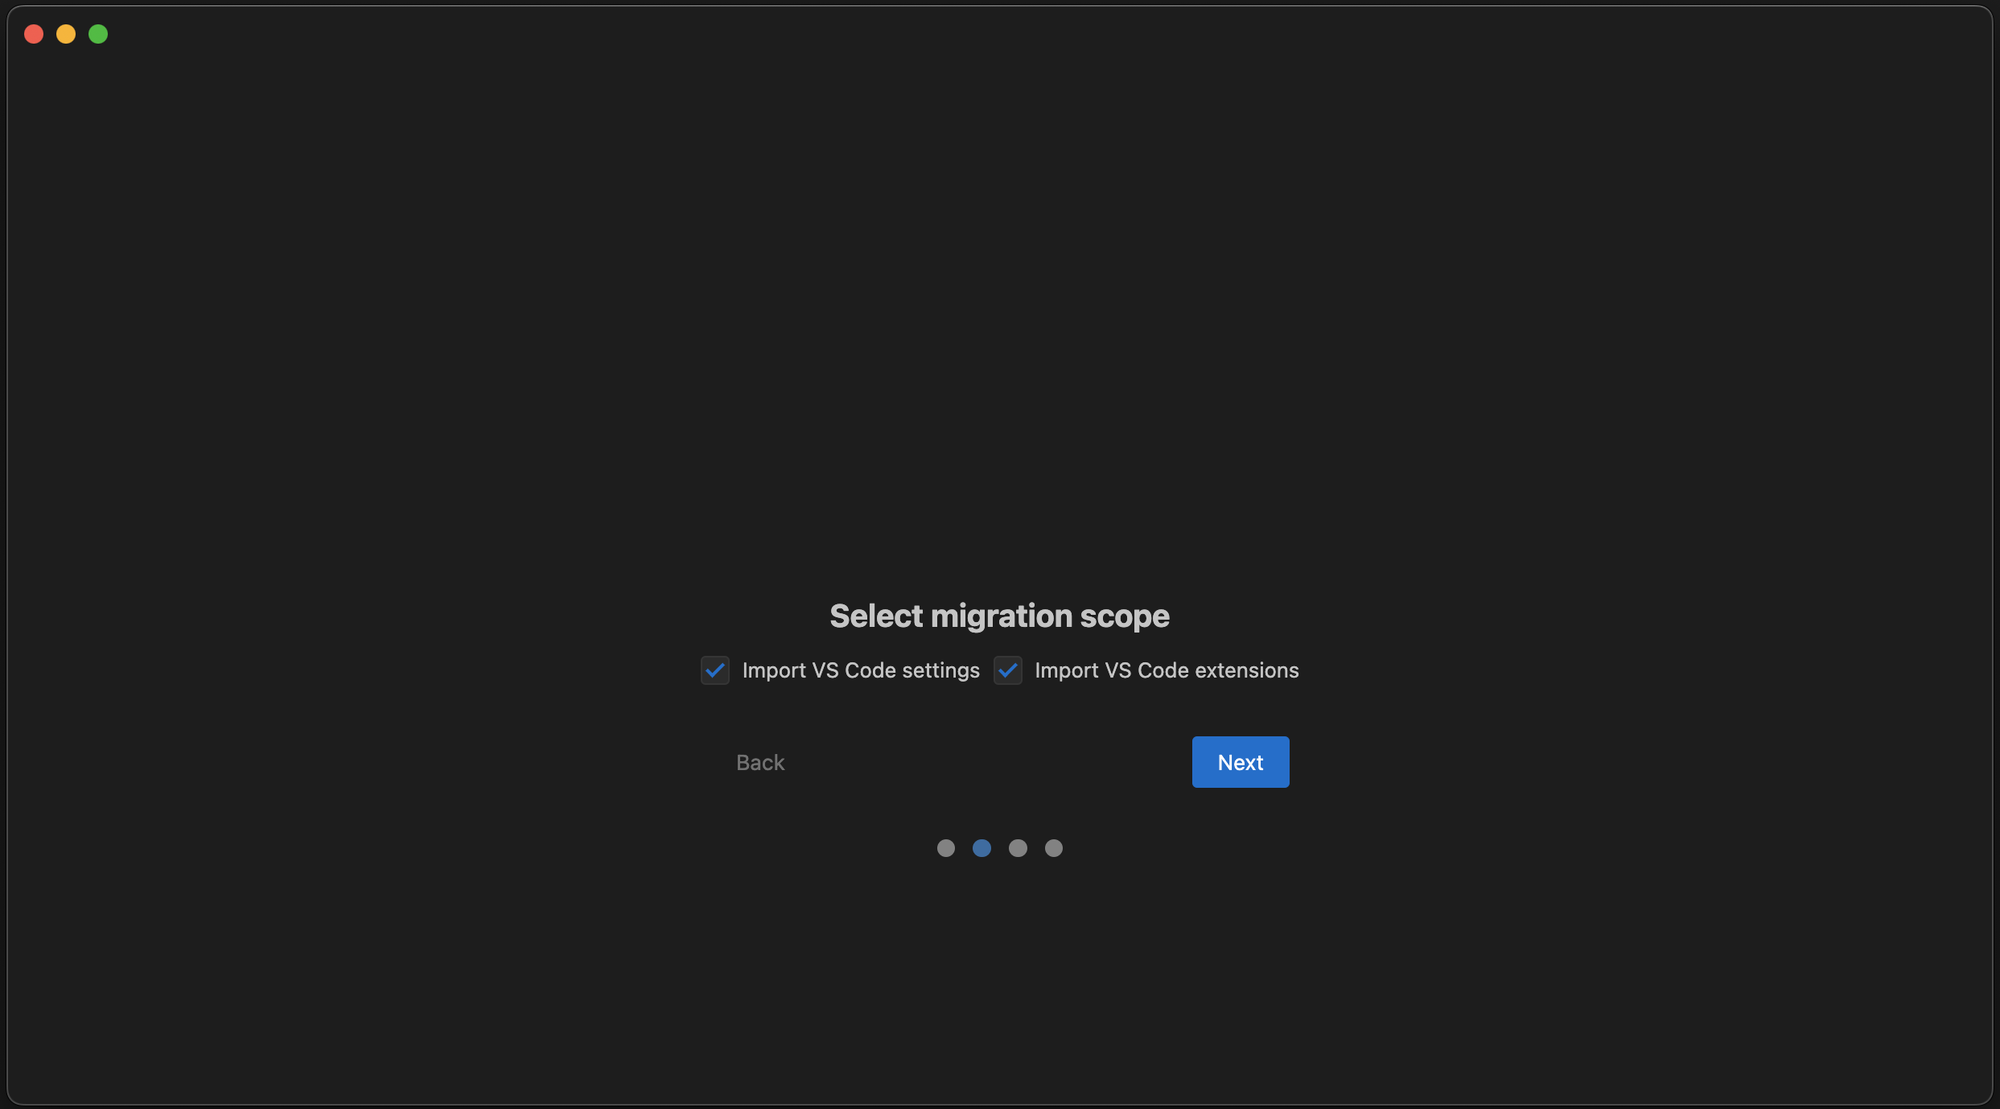
Since Windsurf is a VS Code fork, it automatically imports your existing VS Code plugins and settings. Navigate to the “Settings” menu and select “Sync VS Code Settings.” This feature ensures continuity, saving you time on reconfiguration. Additionally, integrate Apidog by installing its extension from the Windsurf marketplace to enhance API development.
Step 5: Verify Installation
To confirm Windsurf is installed correctly, create a new project and test features like autocompletion or the Cascade chat interface.
Downloading and Installing Windsurf on Mac
Step 1: Download the Windsurf Installer
Visit windsurf and go to the “Download” section. Select the macOS option, which provides a .dmg file compatible with Intel (x64) and Apple Silicon (Arm64) Macs. Click the download link, and the file (e.g., Windsurf-universal.dmg) saves to your Downloads folder.
Step 2: Open the DMG File
Locate the .dmg file and double-click to mount it. A new Finder window appears, displaying the Windsurf application icon. Drag the icon to the “Applications” folder to begin installation. macOS may prompt you to enter your admin password; provide it to proceed.
Step 3: Launch Windsurf
Navigate to the “Applications” folder and double-click the Windsurf icon. If macOS displays a security warning about an unverified developer, go to “System Preferences > Security & Privacy” and click “Open Anyway.” Windsurf launches, prompting you to sign in with a Codeium account. Complete the sign-in process to enable AI features.

Step 4: Import VS Code Configurations
Similar to Windows, Windsurf on macOS syncs VS Code settings. Access the “Settings” menu, select “Sync VS Code Settings,” and follow the prompts to import plugins and preferences.
Step 5: Test the Installation
Open a sample project and test Windsurf’s features, such as SuperComplete or Cascade. For instance, create a JavaScript file and observe AI-driven suggestions. If functionality is as expected, the installation is successful. Refer to the troubleshooting section if needed.
Downloading and Installing Windsurf on Linux
Step 1: Download the Windsurf Installer
Go to windsurf.com and select the Linux option from the “Download” section. Windsurf provides an AppImage for x64 and Arm64 architectures, compatible with distributions like Ubuntu 20.04 or later. Download the file (e.g., Windsurf-x64.AppImage) to your preferred directory.
Step 2: Make the AppImage Executable
Open a terminal and navigate to the download directory (e.g., cd ~/Downloads). Make the AppImage executable by running:
chmod +x Windsurf-x64.AppImage
This command grants execution permissions, allowing you to run the AppImage.
Step 3: Run Windsurf
Execute the AppImage by typing:
./Windsurf-x64.AppImage
Windsurf launches, and you may need to sign in with a Codeium account. The AppImage is portable, so no additional installation is required. Optionally, move the AppImage to /usr/local/bin for system-wide access.

Step 4: Sync VS Code Settings
Like other platforms, Windsurf on Linux imports VS Code configurations. Go to “Settings > Sync VS Code Settings” to transfer plugins and preferences. Install the Apidog extension from the Windsurf marketplace to streamline API workflows.
Step 5: Verify Installation
Test Windsurf by creating a project and using features like autocompletion or Cascade.
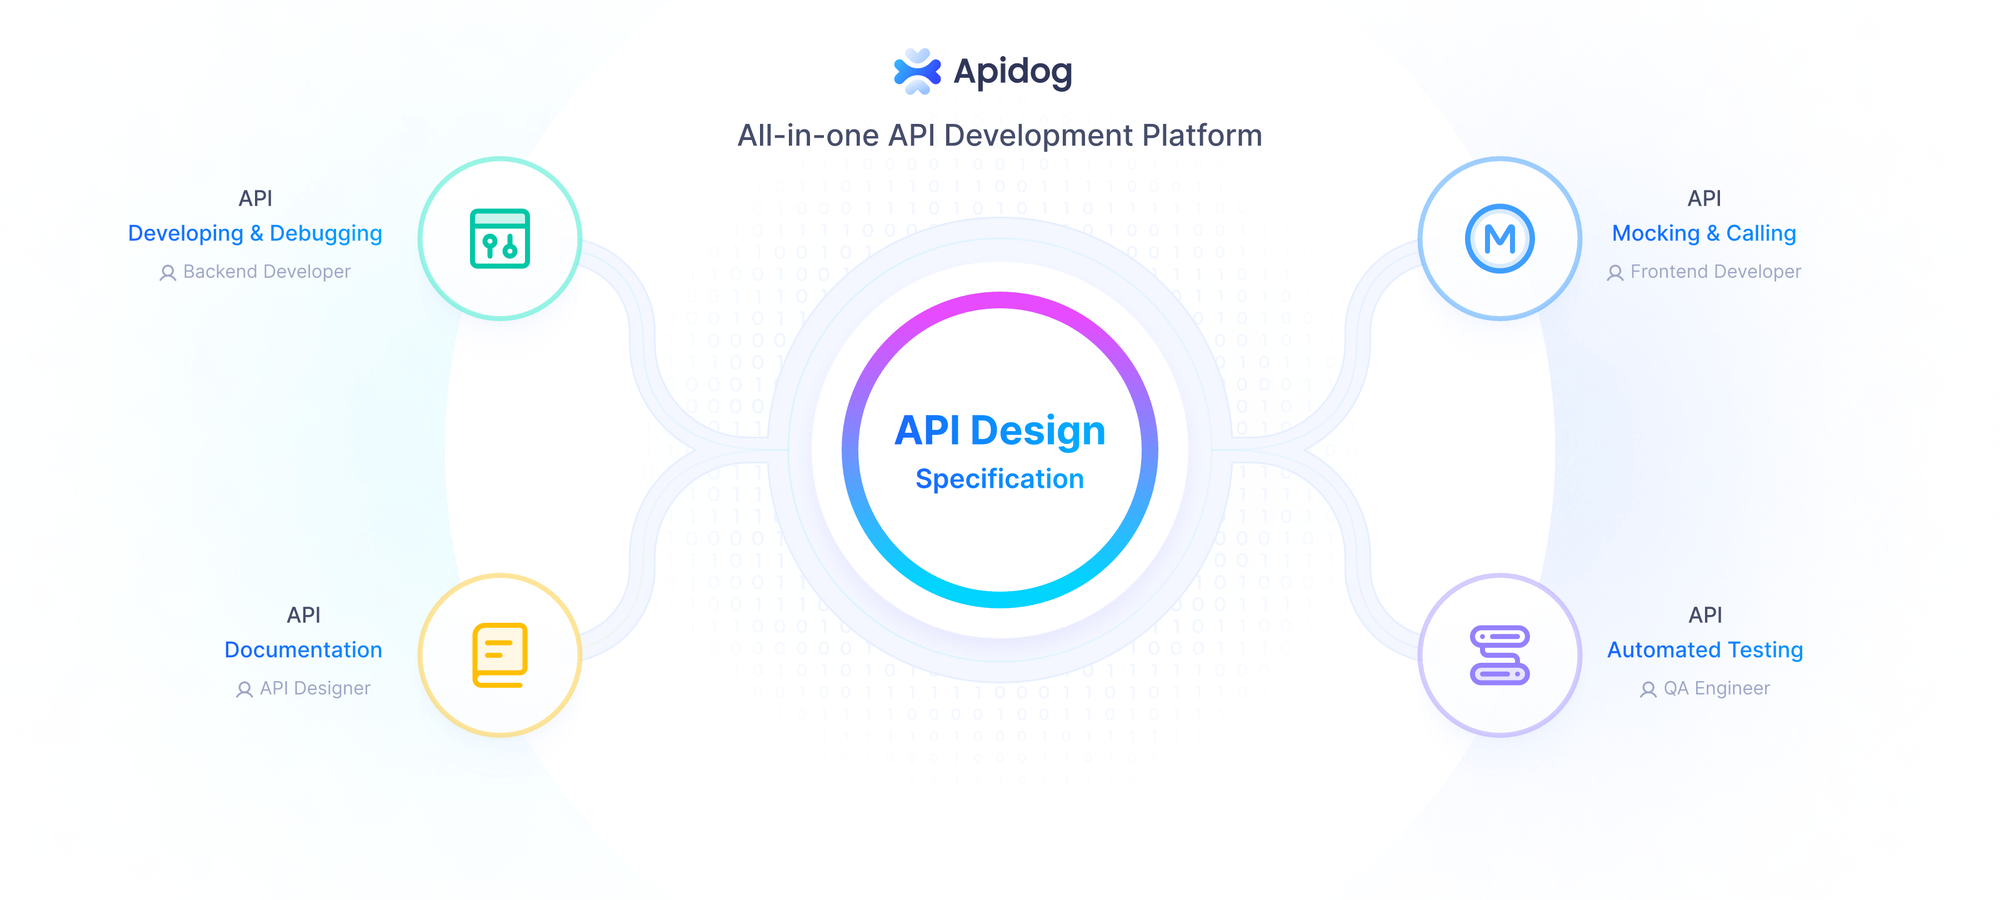
Integrating Windsurf with Apidog for API Development
Windsurf’s strength lies in its API integration, particularly with tools like Apidog. After installing Windsurf, enhance your workflow by setting up Apidog:
- Download Apidog: Visit apidog and download the free client for your platform..
- Configure API Testing: Use Apidog to create API requests and test endpoints directly from Windsurf. For example, send a GET request to a REST API and view responses in real-time.
- Leverage Cascade: Use Windsurf’s Cascade feature to troubleshoot API issues or generate API stubs, with Apidog handling documentation and testing.
This integration streamlines API development, making Windsurf a powerful tool for modern projects.
Troubleshooting Common Installation Issues
Despite a straightforward process, you may encounter issues. Here are common problems and solutions:
Issue 1: Installer Fails to Download
Cause: Unstable internet or regional restrictions.
Solution: Verify your connection and try a different browser. Alternatively, use a VPN to bypass restrictions.
Issue 2: Security Warnings on Mac
Cause: macOS blocks apps from unverified developers.
Solution: Go to “System Preferences > Security & Privacy” and allow Windsurf to open. Alternatively, run spctl --master-disable in Terminal to disable Gatekeeper temporarily.
Issue 3: AppImage Fails on Linux
Cause: Missing permissions or incompatible distribution.
Solution: Ensure the AppImage is executable (chmod +x). If issues persist, verify your distribution meets Ubuntu 20.04 or later requirements.
Issue 4: AI Features Not Working
Cause: Missing Codeium account or internet issues.
Solution: Sign in with a valid Codeium account and ensure a stable connection. Check codeium.com/support for further assistance.
Issue 5: Apidog Extension Not Loading
Cause: Incompatible Windsurf version or extension issue.
Solution: Update Windsurf to the latest version and reinstall the Apidog extension. Contact Apidog support if problems persist.
Optimizing Windsurf Post-Installation
After installation, optimize Windsurf for your workflow:
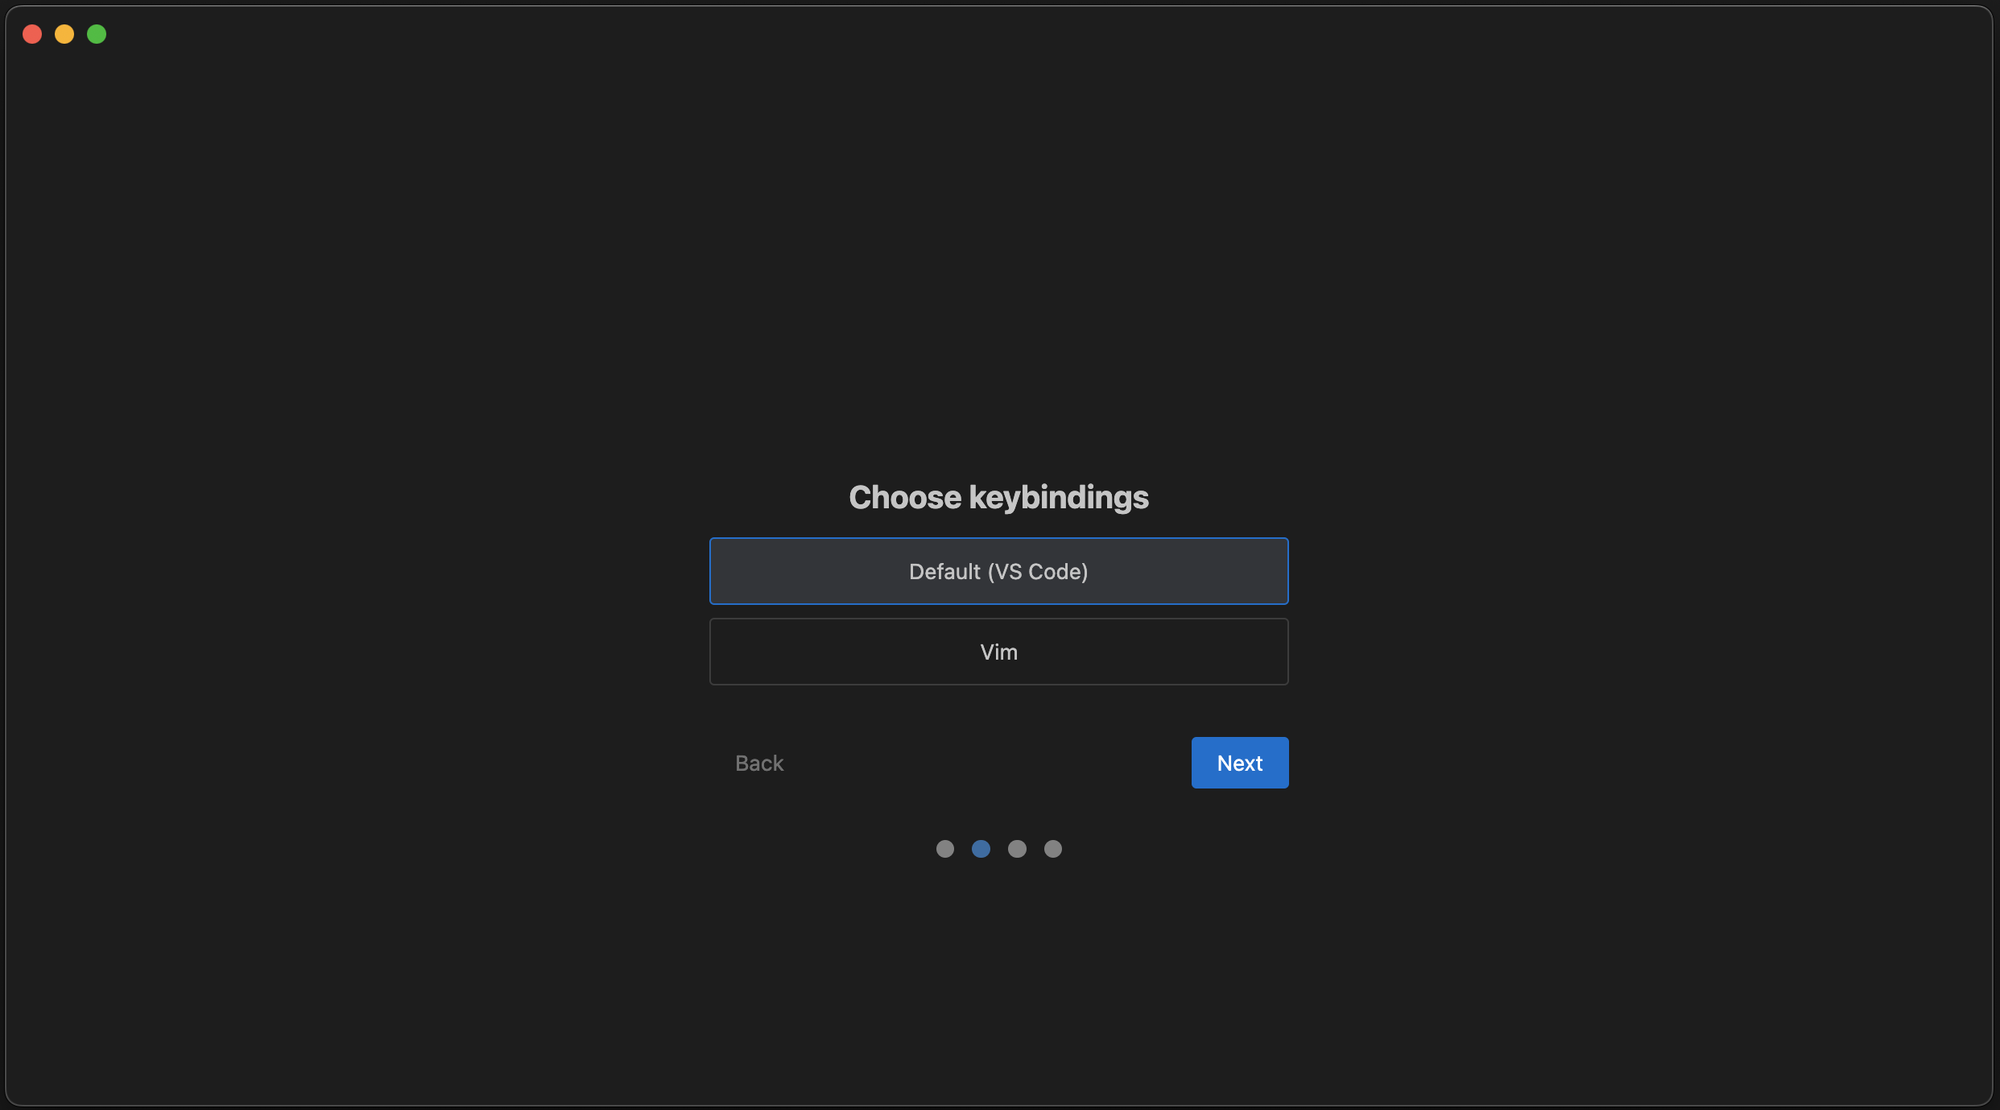
- Customize Settings: Adjust themes, keybindings, and AI sensitivity in the “Settings” menu.
- Enable SuperComplete: Activate this feature for multi-cursor edits, ideal for large codebases.
- Set Up Cascade: Configure the Cascade chat interface for project-specific tasks, such as API debugging with Apidog.
- Update Regularly: Check for updates in Windsurf to access new features and bug fixes.
These steps ensure Windsurf performs at its best, enhancing your coding efficiency.
Comparing Windsurf Installation Across Platforms
| Platform | Installer Type | Ease of Installation | VS Code Sync | Apidog Integration |
|---|---|---|---|---|
| Windows | .exe | High | Seamless | Yes |
| Mac | .dmg | High | Seamless | Yes |
| Linux | AppImage | Moderate | Seamless | Yes |
This table highlights the consistency of Windsurf’s installation process, with Linux requiring slightly more technical steps due to the AppImage format. Regardless of platform, Apidog integration remains a key advantage.
Best Practices for Using Windsurf with Apidog
To maximize productivity, follow these best practices:
- Organize Projects: Structure your codebase clearly to leverage Windsurf’s contextual awareness.
- Use Cascade for APIs: Combine Cascade with Apidog to automate API testing and documentation.
- Monitor Usage: Windsurf’s free tier limits Cascade steps; upgrade to Pro for unlimited access if needed.
- Provide Clear Prompts: When using Cascade, use precise instructions to minimize AI errors, especially for complex API tasks.
These practices ensure you fully utilize Windsurf’s AI capabilities alongside Apidog’s API tools.
Conclusion: Start Coding with Windsurf Today
Installing Windsurf on Windows, Mac, or Linux is a straightforward process tailored to each platform's native installer format. With its AI-driven coding assistance, seamless VS Code configuration sync, and deep integration with API tools like Apidog, Windsurf transforms how developers build and manage modern applications. Whether you're debugging code, managing endpoints, or streamlining your API workflows, Windsurf equips you with powerful features to work smarter and faster. Once installed, don’t forget to explore customization options and keep your setup updated to get the most out of Windsurf’s evolving capabilities.
Ready to code with intelligence? Download Windsurf today and supercharge your development experience—especially when paired with Apidog for a complete API management solution.