Modern developers constantly seek powerful AI coding assistants that provide privacy, performance, and cost-effectiveness. DeepSeek R1 emerges as a game-changing solution, offering advanced reasoning capabilities while running entirely on your local machine. This comprehensive guide demonstrates how to integrate local DeepSeek with Cursor IDE, creating a robust development environment that keeps your code private while delivering exceptional AI assistance.
Why DeepSeek R1?
DeepSeek R1 represents a breakthrough in open-source reasoning models, utilizing a sophisticated Mixture of Experts (MoE) architecture. This model contains 671 billion parameters but activates only 37 billion during each forward pass, creating an optimal balance between computational efficiency and performance capabilities.

The reinforcement learning methodology behind DeepSeek R1 enables advanced reasoning that rivals proprietary models like OpenAI's GPT-4. Moreover, developers benefit from complete data privacy since the model runs locally without sending code to external servers.
Yes, You Should Run Deepseek R1 Locally
Before jumping into the technical steps, consider why this approach matters. Running DeepSeek locally within Cursor offers distinct advantages:
- Cost Savings: Avoid recurring fees tied to cloud-based AI services.
- Enhanced Privacy: Keep your code and data on your machine, reducing exposure risks.
- Improved Reliability: Eliminate downtime or latency from external servers.
- Customization Options: Tailor DeepSeek to your specific coding needs.
With these benefits in mind, let’s actually run Deepseek R1 Locally, with these steps:
Step 1: Set Up DeepSeek Locally with Ollama
First, you need a tool to run DeepSeek on your machine. Ollama simplifies this by providing an easy way to deploy large language models locally. Follow these steps to get started:
Download and Install Ollama
Visit the Ollama website and grab the installer for your operating system—Windows, macOS, or Linux. Run the installer and follow the prompts to complete the setup.

Pull the DeepSeek Model
Open your terminal and execute this command to download the DeepSeek-R1 model:
ollama pull deepseek-r1

This lightweight yet capable model suits most development tasks. If you need a different version, adjust the command accordingly.
Verify the Model
Confirm the model downloaded successfully by listing all available models:
ollama list

Look for deepseek-r1 in the output. If it’s missing, repeat the pull command.
Launch the Ollama Server
Start the server to make DeepSeek accessible locally:
ollama serve
This runs the server at http://localhost:11434. Keep this terminal open during use.
Now, DeepSeek runs locally. However, Cursor’s backend can’t directly access localhost. Next, you’ll expose this server to the internet using a cloud tunnel.
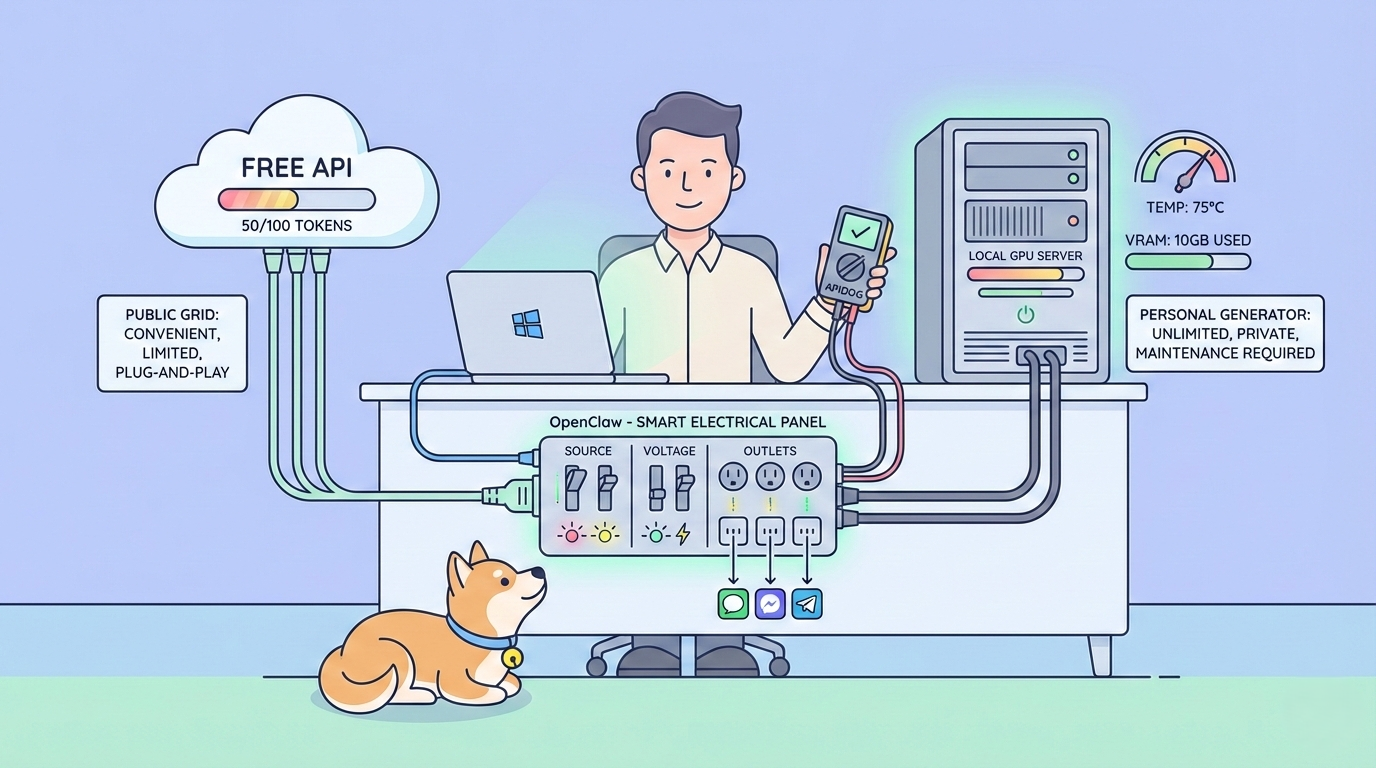
Step 2: Expose Your Local Server with a Cloud Tunnel
To bridge the gap between your local DeepSeek instance and Cursor, create a secure tunnel. Cloudflare offers a quick, reliable solution with its cloudflared tool. Here’s how to set it up:
Install Cloudflare CLI
Install cloudflared using a package manager like Homebrew (macOS):
brew install cloudflared

For Windows or Linux, download it from the Cloudflare website.
Check the Installation
Verify it works by running:
cloudflared --version
You should see the version number.

Create a Temporary Tunnel
Run this command to expose your local Ollama server:
cloudflared tunnel --url http://localhost:11434 --http-host-header="localhost:11434"
The --http-host-header flag ensures Ollama accepts incoming requests. Without it, you’ll hit a 403 error.
Capture the Tunnel URL
The terminal displays a URL, such as https://xxxxxxxxxx.trycloudflare.com. Copy this—it’s your public endpoint.
Test the Tunnel
Send a test request using curl to confirm connectivity:
curl https://xxxxxxxxxx.trycloudflare.com/v1/chat/completions -H "Content-Type: application/json" -d '{
  "messages": [
    { "role": "system", "content": "You are a test assistant." },
    { "role": "user", "content": "Say hello." }
  ],
  "model": "deepseek-r1"
}'
Expect a JSON response with “hello” from DeepSeek. If it fails, double-check the URL and server status.
With the tunnel active, your local DeepSeek instance is now internet-accessible. Let’s configure Cursor to use it.
Step 3: Integrate DeepSeek with Cursor
Now, connect Cursor to your local DeepSeek model via the tunnel. Cursor’s settings allow custom API endpoints, making this integration straightforward. Proceed as follows:
Access Cursor Settings
Open Cursor and go to File > Preferences > Settings or press Ctrl + , (Windows) or Cmd + , (macOS).

Find AI Configuration
Navigate to the AI or Models section. Look for options to manage AI models or API settings.
Add a New Model
Click “Add Model” or a similar button to create a custom configuration.

Enter the Tunnel URL
Set the base URL to your Cloudflare tunnel address (e.g., https://xxxxxxxxxx.trycloudflare.com).

Specify the Model
Input deepseek-r1 as the model name, matching your Ollama setup.
Save Changes
Apply and save the configuration.
Test the Setup
Open Cursor’s chat interface (Ctrl + L or Cmd + L), select your new model, and type a test prompt like “Write a Python function.” If DeepSeek responds, the integration works.
You’ve now linked DeepSeek and Cursor successfully. Next, explore ways to troubleshoot and enhance this setup.
Step 4: Troubleshoot and Optimize Your Setup
Even with careful setup, issues can arise. Additionally, you can optimize the experience. Here’s how to address common problems and add advanced tweaks:
Troubleshooting Tips
403 Access Denied
If the tunnel returns a 403 error, ensure you used --http-host-header="localhost:11434" in the cloudflared command. Restart the tunnel if needed.
Model Not Recognized
If Cursor can’t find deepseek-r1, verify the model name matches your Ollama installation. Also, confirm the Ollama server runs (ollama serve).
Slow Responses
Laggy replies might stem from limited hardware. Check CPU/memory usage or upgrade to a lighter DeepSeek variant if necessary.
Advanced Enhancements
Fine-Tune DeepSeek
Ollama supports model customization. Use its documentation to train DeepSeek with your codebases for better context-aware responses.
Leverage Apidog
Pair your setup with Apidog to test APIs DeepSeek might generate. Apidog simplifies debugging and validation, enhancing your workflow. Download Apidog for free to try it out.

Persistent Tunnels
For long-term use, set up a named Cloudflare tunnel instead of a temporary one. This avoids regenerating URLs.
These steps ensure a robust, efficient setup. Let’s wrap up with some final thoughts.
Conclusion
Integrating local DeepSeek with Cursor IDE creates a powerful, private, and cost-effective coding environment. This setup combines the advanced reasoning capabilities of DeepSeek R1 with Cursor's intuitive interface, delivering professional-grade AI assistance without compromising data privacy.
The technical implementation requires careful attention to system requirements, proper configuration, and ongoing optimization. However, the benefits of local AI deployment—including complete privacy control, zero ongoing costs, and offline functionality—make this investment worthwhile for serious developers.
Success with local DeepSeek depends on understanding your hardware limitations, optimizing configuration settings, and developing effective prompt engineering techniques. Regular monitoring and adjustment ensure consistent performance as your development needs evolve.
Want an integrated, All-in-One platform for your Developer Team to work together with maximum productivity?
Apidog delivers all your demands, and replaces Postman at a much more affordable price!