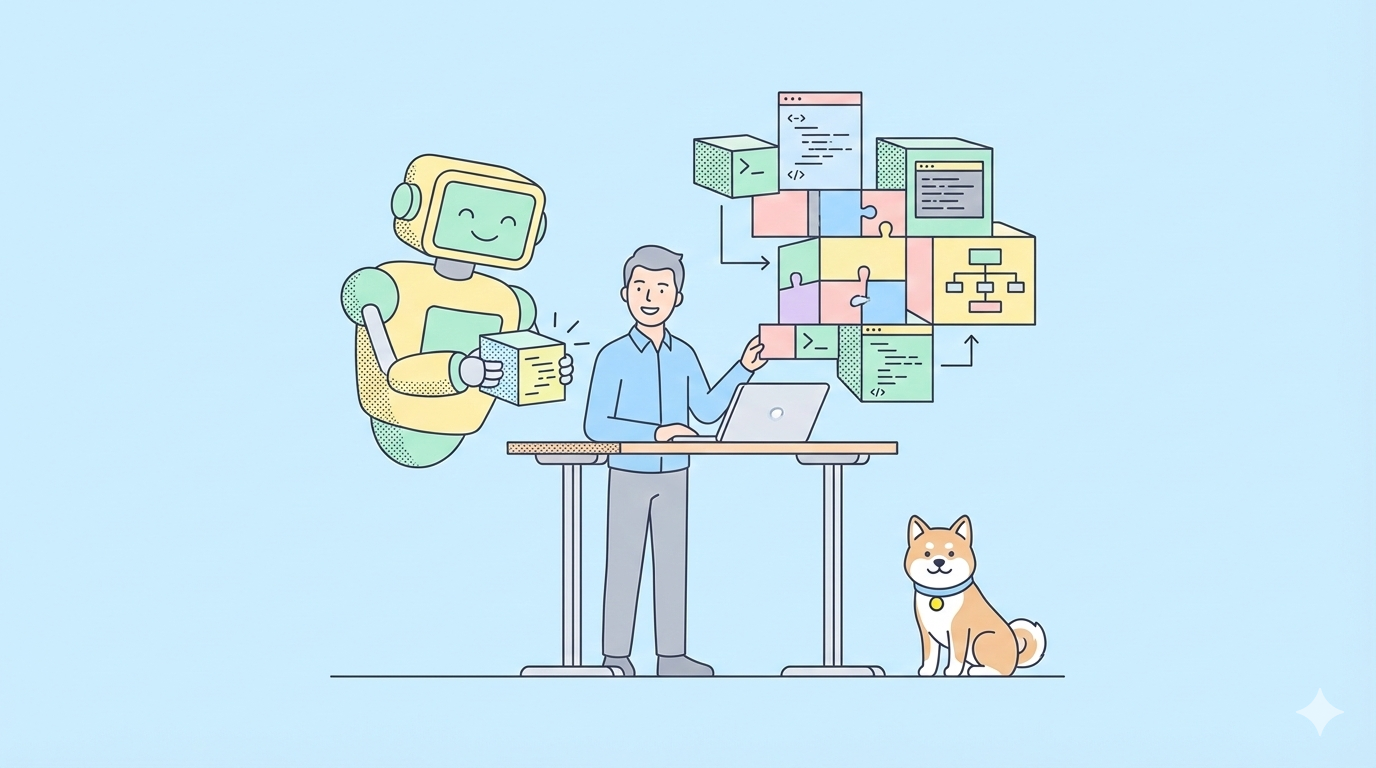
Are you looking to empower your AI tools with governed, production-ready data? Discover how the dbt MCP server bridges dbt projects and AI systems, enabling API and backend teams to automate, explore, and query data—securely and efficiently.
💡 Need an API testing platform that generates beautiful API Documentation? Want your team to collaborate in an integrated, all-in-one workspace for maximum productivity? Try Apidog—a more affordable Postman alternative that centralizes your API lifecycle.
What Is dbt and Why Do Developers Use It?
dbt (data build tool) is a powerful, open-source framework for data transformation. It enables engineering teams to:
- Create modular SQL models for shaping data in the warehouse.
- Document and manage relationships between datasets.
- Enforce data quality with built-in testing.
- Trace data lineage for transparency and debugging.
Think of dbt as the foundation for modern data engineering, making your analytical datasets clean, well-documented, and reliable.
Introducing the dbt MCP Server
The dbt MCP server is an open-source, experimental server that connects your dbt project to AI-powered tools and workflows. MCP (Model Context Protocol) lets AI systems—like Claude Desktop and Cursor—access your dbt project’s metadata, documentation, and semantic layer.
With this server, AI agents and business users can:
- Browse dbt models and structures.
- Run queries and generate governed reports.
- Trigger dbt commands—all via natural language or code, using MCP-enabled clients.
This seamless bridge gives your AI tools secure, real-time visibility into your data warehouse.

Key Benefits of the dbt MCP Server
Why should engineering and data teams consider the dbt MCP server?
- Unified Data Discovery: Instantly browse and understand dbt models, relationships, and dependencies.
- Consistent Querying: Use the dbt Semantic Layer for metrics, or run custom SQL queries—ensuring every team uses standardized definitions.
- Automated Operations: Let AI agents execute dbt commands (
run,test,build) to maintain pipelines and automate routine tasks. - Secure & Scalable: Configure permissions and run the server locally, in a sandbox, or in production as needed.
How the dbt MCP Server Supercharges AI Workflows
For API developers and backend engineers, connecting dbt to AI tools unlocks several powerful capabilities:
- Universal Access: Exposes your dbt project's context (models, metrics, lineage) to any MCP-enabled client—no need to build custom integrations.
- Smart Exploration: AI can list models, check dependencies, and pull metadata for rapid problem-solving or onboarding.
- Governed Analytics: Reports generated through the Semantic Layer always use your official metrics, reducing metric drift and confusion.
- Automated Pipelines: AI can remotely trigger dbt builds, tests, or runs, streamlining CI/CD and analytics workflows.
- Flexible Deployment: Run the MCP server in local development, CI, or production environments—control access as needed.

Step-by-Step Guide: Installing the dbt MCP Server
Ready to integrate dbt and AI? Follow these steps:
Prerequisites
Before you begin, ensure you have:
- Python 3.12 or newer
uv: Fast Python package installer and resolver (installation guide)Task: Task runner/build tool (installation guide)- A dbt project with a configured
profiles.ymlpointing to your data warehouse - (Optional) A dbt Cloud account for cloud-based workflows
1. Clone the dbt MCP Repository
git clone https://github.com/dbt-labs/dbt-mcp.git
cd dbt-mcp
This will fetch the code and place you in the project directory.
2. Install Python Dependencies
With uv and Task ready, run:
task install
This command sets up a virtual environment and installs all required packages.
3. Configure Environment Variables
Copy the sample configuration and edit as needed:
cp .env.example .env
Open .env and set these variables:
DBT_HOST: dbt Cloud hostname (e.g.,cloud.getdbt.com)DBT_TOKEN: Your dbt Cloud personal access token or service tokenDBT_PROD_ENV_ID: Production environment IDDBT_DEV_ENV_ID: (Optional) Development environment IDDBT_USER_ID: (Optional) Your user IDDBT_PROJECT_DIR: Path to your local dbt project (for CLI usage)DBT_PATH: Path to your dbt CLI executable (usewhich dbt)
You can also enable/disable tool groups (e.g., Semantic Layer, Discovery) by setting corresponding variables.
4. Launch the dbt MCP Server
From the dbt-mcp directory, start the server:
task start
The server is now ready for connections from MCP-compatible clients.
5. Connect MCP-Enabled Clients
For Claude Desktop
Add the following to claude_desktop_config.json (replace <path-to-.env-file>):
{
  "mcpServers": {
    "dbt-mcp": {
      "command": "uvx",
      "args": ["--env-file", "<path-to-.env-file>", "dbt-mcp"]
    }
  }
}
Check logs at ~/Library/Logs/Claude (Mac) or %APPDATA%\Claude\logs (Windows) for troubleshooting.

For Cursor
Follow Cursor’s MCP documentation and input the config as above.
For VS Code
- Open Settings (
Cmd + ,) and select Workspace or User tab. - For WSL: Use the Remote tab via Command Palette (
F1) or Settings editor. - Enable “Mcp” under Features → Chat.
- Click “Edit in settings.json” under “Mcp > Discovery” and add:
{
  "mcp": {
    "inputs": [],
    "servers": {
      "dbt": {
        "command": "uvx",
        "args": ["--env-file", "<path-to-.env-file>", "dbt-mcp"]
      }
    }
  }
}
Manage servers via the Command Palette (Ctrl + Cmd + P) with the “MCP: List Servers” command.

Troubleshooting
- uvx Not Found: Use the full path to
uvx(find it withwhich uvx) in JSON configs. - Connection Issues: Double-check your
.envvariables, especiallyDBT_HOSTandDBT_TOKEN. - WSL: Adjust settings in VS Code’s Remote tab for WSL compatibility.
What Tools Does the dbt MCP Server Support?
The dbt MCP server enables:
- dbt CLI: Run commands like
build,compile,docs,run,test, andshow. - Semantic Layer: Access and query governed metrics with
list_metrics,get_dimensions, andquery_metrics. - Discovery: Explore models and their details with
get_all_modelsandget_model_details. - Remote SQL Execution: Generate and execute SQL with
text_to_sqlandexecute_sql(requires a personal access token).
Caution: Commands such as
runandbuildcan modify production data—use with care and proper permissions.
Conclusion: Empower Your AI Workflows with Secure, Governed Data
The dbt MCP server opens the door for API and backend teams to connect AI tools directly to trusted, documented data. You get automated data discovery, querying, and pipeline management—all governed by your dbt project's standards.
Looking to further streamline your API development and testing? Apidog offers a comprehensive solution for API documentation, team productivity, and is a robust alternative to Postman at a better value.


