Testing an API endpoint once is straightforward. You send a request, review the response, and confirm everything works as expected. The real challenge begins when you need to run the same test against dozens—or even hundreds—of different data sets. Manually updating parameters and sending requests repeatedly is not only time-consuming, but also prone to mistakes and impossible to scale.
This is where data-driven API testing comes in. Instead of rewriting or resending requests by hand, you define a single test case and run it automatically with multiple sets of input data. The result is broader coverage, higher accuracy, and far less manual effort.
To do this efficiently, you need the right tool. Apidog stands out by offering native support for data-driven testing using CSV and JSON files. As an all-in-one API development and testing platform, Apidog lets you bind external data files to a test scenario and execute it repeatedly, validating each response automatically.
Whether you’re testing login flows with different users, search APIs with varied queries, or resource creation with multiple parameter combinations, Apidog removes the repetitive work and helps you achieve reliable, comprehensive API testing in a fraction of the time.
Now, let's dive into a complete, step-by-step guide on mastering data-driven API testing using Apidog with CSV and JSON.
Step-by-Step Guide to Data-driven API Testing with CSV and JSON
Let's walk through the entire process, from setup to execution, using a concrete example. We'll test a user registration API endpoint.
Step 1: Define Your Base API Request
First, you create the API request that will serve as your test template.
- In Apidog, create a new request to your user registration endpoint (e.g.,
POST /api/v1/users). - Set up the headers (e.g.,
Content-Type: application/json). - In the Body tab, create your JSON payload. Instead of hardcoding values, you'll use Apidog's dynamic variable syntax
{{}}to create placeholders.
{
  "username": "{{username}}",
  "email": "{{email}}",
  "password": "{{password}}",
  "role": "{{role}}"
}
Notice the placeholders: {{username}}, {{email}}, etc. Apidog will replace these with actual values from your data file during execution.
Step 2: Create Your Test Data File (CSV or JSON)
Now, create the external file that will feed data into your placeholders.
Option A: Using a CSV File
CSV is perfect for tabular data. Create a file user_data.csv:
username,email,password,role,expected_status
john_doe,john@example.com,SecurePass123!,user,201
jane_smith,jane@example.com,AnotherPass456!,admin,201
bad_user,not-an-email,short,user,400
duplicate_user,john@example.com,SomePass789!,user,409- The first row defines the variable names that match your placeholders (
username,email, etc.), plus an extraexpected_statusfor validation. - Each subsequent row is a test case with the data for that run.
Option B: Using a JSON File
JSON is ideal for nested or more complex data structures. Create a file user_data.json:
[
  {
    "username": "john_doe",
    "email": "john@example.com",
    "password": "SecurePass123!",
    "role": "user",
    "expected_status": 201
  },
  {
    "username": "jane_smith",
    "email": "jane@example.com",
    "password": "AnotherPass456!",
    "role": "admin",
    "expected_status": 201
  },
  {
    "username": "bad_user",
    "email": "not-an-email",
    "password": "short",
    "role": "user",
    "expected_status": 400
  }
]
Step 3: Configure the Data-Driven Test in Apidog
This is where Apidog's integrated workflow shines.
- Go to the "Test" tab within your dashboard (or create a new test case in a test suite).
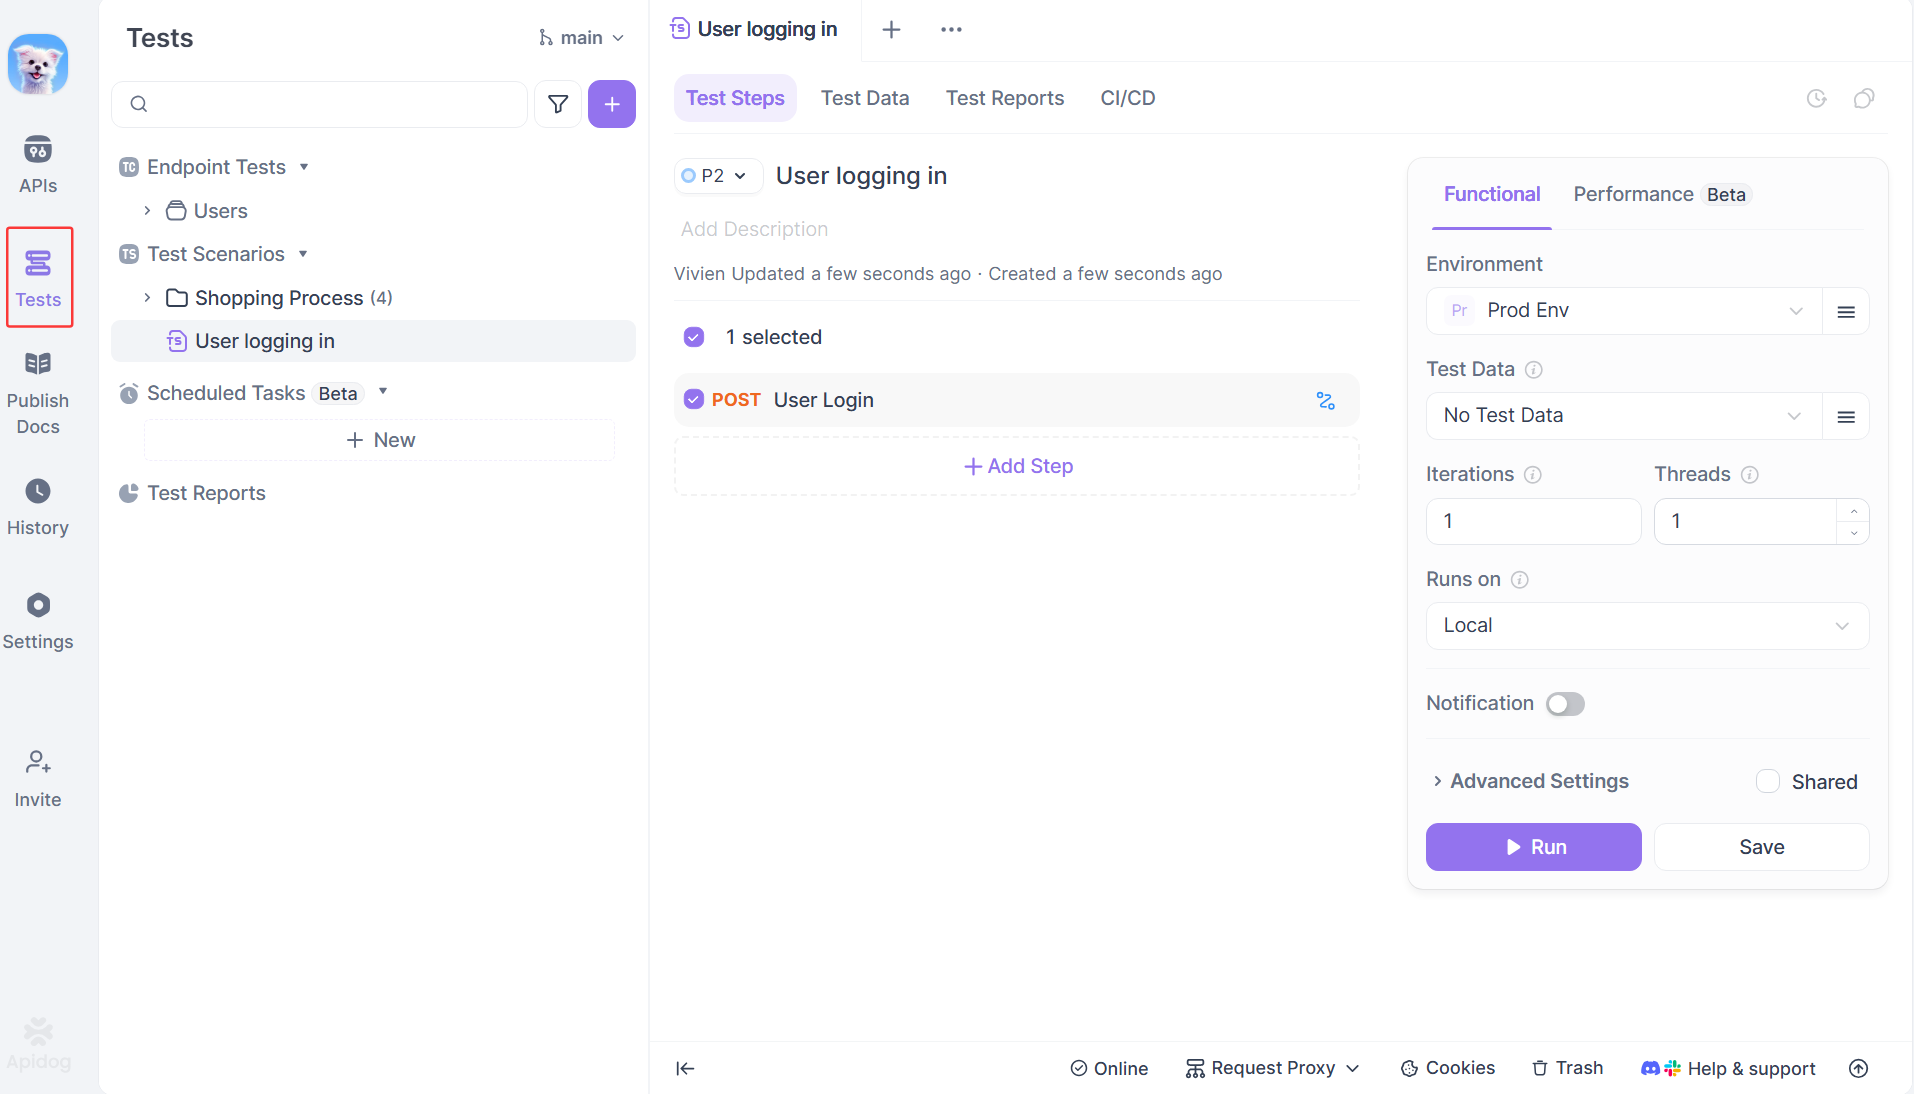
2. Click to add a new test step and select your POST /api/v1/users request.
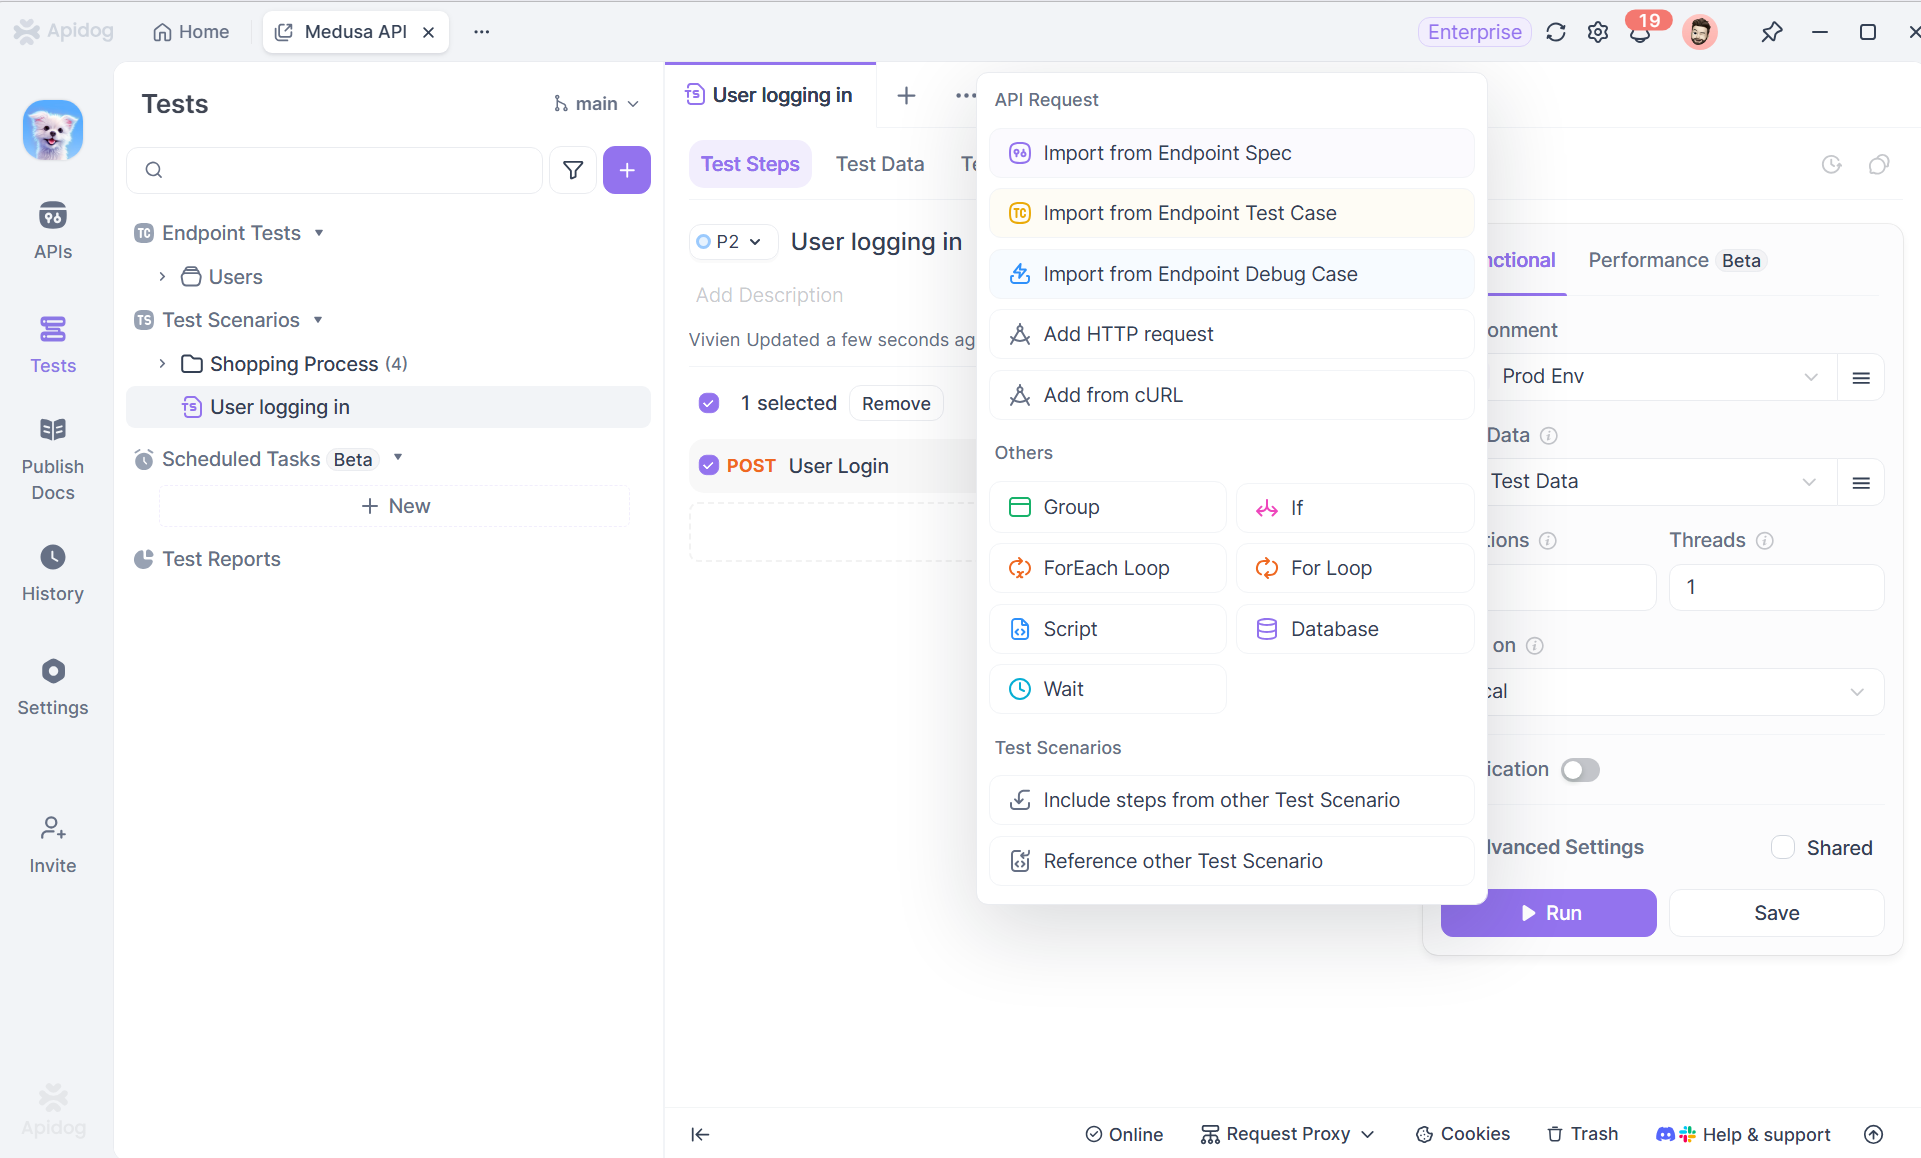
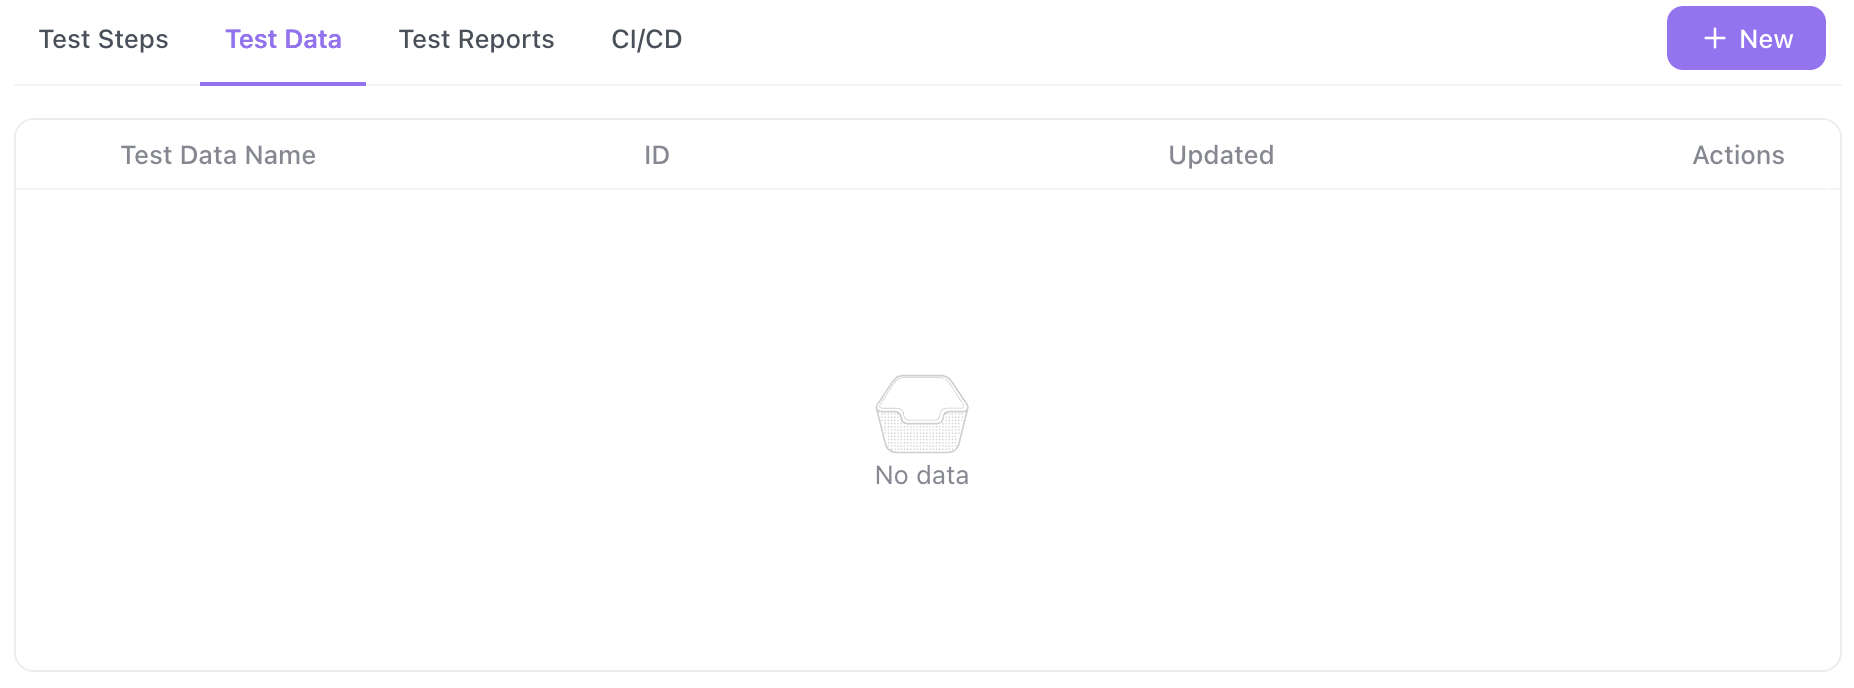
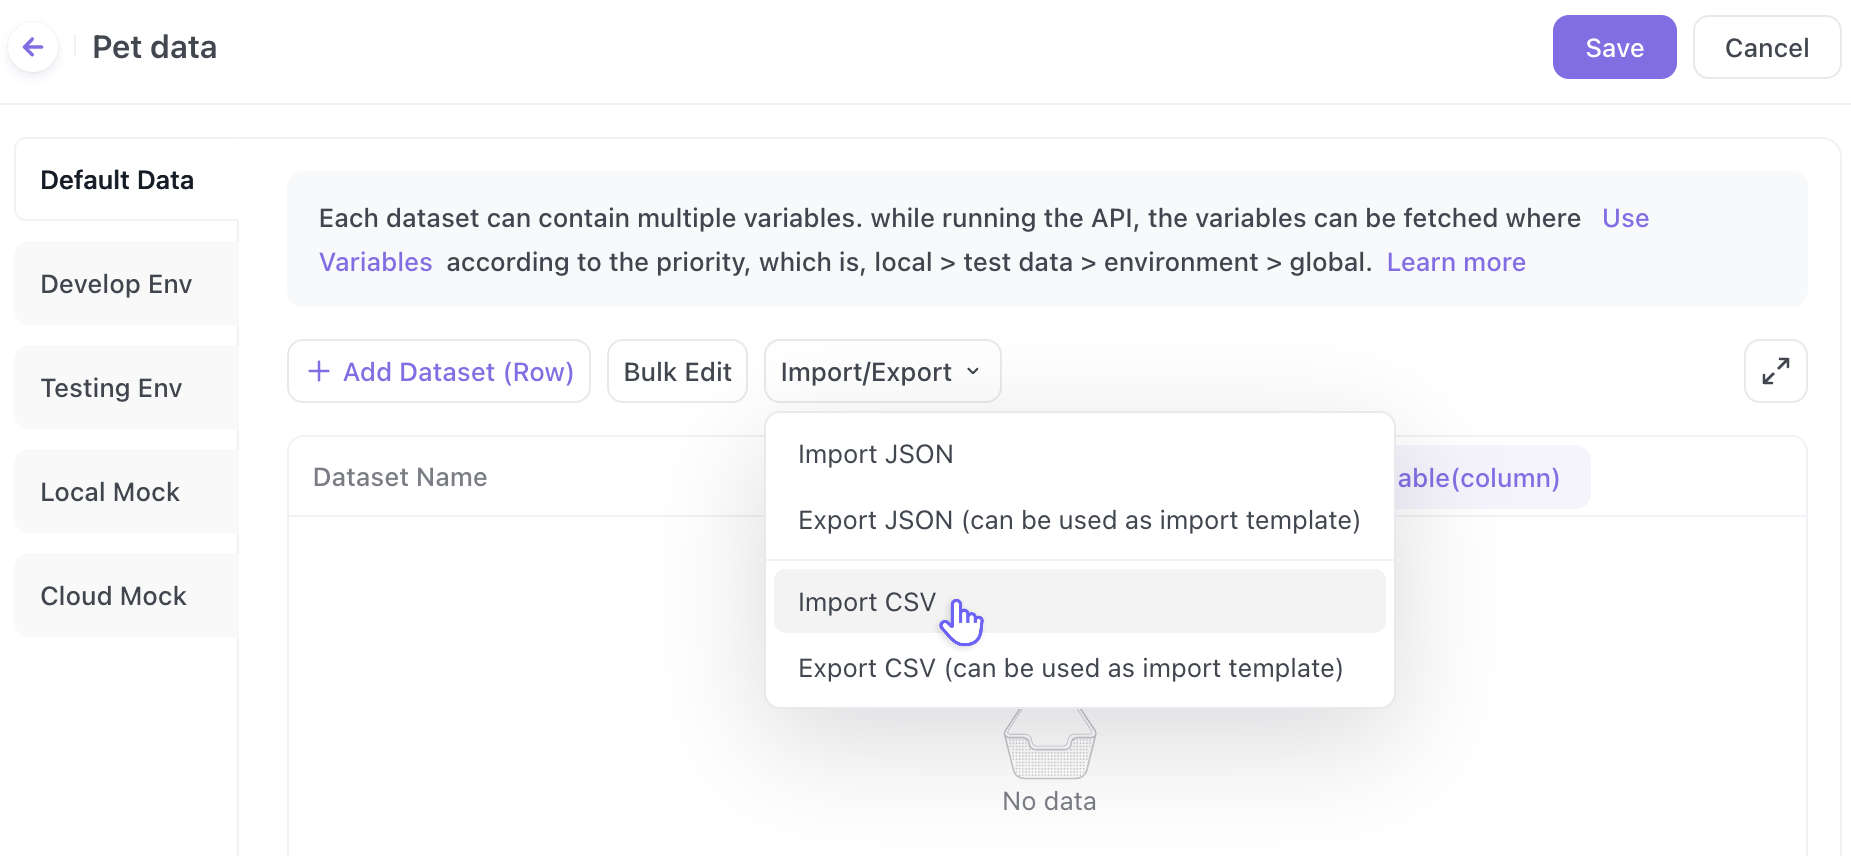
3. Upload test data: Click on "Test Data" > "+New" to upload your user_data.csv or user_data.json file. Apidog will parse it and show you a preview of the data rows.
4. Map Variables (if needed): Apidog automatically maps the column names (CSV) or property keys (JSON) to the {{variable}} placeholders in your request. Verify the mapping is correct.
Step 4: Write Assertions Using Your Data Variables
The real power comes from validating different expected outcomes based on your input data. In the Test tab, you write assertions (also called "asserts" or "checks").
Crucially, you can reference the same data variables from your file in your assertions.
For example, add a Response Status Code assertion:
- Expected Value:
{{expected_status}}
This means: "For the first test run (john_doe), assert the status code equals 201. For the third run (bad_user), assert it equals 400." The assertion dynamically changes with each iteration.
You can add more complex assertions using JavaScript in Apidog's Script section:
// Example: Validate response body for successful creation
pm.test("Status code is " + pm.variables.get("expected_status"), function () {
    pm.response.to.have.status(pm.variables.get("expected_status"));
});

// Only check for user ID if we expect a successful creation
if (pm.variables.get("expected_status") === 201) {
    pm.test("Response has user ID", function () {
        var jsonData = pm.response.json();
        pm.expect(jsonData.id).to.be.a('number');
        pm.expect(jsonData.username).to.eql(pm.variables.get("username"));
    });
}
Step 5: Run the Test and Analyze Results
Click the Run button. Apidog will execute your single test step multiple times once for each row in your data file.
The Report is Where It All Comes Together:
Apidog presents a clear, aggregated report showing:
- Total Iterations: (e.g., "4/4 Passed")
- A breakdown for each data row: You can expand to see the exact request sent (with the actual substituted values) and the response received for that specific iteration.
- Any failures are pinpointed to the specific row of data that caused the problem. Did
duplicate_userfail because the status wasn't409? You'll see it instantly.
This makes debugging incredibly efficient. You don't have to guess which test case failed; you know it was the iteration with the specific data set {"username": "duplicate_user", ...}.
Best Practices for Data-driven API Testing
- Environment-Specific Data: Combine data-driven testing with Apidog's Environments. You might have a
base_urlvariable in your environment that changes from staging to production, while your CSV file contains the test cases applicable to both. - Reusable Test Data: Store your CSV/JSON files in a central place within your Apidog project. Multiple test suites can reference the same data file, ensuring consistency.
- Generate Data Files Programmatically: For complex scenarios, use a script (Python, Node.js) to generate your
test_data.csvfile. This is excellent for testing with random data or a large range of values (e.g., testing pagination with 100 differentpageandlimitcombinations). - Test Setup/Cleanup: Use Apidog's pre-request scripts and test teardown features in conjunction with data-driven tests. For example, before each iteration of a
DELETEtest, you could use a pre-request script to create the resource that will be deleted.
Conclusion: Transform Your API Testing Workflow
Data-driven testing in Apidog with CSV/JSON files moves you from manual, repetitive checking to automated, comprehensive validation. It embodies the core principle of good testing: being thorough without sacrificing efficiency.
By externalizing your test data, you create a living document of test scenarios that is easy for anyone on your team to read, update, and understand. Apidog's seamless integration of this methodology means there's no complex setup just a straightforward path to more reliable APIs.
Stop testing APIs one case at a time. Download Apidog for free today, import your first CSV file, and experience how powerful and efficient API testing can truly be.


