
In the rapidly evolving world of AI-powered coding, understanding how your tools are priced is crucial. Cursor, a popular AI coding assistant, offers a range of models and pricing plans—but many users are left scratching their heads over how requests, quotas, and modes actually work. Even more, with the introduction of Max Mode and premium models, the cost structure can feel like a maze.
If you’re a Cursor user seeking clarity—or looking for ways to optimize your workflow without breaking the bank—this article is for you. We’ll break down Cursor’s pricing, explain the difference between Normal and Max Mode, and show you how the free Apidog MCP Server can be seamlessly integrated into your Cursor workflow for maximum value.
Cursor Pricing: How Does Cursor Pricing Work?
Understanding Cursor pricing begins with its foundational request-based system. Essentially, most interactions with Cursor's AI models consume "requests". The cost of these requests and how many you get depends on your Cursor subscription plan. Let's break it down.
At its core, one standard "request" is priced at $0.04, as stated in their model pricing. Cursor offers several plans, each catering to different levels of usage:
- Hobby Plan: This is a free entry point, offering a limited number of completions and 50 requests per month. It's a great way to try out Cursor's capabilities.
- Pro Plan: Priced at $20/month, this plan significantly bumps up your Cursor request quotas to 500 fast requests per month. It also includes unlimited completions and, crucially, unlimited "slow requests" once your fast ones are depleted.
- Business Plan: At $40/user/month, this plan includes everything in Pro, plus features geared towards teams, like centralized billing and admin dashboards. Each user still gets their individual 500 fast requests.
Cursor Subscription Plan Comparison:
| Plan | Price | Requests/Month | Max Mode | Premium Models | Team Features |
|---|---|---|---|---|---|
| Hobby | Free | 50 | ❌ | Limited | ❌ |
| Pro | $20/month | 500 | ✅ | Unlimited | ❌ |
| Business | $40/user/mo | 500 | ✅ | Unlimited | ✅ |
What Happens When You Run Out of Fast Requests?
This is a common point of concern, as highlighted in various discussions. Once your monthly allotment of 500 fast requests (on Pro/Business) is exhausted, you have a couple of options:
- Slow Requests: Your account automatically switches to using slow requests for Normal mode operations. These are still premium models but are processed at a lower priority, meaning you might experience a waiting period. The length of this wait can vary based on system load and your recent slow request usage. Importantly, slow requests are not available for Max mode.
- Usage-Based Pricing: To avoid queues and continue using fast requests (or to use Max mode after exhausting your quota), you can opt into usage-based pricing from your dashboard. This means you'll be billed for additional requests beyond your plan's quota at the standard rate (e.g., 0.04 per standard request). You can set spending limits to control costs. Billing for this additional usage typically occurs when you've accrued 20 in extra charges or at the beginning of the next month, whichever comes first.
Key Things to Remember About Your Cursor Request Quotas:
- Request Reset: Your request quota resets monthly, based on the date you initially subscribed.
- Team Quotas: For Business plans, each user gets their own 500-request quota; they are not pooled.
- Model Costs Vary: While a "standard" request might be the baseline, some models or features (especially in Max mode) can consume more than one request's worth of value. You can learn more details at the Cursor model costs.
Understanding these fundamentals of how Cursor pricing works is the first step to managing your expenditure and ensuring you're on the right plan for your needs.
Cursor's Normal Mode vs. Max Mode
Cursor offers two primary operational modes for its AI: Normal mode and Max mode. The choice between them significantly impacts both performance and, crucially, how Cursor models cost you in terms of requests. Many users express confusion about this, particularly regarding the potentially rapid consumption of Cursor request quotas in Max mode.
Normal Mode: Predictable and Efficient for Everyday Tasks
- How it Works: In Normal mode, each message you send to a model costs a fixed number of requests, determined solely by the model you're using. Context management is optimized by Cursor without affecting your request count per message. For instance, a conversation using Claude 3.5 Sonnet might cost 1 request per user message, while Cursor's responses are free.
- Ideal For: Everyday coding tasks, quick questions, and situations where cost predictability is paramount.
- Cost: Fixed requests per interaction (e.g., 1 request for a user prompt to Claude 3.5 Sonnet).
- Pros: Highly predictable costs, generally lower request consumption for simple interactions.
- Cons: May have limitations with very large contexts or highly complex reasoning tasks compared to Max mode.
Max Mode: Powerhouse for Complex Reasoning and Agentic Tasks
- How it Works: Max mode operates on a token-based pricing system. Cursor charges the model provider’s API price plus a 20% margin. This includes all tokens: your messages, attached code files, folders, tool calls, and any other context provided. This is where costs can escalate if not managed carefully.
- Ideal For: Complex reasoning, debugging hard bugs, agentic tasks requiring multiple tool calls, and working with extensive codebases.
- Cost: Variable, based on the total number of tokens processed (input and output). For example, a complex prompt with 135k input tokens might cost 2.7 requests, and the model's 82k token response could cost another 1.23 requests, totaling nearly 4 requests for a single exchange.
- Pros: Handles much larger context windows (up to 1M tokens for some models), allows for more tool calls (up to 200 without asking for continuation), and generally offers more powerful reasoning capabilities.
- Cons: Can consume Cursor request quotas very quickly. Free/slow requests are not available for Max mode; if you run out of fast requests, you must enable usage-based pricing to continue using Max mode.
Here's a simplified comparison:
| Feature | Normal Mode | Max Mode |
|---|---|---|
| Pricing Basis | Fixed requests per message/model | Per 1M tokens (MTok) - API cost + 20% |
| Cost Example | 1 request for a Claude 3.5 Sonnet prompt | Can be multiple requests per interaction based on token count |
| Predictability | High | Lower; depends on context size & complexity |
| Context Window | Optimized by Cursor | Significantly larger (e.g., 75k to 1M+ tokens depending on model) |
| Tool Calls | Standard | Up to 200 without re-prompting |
| Slow Requests | Available when fast requests are exhausted | Not available; requires usage-based pricing if fast requests are out |
| Best For | Everyday coding, predictable costs | Complex reasoning, large contexts, agentic tasks |
Choosing the right mode for the task at hand is crucial for balancing performance with your Cursor request quotas. For most daily tasks, Normal mode offers a cost-effective solution. Reserve Max mode for those truly complex challenges where its extended capabilities are necessary.
Apidog MCP Server: The Free Power-Up for Cursor Users
While Cursor’s built-in models and pricing are robust, you can dramatically expand your workflow—at zero cost—by integrating the Apidog MCP Server.
What is Apidog MCP Server?
The Apidog MCP Server acts as a direct bridge between your API specifications and AI-powered IDEs like Cursor. Once configured, it allows Cursor's AI to directly access and understand your API's structure, endpoints, schemas, and requirements. It supports various data sources:
- Your Apidog projects
- Online API documentation published by Apidog
- Local or online Swagger/OpenAPI files
The server reads and caches this API specification data locally, making it instantly available to Cursor. This means you can:
- Generate or modify code based on your API spec
- Search and analyze API content directly in your IDE
- Automate repetitive coding tasks with AI
- And much more—all for free!
How to Integrate Apidog MCP Server with Cursor
Integrating the Apidog MCP Server with Cursor allows your AI assistant to tap directly into your API specifications. Here’s how to set it up:
Prerequisites:
Before you begin, ensure the following:
✅ Node.js is installed (version 18+; latest LTS recommended)
✅ You're using an IDE that supports MCP, such as: Cursor
Step 1: Prepare Your OpenAPI File
You'll need access to your API definition:
- A URL (e.g.,
https://petstore.swagger.io/v2/swagger.json) - Or a local file path (e.g.,
~/projects/api-docs/openapi.yaml) - Supported formats:
.jsonor.yaml(OpenAPI 3.x recommended)
Step 2: Add MCP Configuration to Cursor
You'll now add the configuration to Cursor's mcp.json file.
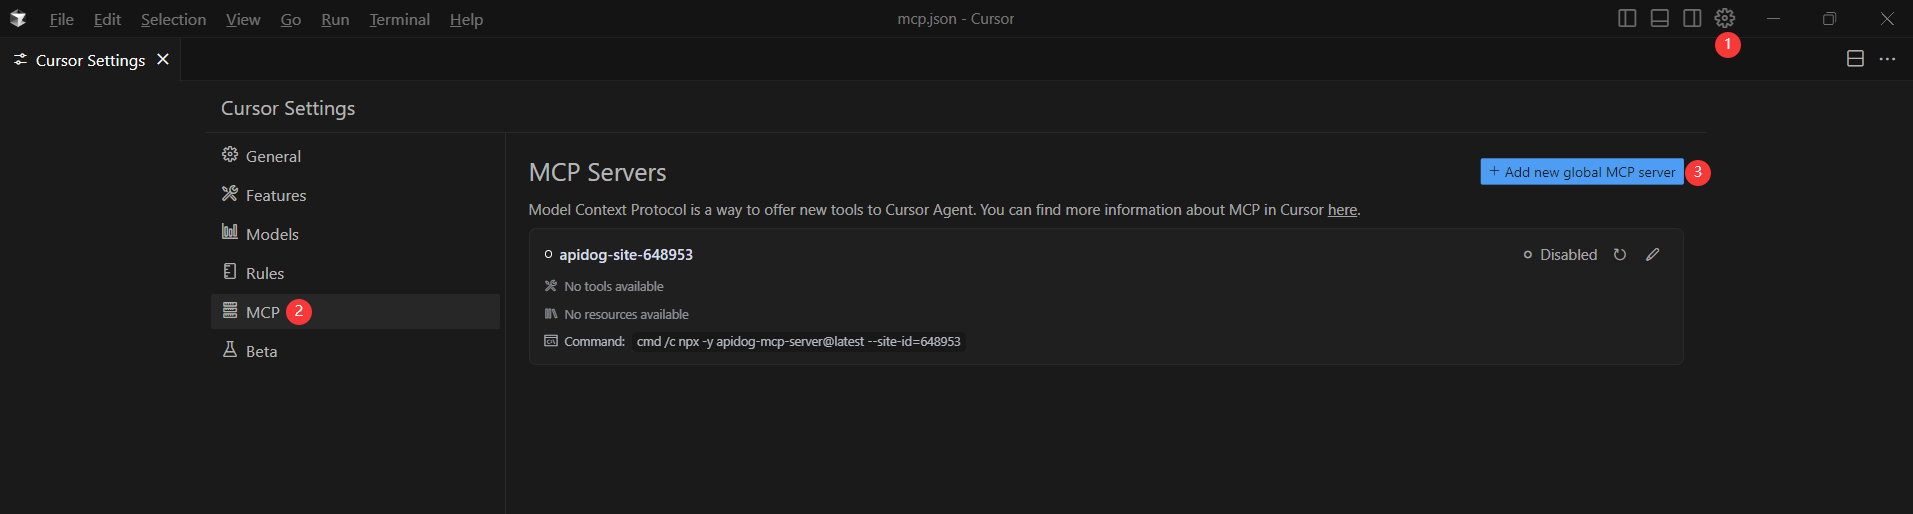
Remember to Replace <oas-url-or-path> with your actual OpenAPI URL or local path.
- For MacOS/Linux:
{
  "mcpServers": {
    "API specification": {
      "command": "npx",
      "args": [
        "-y",
        "apidog-mcp-server@latest",
        "--oas=https://petstore.swagger.io/v2/swagger.json"
      ]
    }
  }
}- For Windows:
{
  "mcpServers": {
    "API specification": {
      "command": "cmd",
      "args": [
        "/c",
        "npx",
        "-y",
        "apidog-mcp-server@latest",
        "--oas=https://petstore.swagger.io/v2/swagger.json"
      ]
    }
  }
}
Step 3: Verify the Connection
After saving the config, test it in the IDE by typing the following command in Agent mode:
Please fetch API documentation via MCP and tell me how many endpoints exist in the project.If it works, you’ll see a structured response that lists endpoints and their details. If it doesn’t, double-check the path to your OpenAPI file and ensure Node.js is installed properly.
Conclusion: Mastering Cursor Costs and Elevating Your API Workflow
Understanding Cursor’s pricing, request limits, and the difference between Normal and Max modes is key to getting the most out of this AI code editor. But true optimization goes beyond cost control. The free Apidog MCP Server takes your workflow to the next level by integrating your API specs directly into Cursor. It cuts manual work, reduces errors, and keeps your code in sync with your API design—without breaking your development flow.


