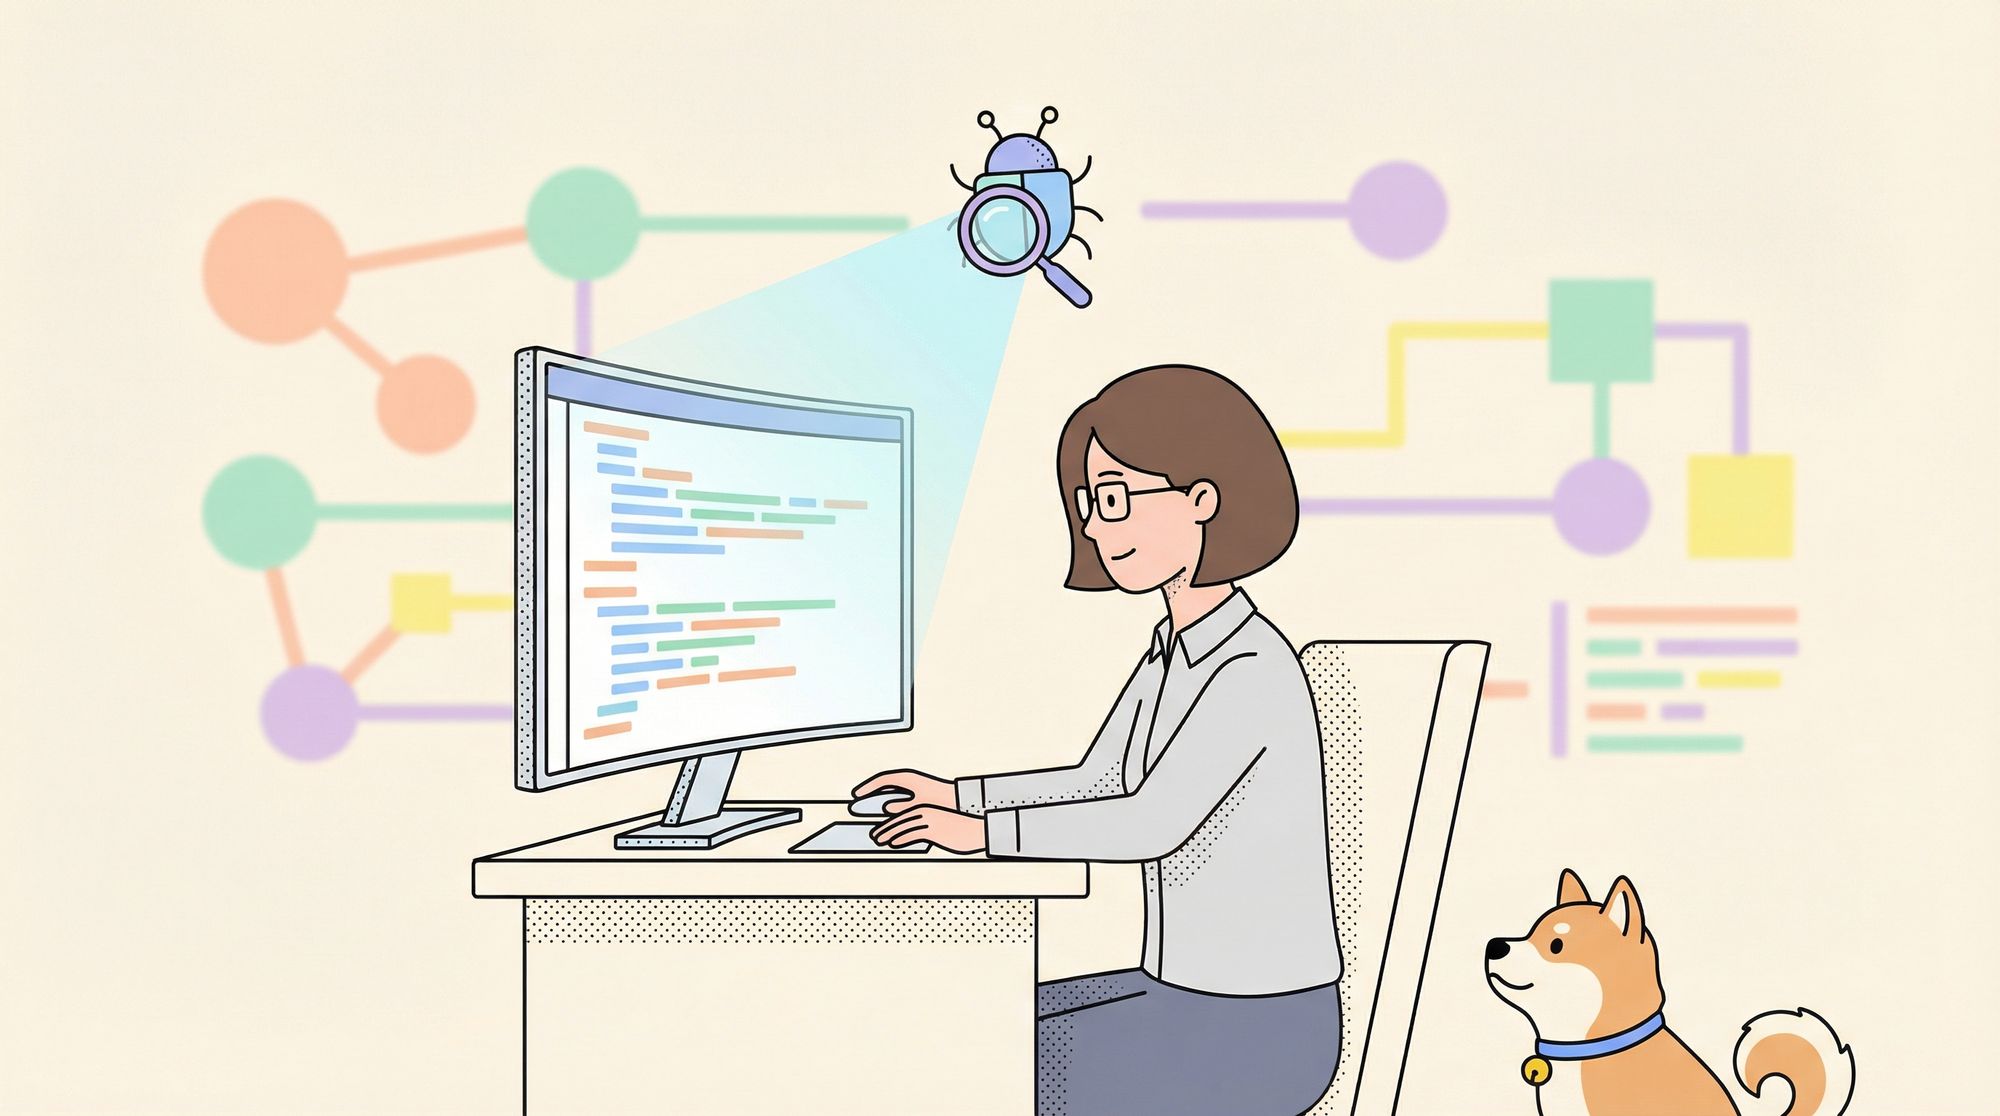
Debugging is a core part of every software project. Unresolved bugs can lead to crashes, security gaps, and unreliable APIs—which means lost productivity and frustrated users. With modern development, manual debugging alone can't keep pace with complex codebases and fast-moving teams.
Today, AI-powered debugging tools, like Cursor Bugbot, are changing how developers identify and fix issues early. In this guide, you'll learn how Cursor Bugbot automates code reviews and debugging, and how pairing it with specialized API platforms like Apidog leads to higher-quality, more maintainable applications.
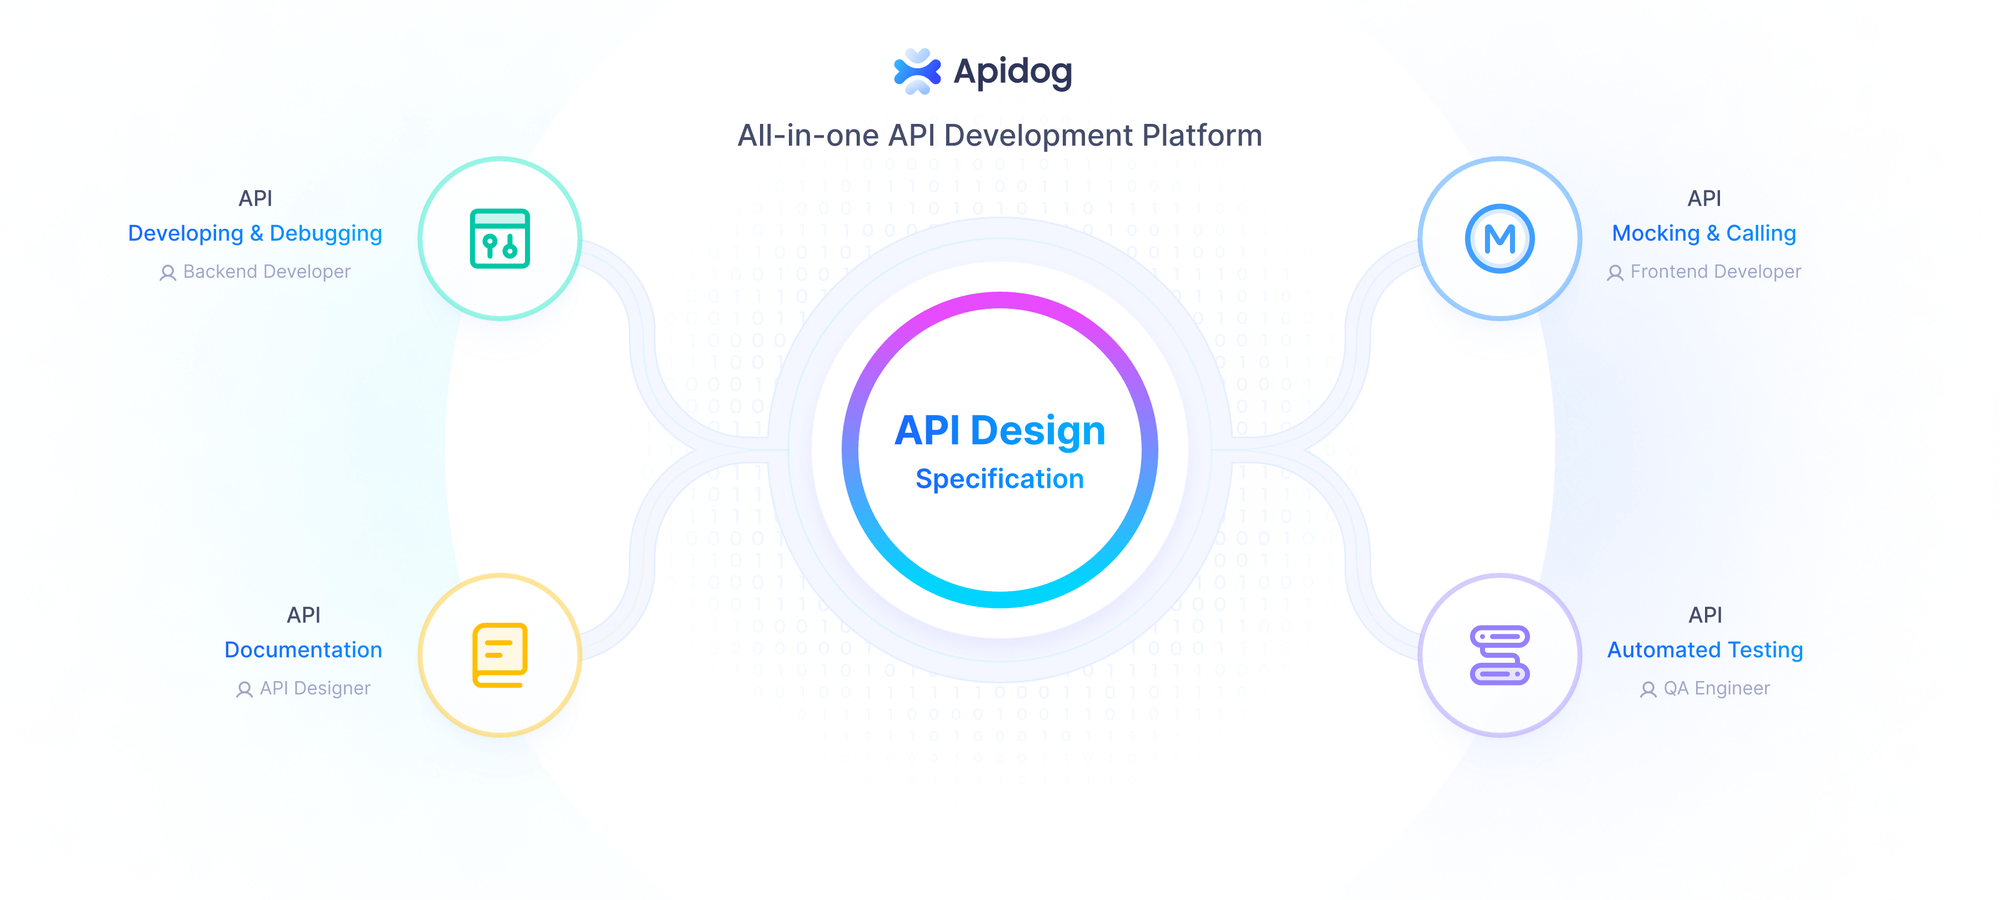
If your team works with APIs, consider downloading Apidog for free to expand your toolkit for API design, debugging, and testing.
What Is Cursor Bugbot? AI-Powered Code Review Explained
Cursor Bugbot is an automated code review assistant built by Cursor. It uses advanced AI models to scan pull requests (PRs) and flag bugs, security flaws, and code quality problems before deployment. Unlike traditional static analyzers, Cursor Bugbot understands context within your codebase, providing relevant, actionable feedback.
How Cursor Bugbot Works
- Diff Analysis: Each time you push a PR, Bugbot compares code changes, highlighting possible logic errors, security risks, and anti-patterns.
- Contextual Comments: Bugbot leaves detailed, human-like review comments directly in your PR, with explanations and suggestions.
- Continuous Monitoring: Every new commit is automatically scanned, ensuring ongoing code integrity and fast detection of new issues.
Getting Started with Cursor Bugbot: Step-by-Step Setup
Integrating Cursor Bugbot into your workflow is straightforward. Here’s how to set it up for your team:
1. Install and Configure Cursor
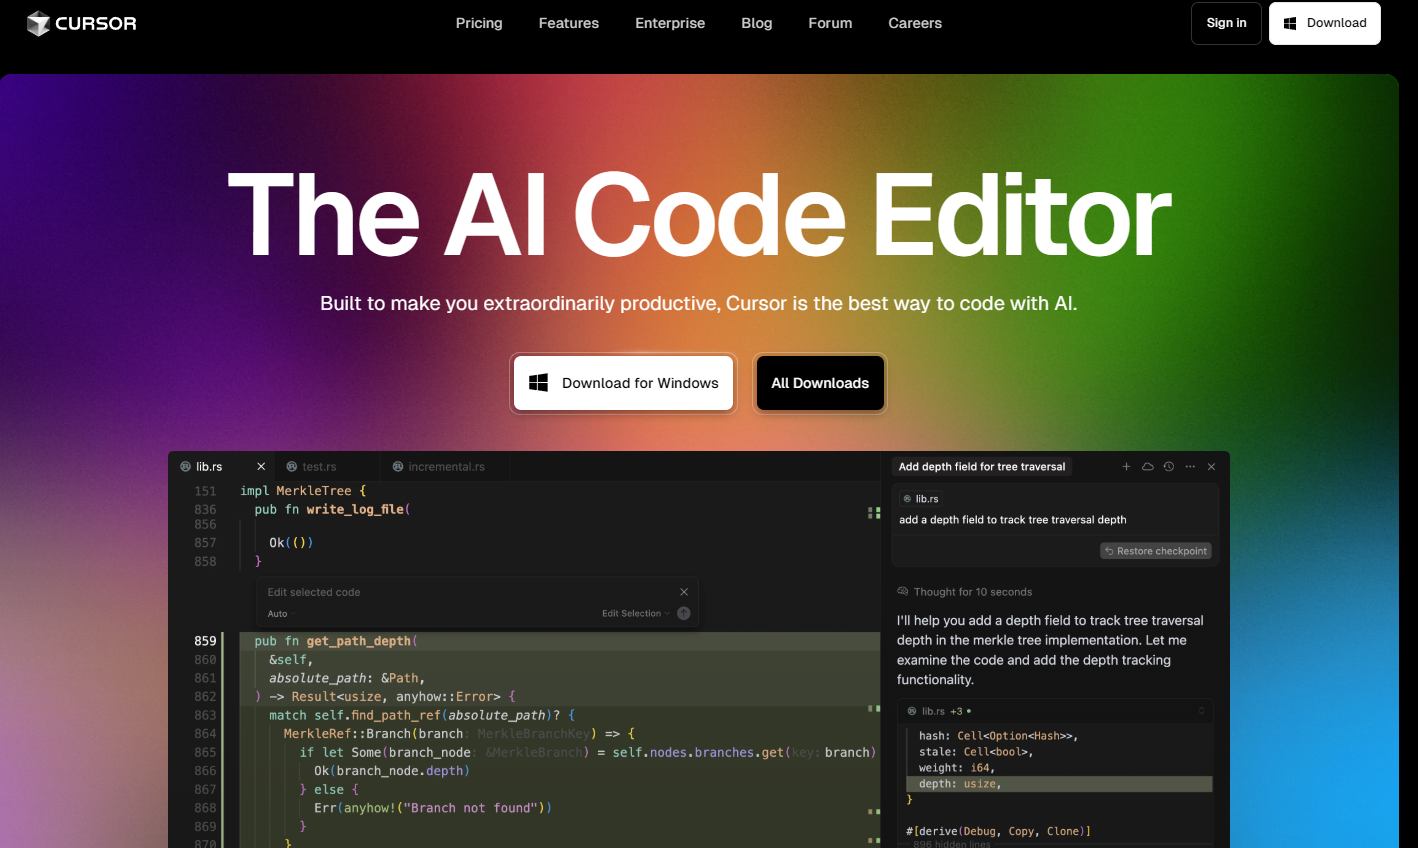
- Sign Up: Visit the Cursor website and create your account.
- Install App: Download and install the Cursor desktop application.
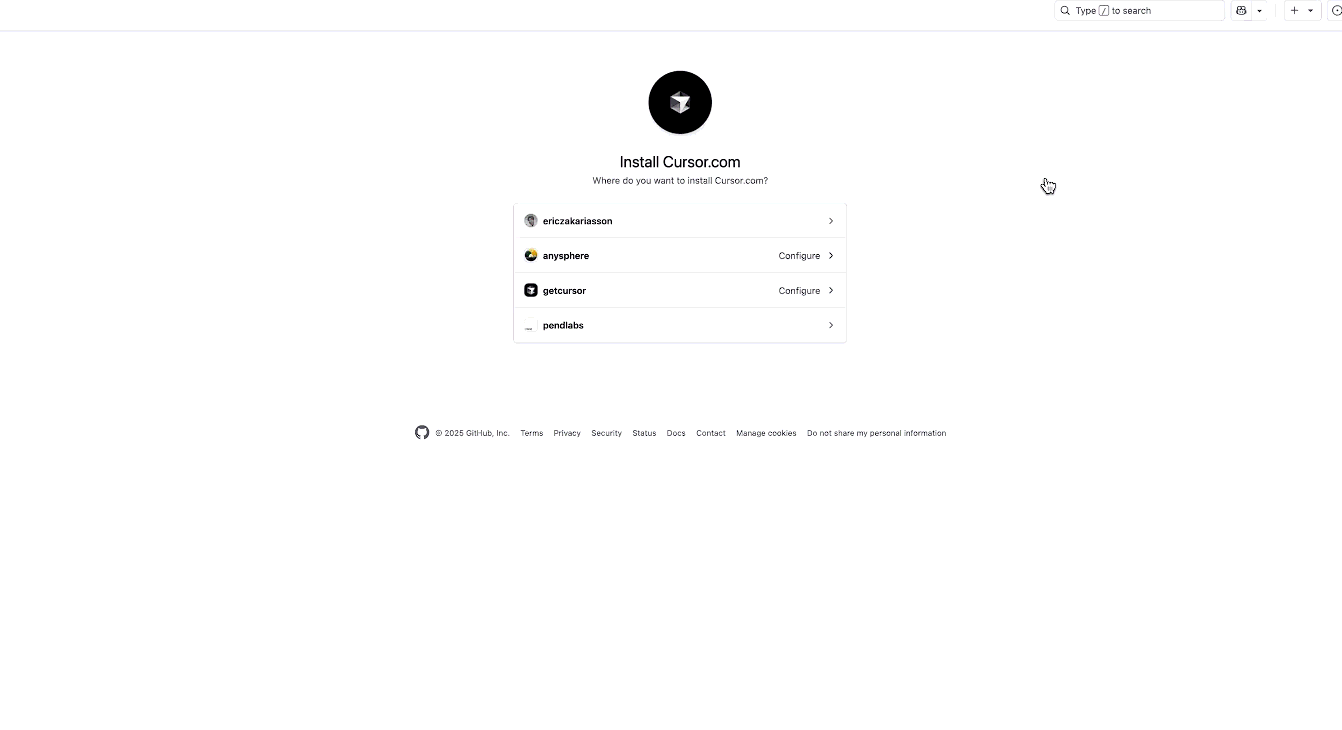
- Connect VCS: Link your GitHub or GitLab repository to Cursor. This grants Bugbot access to analyze your code changes.
2. Enable Bugbot on Your Repositories
- Dashboard Access: Log in to your Cursor dashboard.
- Select Repository: Choose the repository where you want debugging enabled.
- Activate Bugbot: Toggle the Bugbot switch for that repo.
- Free Trial: New users start with a 14-day free trial—explore its capabilities without risk.
Debugging in Action: Using Cursor Bugbot for Efficient Reviews
Here's how Bugbot fits into your daily development cycle:
1. Open a Pull Request
Push your PR as usual. Bugbot analyzes the code diff and starts reviewing immediately.
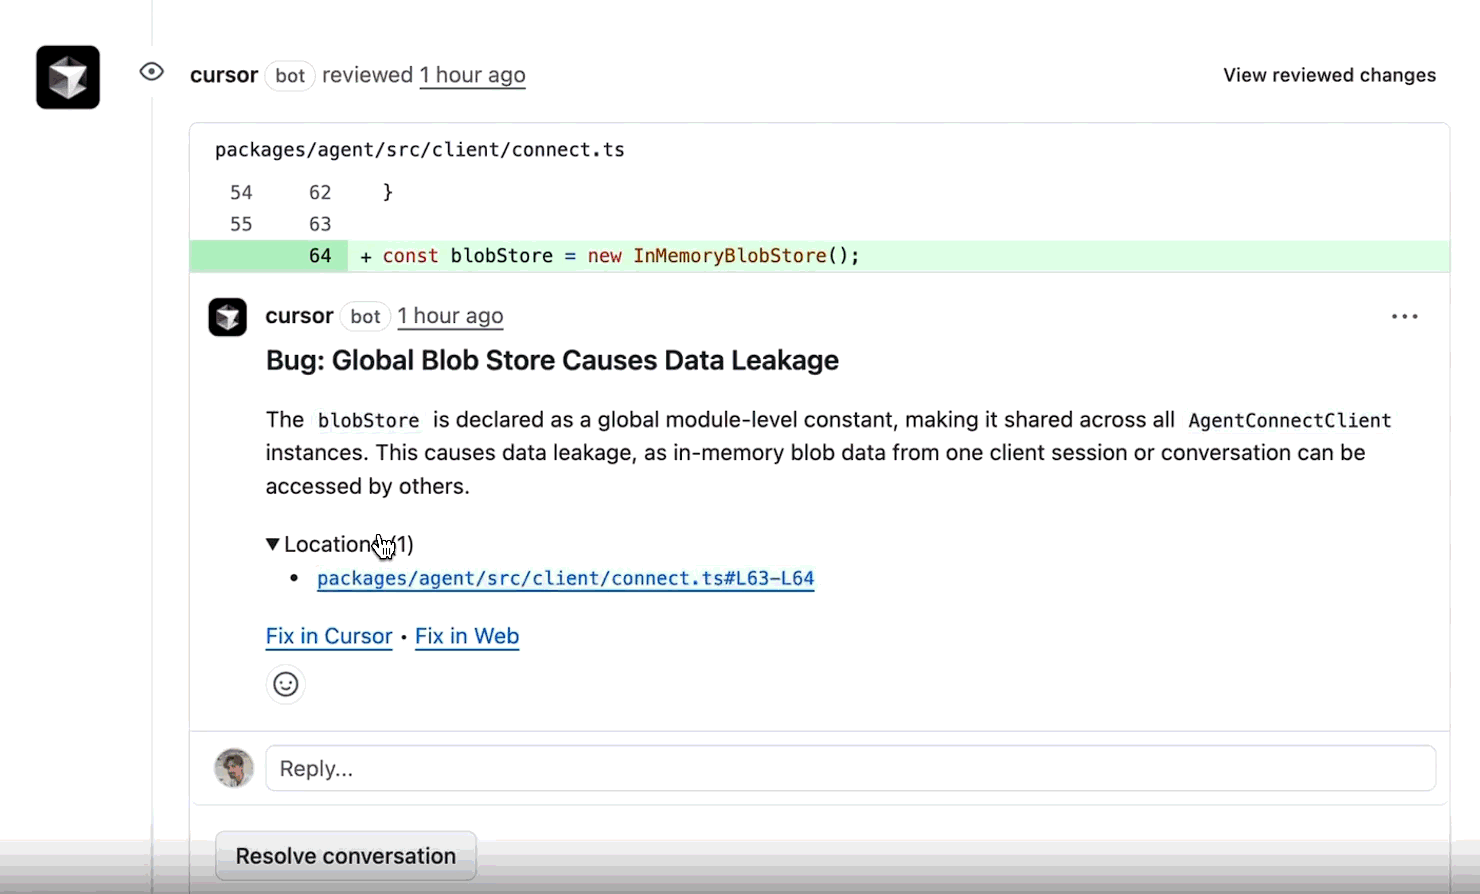
2. Review Bugbot’s Comments
Bugbot adds specific comments to your PR, pinpointing detected issues. Each comment explains the problem and, where possible, suggests a fix.
3. Apply Suggested Fixes in Cursor
Click the “Fix in Cursor” link in any Bugbot comment. This opens the relevant code in the Cursor editor with a pre-filled resolution prompt to guide your fix.
4. Iterate and Validate
After making changes, push your updated PR. Bugbot will re-scan to confirm that issues are resolved, supporting an iterative, high-confidence development process.
Advanced Features: What Sets Cursor Bugbot Apart
Cursor Bugbot is more than a simple bug detector. Notable features include:
1. Exceptionally Low False Positives
Bugbot is optimized to catch subtle logic bugs while minimizing false alarms, thanks to a blend of AI models and deep codebase context analysis. This saves developers time and focuses attention where it matters most.
2. Tight Integration with Cursor’s Ecosystem
Bugbot seamlessly integrates with Cursor's AI-powered code navigation and editing tools. When an issue is flagged, you can instantly trigger code suggestions or fixes, uniting code review and resolution in one platform.
3. Scalable for Enterprise & Large Teams
Having reviewed over 1 million PRs, Bugbot is proven to handle complex, high-volume codebases—ideal for growing teams and mission-critical projects.
Cursor Bugbot vs. Other Debugging and API Tools
While Cursor Bugbot excels at general-purpose code reviews, many teams also need robust API-specific tools. That’s where platforms like Apidog come in.
Comparing Cursor Bugbot and Apidog
Cursor Bugbot
- Analyzes any codebase (backend, frontend, scripts, etc.)
- AI-powered, context-aware code review
- Integrated with general development workflows
Apidog
- Purpose-built for API development, testing, and documentation
- Features for mocking, debugging, and automating API tests
- Supports full API lifecycle management and team collaboration
When to use each:
- Use Cursor Bugbot for broad codebase reviews and to catch general logic or security bugs.
- Use Apidog for in-depth API design, debugging, and collaboration on RESTful or GraphQL services.
Many engineering teams benefit from using both—Cursor Bugbot for continuous code quality, and Apidog for API-centric workflows. Integrating both tools can lead to faster releases, fewer bugs in production, and stronger APIs.
Best Practices for Effective AI Debugging
Maximize your results with these proven approaches:
- Always review Bugbot’s feedback—even small issues can impact security or maintainability.
- Use “Fix in Cursor” for guided, efficient resolutions.
- Combine AI and manual reviews for critical releases; human intuition and AI detection complement each other.
- Stay updated: Regularly check for Bugbot and Cursor feature updates to benefit from the latest improvements.
The Future of AI in Debugging
AI is rapidly transforming the debugging process for software teams. Upcoming trends include:
- Predictive Debugging: AI may soon spot bugs before code is even merged, based on historical commit data and team coding patterns.
- Natural Language Queries: Imagine asking your debugger, in plain English, to “show all potential security risks in this PR.”
- Seamless Toolchain Integration: Platforms like Cursor Bugbot and Apidog may become even more tightly connected, creating unified, automated development environments.
Conclusion: Build Better APIs and Code with AI Debugging
AI tools like Cursor Bugbot are reshaping the way developers identify, resolve, and prevent bugs—saving time, improving code quality, and streamlining code reviews. For API-focused teams, combining general-purpose AI debugging (Cursor Bugbot) with specialized API platforms (Apidog) leads to robust, reliable services.
Try Apidog for free to expand your API debugging and testing capabilities. Modernize your workflow and catch issues before they reach production.