
Behavior-Driven Development has fundamentally changed how teams think about software quality by making tests readable for everyone! Using Cucumber for BDD testing is a skill that bridges the gap between business requirements and technical implementation, creating live documentation that actually gets executed. If you’ve struggled with test cases that become outdated the moment they’re written, this guide will show you a better way.
What is Cucumber and BDD?
Cucumber is an open-source tool that runs automated tests written in plain language. It implements Behavior-Driven Development (BDD), a methodology where developers, testers, and business stakeholders collaborate to define software behavior using concrete examples.
BDD focuses on answering one question: "What should the system do?" rather than "How should we test it?" The result is a shared language that eliminates misunderstandings and creates tests that serve as both specifications and executable validation.
Cucumber reads .feature files containing scenarios written in Gherkin syntax and executes them against step definitions—code that performs the actual automation. This separation means business stakeholders can review test scenarios without reading code, while developers implement the technical details separately.
Installing Cucumber for JavaScript
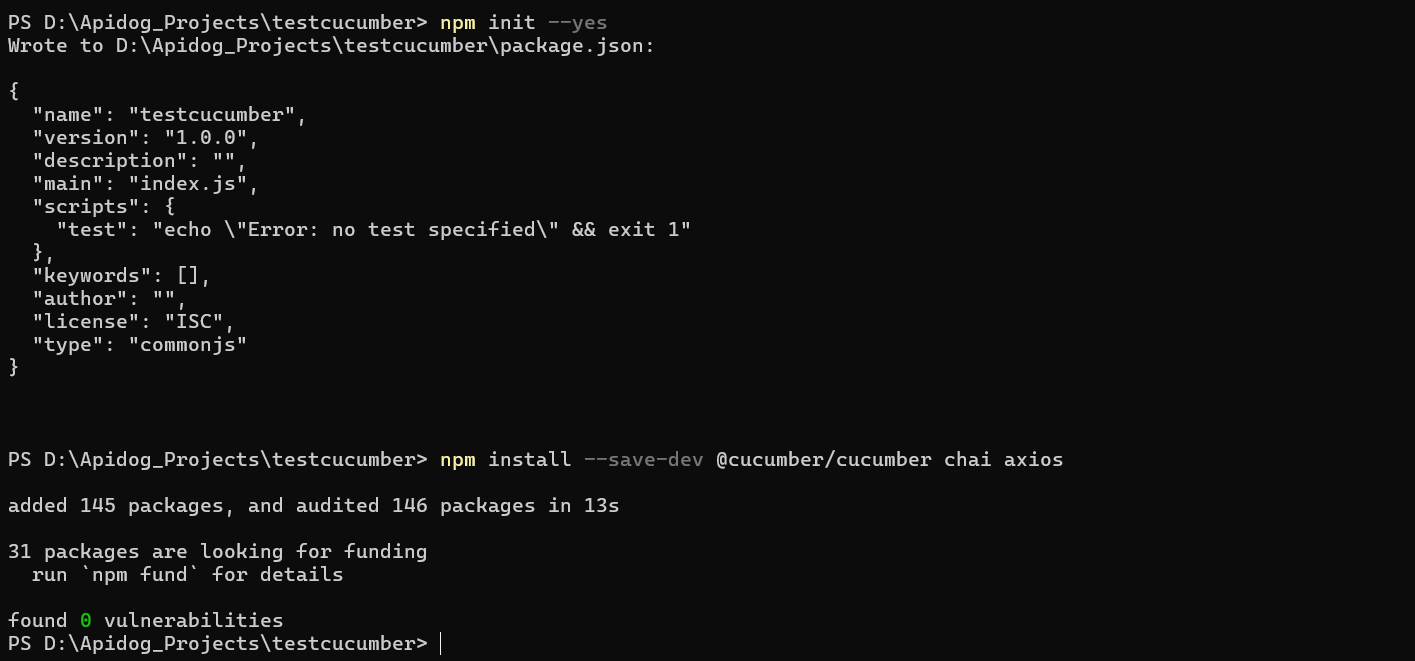
Setting up Cucumber in a Node.js project takes just a few commands:
Prerequisites:
- Node js
- NPM
- An API project which has a login feature which we will be testing (This tutorial will only cover the cucumber installation and gherkin tests).

# Create a new project directory
mkdir cucumber-bdd-demo && cd cucumber-bdd-demo

# Initialize npm
npm init -y

# Install Cucumber and testing dependencies
npm install --save-dev @cucumber/cucumber chai axios
Your package.json should include a test script:
{
  "scripts": {
    "test": "cucumber-js"
  }
}
Create this directory structure:
project/
├── features/
│   └── user-management.feature
├── step-definitions/
│   └── user-steps.js
├── package.json
└── cucumber.json
Practical Guide: Writing Your First BDD Test
Let’s build a test for a user management API to demonstrate How to Use Cucumber for BDD Testing in practice.
Step 1: Write the Feature File
Create features/user-management.feature:
Feature: User Management API
  As an API client
  I want to manage users
  So that I can integrate user functionality into my application

  Scenario: Create a new user successfully
    Given I have a valid user payload
    When I send a POST request to "/api/users"
    Then the response status should be 201
    And the response should contain a user ID

  Scenario: Attempt to create user with invalid email
    Given I have a user payload with invalid email
    When I send a POST request to "/api/users"
    Then the response status should be 400
    And the response should contain "Invalid email format"
Step 2: Implement Step Definitions
Create step-definitions/user-steps.js:
const { Given, When, Then } = require('@cucumber/cucumber');
const { expect } = require('chai');
const axios = require('axios');

let requestPayload;
let response;

Given('I have a valid user payload', function() {
  requestPayload = {
    name: 'Test User',
    email: 'test@example.com',
    password: 'ValidPass123'
  };
});

Given('I have a user payload with invalid email', function() {
  requestPayload = {
    name: 'Test User',
    email: 'invalid-email',
    password: 'ValidPass123'
  };
});

When('I send a POST request to {string}', async function(endpoint) {
  try {
    response = await axios.post(`http://localhost:3000${endpoint}`, requestPayload);
  } catch (error) {
    response = error.response;
  }
});

Then('the response status should be {int}', function(statusCode) {
  expect(response.status).to.equal(statusCode);
});

Then('the response should contain a user ID', function() {
  expect(response.data).to.have.property('userId');
  expect(response.data.userId).to.match(/^[0-9a-fA-F]{24}$/);
});

Then('the response should contain {string}', function(message) {
  expect(response.data.message).to.include(message);
});
Step 3: Edit the Cucumber.json file
Create a file "cucumber.json" in your projects root directory and add the following code:
{
    "default": {
        "formatOptions": {
            "snippetInterface": "synchronous"
        }
    }
}
Step 4: Run the Tests
Execute your tests with:
npm test
Cucumber will output detailed results showing which steps passed, are undefined or failed.
Rules for Writing Good BDD Scenarios
Learning How to Use Cucumber for BDD Testing effectively requires following these proven rules:
1. Given-When-Then Structure
Every scenario must have these three parts in order:
- Given: Sets up preconditions
- When: Describes the action
- Then: Validates the outcome
2. Write Declaratively, Not Imperatively
Bad:
Given I open the browser
And I navigate to "/login"
And I type "test@example.com" in the email field
And I type "password" in the password field
And I click the login button
Good:
Given I am on the login page
When I log in with valid credentials
Then I should see the dashboard
Focus on what you’re testing, not how you do it.
3. One Scenario, One Purpose
Each scenario should test a single behavior. Combined scenarios hide failures and make debugging difficult.
4. Use Business Language
Write scenarios that business stakeholders can understand. Avoid technical jargon and implementation details.
5. Make Scenarios Independent
Scenarios should not depend on each other. Each should set up its own data and clean up afterward.
Advanced Cucumber Features: Data Tables and Scenario Outlines
Data Tables for Complex Input
When you need to test with multiple data points, use tables:
Scenario: Create users with different roles
  Given I have the following user data:
    | name     | email             | role    |
    | Alice    | alice@example.com | admin   |
    | Bob      | bob@example.com   | user    |
  When I send a POST request to "/api/users"
  Then all users should be created successfully
Step definition:
Given('I have the following user data:', function(dataTable) {
  requestPayload = dataTable.hashes();
});
Scenario Outlines for Data-Driven Tests
When you want to run the same scenario with different data, use outlines:
Scenario Outline: Login with various credentials
  Given I am on the login page
  When I enter "<email>" and "<password>"
  Then I should see "<result>"

  Examples:
    | email             | password   | result          |
    | test@example.com  | validPass  | Dashboard       |
    | test@example.com  | wrongPass  | Invalid password|
    | invalid@email.com | validPass  | Invalid email   |
This creates three separate test scenarios automatically.
Organizing Tests with Tags
Tags help you categorize and filter scenarios:
@smoke @regression
Scenario: User login
  Given I am on the login page
  When I log in with valid credentials
  Then I should see the dashboard

@api @critical
Scenario: API health check
  Given the API is running
  When I request "/health"
  Then the response status should be 200
Run only specific tags:
npm test -- --tags "@smoke"
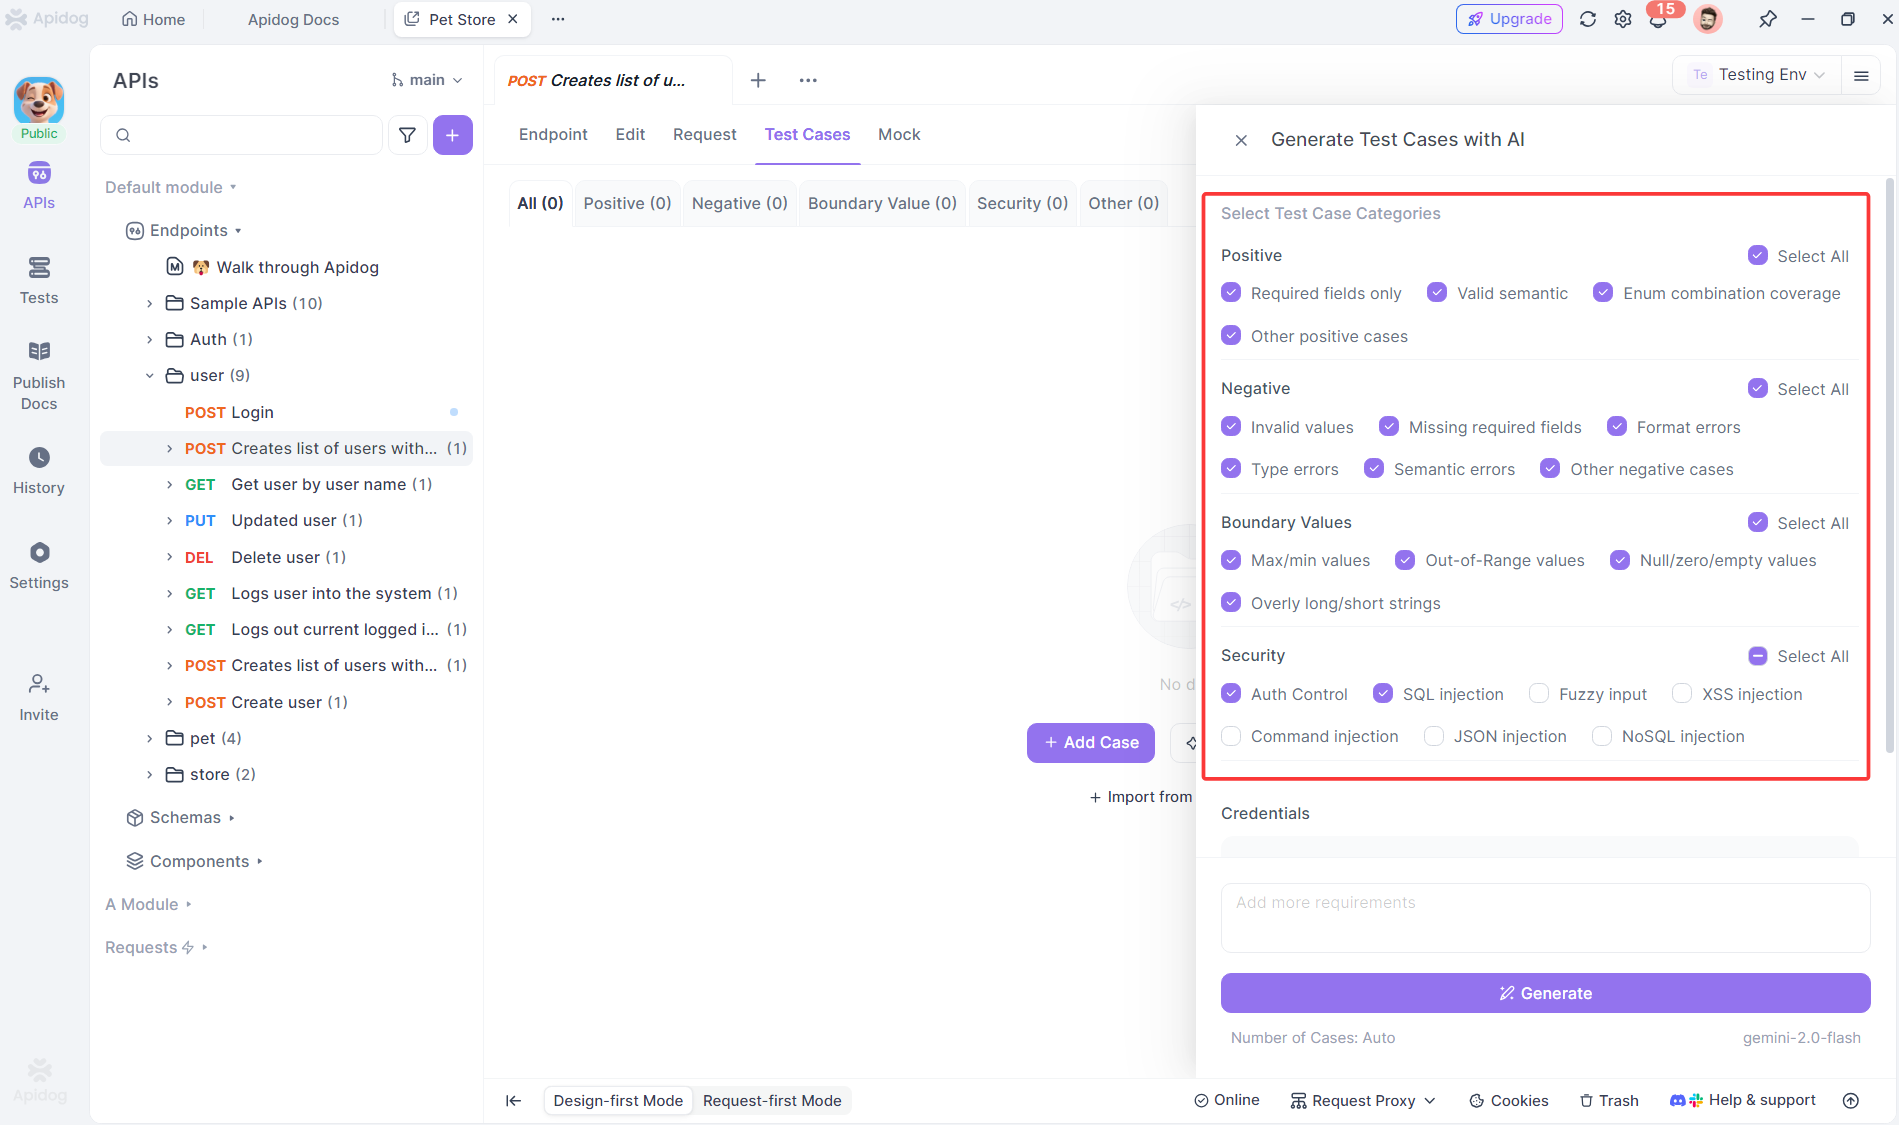
How Apidog Helps with API Testing in BDD Workflows
While Cucumber excels at defining behavior, Apidog automates the heavy lifting of API test creation and execution, making Cucumber for BDD testing far more efficient.
AI-powered API Test Case Generation
Instead of manually writing step definitions for API calls, Apidog generates them from your OpenAPI specification using AI:
# Your API spec
paths:
  /api/users:
    post:
      requestBody:
        content:
          application/json:
            schema:
              type: object
              properties:
                name: string
                email: string
      responses:
        '201':
          description: User created
Apidog automatically creates test-ready scenarios:
- Positive test: Valid payload → 201 status
- Negative test: Invalid email → 400 status
- Boundary test: Missing required field → 400 status
Frequently Asked Questions
Q1: Do I need to know programming to write Cucumber tests?
Ans: Writing Gherkin scenarios requires no coding—just clear thinking about behavior. However, implementing step definitions requires JavaScript (or other language) knowledge. Tools like Apidog reduce this burden by generating step definition code automatically.
Q2: How is Cucumber different from traditional testing frameworks?
Ans: Traditional frameworks (Jest, Mocha) focus on technical implementation. Cucumber focuses on business behavior. The same Cucumber scenario can drive web UI tests (Selenium), API tests (Axios), or mobile tests (Appium) without changing the Gherkin text.
Q3: Can Cucumber replace API testing tools?
Ans: Cucumber provides the test structure, but you still need tools to execute API calls (Axios, Supertest) and validate responses. Apidog complements Cucumber by handling the API execution layer while Cucumber manages the BDD workflow.
Q4: What makes a good Cucumber scenario?
Ans: Good scenarios are independent, use business language, follow Given-When-Then structure, and test one behavior each. They should be readable by non-technical stakeholders and focus on what the system does, not how it does it.
Q5: How does Apidog handle authentication in BDD tests?
Ans: Apidog manages authentication tokens automatically. You can define "Given I am authenticated" steps that use Apidog’s credential management to retrieve valid tokens, eliminating manual token handling in your step definitions.
Conclusion
Using Cucumber for BDD testing effectively transforms your development process by creating shared understanding across technical and business teams. The Gherkin syntax forces clarity, while the separation of scenarios and step definitions keeps tests maintainable as your application evolves.
The real power comes from integrating Cucumber with modern automation tools. Apidog eliminates the tedious manual work of writing API test code, letting you focus on defining meaningful behaviors while it handles execution. This combination delivers the best of both worlds: human-readable specifications that serve as living documentation, and robust automated tests that run continuously.
Start small. Pick one API endpoint. Write three scenarios: success, failure, and edge case. Implement the step definitions. Run them. Show the results to your product owner. Once they see business requirements executed as tests, you’ll have buy-in to expand BDD across your entire project. That’s when using Cucumber for BDD testing stops being a technical practice and becomes a team-wide quality movement.


