Getting OpenAI Codex running smoothly on Windows is not plug-and-play due to native support limitations. The preferred and most reliable way to run Codex on Windows with WSL (Windows Subsystem for Linux) is by creating a Linux-like environment that matches Codex’s primary supported platform: Linux. This guide walks you through a practical, CLI-first setup with WSL, plus tips for editors like VS Code, authentication, common pitfalls, and real-world workflows using Codex CLI.
Why Use WSL for Codex on Windows?
Codex CLI is officially supported for macOS and Linux environments. While Windows PowerShell support exists, it’s experimental and unreliable for many workflows. The official docs explicitly recommend using WSL for the best experience.
WSL gives you:
- A real Linux kernel interface directly on Windows
- Full Unix-style shell semantics
- Better filesystem and toolchain behavior
- Consistent tooling with CI and production Linux environments
This makes debug, tests, module scripts, permissions, and context handling behave exactly as the model expects.
Step 1: Install WSL
Assuming you’re on Windows 10 or 11, open PowerShell as an administrator and install WSL with your preferred distro (Ubuntu is recommended):
wsl --install -d Ubuntu
After installation, reboot or let the installer finish. Then launch the Ubuntu distribution with:
wsl
To confirm WSL is active:
echo $WSL_DISTRO_NAME
This should print the distribution name (e.g., Ubuntu). Working inside WSL ensures Linux-compatible behavior and avoids sandbox quirks in native Windows.

Step 2: Install Linux Toolchain and Node.js
Once inside your WSL shell, you’ll need the Node.js toolchain before installing Codex CLI.
If you use nvm (Node Version Manager), install it first:
curl -o- https://raw.githubusercontent.com/nvm-sh/nvm/master/install.sh | bash
source ~/.bashrc
nvm install 22
This gives you Node.js 22 (long-term support). Verify versions:
node --version
npm --version
These commands should return modern versions compatible with Codex CLI.

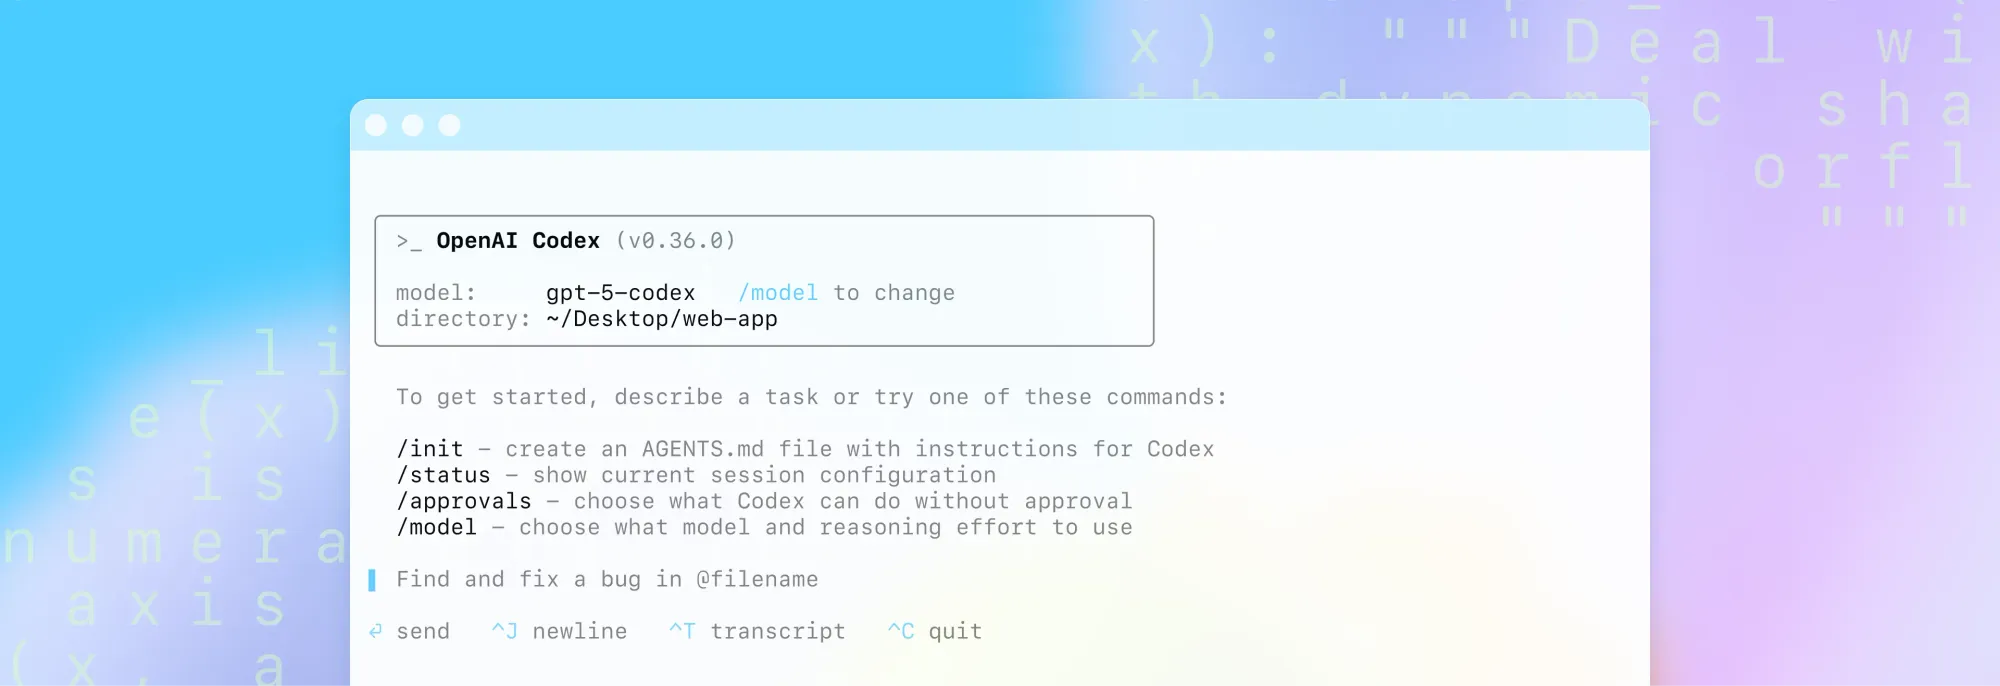
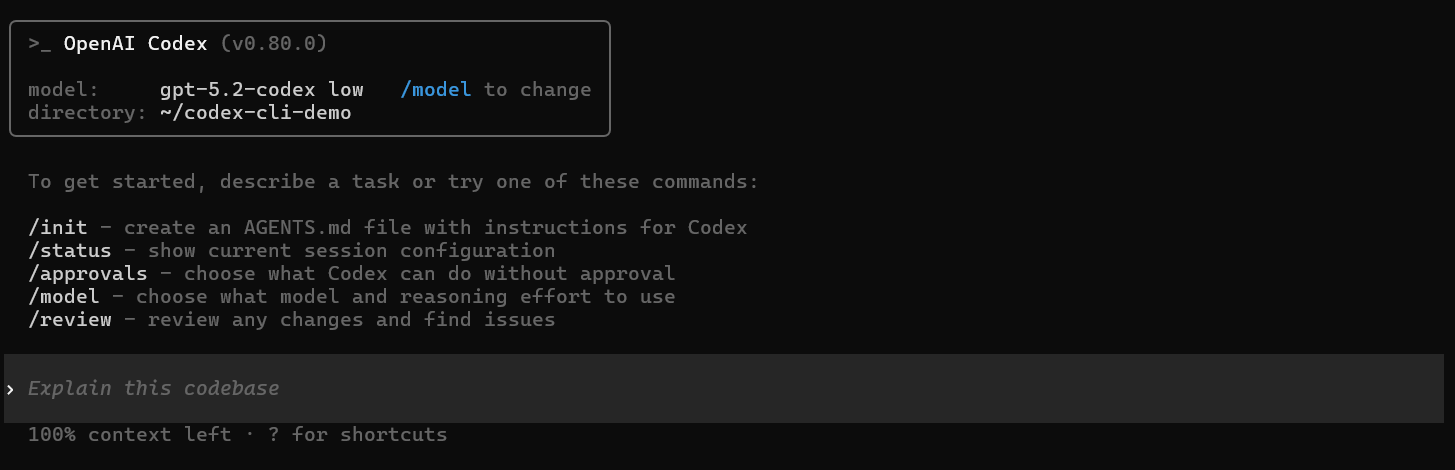
Step 3: Install Codex CLI
Now that Node.js is ready, install the Codex CLI globally:
npm install -g @openai/codex
After installation, you should be able to confirm the installation with:
codex --version
If the output shows a valid CLI version, you’re good to go. This CLI is the same one used on macOS and Linux — meaning no Windows-specific compatibility layer is needed.

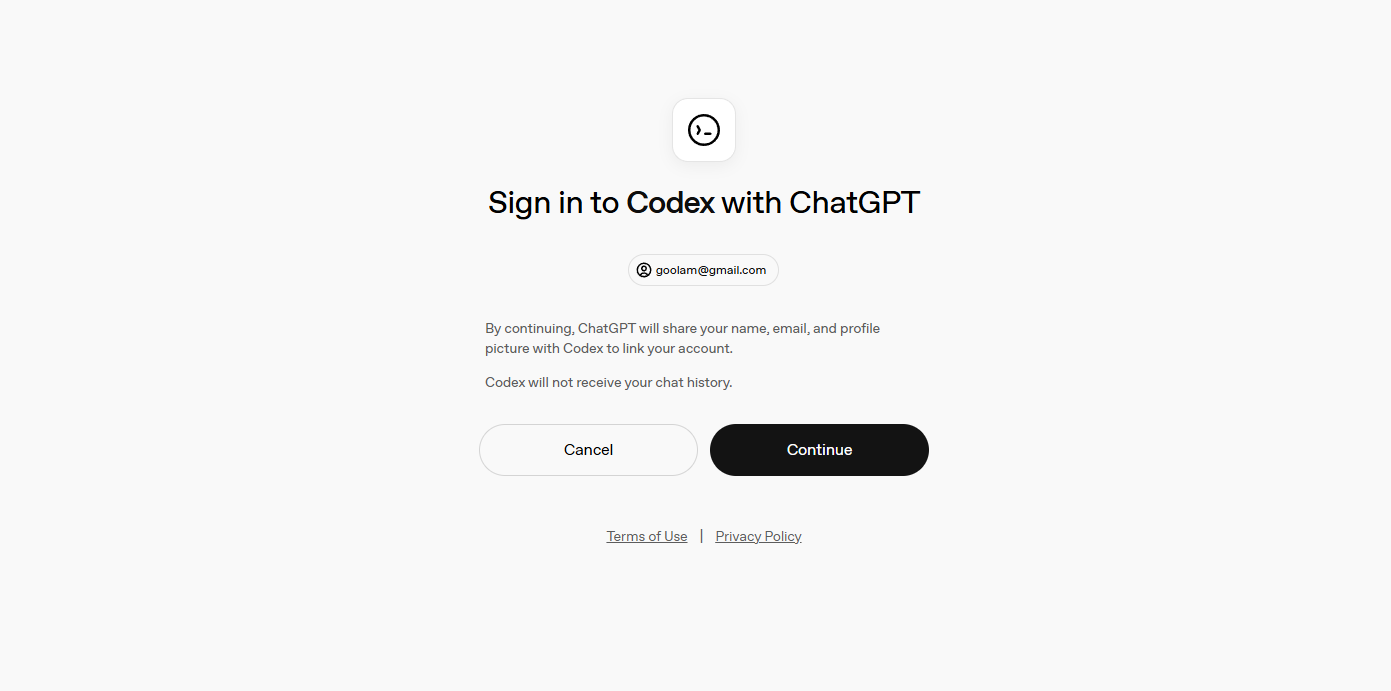
Step 4: Authenticate Codex
Codex requires authentication to access the models. In WSL, you can export your OpenAI API key if you prefer API key auth:
echo 'export OPENAI_API_KEY=sk-xxxxxxxxxxxxxxxxxxxxxxxx' >> ~/.bashrc
source ~/.bashrc
Alternatively, running codex interactively will prompt you to sign in via a browser, which works even inside WSL by opening the default Windows browser. If the browser doesn’t open automatically, you can follow the printed link manually.
Step 5: Run Codex CLI
Inside your WSL shell, navigate to your project directory. It’s best to keep your code inside the Linux filesystem, e.g., ~/code/myproject, for faster I/O and cleaner path semantics. Avoid using /mnt/c/... for major operations because performance and symlinks can degrade.
# Navigate to root directory
mkdir -p ~/code && cd ~/code

# Clone your repository
git clone https://github.com/your/repo.git
cd repo

# Launch Codex with:
codex
If you want Windows access to files, head over to \wsl$\Ubuntu\home<user> in your Explorer. This opens the interactive terminal UI. From here, you can ask Codex to:
- Refactor code
- Generate tests
- Debug modules
- Explain project structure
All while preserving Unix semantics and shell capabilities that align with typical developer workflows.
Recommended VS Code Setup
To edit and debug your project while using Codex in WSL:
- Install VS Code on Windows.
- Add the Remote - WSL extension.
- From a WSL terminal, run:
cd ~/code/myproject
code .
VS Code will open in “WSL mode” with a green status bar indicating WSL: <distro>. All integrated terminals will be Linux shells — perfect for Codex workflows. (OpenAI Developers)
You can also set the Codex extension to use WSL by enabling:
"chatgpt.runCodexInWindowsSubsystemForLinux": true
in your IDE settings, ensuring the extension runs the CLI inside WSL.
Best Practices for Codex on WSL
1. Keep Code in Linux FS:
Store repositories in your WSL home directory (~/code/...) instead of /mnt/c/.... This avoids slow file access, permission confusion, and symlink issues.
2. Update WSL When Needed:
If performance seems slow or tools hang, try updating WSL and rebooting:
wsl --update
wsl --shutdown
This refreshes kernels and binaries.
3. Wrap with PowerShell Shortcuts:
Some community scripts set up wrappers so that you can call codex from any Windows path by forwarding the call to WSL. This is optional but useful if you want to run Codex from PowerShell while still executing inside WSL.
Troubleshooting Common Issues
Codex Doesn’t Launch in WSL: Verify the binary exists and is on PATH
which codex || echo "codex not found"
If missing, reinstall:
npm install -g @openai/codex
Also check WSL distro updates and Node installation.
Slow File System Access: If your codebase is under /mnt/c/..., Git, Docker, and test runners may run slowly due to cross-filesystem overhead. Move the repo into your Linux home directory.
Authentication Fails in WSL: Sometimes the login prompt may not open a browser from inside WSL. In that case, copy the provided URL and open it manually in your Windows browser.
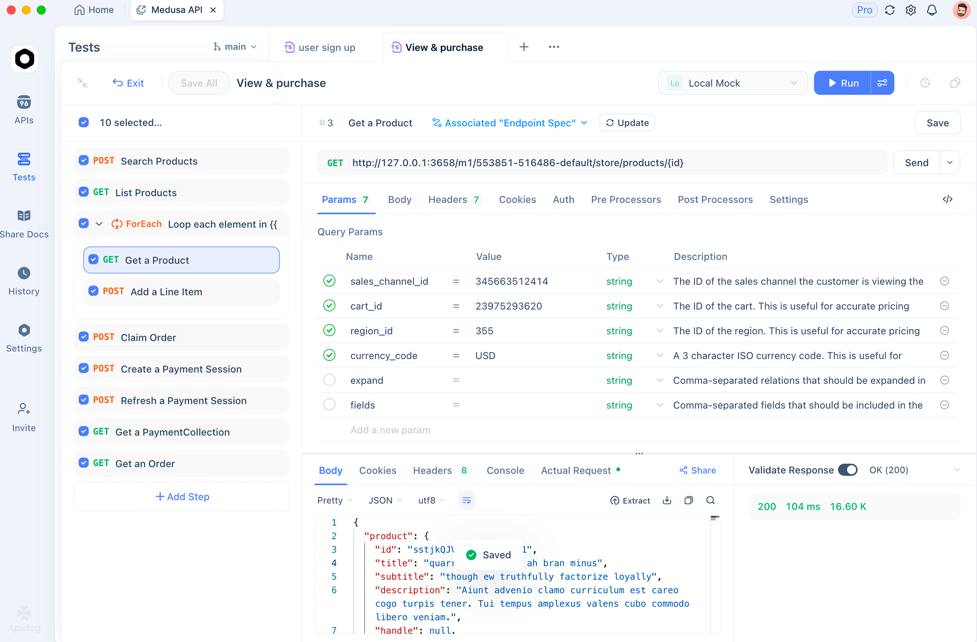
How Apidog Works in API-Centric Projects
Running Codex in WSL allows you to generate API controllers, services, and tests rapidly. But generating code is only half the story — you also need API behavior verification.
Apidog excels in API validation:
- Automatically generates API test cases
- Provides contract testing
- Integrates with your CI/CD pipelines
When combined with Codex for endpoint generation, Apidog ensures that your API logic actually meets runtime expectations. Start with Apidog for free to validate real HTTP behavior as you code.
Frequently Asked Questions
Q1. Is Windows native support sufficient for Codex without WSL?
Windows native support is experimental and unreliable. The best experience comes from running Codex in WSL due to Linux compatibility.
Q2. Do I need a paid plan to run Codex?
Yes — Codex requires a ChatGPT Plus, Pro, Business, or Enterprise subscription. Free tiers may not grant model access.
Q3. Can I use WSL 1 instead of WSL 2?
WSL 2 is strongly recommended because it provides a real Linux kernel and better filesystem semantics. WSL 1 may work but with degraded performance.
Q4. Can I run multiple Codex sessions concurrently?
Yes, in WSL you can open multiple terminals and run independent Codex sessions as long as you have sufficient quota and environment resources.
Q5. Will Codex treat Windows paths differently?
Codex sees Linux paths inside WSL normally — avoid Windows paths (like /mnt/...) for core operations to prevent confusion.
Conclusion
Running OpenAI Codex on Windows with WSL gives you the best blend of compatibility, performance, and stability. WSL delivers a real Linux environment that works natively with Codex CLI tooling, avoids sandbox quirks, and aligns with development workflows used in production. Combine this setup with tools like Apidog to validate your API behavior and ensure your generated code works exactly as expected.


