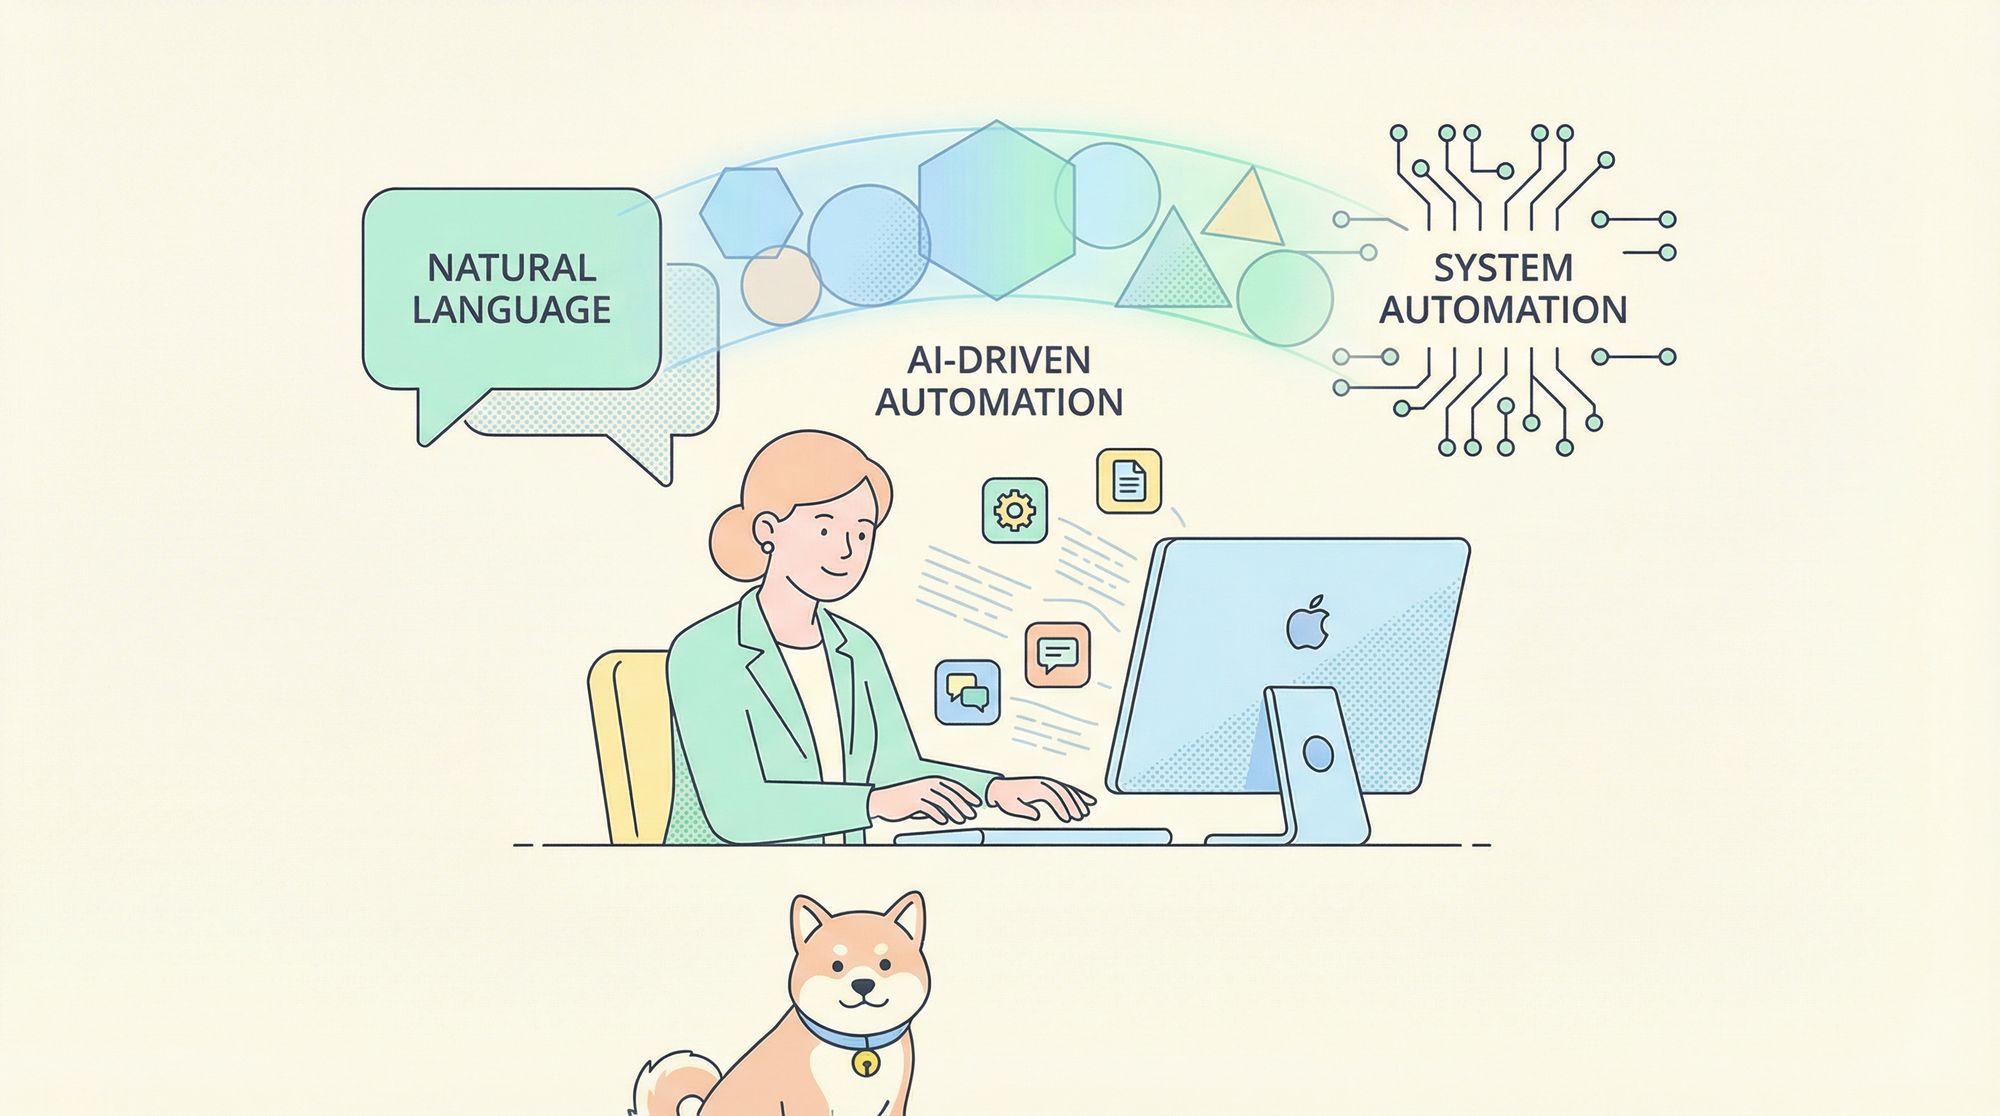
Imagine controlling your Mac with just a few lines of natural language—launching apps, simulating user actions, and automating repetitive workflows. With Claude’s Computer Use tool, this is no longer science fiction. For API developers and technical teams, Claude brings a new dimension to macOS automation, combining AI-driven actions with a familiar programming environment.
Before we dive in, if you’re looking to optimize your API development workflow, explore Apidog. Apidog streamlines API design, testing, and documentation, allowing you to easily collaborate and integrate robust APIs into your automation stack.
What Is Claude’s Computer Use Tool?
Claude’s Computer Use is a beta tool from Anthropic that enables an AI agent to interact programmatically with a Mac’s keyboard, mouse, and screen. By leveraging command-line utilities and Python, Claude can:
- Simulate typing and key presses
- Move the mouse and perform clicks
- Take and interpret screenshots
- Retrieve cursor position
All these actions are exposed through an API-like interface, making it accessible for developers to script or trigger via natural language.
Why Use Claude for macOS Automation?
Traditional automation on macOS—think AppleScript, Automator, or even Keyboard Maestro—has limitations. Scripts can be brittle, require application-specific tweaking, or lack flexibility in handling dynamic UI elements.
Claude’s Computer Use tool:
- Interprets your screen in real time, executing commands like a human would
- Works across any macOS app, not just those with scripting support
- Bridges natural language and actionable system events, streamlining tedious UI operations
For API-first teams, this approach means you can prototype, test, and demonstrate automation flows without deep knowledge of app-specific scripting.
Prerequisites: What You Need to Get Started
Set up your environment with:
- A Mac running macOS 12 (Monterey) or newer
- Python 3.8+ installed
- Homebrew (macOS package manager)
- Terminal app (Terminal.app or iTerm2)
- Access to Claude Computer Use API and your API key
You’ll also need cliclick, a command-line tool for simulating keyboard and mouse input.
Granting Accessibility Permissions
To allow automation, macOS requires you to give your terminal app accessibility permissions:
- Go to System Settings
- Navigate to Privacy & Security > Accessibility
- Enable control for your terminal application
Without this, mouse and keyboard actions won’t work.
How Claude’s Computer Use Works: Under the Hood
The automation stack consists of three main components:
- Claude’s Computer Use API: Interprets screen content and issues high-level commands.
- cliclick: Executes low-level mouse and keyboard actions.
- Python bridge (computer.py): Connects Claude’s commands to cliclick and manages system state.
This layered approach allows Claude to “see” your desktop, understand context, and act accordingly.
Step-by-Step: Setting Up Claude’s Computer Use Tool
Follow these steps to get up and running:
1. Install cliclick
brew install cliclick
2. Clone the Anthropic Quickstart Repository
git clone https://github.com/anthropics/anthropic-quickstarts.git
cd anthropic-quickstarts/computer-use-demo
3. Replace the Core Script
Swap out the existing computer.py file with the latest version from the official guide for improved compatibility and features.
4. Run the Setup Script
./setup.sh
This script creates a Python virtual environment and installs dependencies.
5. Activate the Environment
source .venv/bin/activate
6. Set Up Environment Variables
Replace placeholders with your actual credentials and screen dimensions:
export ANTHROPIC_API_KEY=sk-xxxxxx
export WIDTH=1512   # Your screen width
export HEIGHT=982   # Your screen height
Check your resolution at Apple Menu > About This Mac > Displays.
7. Start the Streamlit Demo
python -m streamlit run computer_use_demo/streamlit.py
A browser window will launch where you can enter natural language commands for Claude.
Real-World Automation Examples for Developers
Once your environment is live, you can automate common tasks such as:
Launch Applications
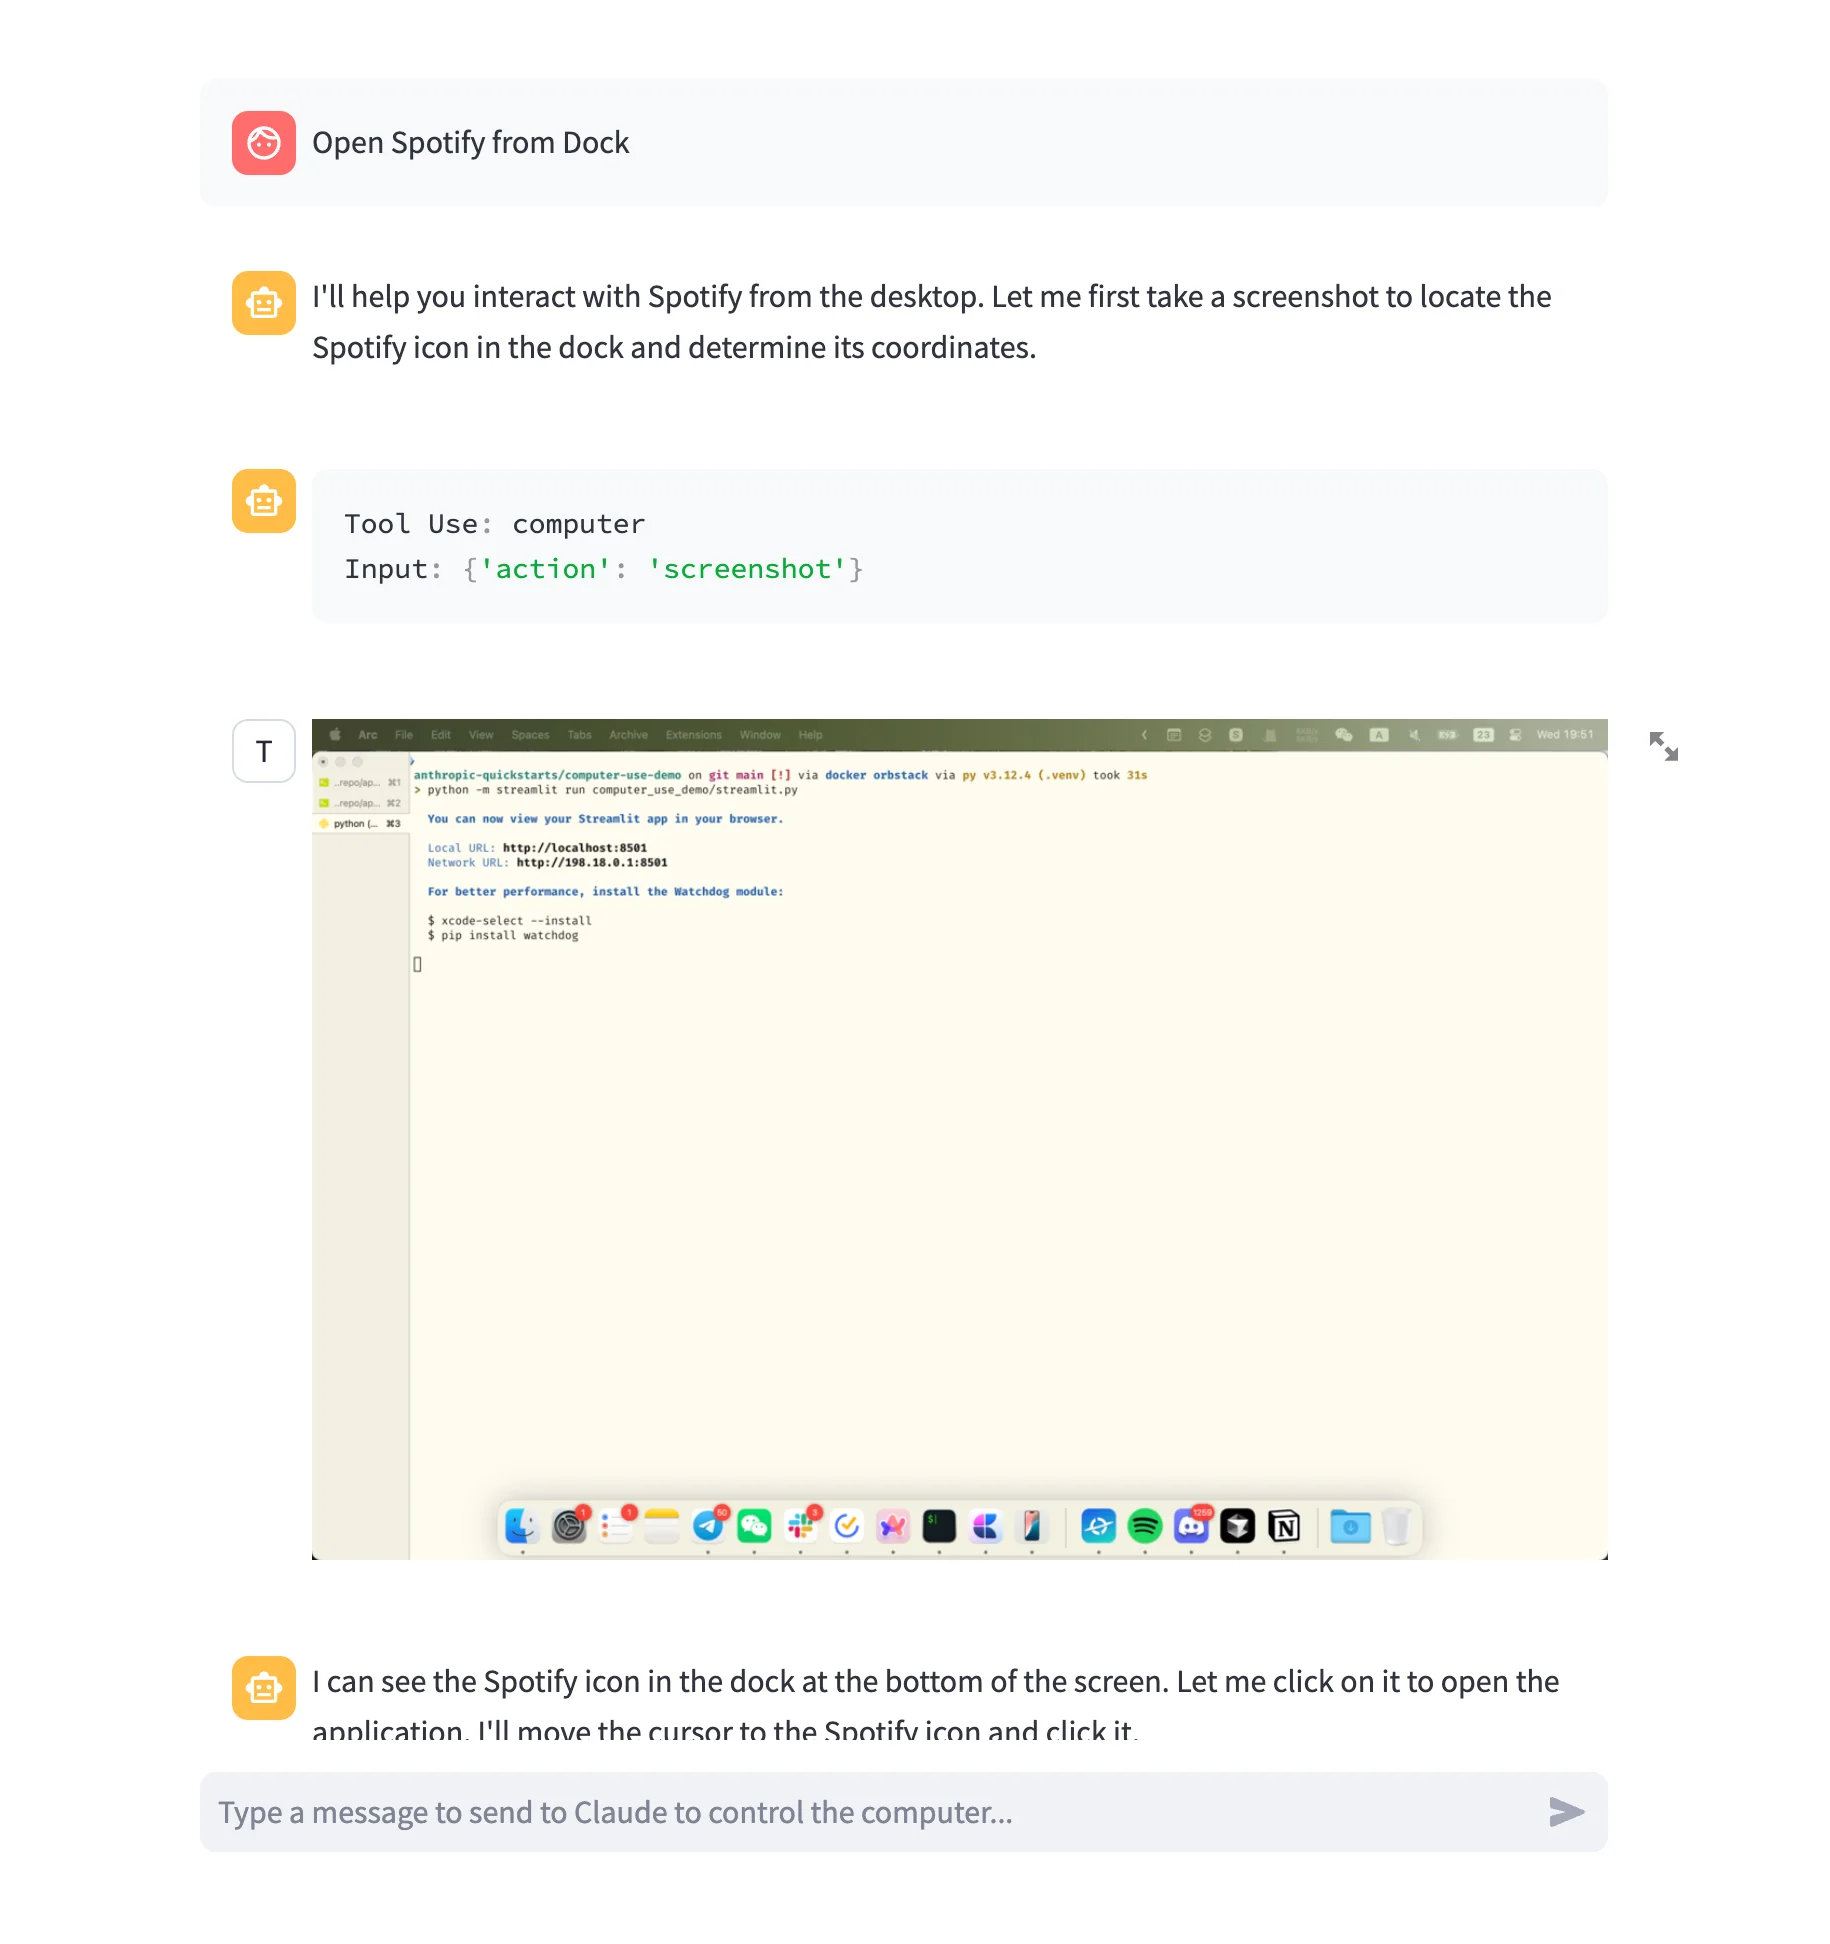
Ask Claude to “Open Safari” or “Launch Spotify.” The AI visually identifies icons and simulates the necessary actions.
Automate Text Entry
Instruct Claude to open Notes and type a message—ideal for generating logs, notes, or automated status updates.
Navigate Menus and Windows
Simulate keyboard shortcuts, click through nested menus, or drag windows—perfect for multi-step workflows like exporting files or setting up your development workspace.
Example: Automated Browser Task
Let’s say you want Claude to open Safari, visit apple.com, and take a screenshot. Here’s how Claude executes this:
- Presses Cmd+Space (Spotlight)
- Types "Safari"
- Hits Enter to launch Safari
- Waits for the browser to load
- Types "apple.com" and presses Enter
- Captures a screenshot for verification
All actions are driven by your natural language prompt.
Deep Dive: Inside the computer.py Script
The computer.py file is the core middleware, exposing an API-like interface and handling:
- Coordinate Mapping: Adjusts interactions based on your screen’s resolution.
- Action Execution: Issues mouse, key, and typing commands via cliclick.
- Screenshot Handling: Uses
screencaptureand ImageMagick to provide visual feedback. - Error Handling: Validates input (e.g., missing text or invalid coordinates) and provides clear error messages for robust automation.
Key Implementation Snippets
Tool Setup
class ComputerTool(BaseAnthropicTool):
    name: Literal["computer"] = "computer"
    api_type: Literal["computer_20241022"] = "computer_20241022"
    self.width = int(os.getenv("WIDTH") or 0)
    self.height = int(os.getenv("HEIGHT") or 0)
Executing Mouse Movement
if action == "mouse_move":
    return await self.shell(f"cliclick m:{x},{y}")
Typing Text
for chunk in chunks(text, TYPING_GROUP_SIZE):
    cmd = f"cliclick t:'{chunk}'"
    results.append(await self.shell(cmd, take_screenshot=False))
Screenshot Functionality
screenshot_cmd = f"{self._display_prefix}screencapture {path}"
await self.shell(f"convert {path} -resize {x}x{y}! {path}")
Coordinate Scaling
x_scaling_factor = target_dimension["width"] / self.width
y_scaling_factor = target_dimension["height"] / self.height
Error Handling
if text is None:
    raise ToolError(f"text is required for {action}")
Why This Matters for API-Driven Teams
For API engineers and technical leads, Claude’s Computer Use tool enables:
- Automated UI testing without brittle scripts
- Hands-free demonstrations and onboarding
- Integration with API-driven workflows for continuous delivery and QA
- Prototyping user journeys without manual setup
As you design automation strategies, integrating a robust API management platform like Apidog helps ensure consistency and reliability across your tools and development pipeline.
Conclusion
Claude’s Computer Use tool reimagines macOS automation—no more rigid scripts or limited macros. By leveraging natural language and low-level system control, you can build adaptive automation workflows tailored to your exact needs. Whether you’re streamlining development, testing, or daily operations, Claude and Apidog together empower you to build smarter, more efficient systems.


