If you're a developer looking to streamline your backend development, turning a vague idea into a fully functional REST API can feel like a marathon. But what if you could leverage AI tools like Claude Code or Codex to automate much of that heavy lifting? In this guide, we'll explore how to position Claude Code or Codex as a powerful REST API generator, transforming your database schema into endpoints, validation logic, and even documentation with minimal manual effort. Whether you're prototyping a new service or scaling an existing one, using a Claude Code REST API generator or Codex REST API generator approach saves time and reduces errors. By following a structured process, you can prompt these AI models to handle everything from schema definition to deployment scripts. Let's walk through it step by step, so you can see how these tools become your efficient coding partner.
Want an integrated, All-in-One platform for your Developer Team to work together with maximum productivity?
Apidog delivers all your demands, and replaces Postman at a much more affordable price!
Why Claude Code and Codex Excel as REST API Generators
Today, developers are increasingly relying on AI to accelerate repetitive tasks, and REST API generation is a prime candidate. Claude Code, Anthropic's terminal-based agentic coding tool, and Codex, OpenAI's code-focused model, stand out for their ability to understand natural language prompts and output production-ready code. As a REST API generator, they shine by interpreting your requirements—such as entity relationships or validation rules—and producing layered architectures that align with best practices.
The beauty lies in automation: Instead of hand-coding models, routes, and tests, you describe your needs in plain English, and the AI generates the scaffolding. This not only speeds up development but also ensures consistency, like standardizing error responses or integrating ORM patterns. For instance, a Claude Code REST API generator can spin up a Node.js/Express setup with Prisma ORM in minutes, while a Codex REST API generator might favor Python/FastAPI for its type safety. Both handle complexities like foreign keys or pagination seamlessly, making them ideal for solo projects or team collaborations. As we'll see, the key is a well-crafted prompt that guides the AI through the six essential steps of API creation.
Step 1: Define or Choose Your Database Schema
The foundation of any solid REST API is a well-defined database schema, and this is where your chosen REST API generator truly begins to automate the process. Start by prompting Claude Code or Codex to help you outline your data structure. For example, specify the database name (e.g., "ecommerce_db") and type—PostgreSQL for relational power, MySQL for compatibility, or SQLite for lightweight testing.
In your prompt, describe tables or entities along with their fields: names, data types (e.g., VARCHAR, INTEGER), constraints (e.g., NOT NULL, UNIQUE), and relationships (e.g., one-to-many between users and orders). If you have an existing schema, the AI can import it via SQL dumps, YAML, or JSON formats. Claude Code, with its interactive session capabilities, excels here by iterating on your input—perhaps suggesting indexes for performance or normalizing denormalized designs. A Codex REST API generator might output a visual ER diagram in Mermaid syntax for clarity.
This step sets the stage: The AI not only documents your schema but also generates initial DDL scripts, ensuring your REST API generator workflow starts on firm ground. By automating schema brainstorming, you avoid common pitfalls like overlooked foreign keys, letting you focus on business logic from the outset.
Step 2: Generate Mock or Seed Data
Once the schema is locked in, the next automation opportunity is populating it with realistic data. A smart REST API generator like Claude Code or Codex can create sample records that respect field constraints and relationships, using libraries like Faker.js for Node or Faker in Python.
Prompt the AI to generate a specified number of records per entity—say, 50 users with associated profiles and 200 orders linked via foreign keys. It will handle data patterns, such as realistic emails for user fields or sequential dates for timestamps, while avoiding violations like duplicate uniques. You can refine this by adjusting counts or themes (e.g., "Generate e-commerce data with seasonal trends").
This mock data serves dual purposes: It populates your development database for immediate testing and provides seed scripts for production-like environments. Using a Claude Code REST API generator, you might get executable SQL inserts or ORM seed functions; Codex could output CSV files for bulk loading. This step transforms abstract schemas into tangible datasets, making your API feel alive right away.
Step 3: Build the Data-Access and Persistence Layer
With schema and data in place, it's time to automate the persistence layer—the bridge between your database and application logic. Here, Claude Code and Codex act as expert architects, generating models, entities, or ORM classes tailored to your stack.
For a Node.js project, prompt for Prisma or Sequelize models with type definitions; for Python, SQLAlchemy or Django ORM schemas. The AI creates repositories or DAOs for CRUD operations—think query builders that handle joins for related entities—and includes migrations or DDL scripts to provision tables in your chosen DB.
A standout feature of a Codex REST API generator is its ability to infer optimizations, like adding soft deletes for audit trails. Claude Code goes further with multi-file generation, outputting a full directory structure. This automation ensures your data layer is robust, scalable, and aligned with your schema, freeing you to tackle higher-level concerns without boilerplate drudgery.
Step 4: Create the REST API Layer with Controllers and Handlers
Now, the heart of your REST API: the endpoints. As a REST API generator, Claude Code or Codex can produce comprehensive CRUD routes for each entity, wired directly to your persistence layer.
Specify your framework—Express for Node, FastAPI for Python—and the AI generates handlers: GET /entities for listing with optional filters, GET /entities/:id for single reads, POST /entities for creation, PUT/PATCH /entities/:id for updates, and DELETE /entities/:id for removals. It handles query parameters like sorting or searching, ensuring routes call the appropriate repository methods.
For relationships, it might add nested endpoints (e.g., GET /users/:id/orders). A Claude Code REST API generator integrates authentication middleware if requested, while Codex emphasizes async patterns for performance. This step yields a runnable server skeleton, complete with route mounting, turning your data layer into a queryable API in one prompt.
Step 5: Implement Validation, Error Handling, and Response Shaping
No API is complete without safeguards, and automation here prevents leaky abstractions. Prompt your REST API generator to add input validation using tools like Joi for Node or Pydantic for Python—enforcing required fields, types, lengths, and custom rules.
For errors, generate standardized handling: 404 for not found, 400 for bad requests, with descriptive messages and stack traces in dev mode. Response shaping standardizes outputs—JSON envelopes with metadata, pagination via offset/limit, and consistent status codes.
Claude Code shines in contextual error simulation, suggesting try-catch blocks tied to business rules. A Codex REST API generator might include logging integrations like Winston. This layer adds polish, making your API production-ready and user-friendly.
Step 6: Generate Documentation and Scaffolding Tools
Finally, cap it off with docs and utilities. As a comprehensive REST API generator, Claude Code or Codex auto-generates OpenAPI/Swagger specs from your routes, complete with descriptions, schemas, and examples.
Optionally, request client stubs in TypeScript or Python, or SDKs for frontend consumption. It also provides run scripts: npm start for the server, migration runners, seed commands, and test suites using Jest or pytest.
This automation closes the loop, delivering a deployable package with interactive docs hosted via Swagger UI.
Sample Prompt Template for Your REST API Generator
To kickstart this in Claude Code or Codex, use this adaptable template:
Act as a REST API generator. For a [framework, e.g., Node.js/Express] project using [DB/ORM, e.g., PostgreSQL/Prisma]:

Database: Name '[db_name]', type [DB_type]. Tables: [list entities with fields, types, relations].

Generate [num] mock records per table, respecting constraints.

Create models, repositories, and migrations.

Build CRUD routes for each entity, linked to repositories.

Add validation with [validator], error handling (standard HTTP codes), and paginated JSON responses.

Output OpenAPI spec and run scripts.

Generate all code files in a zip-ready structure.
Tweak for specifics, and watch the magic unfold.
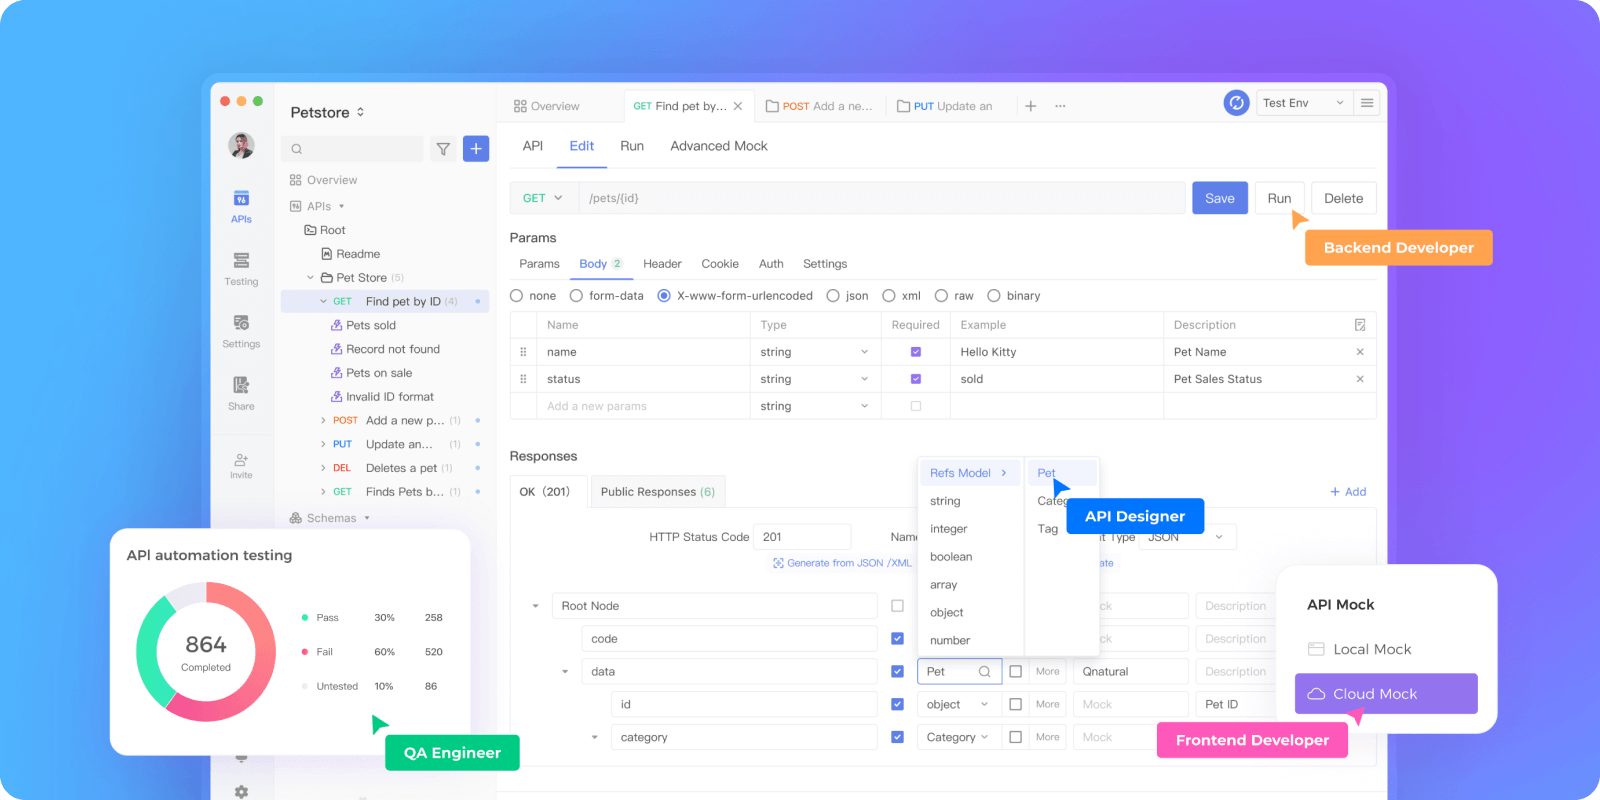
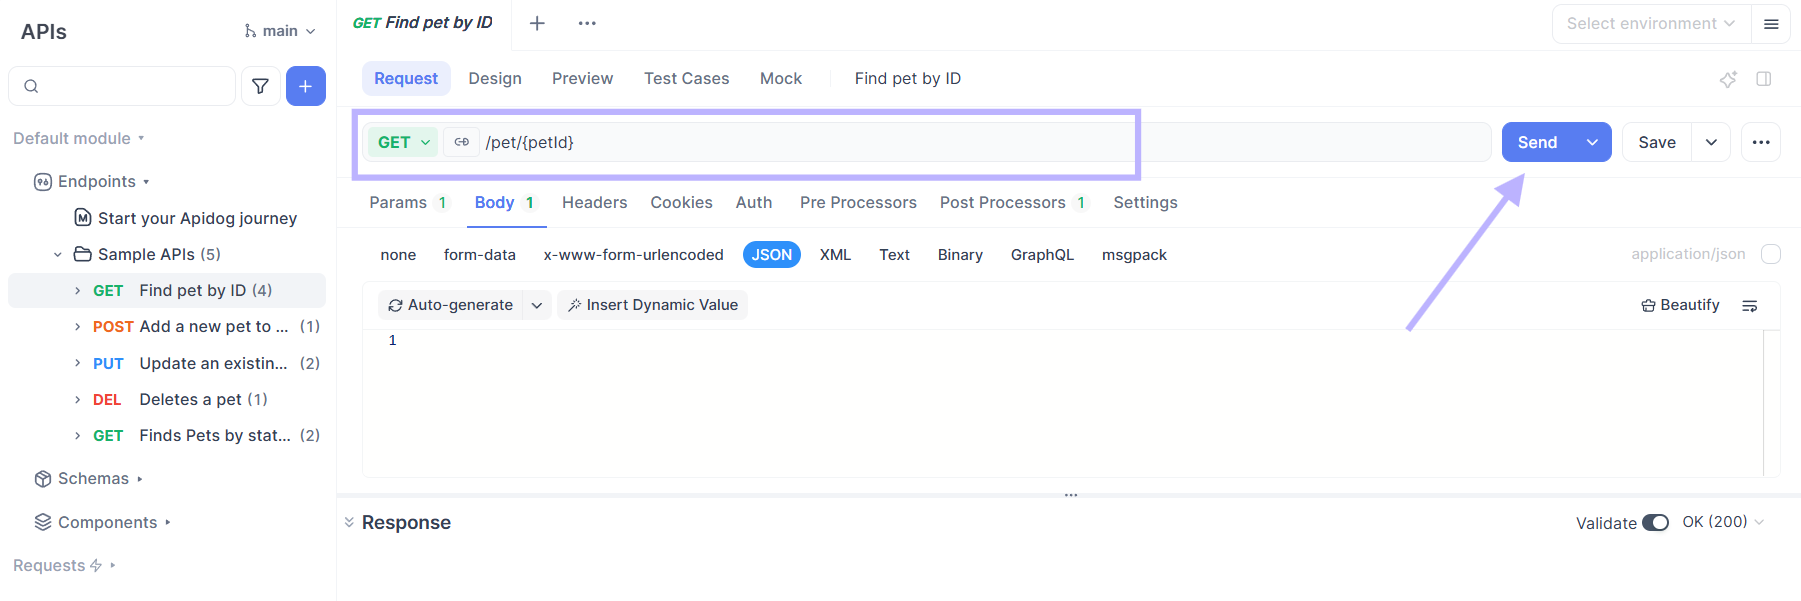
Testing Your Generated REST API with Apidog
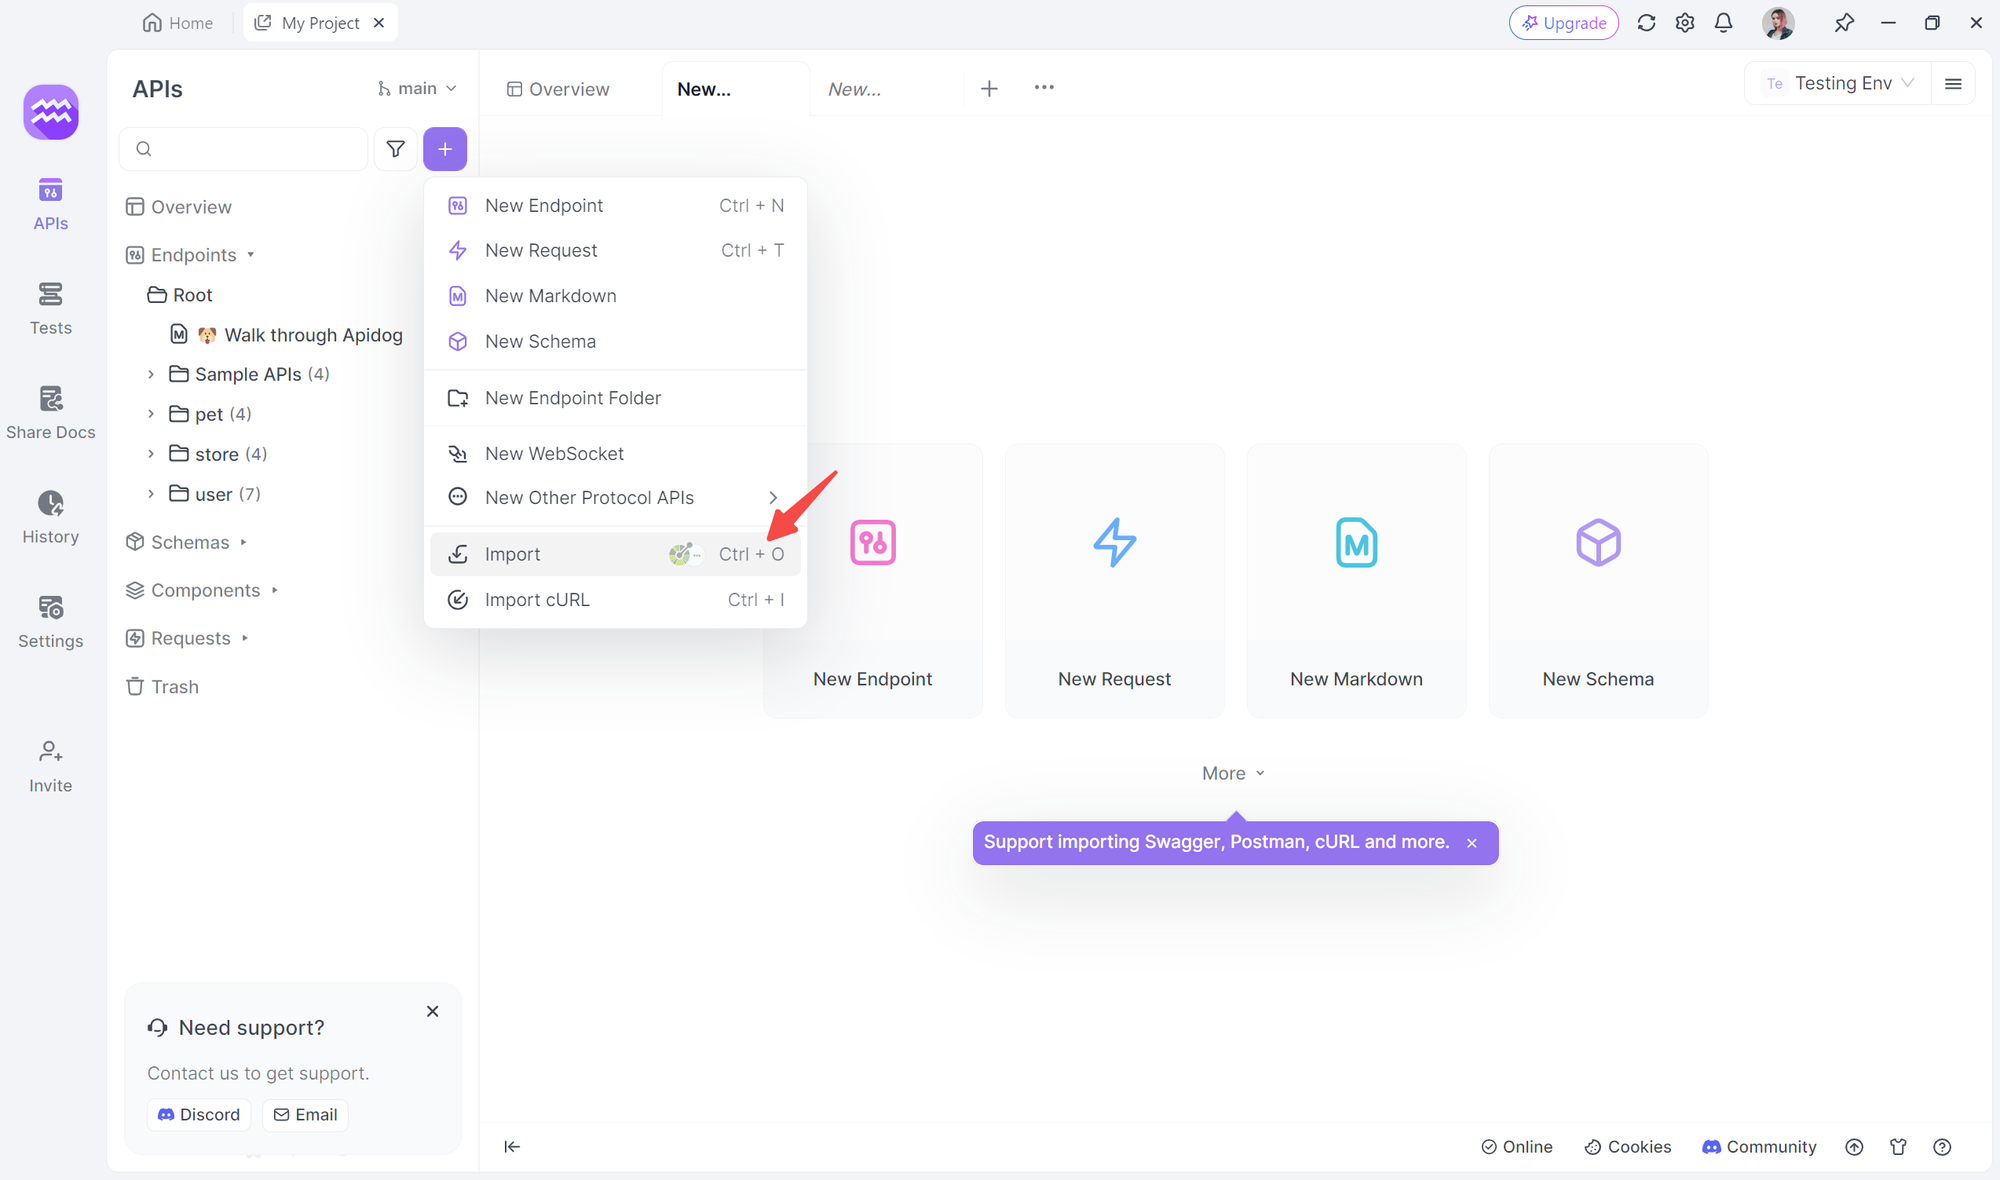
Once your REST API is generated and running, validating its endpoints ensures everything functions as expected. Apidog, a comprehensive API platform, simplifies this by providing an intuitive interface for designing, testing, and documenting APIs—much like an extension of your Claude Code or Codex workflow. It's free to start and integrates seamlessly with OpenAPI specs from Step 6.
To test your endpoints in Apidog, follow these quick steps:
1. Import Your API Spec: Copy/save the OpenAPI/Swagger file generated by Claude code/Codex, then in Apidog, create a new project and import the spec via the "Import" button. This auto-populates your collections with routes like GET /entities and POST /entities.
2. Set Up Your Environment: Configure base URL (e.g., http://localhost:3000) and authentication (e.g., Bearer token) in the environment settings to match your server.
3. Send Test Requests: Select an endpoint from the collection, add parameters or body data (e.g., JSON payload for POST), and click "Send." Review the response pane for status codes, headers, and body—spotting issues like validation errors early.
4. Run Automated Tests: Add assertions (e.g., "response status is 200" or "body.id exists") to requests, then execute the collection for batch testing. Apidog highlights failures and logs details for quick debugging.
5. Export Reports: Generate test reports or share collections with your team for collaborative review.
This process confirms your API's reliability, closing the loop on your AI-assisted generation. With Apidog, what started as a prompt becomes a battle-tested service.
Conclusion: Streamline Your API Development Today
Harnessing Claude Code or Codex as a REST API generator and testing the REST API in Apidog revolutionizes how you build backends, automating from schema to specs with precision and speed. Whether opting for a Claude Code REST API generator's interactive depth or a Codex REST API generator's rapid prototyping, the result is cleaner code and faster iterations. Dive in with the steps above, refine your prompts, and elevate your development workflow with Apidog.