
Welcome, developers! If you're looking to boost your coding efficiency, integrating Claude Code with your favorite IDEs like Visual Studio Code (VSCode) and JetBrains can transform your workflow. Claude Code, developed by Anthropic, is an agentic coding tool designed to understand your codebase, execute commands, and assist with tasks via natural language prompts. By connecting it to VSCode and JetBrains, you gain a powerful AI assistant that works directly within your development environment.
Why Integrate Claude Code with VSCode and JetBrains?
Unlike traditional code completion tools, Claude Code actively understands your project’s context, analyzes files, and performs actions like editing code or running terminal commands—all with your approval. Integrating it with VSCode, a lightweight and popular editor, or JetBrains, a robust IDE suite (IntelliJ, PyCharm, etc.), brings these capabilities directly into your workflow. Consequently, you save time, reduce errors, and tackle complex tasks with ease. Moreover, Claude Code supports secure connections via Anthropic’s API, Amazon Bedrock, or Google Vertex AI, ensuring compliance and data safety for enterprise users.

Prerequisites for Integrating Claude Code
To begin, ensure you have the following ready:
- System Requirements: A modern OS (Windows, macOS, or Linux) with a stable internet connection.
- IDE Installation: Install VSCode (or forks like Cursor) or a JetBrains IDE (PyCharm, IntelliJ, WebStorm, etc.)—download from Visual Studio Code or JetBrains.
- Anthropic API Key: Sign up at Anthropic and generate an API key from the console.
- Node.js and npm: Required for CLI installation—get them from Node.js.
- Terminal Access: Use the built-in terminal in your IDE or an external one (e.g., Command Prompt, Terminal).
- Project Context: Have a codebase ready in a repository for Claude Code to analyze.
With these in place, you’re set to proceed. Let’s move forward to installation!
Step-by-Step: Installing Claude Code for VSCode and JetBrains
1. Install the Claude Code CLI
First, install the Claude Code command-line interface (CLI) globally. Open your terminal and run:
npm install -g @anthropic-ai/claude-code
This command fetches and installs the Claude Code package from npm. Once complete, verify the installation by typing:
claude --version
You should see the version number, confirming the CLI is ready. If issues arise, ensure Node.js is updated and your PATH includes npm binaries.
2. Authenticate with Anthropic API
Next, link Claude Code to your Anthropic account. Execute:
claude
This triggers a one-time OAuth authentication process. Follow the prompts to enter your Anthropic API key. After authentication, Claude Code connects securely to Anthropic’s servers, enabling access to your codebase. For added security, store your API key as an environment variable (e.g., ANTHROPIC_API_KEY) rather than hardcoding it.
3. Set Up Claude Code for VSCode
Now, integrate Claude Code with VSCode. Follow these steps:
- Run in Terminal: Navigate to your project’s root directory in VSCode’s built-in terminal and type
claude. This launches Claude Code, automatically pulling context from open files and selections. - Install Beta Extension: Anthropic provides a beta VSCode extension for deeper integration. Check the Visual Studio Marketplace or Anthropic’s docs for the latest
.vsixfile. Install it via VSCode: go to Extensions > More Actions (three dots) > Install from VSIX, then select the file. - Enable Features: Use
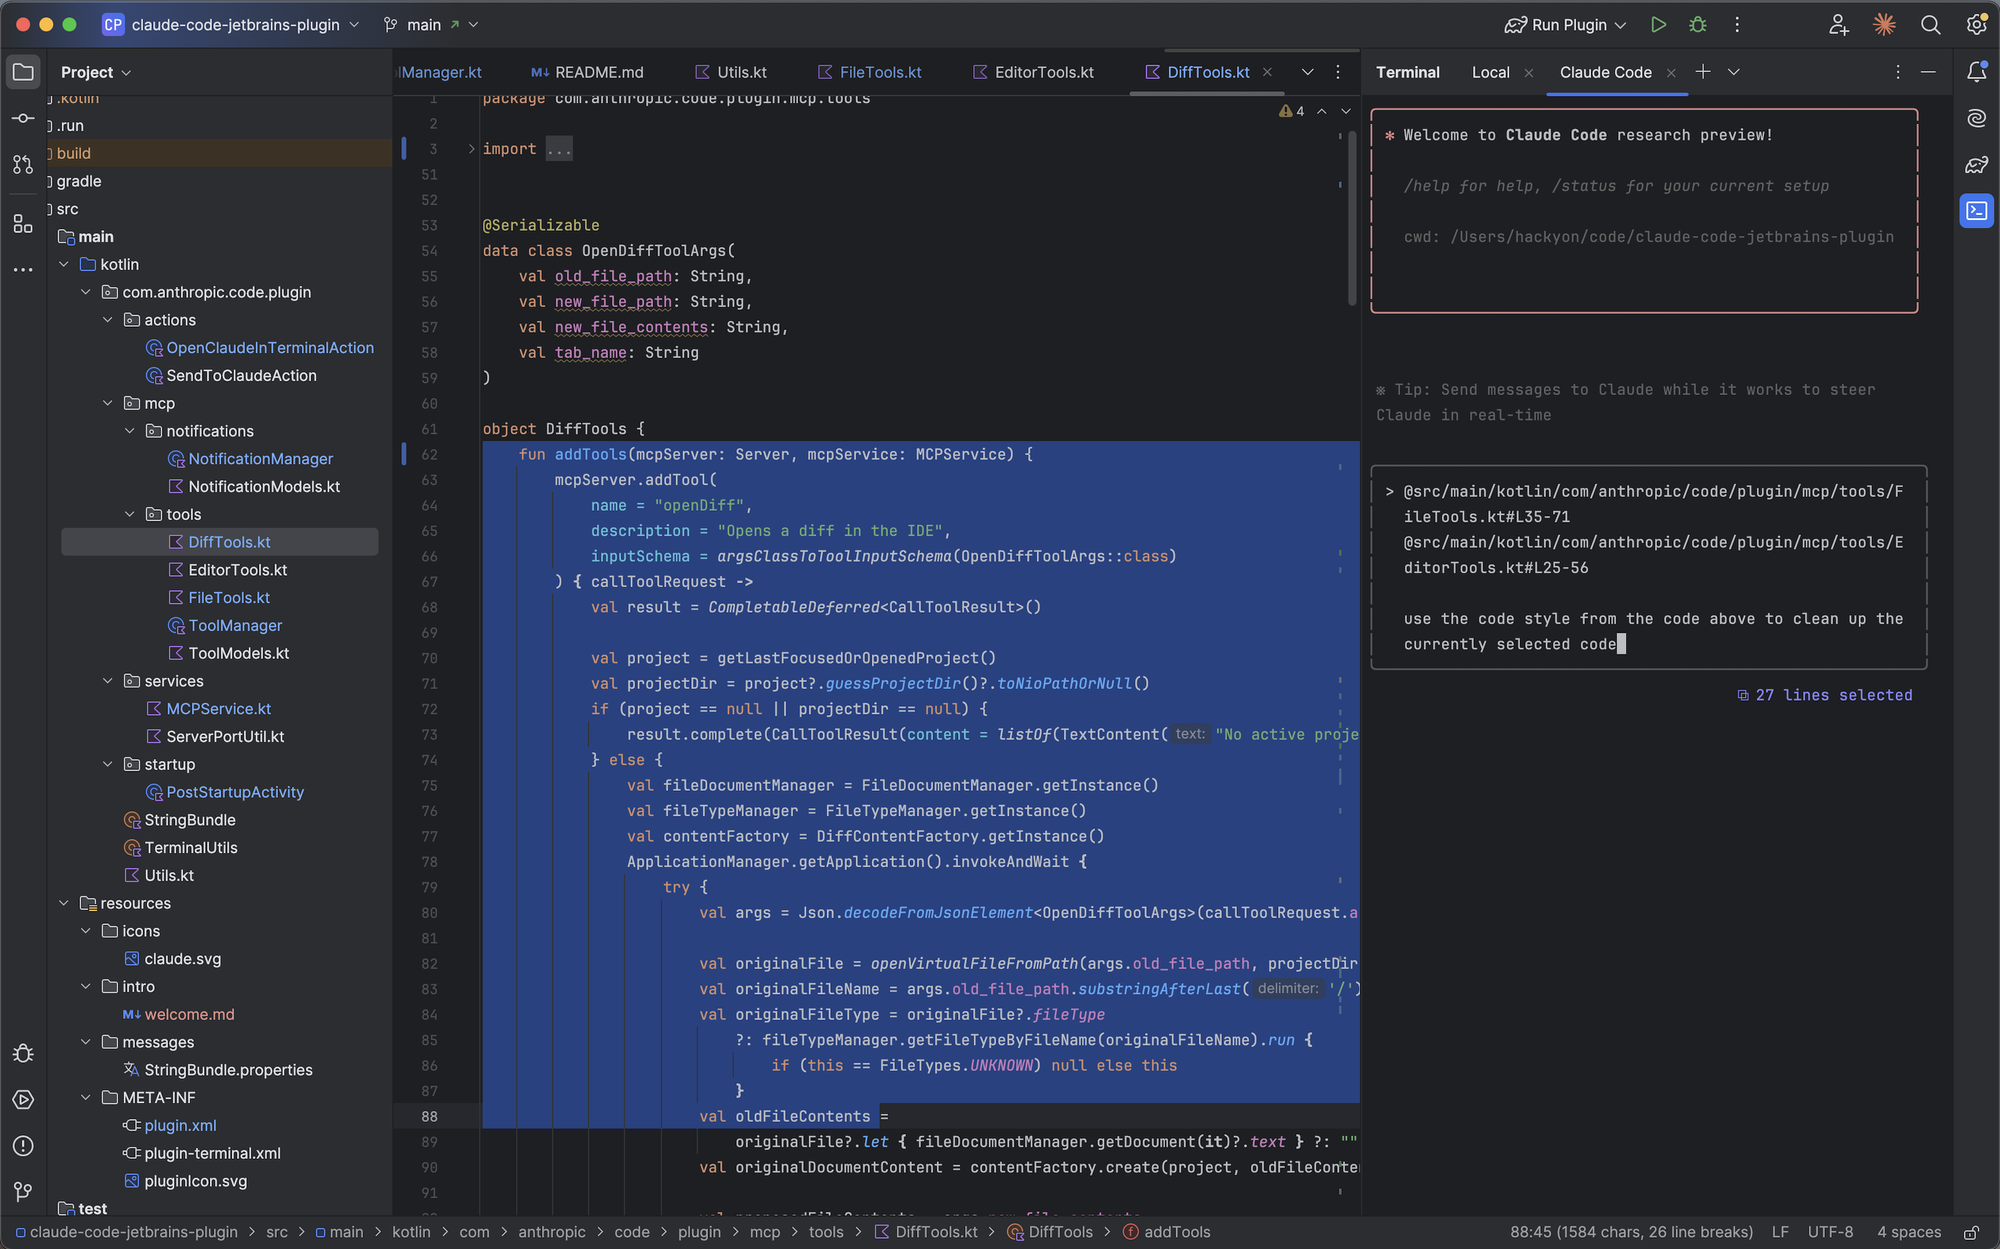
Cmd+Esc(Mac) orCtrl+Esc(Windows/Linux) to open Claude Code directly. The extension shares open files, diagnostics (lint errors, warnings), and selections with Claude Code. View proposed changes in the IDE’s diff viewer for review.
4. Set Up Claude Code for JetBrains
Similarly, configure Claude Code for JetBrains IDEs:
- Run in Terminal: In your JetBrains IDE (e.g., PyCharm), open the built-in terminal, navigate to your project root, and run
claude. This connects Claude Code to your project. - Install Beta Plugin: Anthropic offers a beta plugin for JetBrains. Visit JetBrains Marketplace to download the plugin. In your IDE, go to Settings > Plugins > Install Plugin from Disk, then select the downloaded file.
- Remote Development Note: For JetBrains Remote Development, install the plugin on the remote host via Settings > Plugins (Host). Restart the IDE to activate.
- Enable Features: Use
Cmd+Esc(Mac) orCtrl+Esc(Windows/Linux) to launch Claude Code. The plugin shares diagnostics and file context, displaying edits in the IDE’s diff viewer.
5. Verify Installation
After setup, test the integration.
Claude Code analyzes your codebase and returns a detailed explanation. If successful, you’re ready to proceed!
Configuring Claude Code for Optimal Use
With installation complete, fine-tune Claude Code for your needs. First, create a CLAUDE.md file in your project root. This file auto-loads into Claude Code’s context, so add:
- Project-specific details (e.g., branch naming, merge policies).
- Environment setup (e.g., compiler versions, pyenv settings).
- Known quirks or warnings.
For example:
# Project Setup for Claude Code
- **Branch Naming**: Use `feature/`, `bugfix/` prefixes.
- **Environment**: Use pyenv with Python 3.9; install via `pyenv install 3.9.0`.
- **Note**: Ignore deprecated warnings in legacy/auth module.
Check CLAUDE.md into git to share with your team, or name it CLAUDE.local.md and add to .gitignore for personal use. Additionally, if working in a monorepo, place CLAUDE.md files in parent or child directories—Claude Code pulls them on demand.
For external terminals, use the /ide command after launching claude to connect to your IDE, ensuring file access aligns with your project root. Adjust settings via /config to customize diff viewing or context sharing.
Using Claude Code in VSCode and JetBrains
Now, let’s explore practical applications. Claude Code excels at multiple tasks, and its IDE integration makes it seamless. Try these commands:
1. Analyze Your Codebase
Ask high-level questions to understand your project. Type in the terminal:
claude > how does our authentication system work?
Claude Code scans files, identifies key components, and explains the authentication flow, including models and endpoints.
2. Edit and Refactor Code
Request changes directly. For example:
claude > fix the type errors in the auth module
Claude Code proposes fixes, displaying diffs in VSCode or JetBrains for review. Approve or tweak the changes, ensuring precision.
3. Commit and Manage Git
Streamline version control with:
claude commit
Claude Code generates a commit message and stages changes. Alternatively, use:
claude > create a pr
This creates a pull request, ready for review.
4. Advanced Tasks
Tackle complex workflows, such as:
claude > rebase on main and resolve any merge conflicts
Claude Code handles the rebase, flags conflicts, and suggests resolutions—all within your IDE.
Best Practices for Claude Code Integration
To maximize efficiency, follow these tips:
- Start at Project Root: Run
claudefrom your repository’s root to ensure full context. - Use CLAUDE.md: Keep this file updated for consistent context across sessions.
- Review Changes: Always check diffs in the IDE viewer to maintain control.
- Secure API Key: Store it as an environment variable, not in code.
- Test Incrementally: Begin with small tasks (e.g., code explanation) before complex edits.
Additionally, for remote development in JetBrains, verify the plugin is installed on the host. Restart the IDE if features don’t activate.
Conclusion: Elevate Your Coding with Claude Code
Integrating Claude Code with VSCode and JetBrains empowers you to streamline development. From installation to daily use, this guide equips you to harness Claude Code effectively. Start by setting up the CLI, configuring your IDE, and exploring commands. Then, refine your workflow with best practices and troubleshooting. With Claude Code, you have a powerful, context-aware assistant at your fingertips. Begin today and transform your coding experience!


