
What if ChatGPT didn't just chat but also effortlessly tapped into your tools and data sources to automate your work with real-time information? That’s the promise of ChatGPT’s MCP support, a game-changer in the world of AI-driven automation. The Model Context Protocol (MCP) is like a universal adapter, letting ChatGPT connect to external systems—for example databases, CRMs, or even your company’s proprietary tools—via MCP servers. With ChatGPT connectors, you can transform your AI into a context-aware powerhouse that fetches data or performs actions without leaving the chat interface. In this article, we’re diving deep into the world of ChatGPT MCP support, exploring how to add MCP servers to ChatGPT, create custom ones, test them, and understand which plans unlock this magic. Let’s get started with a guide to make your APIs and AI work in harmony!
The buzz around MCP started when Anthropic introduced it in November 2024 as an open standard to solve the “N×M” problem of custom integrations for every AI tool. Fast forward to 2025, and OpenAI jumped on board, integrating ChatGPT MCP support into its platform, including the desktop app and APIs. This means ChatGPT can now talk to MCP servers for tools like Google Drive, Stripe, or even your custom-built systems. Whether you’re a developer wanting to hook up a bespoke database or a business user syncing with enterprise tools, ChatGPT connectors make it possible. Let’s break down how to set this up, step by step, and sprinkle in some pro tips to ensure your setup is smooth as butter.
How to Add MCP Servers to ChatGPT
Adding an MCP server to ChatGPT is straightforward, especially if you’re on a plan that supports ChatGPT connectors. Here’s how you can get started, based on a practical scenario that brings ChatGPT MCP support to life:
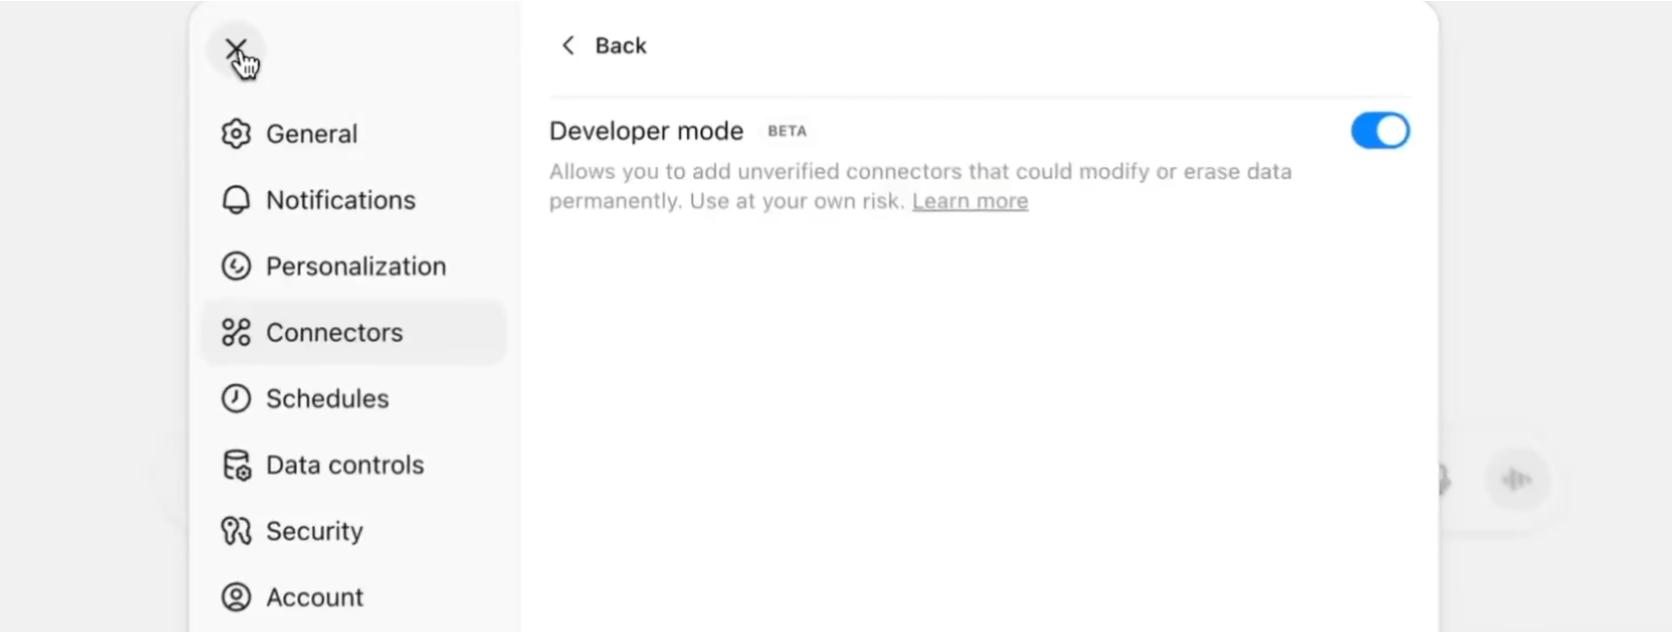
- Navigate to Settings: Open ChatGPT (web or desktop app), head to your profile in the top-right corner, and click “Settings.”
- Enable Developer Mode: Under the “Connectors” option, toggle on “Developer Mode.” This unlocks the ability to add custom MCP servers.
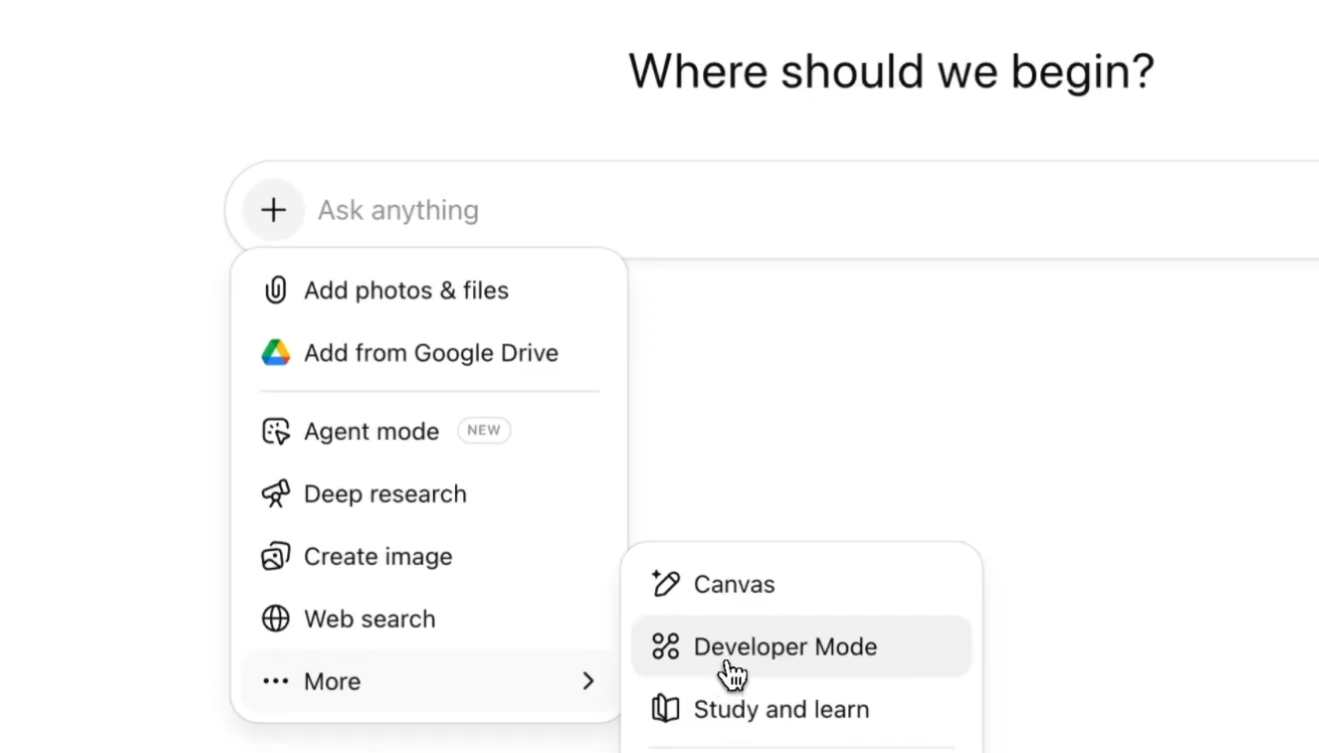
3. Add a Connector: In the chat panel, click the “+” icon, and from the dropdown, select “Developer Mode.” You’ll see an option to “Add sources.”
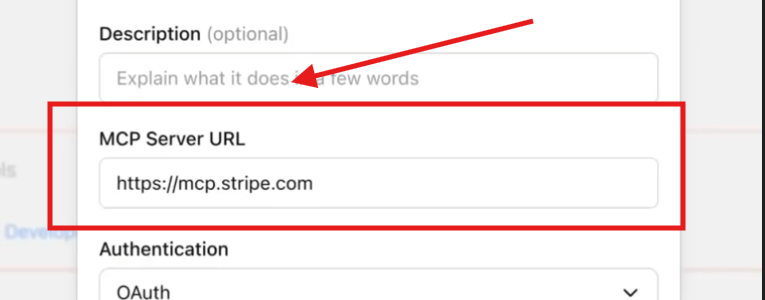
4. Enter MCP Server Details: Let’s say you’re connecting to Stripe. Input the following:
- Name: Stripe
- MCP Server URL:
https://mcp.stripe.com - Trust Setting: Check “I trust this application.”
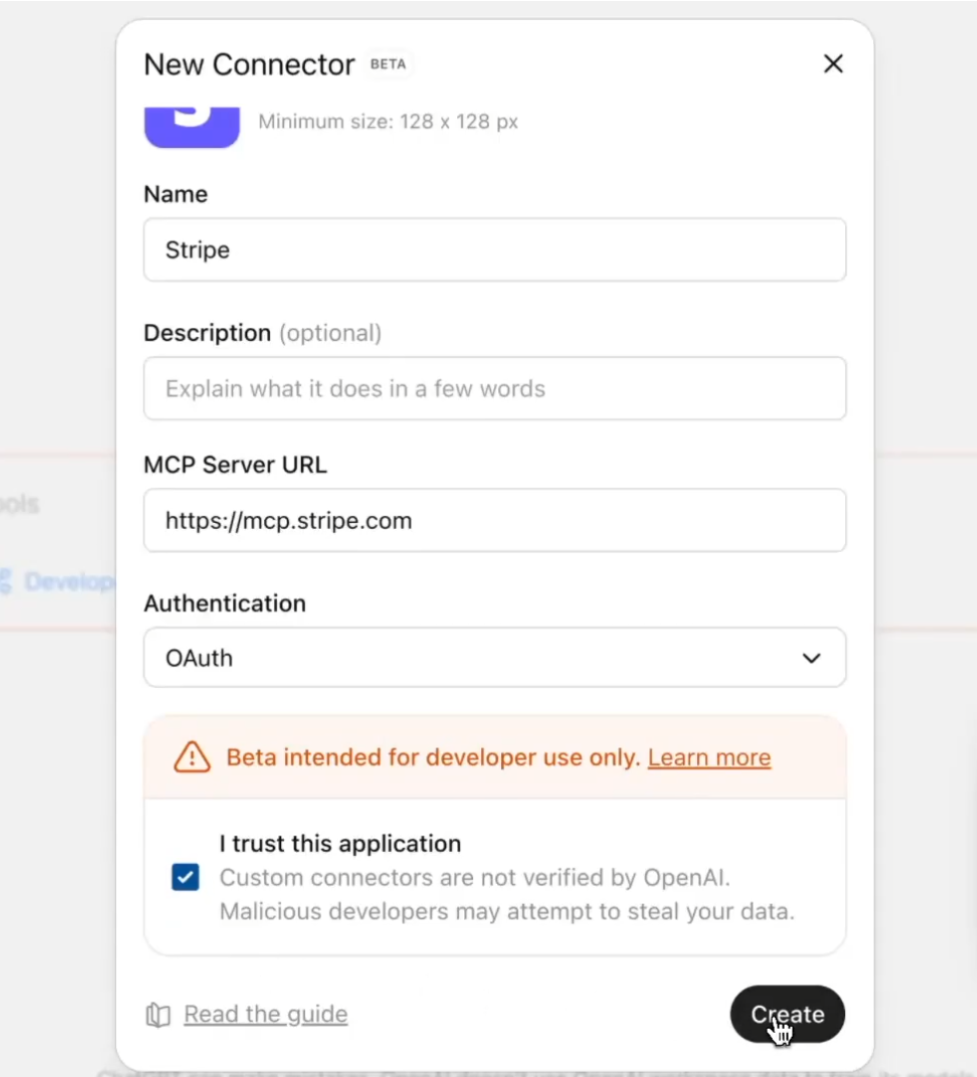
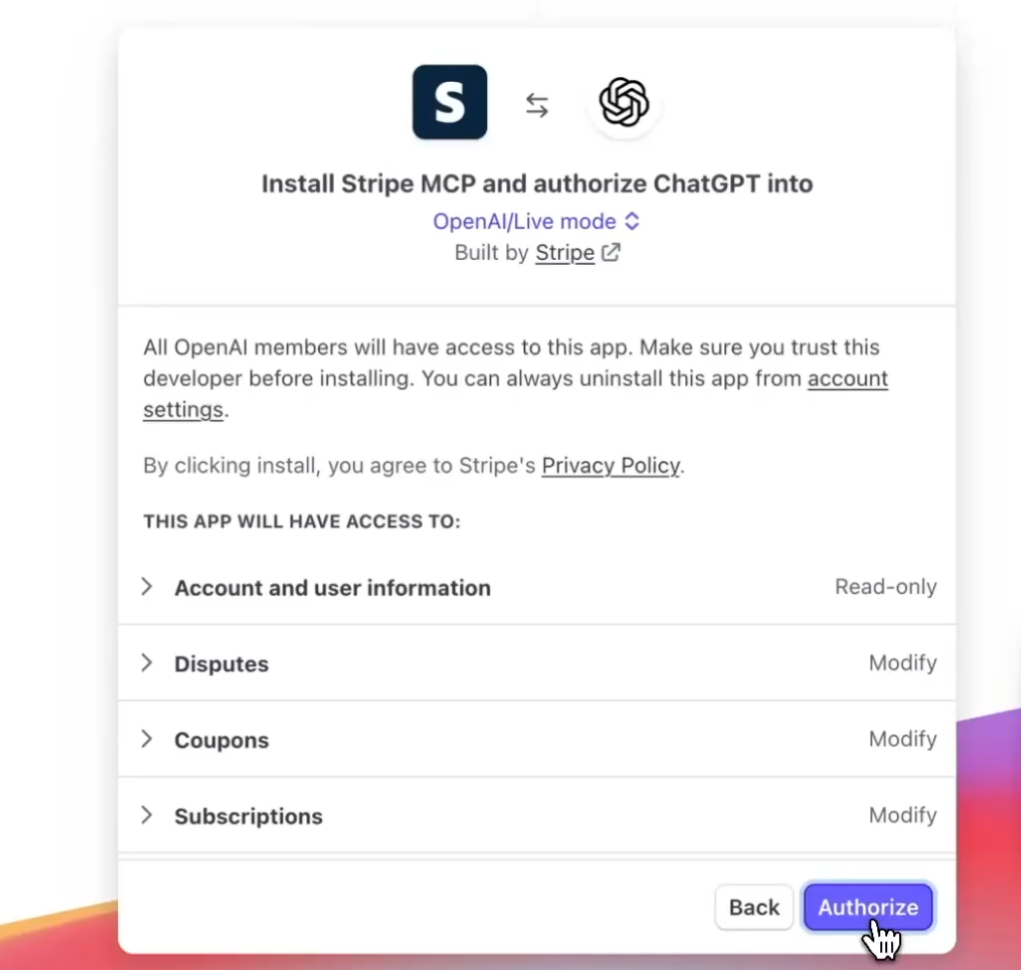
5. Create and Authorize: Hit “Create.” You’ll be prompted to install the MCP server and authorize ChatGPT to use it—just click “Authorize.”
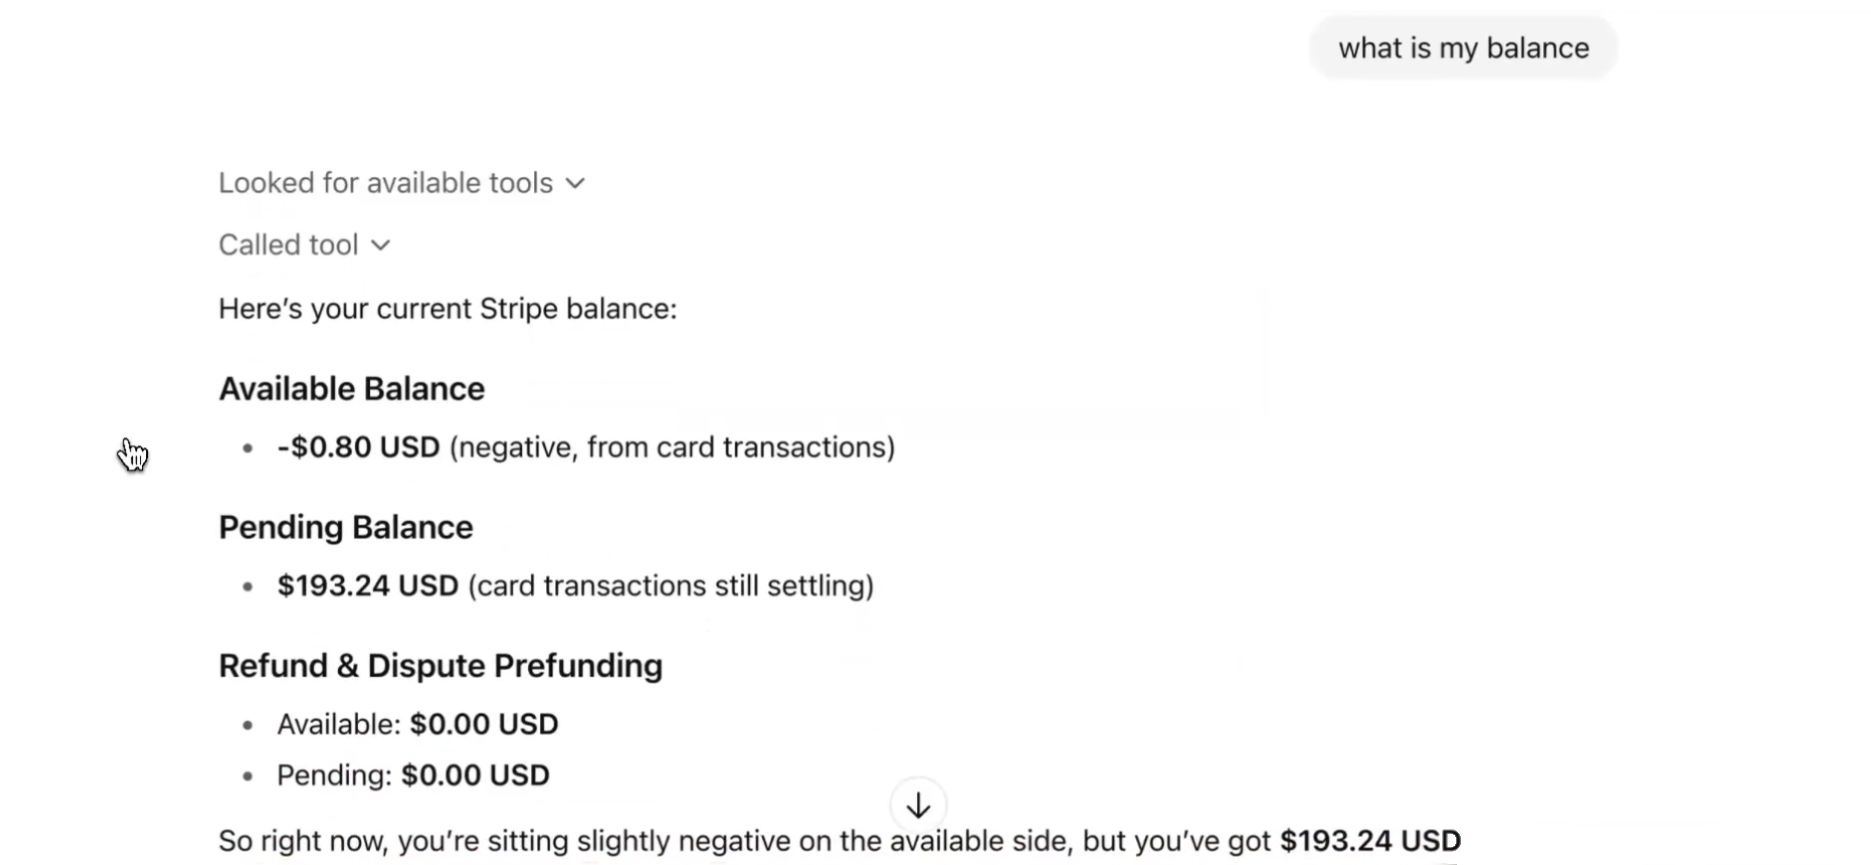
6. Test It Out: To verify, ask ChatGPT something like, “What is my Stripe balance?” The response should pull live data from the Stripe MCP server.
7. Add Multiple Connectors: Need more? Click “Connect more” in the chat panel, repeat the process, and stack as many ChatGPT connectors as you need.

This setup is perfect for integrating tools like GitHub, Slack, or even internal systems. The beauty of ChatGPT MCP support is its flexibility—you’re not limited to one connector. For example, you could have Stripe for payments and a custom MCP server for your CRM, all working together in one chat.
Creating a Custom MCP Server for ChatGPT
Want to go beyond prebuilt MCP servers and connect ChatGPT to a proprietary system? You’ll need to create a custom MCP server, and OpenAI’s Python or TypeScript MCP SDK is your best friend here. Check out the official SDK documentation at OpenAI’s MCP SDK Guide for the full scoop, but here’s the quick version:
- Choose Your Language: The SDK supports Python and TypeScript, so pick what fits your stack. Python’s great for rapid prototyping, while TypeScript shines for type-safe, scalable setups.
- Set Up the Server: Use the SDK to define tools (e.g.,
read_file,execute_query) that expose your system’s functionality. For example, a Python-based MCP server might look like this:
from agents.mcp import MCPServerStreamableHttp

async def main():
    server = MCPServerStreamableHttp(
        name="MyCustomServer",
        params={"url": "http://localhost:8000/mcp", "headers": {"Authorization": "Bearer token"}},
    )
    # Define tools and logic here
    await server.run()
- Host It: Deploy your MCP server to a public URL (use tools like ngrok for local testing) so ChatGPT can access it via HTTP/SSE.
- Connect to ChatGPT: Follow the steps above to add your custom server’s URL in the “Connectors” settings.
The SDK handles the heavy lifting, ensuring your server speaks the MCP protocol. For example, you could create a server to query an internal database, returning results to ChatGPT for natural language responses. It’s like giving ChatGPT superpowers tailored to your business!
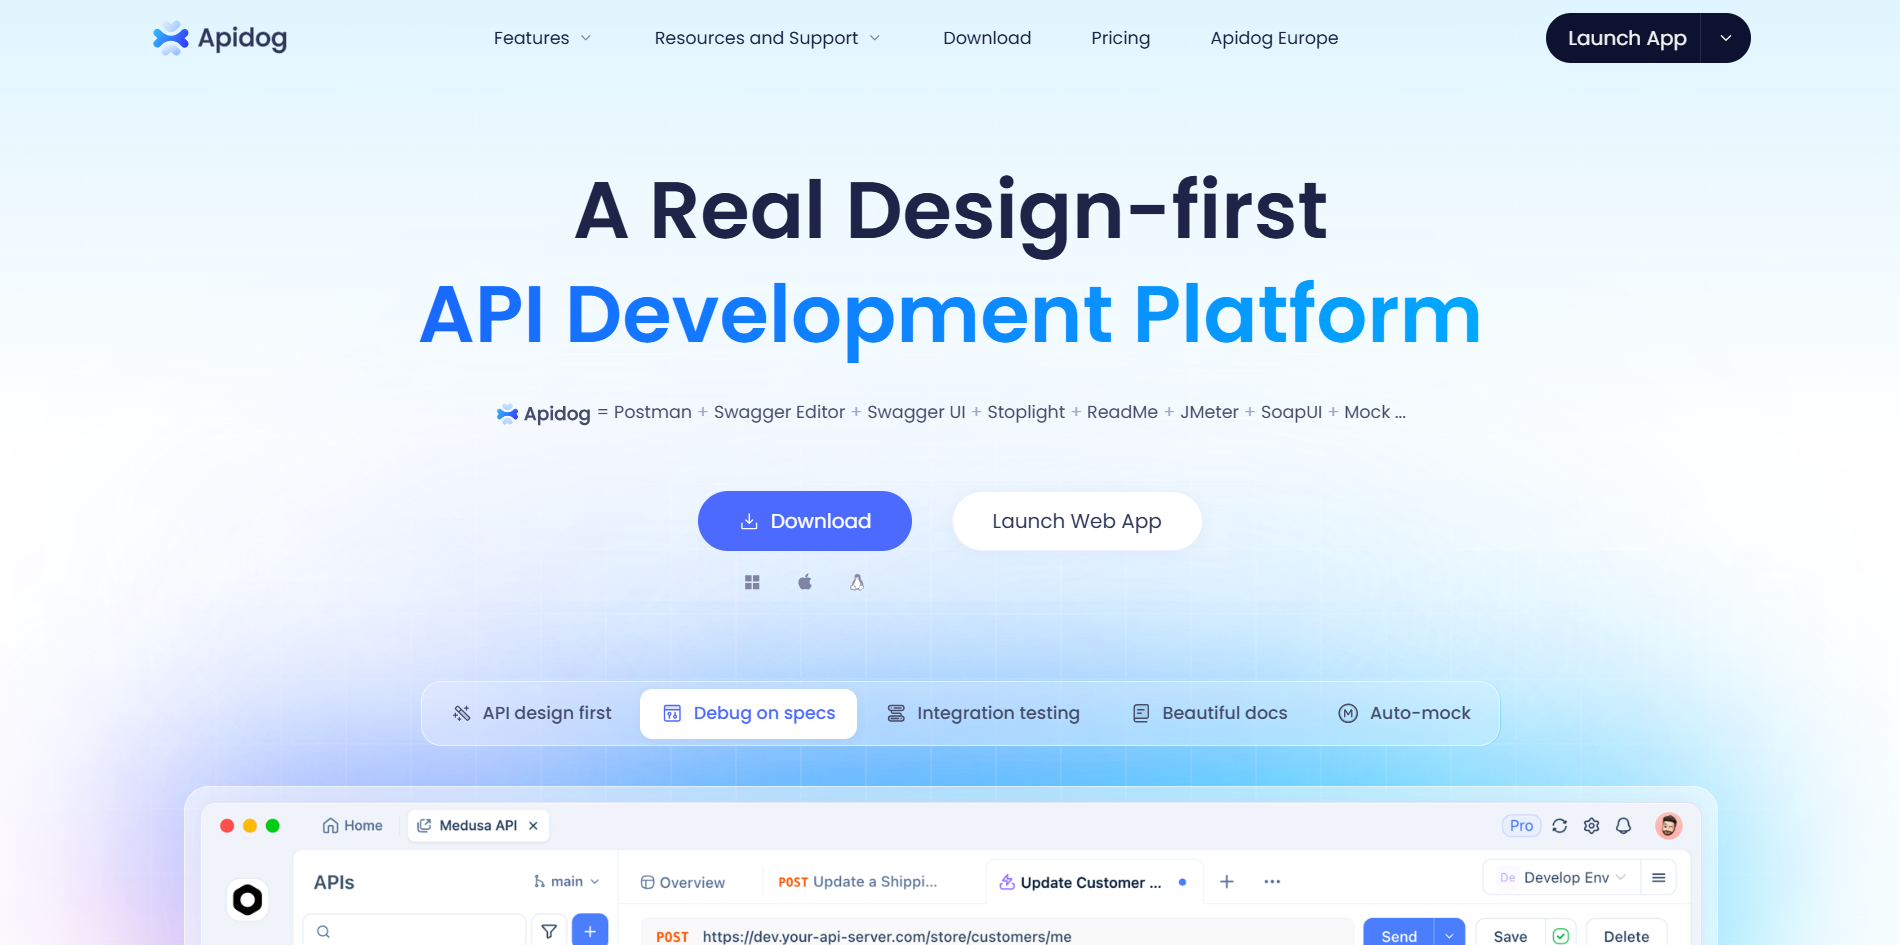
Testing Your MCP Server with Apidog
Before you go live with your MCP server, you’ll want to ensure it’s rock-solid. Enter Apidog, a fantastic tool for designing, testing, and debugging APIs. With Apidog, you can test your MCP server to confirm it’s ready for ChatGPT MCP support. Here’s how:
- Download Apidog from apidog.com/download or use the web version.
- Create a new project, import your MCP server’s spec (if it’s OpenAPI-compliant), or manually define endpoints.
- Use Apidog’s test module to send requests to your server’s URL (e.g.,
http://localhost:8000/mcp). Verify that tools likesearchandfetch(required for ChatGPT’s Deep Research) work as expected. - Check response schemas, status codes, and authentication flows to catch any bugs.
Testing with Apidog ensures your MCP server is bulletproof before hosting it publicly for ChatGPT connectors. Plus, Apidog’s visual interface makes it easy to tweak and iterate, saving you from headaches down the road.
Which ChatGPT Plans Support MCP Servers?
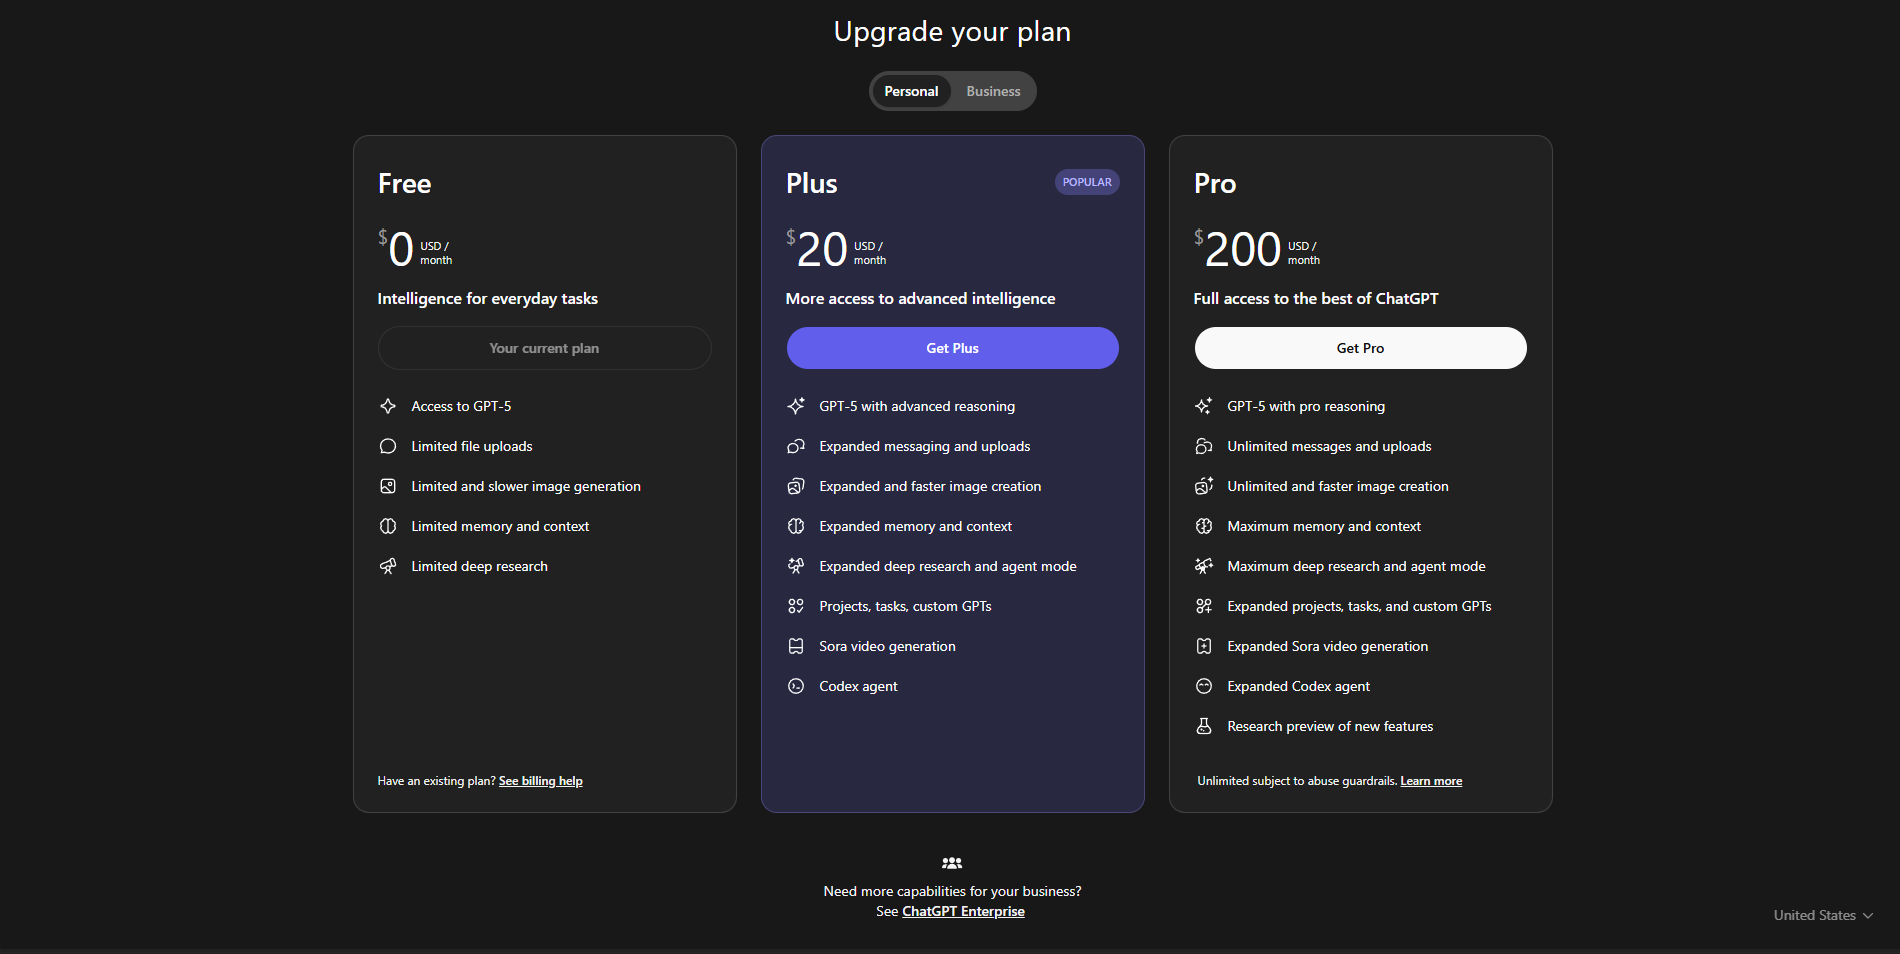
Now, here’s a key point: ChatGPT connectors and MCP server integration aren’t available on the free plan. To unlock ChatGPT MCP support, you’ll need one of the following paid plans (as of September 2025):
- ChatGPT Plus/Pro: Ideal for individual power users, offering access to custom MCP servers and Deep Research features.
- ChatGPT Team: Perfect for small teams, with shared access to connectors for collaborative workflows.
- ChatGPT Enterprise/Edu: Built for organizations, allowing admins to manage MCP servers and role-based access for team members.
If you’re on a free plan, you’ll need to upgrade to one of these to add ChatGPT connectors. For example, Pro users can add custom MCP servers themselves, while Enterprise users rely on admins to set them up. Check OpenAI’s pricing at x.ai/grok for the latest details, but these plans ensure you can harness the full power of ChatGPT MCP support.
Why MCP Support Makes ChatGPT a Game-Changer
The integration of MCP into ChatGPT is a big deal because it breaks down silos between AI and your tools. Before MCP, every integration required custom code, which was a nightmare to maintain. Now, ChatGPT connectors use the standardized MCP protocol to plug into a growing ecosystem of tools—Stripe, Google Drive, GitHub, you name it. As of 2025, companies like Microsoft, Block, and Sourcegraph have adopted MCP, making it a universal standard for AI-agent connectivity.
For developers, ChatGPT MCP support means less time wrestling with integrations and more time building cool stuff. For businesses, it’s about making ChatGPT a true assistant that pulls live data from CRMs, ticketing systems, or internal knowledge bases. Imagine asking ChatGPT, “What’s the status of ticket #123?” and getting a real-time answer from your helpdesk’s MCP server. That’s the future ChatGPT connectors are enabling.
Conclusion: Improve Your ChatGPT Experience
Whether you’re syncing with Stripe, querying a custom database, or chaining multiple ChatGPT connectors, ChatGPT’s MCP support opens up a world of possibilities. By enabling Developer Mode, adding MCP servers, and testing with tools like Apidog, you can make ChatGPT a context-aware powerhouse. Just remember to upgrade to a Pro, Team, or Enterprise plan to unlock this feature. So, what are you waiting for? Check out Apidog, dive into ChatGPT MCP support, set up those MCP servers, and let your AI assistant do the heavy lifting!


