
Would you like to turbocharge your AI assistant's abilities with real-time web searches? Imagine your favorite large language model (LLM), like Claude or GPT-4o, zipping through the internet to fetch the latest news or find a cozy café nearby—all powered by the Brave Search API and a custom MCP server. The Model Context Protocol (MCP) is like a USB port for AI, letting it connect to tools like the Brave Search API for epic data retrieval. In this beginner’s guide, I’ll walk you through how to build an MCP server that taps into the Brave Search API, step by step, with a conversational vibe that’s as chill as a sunny afternoon. No PhD required—just a bit of curiosity and a keyboard. Ready to make your AI a search wizard? Let’s dive in!
What is an MCP Server with Brave Search API?
So, what’s this MCP server thing? The Model Context Protocol (MCP) is an open standard by Anthropic that lets AI models, like Claude, connect to external tools and data sources through a client-server setup. An MCP server is like a middleman that exposes tools—think web search, file access, or even GitHub integration—to your AI via standardized API-like calls. The Brave Search API, meanwhile, is a privacy-focused search engine API that delivers web and local search results, with features like pagination, freshness controls, and smart fallbacks (e.g., switching to web search if local results are empty).
By combining the two, you create an MCP server that lets your AI query the Brave Search API for real-time info—like finding the best pizza in town or the latest tech news—without leaving its cozy AI environment. Why’s it cool? It’s private, fast, and gives your AI superpowers. Let’s build one!
Setting Up Your Environment for Brave Search MCP Server: The Basics
Before we code our MCP server, let’s get your system ready. The setup’s straightforward, but we’ll go slow to keep it beginner-friendly.
Step 1: Prerequisites
You’ll need:
- Python: Version 3.9+ for running the server. Check with
python --version. No Python? Grab it from python.org. - Node.js: For running the Brave Search MCP server via
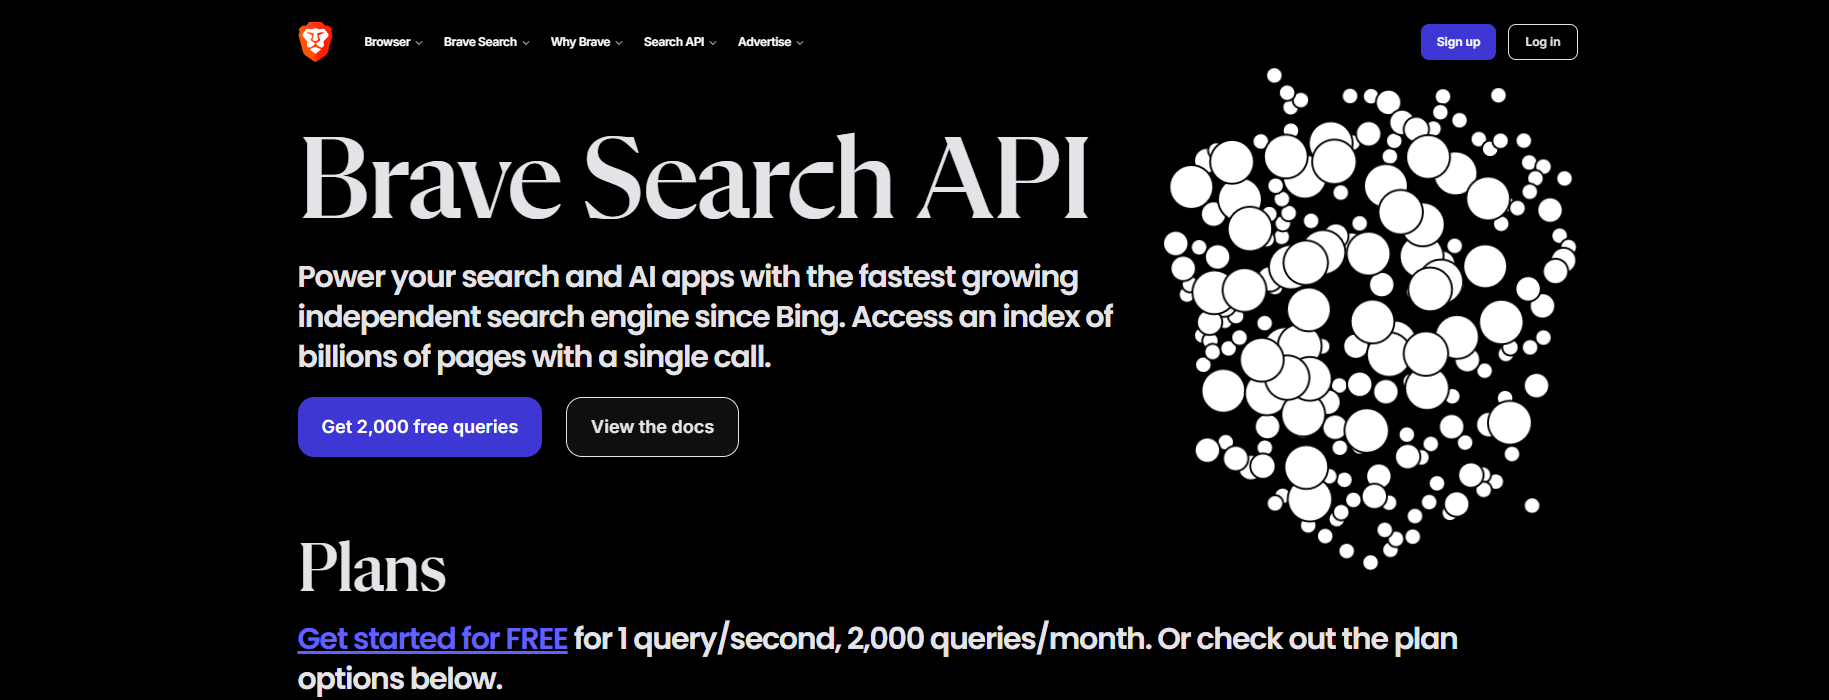
npx. Check withnode --version. Get it at nodejs.org. - Brave Search API Key: Sign up at brave.com/search/api, pick a plan (the free tier offers 2,000 queries/month), and generate your key from the dashboard.
- Text Editor: VS Code or any editor for tweaking configs.
- Terminal: Terminal (Mac/Linux) or PowerShell (Windows).
Step 2: Create a Project Folder
Let’s keep things tidy:
mkdir brave-mcp-server
cd brave-mcp-server
Step 3: Set Up a Virtual Environment
To avoid package chaos, create a Python virtual environment:
python -m venv venv
Activate it:
- Mac/Linux:
source venv/bin/activate - Windows:
venv\Scripts\activate
You’ll see (venv) in your terminal—nice!
Getting the Brave Search API Key
The Brave Search API needs an API key to work. Here’s how to snag one:
- Visit brave.com/search/api and sign up.
- Choose the free tier (2,000 queries/month) or a paid plan if you’re going big.
- In the developer dashboard, click “Generate API Key.” Copy it and save it somewhere safe (not in a public repo!).
We’ll store this key securely in a moment. For now, let’s install the MCP server tools.
Installing the Brave Search MCP Server
The Brave Search MCP server is available via npm, making setup a breeze with Node.js. Let’s install it:
Step 1: Install Dependencies
With your virtual environment active, install Python packages for MCP client interactions:
pip install requests aiohttp asyncio python-dotenv
These handle HTTP requests and environment variables. Node.js handles the server itself, so ensure it’s installed.
Step 2: Test the Brave Search MCP Package
Run the server package to confirm it’s accessible:
npx -y @modelcontextprotocol/server-brave-search
If it errors (e.g., “BRAVE_API_KEY not set”), don’t worry—we’ll configure that next. If it runs and waits, you’re golden. On Windows, you might hit an ENOENT error if npx isn’t found—try using the full Node.js path (more on that later).
Configuring the Brave Search MCP Server
Alright, let’s get your MCP server ready to tap into the Brave Search API! To do this, you’ll need to open the MCP server configuration file for your IDE or MCP client of choice—like claude_desktop_config.json for Claude Desktop, .cursor/mcp.json for Cursor, .codium/windsurf/mcp_config.json for Codium/Windsurf, or settings.json for VS Code—and add some specific settings. We’ll also store your Brave Search API key securely to keep things safe. Let’s do this step by step!
Step 1: Create a .env File
To keep your Brave Search API key safe, we’ll use a .env file:
touch .env
Open it in your favorite editor and add:
BRAVE_API_KEY=your-api-key-here
Replace your-api-key-here with your actual Brave Search API key from the Brave dashboard. Save the file and add .env to your .gitignore to keep it private—no one needs to see your secrets! This way, your MCP server can grab the key without hardcoding it.
Step 2: Update Your IDE’s MCP Config File
Now, open the MCP server configuration file for your IDE or client. Depending on what you’re using, this could be:
- Claude Desktop:
claude_desktop_config.json(Mac:~/Library/Application Support/Claude/claude_desktop_config.json, Windows:%UserProfile%\AppData\Roaming\Claude\claude_desktop_config.json) - Cursor:
.cursor/mcp.json(usually in your project or home directory) - Codium/Windsurf:
.codium/windsurf/mcp_config.json(check~/.codium/windsurf/) - VS Code:
settings.json(find it viaCode > Preferences > Settings > Extensions > MCPor~/.vscode/settings.json)
If the file doesn’t exist, create it in the appropriate location (e.g., use touch claude_desktop_config.json for Claude). Open it in your editor and add the following configuration to tell your MCP server how to run the Brave Search service.
For Mac/Linux:
{
  "mcpServers": {
    "brave-search": {
      "command": "npx",
      "args": ["-y", "@modelcontextprotocol/server-brave-search"],
      "env": {
        "BRAVE_API_KEY": "$BRAVE_API_KEY"
      },
      "disabled": false,
      "alwaysAllow": []
    }
  }
}
For Windows:
{
  "mcpServers": {
    "brave-search": {
      "command": "C:\\Program Files\\nodejs\\node.exe",
      "args": ["C:\\Users\\YourUsername\\AppData\\Roaming\\npm\\node_modules\\@modelcontextprotocol\\server-brave-search\\dist\\index.js"],
      "env": {
        "BRAVE_API_KEY": "$BRAVE_API_KEY"
      },
      "disabled": false,
      "alwaysAllow": []
    }
  }
}
A few notes:
- API Key: The
"BRAVE_API_KEY": "$BRAVE_API_KEY"line pulls your key from the.envfile usingpython-dotenv(more on that in the client script later). If you prefer, replace$BRAVE_API_KEYwith your actual key (e.g.,"sk-xxx"), but the.envmethod is safer. - Windows Path: For Windows, replace
YourUsernamewith your actual username. To find the exact Node.js path, runGet-Command node | Select-Object Sourcein PowerShell orwhere nodein Command Prompt. For theargspath, locate the@modelcontextprotocol/server-brave-searchmodule in your npm global modules (usuallyC:\Users\YourUsername\AppData\Roaming\npm\node_modules). If you hit anENOENTerror, double-check these paths. - Merging Configs: If your config file already has an
mcpServersobject, just add the"brave-search"entry to it, like:
{
  "mcpServers": {
    "existing-server": { ... },
    "brave-search": { ... }
  }
}
Step 3: Save and Verify
Save the config file in the correct location for your IDE or client:
- Claude Desktop: Mac:
~/Library/Application Support/Claude/claude_desktop_config.json, Windows:%UserProfile%\AppData\Roaming\Claude\claude_desktop_config.json - Cursor: Place
.cursor/mcp.jsonin your project root or home directory (~/.cursor/). - Codium/Windsurf: Save
.codium/windsurf/mcp_config.jsonin~/.codium/windsurf/. - VS Code: Update
settings.jsonin~/.vscode/or via the VS Code settings UI.
If the folder doesn’t exist, create it (e.g., mkdir -p ~/Library/Application Support/Claude on Mac). This config tells your MCP client (like Claude or Cursor) how to launch the MCP server for the Brave Search API. To test, restart your IDE or client to load the new settings—we’ll verify it works when we run the client script later!
Building a Simple MCP Client to Test the Brave Search MCP Server
Let’s create a Python script to test your MCP server with the Brave Search API. This client will mimic how Claude Desktop interacts with the server.
Step 1: Create the Client Script
Create brave_mcp_client.py:
import asyncio
import os
from dotenv import load_dotenv
from fastmcp.client import MCPClient

async def main():
    # Load environment variables
    load_dotenv()

    # Create MCPClient from config file
    client = MCPClient.from_config_file("claude_desktop_config.json")

    # Make a search query
    response = await client.request(
        {"method": "brave_web_search"},
        {"query": "best coffee shops in Seattle", "count": 10}
    )
    print(f"Search Results: {response}")

if __name__ == "__main__":
    asyncio.run(main())
This script:
- Loads your Brave Search API key from
.env. - Uses
fastmcpto connect to the MCP server. - Sends a web search query via the
brave_web_searchtool.
Step 2: Install fastmcp
Install the MCP client library:
pip install fastmcp
Step 3: Run the Client
With your virtual environment active:
python brave_mcp_client.py
If all’s well, the MCP server starts, queries the Brave Search API, and prints results like a JSON list of coffee shops. I got a tasty list of Seattle cafés in seconds! If you see errors, check:
- API Key: Ensure it’s valid in
.envor the config. - Logs: On Claude Desktop, go to Settings > Developer to view logs in
%UserProfile%\AppData\Roaming\Claude\Logs\(Windows) or~/Library/Application Support/Claude/Logs/(Mac). - Node.js Path: Windows users, verify the
commandpath in the config.
Integrating Brave Search API with Claude Desktop
To use your MCP server with Claude Desktop:
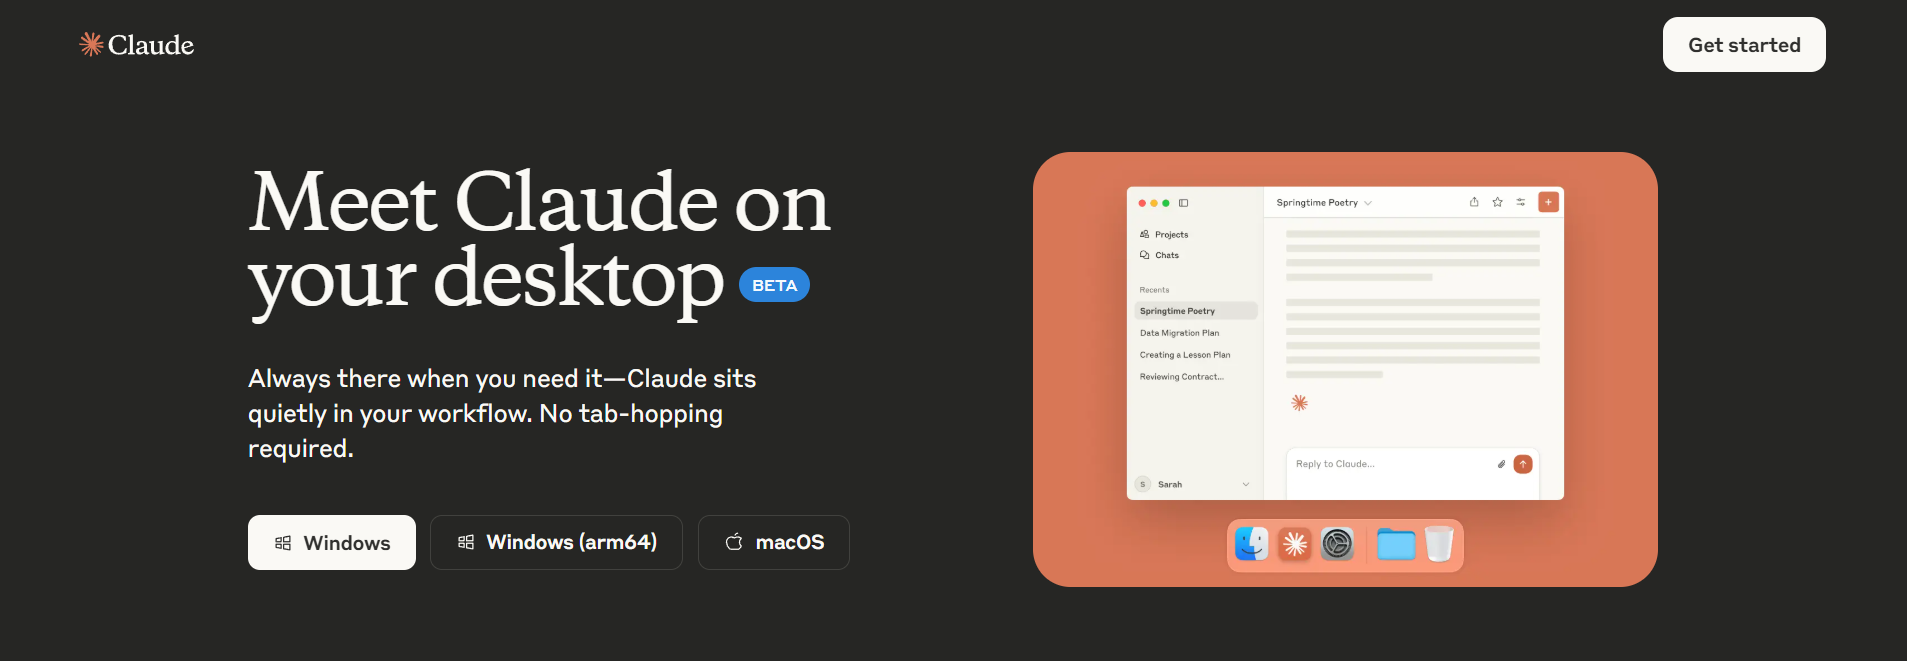
- Install Claude Desktop: Download from Anthropic’s official wesite and install.
- Add the Config: Ensure
claude_desktop_config.jsonis in the right folder (see above). - Restart Claude: Fully quit (Command+Q on Mac) and reopen.
- Test a Query: In Claude’s chat, type: “Search the web for best coffee shops in Seattle.” Claude will prompt for permission to use the MCP server, then display results.
You should see Claude log “Making a tool request: brave_web_search” and fetch results via the Brave Search API. My test pulled up awesome coffee spots with zero hiccups!
For other AI-powered IDEs like Codium/Windsurf, VS Code, and Cursor. By reusing the same Brave Search API configuration, you can enable these tools to perform web searches via the MCP server, allowing AI assistants to fetch real-time data directly within each IDE’s chat interface. The process is similar and involves pasting the existing configuration into the appropriate MCP settings for each IDE, with minor tweaks for Windows users to ensure correct Node.js paths as mentioned above.

And for more in-depth guides on configuring MCP servers in different environments, visit apidog.com/blog, where you'll find helpful resources to seamlessly integrate the Brave Search API (and many other mcp servers) with your preferred coding tools.
Why Use Brave Search API with an MCP Server?
This combo rocks because:
- Real-Time Data: The Brave Search API grabs fresh web and local results, unlike static LLM knowledge.
- Privacy Focus: Brave’s privacy-first approach keeps searches secure.
- Easy Integration: The MCP server setup is plug-and-play with tools like Claude.
Compared to Perplexity’s MCP server, Brave’s API offers local search and flexible filtering, making it a top pick.
Pro Tips for Brave Search MCP Success
- Validate Config: Use a JSON linter to catch typos in
claude_desktop_config.json. - Check Logs: Debug with Claude’s Developer settings if the server fails.
- Try Local Search: Query “restaurants near me” to test the Brave Search API’s local fallback.
- Explore More Servers: Check mcp.so for servers like Firecrawl (web scraping) or GitHub.
Wrapping Up: Your Brave Search MCP Adventure Begins
Congrats—you’ve built an MCP server that harnesses the Brave Search API to make your AI a search superstar! From setting up Node.js to querying coffee shops with Claude, you’re now ready to explore the web with AI. Try searching for news, local services, or even niche topics next. The MCP servers list has more tools to play with, and the Claude MCP community on claudemcp.com is buzzing with ideas. So what’s your next query? Latest tech trends? A hidden gem diner? And don't forget to swing by apidog.com for that extra API polish.


