
Blender MCP is an essential tool for integrating Blender with tools such as Cursor, allowing developers to streamline their workflow. However, many users experience issues, such as the Client Closed error, when trying to get MCP to work on Windows 11.
This guide covers everything you need to know about MCP, its setup process, and how to troubleshoot common issues.
What is MCP?
MCP (Modular Code Processing) is a system that allows Cursor to interact with external applications like Blender. It enables automation, scripting, and AI-powered interactions within Blender, making it easier to handle tasks such as:
- Automated rendering
- Scripting execution
- Live editing with AI support
In short, MCP acts as a bridge between Cursor and Blender, allowing smoother integration and increased productivity.
Blender + MCP, the Magic for Coding
If you’re a developer or designer using Blender, MCP with Cursor provides several benefits:
- AI-Powered Development – Write and execute scripts more efficiently.
- Seamless Integration – Automate Blender tasks directly from Cursor.
- Faster Workflow – Avoid switching between multiple tools by using a single interface.
blender mcp 🤯🤯🤯
— Melvin Vivas (@donvito) March 14, 2025
create an airplane model
crazy!!!!!! pic.twitter.com/wHjsO8nQPz
However, due to some compatibility issues with Windows 11, getting Blender MCP to work properly requires some manual setup.
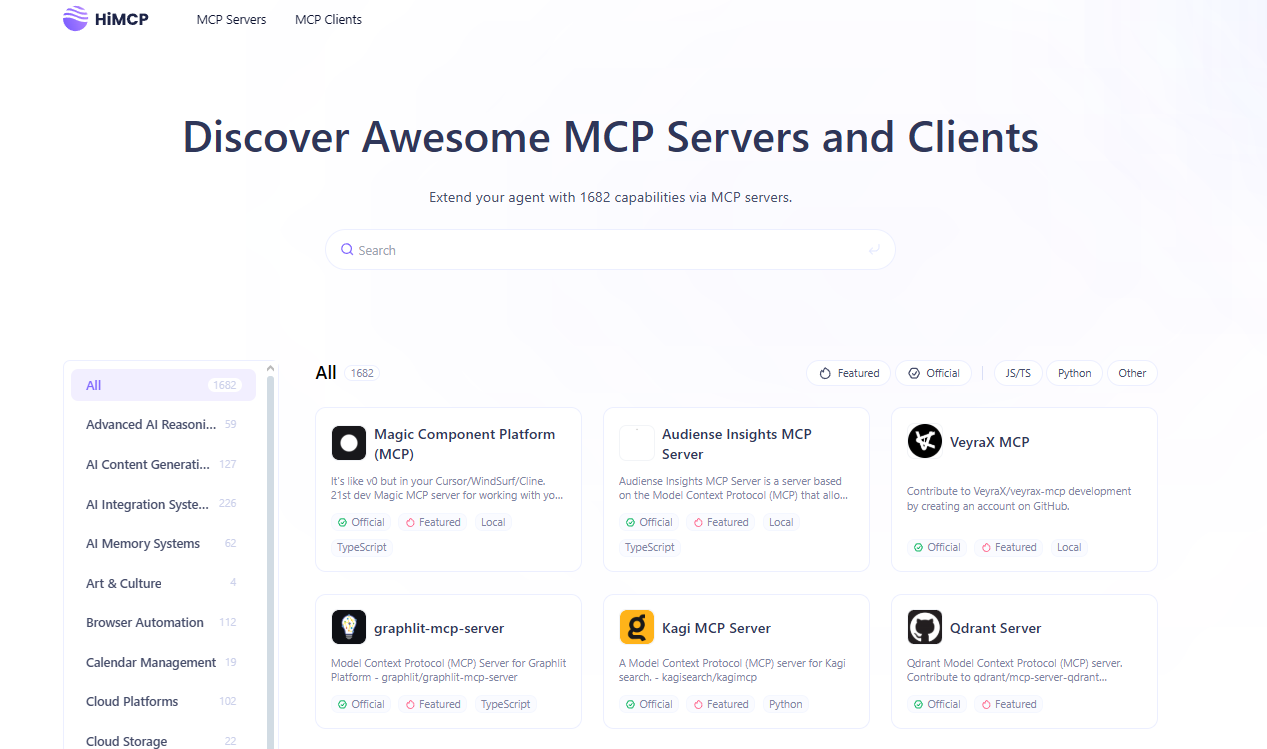
Visit himcp.ai, a platform dedicated to discovering awesome MCP servers and clients!
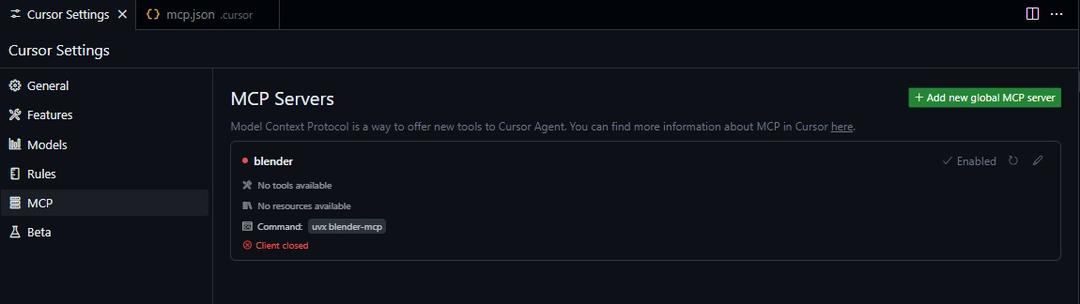
Common Issue: ‘Client Closed’ Error in Windows 11
Many users report that MCP fails to start properly, showing a ‘Client Closed’ error. The primary reasons for this include:
- Incorrect Path Configuration – The MCP configuration file does not point to the correct directory.
- Missing uv Package Manager – MCP requires uv to function correctly.
- Firewall/Antivirus Restrictions – Security settings may block MCP’s connection.
Follow the steps below to fix these issues and ensure Blender MCP runs smoothly on Windows 11.
Step 1: Install uv Package Manager
Before configuring Blender MCP, you need to install uv, which is required for managing the MCP dependencies.
Installing uv on Windows 11
Open PowerShell or Command Prompt with administrator privileges.
Run the following command:
curl -fsSL https://astral.sh/uv/install.sh | sh
Restart your computer to apply changes.
To verify the installation, run:
uv --version
If the command returns a version number, uv is installed successfully.
Step 2: Configure the MCP Settings
Blender MCP requires a configuration file (mcp.json) to specify the correct executable path.
Editing mcp.json
Navigate to your Cursor configuration directory.
Locate the mcp.json file. If it doesn’t exist, create one.
Open it in a text editor like VS Code or Notepad++.
Add the following configuration:
{
  "mcpServers": {
    "blender": {
      "command": "C:\\Users\\<your-username>\\.local\\bin\\uvx.exe",
      "args": ["blender-mcp"]
    }
  }
}
- Make sure to replace
<your-username>with your actual Windows username. - Ensure the file path to
uvx.exeis correct.
Save and close the file.
Step 3: Restart and Refresh Cursor
After updating your configuration, follow these steps:
- Restart your PC to apply changes.
- Open Cursor and check if Blender MCP is listed under available integrations.
- If MCP doesn’t appear:
- Press
Ctrl + Shift + Rto manually refresh Cursor. - Refresh Cursor once or twice.
- Wait a few seconds for the system to recognize MCP.
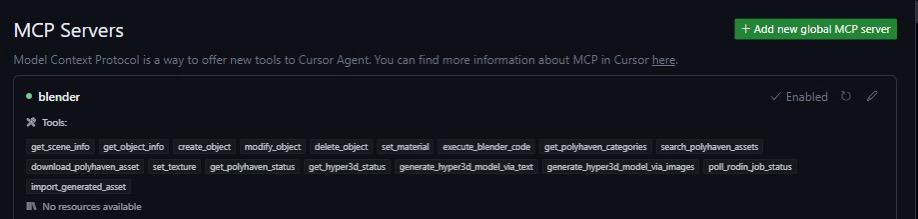
- If everything is set up correctly, you should see a green indicator next to Blender MCP, confirming that it is running properly.
Step 4: Additional Troubleshooting
If MCP still doesn’t work, try these fixes:
1. Run Cursor as Administrator
Some features require elevated permissions to work properly.
- Right-click the Cursor shortcut and select Run as administrator.
2. Reinstall MCP
If MCP is missing or corrupted, reinstall it using:
uv install blender-mcp
3. Check Firewall & Antivirus Settings
Windows Firewall or antivirus software may block MCP’s connection.
- Add Cursor and Blender MCP to the Windows Defender exception list.
- Temporarily disable your antivirus and check if MCP starts.
Step 5: Verify MCP is Working
Once everything is set up, test MCP by running a simple script in Cursor.
Open Cursor and create a new Blender script.
Copy and paste this Python command:
import bpy
bpy.ops.mesh.primitive_cube_add()
Run the script and check if a cube appears in Blender.
- If the script executes successfully, MCP is fully operational!
Vibecoding ➡️ Vibesculpting (in 3D)
— Emm 🔜 GDC 2025 (@emmanuel_2m) March 15, 2025
I generated a 3D model of a Spitfire-looking plane in Blender, using Claude 3.7 + Blender MCP (link below 👇), piece by piece... using natural language only.
Seeing this alongside Google's new image edition demo, I think we're ahead of a true… pic.twitter.com/UNzwn79ioY
Conclusion
Setting up Blender MCP on Windows 11 can be tricky, but by following this guide, you should have a fully functional integration between Cursor and Blender.
Key Takeaways:
✔ Install uv to manage MCP dependencies.
✔ Update mcp.json with the correct path to uvx.exe.
✔ Restart Cursor and your PC to apply the changes.
✔ Troubleshoot issues by checking permissions, reinstalling MCP, and adjusting firewall settings.
With these steps, you can now seamlessly use Blender MCP within Cursor, unlocking powerful automation and AI-assisted workflows.


