Would you like to hook up your favorite large language model (LLM) to a toolbox of superpowers, like web scraping or file ops, without getting tangled in code? That’s where MCP-Use comes in—a slick, open-source Python library that lets you connect any LLM to any MCP server with ease. Think of it as a universal adapter for your API-powered AI dreams! In this beginner’s guide, I will be walking you through how to use MCP-Use to bridge LLMs and Model Context Protocol (MCP) servers. Whether you’re a coder or just curious, this tutorial’s got you covered. Ready to make your LLM a multitasking rockstar? Let’s dive in!

Now, let’s jump into the MCP-Use magic…
What is MCP-Use? Your AI-to-Tool Connector
So, what’s MCP-Use? It’s a Python library that acts like a bridge, letting any LLM (think Claude, GPT-4o, or DeepSeek) talk to MCP servers—specialized tools that give AI access to stuff like web browsers, file systems, or even Airbnb searches. Built on LangChain adapters, MCP-Use simplifies connecting your LLM’s API to these servers, so you can build custom agents that do more than just chat. Users call it “the open-source way to build local MCP clients,” and they’re not wrong—it’s 100% free and flexible.

Why bother? MCP servers are like USB ports for AI, letting your LLM call functions, fetch data, or automate tasks via standardized API-like interfaces. With MCP-Use, you don’t need to wrestle with custom integrations—just plug and play. Let’s get you set up!
Installing MCP-Use: Quick and Painless
Getting MCP-Use running is a snap, especially if you’re comfy with Python. The GitHub repo (github.com/pietrozullo/mcp-use) lays it out clearly. Here’s how to start.
Step 1: Prerequisites
You’ll need:
- Python: Version 3.11 or higher. Check with
python --version. No Python? Grab it from python.org.

- pip: Python’s package manager (usually comes with Python).
- Git (optional): For cloning the repo if you want the latest code.
- API Keys: For premium LLMs like OpenAI or Anthropic. We’ll cover this later.
Step 2: Install MCP-Use
Let’s use pip in a virtual environment to keep things tidy:
Create a Project Folder:
mkdir mcp-use-project
cd mcp-use-project
Set Up a Virtual Environment:
python -m venv mcp-env
Activate it:
- Mac/Linux:
source mcp-env/bin/activate - Windows:
mcp-env\Scripts\activate
Install MCP-Use:
pip install mcp-use
Or, if you want the bleeding-edge version, clone the repo:
git clone https://github.com/pietrozullo/mcp-use.git
cd mcp-use
pip install .
Add LangChain Providers:
MCP-Use relies on LangChain for LLM connections. Install the provider for your LLM:
- OpenAI:
pip install langchain-openai - Anthropic:
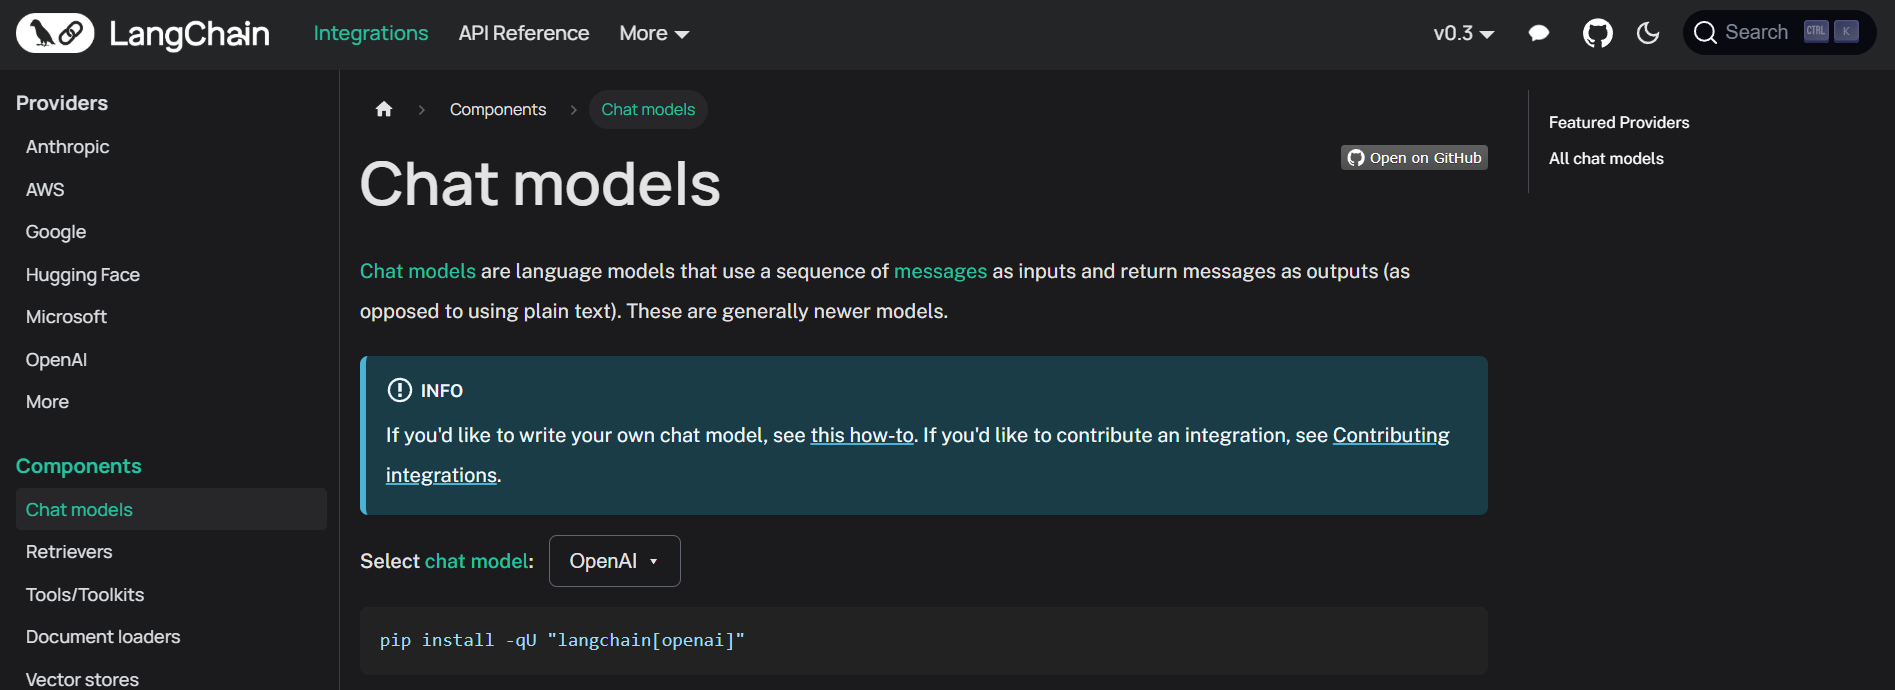
pip install langchain-anthropic - Others: Check LangChain’s chat models docs.

Verify Installation:
Run:
python -c "import mcp_use; print(mcp_use.__version__)"
You should see a version number (e.g., 0.42.1 as of April 2025). If not, double-check your Python version or pip.
That’s it! MCP-Use is ready to connect your LLM to MCP servers. Took me about five minutes—how’s your setup going?

Connecting an LLM to an MCP Server with MCP-Use
Now, let’s make the magic happen: connecting an LLM to an MCP server using MCP-Use. We’ll use a simple example—hooking up OpenAI’s GPT-4o to a Playwright MCP server for web browsing.
Step 1: Get Your LLM API Key
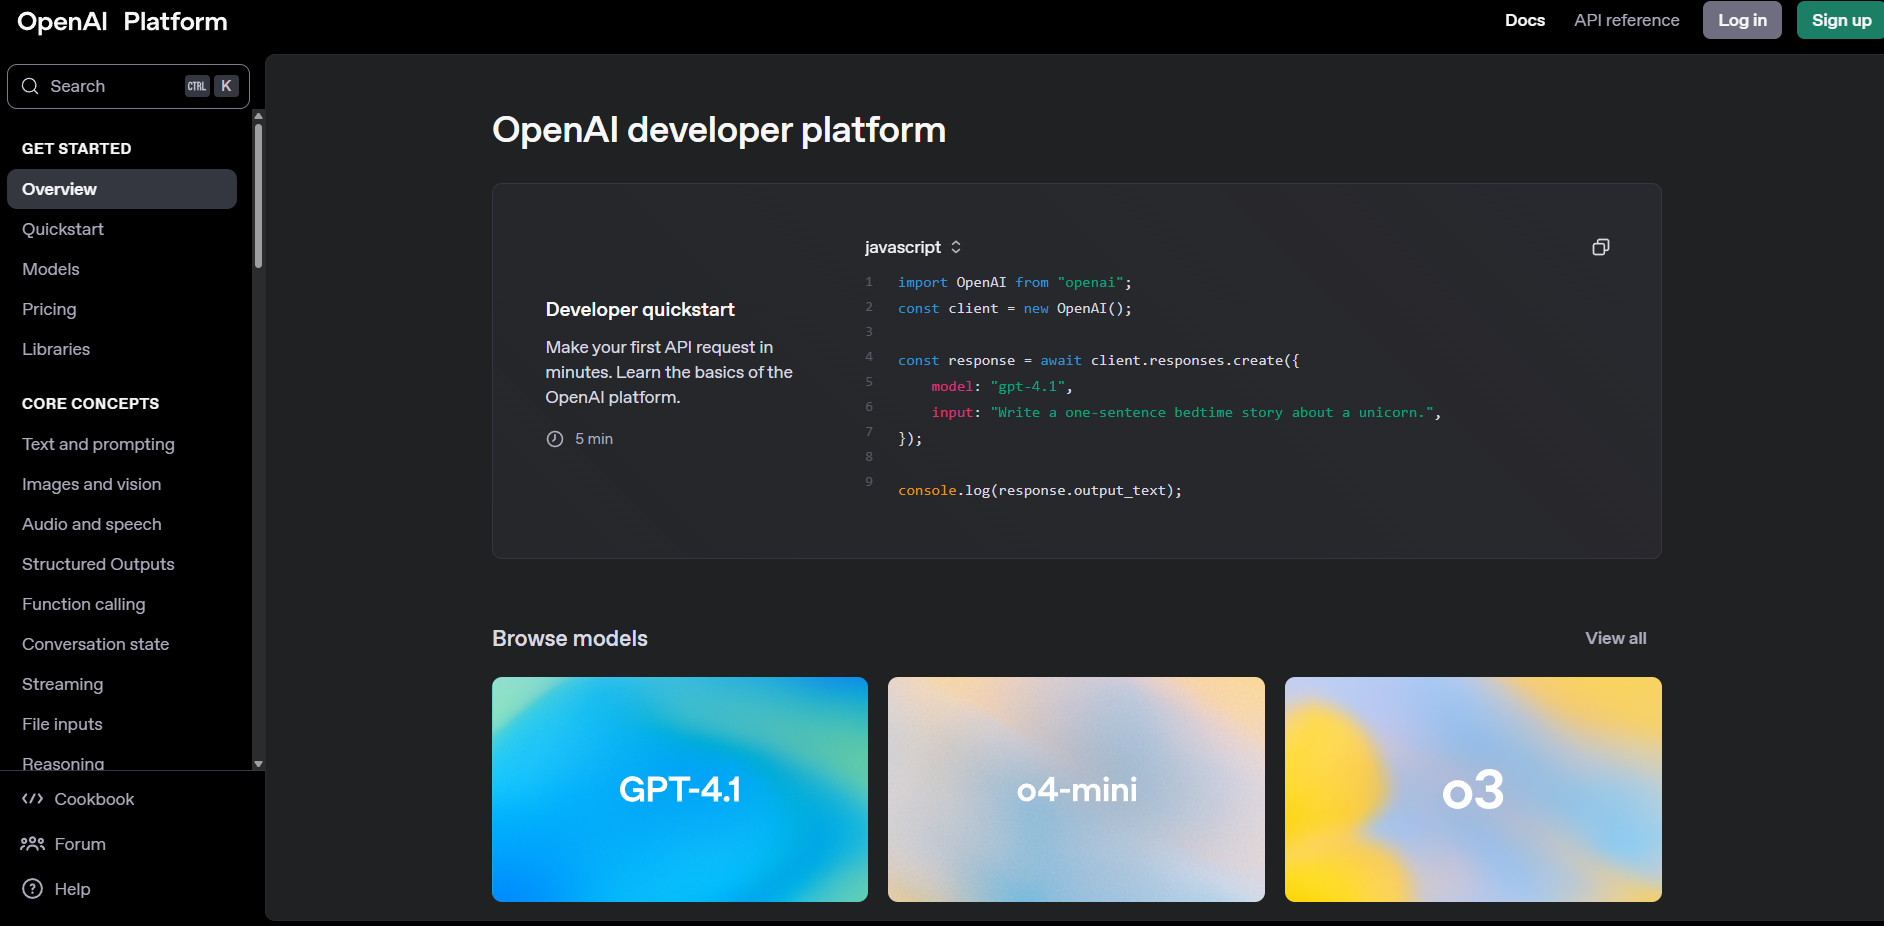
For GPT-4o, grab an API key from platform.openai.com. Sign up, create a key, and save it securely. Other LLMs like Claude (via console.anthropic.com) or DeepSeek (at the deepseek platform) will work too.

Step 2: Set Up Environment Variables
MCP-Use loves .env files for secure API key storage. Create a .env file in your project folder:
touch .env
Add your key and save it:
OPENAI_API_KEY=sk-xxx
Important: keep your API_Keys out of Git by adding .env file to .gitignore.
Step 3: Configure the MCP Server
MCP servers provide tools your LLM can use. We’ll use the Playwright MCP server for browser automation. Create a config file called browser_mcp.json:
{
  "mcpServers": {
    "playwright": {
      "command": "npx",
      "args": ["@playwright/mcp@latest"],
      "env": {
        "DISPLAY": ":1"
      }
    }
  }
}
This tells MCP-Use to run Playwright’s MCP server. Save it in your project folder.
Step 4: Write Your First MCP-Use Script
Let’s create a Python script to connect GPT-4o to the Playwright server and find a restaurant. Create mcp_example.py:
import asyncio
import os
from dotenv import load_dotenv
from langchain_openai import ChatOpenAI
from mcp_use import MCPAgent, MCPClient

async def main():
    # Load environment variables
    load_dotenv()

    # Create MCPClient from config file
    client = MCPClient.from_config_file("browser_mcp.json")

    # Create LLM (ensure model supports tool calling)
    llm = ChatOpenAI(model="gpt-4o")

    # Create agent
    agent = MCPAgent(llm=llm, client=client, max_steps=30)

    # Run a query
    result = await agent.run("Find the best restaurant in San Francisco")
    print(f"\nResult: {result}")

if __name__ == "__main__":
    asyncio.run(main())
This script:
- Loads your API key from
.env. - Sets up an MCP client with the Playwright server.
- Connects GPT-4o via LangChain.
- Runs a query to search for restaurants.
Step 5: Run It
Make sure your virtual environment is active, then:
python mcp_example.py
MCP-Use will spin up the Playwright server, let GPT-4o browse the web, and print something like: “Result: The best restaurant in San Francisco is Gary Danko, known for its exquisite tasting menu.” (Your results may vary!) I ran this and got a solid recommendation in under a minute—pretty cool, right?
Connecting to Multiple MCP Servers
MCP-Use shines when you connect to multiple servers for complex tasks. Let’s add an Airbnb MCP server to our config for accommodation searches. Update browser_mcp.json:
{
  "mcpServers": {
    "playwright": {
      "command": "npx",
      "args": ["@playwright/mcp@latest"],
      "env": {
        "DISPLAY": ":1"
      }
    },
    "airbnb": {
      "command": "npx",
      "args": ["-y", "@openbnb/mcp-server-airbnb", "--ignore-robots-txt"]
    }
  }
}
Rerun mcp_example.py with a new query:
result = await agent.run("Find a restaurant and an Airbnb in San Francisco")
MCP-Use lets the LLM use both servers—Playwright for restaurant searches, Airbnb for lodging. The agent decides which server to call, making your AI super versatile.

Why MCP-Use is Awesome for Beginners
MCP-Use is a beginner’s dream because:
- Simple Setup: One
pip installand a short script get you going. - Flexible: Works with any LLM and MCP server, from Claude to GitHub’s issue tracker.
- Open-Source: Free and customizable, with a welcoming GitHub community.
Compared to custom API integrations, MCP-Use is way less headache, letting you focus on building cool stuff.
Pro Tips for MCP-Use Success
- Check Model Compatibility: Only LLMs with tool-calling (like GPT-4o or Claude 3.7 Sonnet) work.
- Use Scalar for Specs: Validate server API specs to avoid surprises.
- Explore MCP Servers: Browse mcp.so for servers like Firecrawl (web scraping) or ElevenLabs (text-to-speech).
- Join the Community: Report bugs or suggest features on the MCP-Use GitHub.
Conclusion: Your MCP-Use Adventure Awaits
Congrats—you’re now ready to supercharge any LLM with MCP-Use! From connecting GPT-4o to a Playwright server, you’ve got the tools to build AI agents that browse, search, and more. Try adding a GitHub MCP server next or ask your agent to plan a whole trip. The MCP-Use repo has more examples, and the MCP community’s buzzing on X. And for extra API flair, don't forget to check out apidog.com.


