When building or using an API, one of the most critical decisions you’ll make is choosing the right authentication method. Two popular options you’ll often come across are Basic Authentication (Basic Auth) and Bearer Token. But what exactly are these methods, and how do they differ? More importantly, which one should you use?
In this post, we’re diving into the difference between Basic Auth and Bearer Token to help you make an informed decision. We'll break down the concepts, compare their pros and cons, and guide you on which one might be best suited for your API needs.
What Is Basic Authentication?
Let’s start with Basic Auth. Imagine you’re at a club’s entrance, and the bouncer asks for your ID. You show it, and if everything checks out, you’re allowed in. Basic Auth works similarly. It’s one of the simplest forms of authentication, where a user provides a username and password, which is then encoded in Base64.

How Does Basic Auth Work?
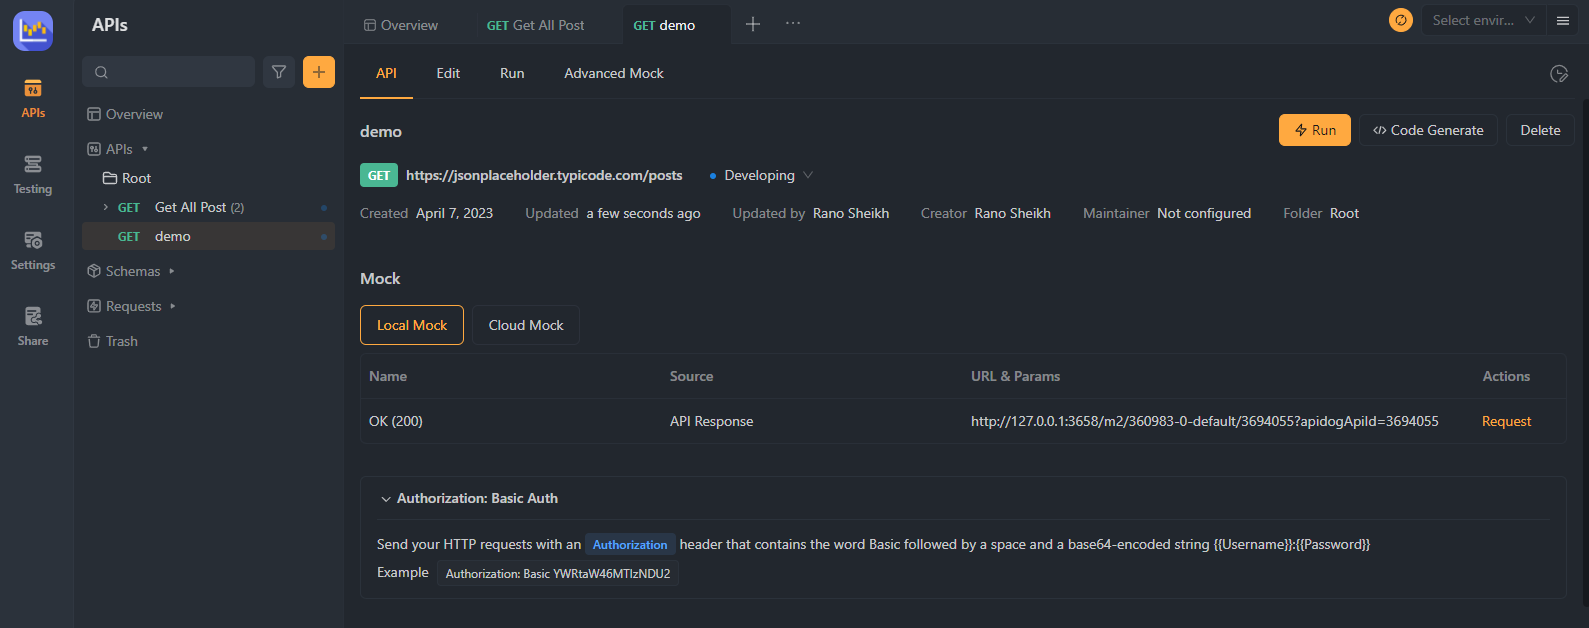
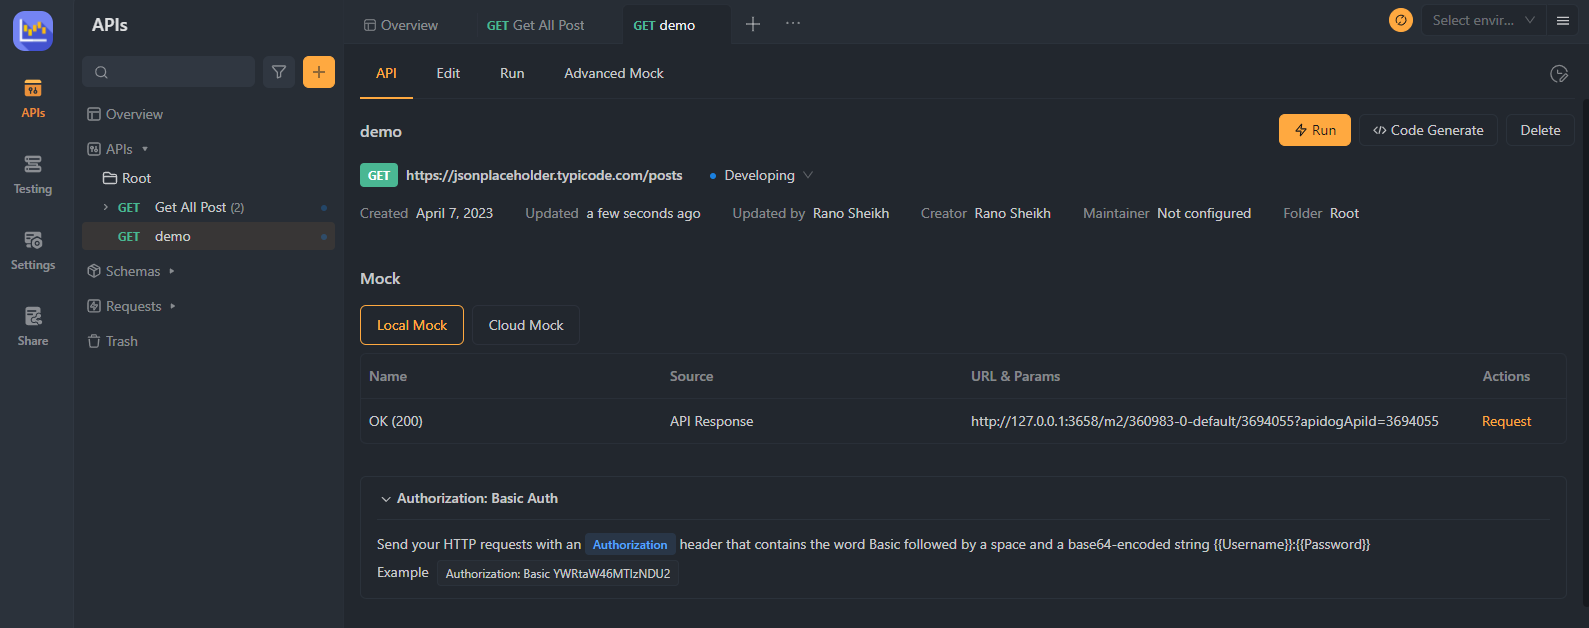
- Client Request: When a client wants to access an API endpoint, it sends a request with an authorization header.
- Authorization Header: This header contains the word "Basic" followed by a space and then the Base64-encoded username and password.
- Server Validation: The server decodes this string, checks the credentials, and grants access if everything is correct.
Here’s a simplified example of how an Authorization header looks:
Authorization: Basic dXNlcm5hbWU6cGFzc3dvcmQ=
In this example, dXNlcm5hbWU6cGFzc3dvcmQ= is the Base64-encoded string of the username and password combination.
The Pros of Using Basic Auth
- Simplicity: Basic Auth is straightforward to implement. You don’t need complex setups or protocols.
- Widely Supported: It’s supported by almost all HTTP clients and servers.
- No Dependency: Basic Auth doesn’t require any external libraries or tokens, making it lightweight.
The Cons of Using Basic Auth
- Security Risks: Since credentials are sent with every request and are only Base64-encoded (not encrypted), they can be easily decoded if intercepted.
- No Session Management: Each request needs to include the credentials, which can be inefficient and insecure.
- Limited Scalability: In more complex systems, where you need to manage different user permissions or sessions, Basic Auth falls short.
What Is a Bearer Token?
Now, let’s move on to Bearer Token. Think of Bearer Token like a VIP pass at a concert. Once you have it, you don’t need to show your ID every time you enter a restricted area. The token itself is proof that you have access.

How Does Bearer Token Work?
- Token Issuance: When a user successfully logs in, the server generates a token, usually a JSON Web Token (JWT).
- Token Storage: This token is stored on the client side, either in local storage, a cookie, or elsewhere.
- Authorization Header: For subsequent API requests, the client includes this token in the Authorization header.
- Server Validation: The server checks the token’s validity and grants access if the token is valid and unexpired.
Here’s how an Authorization header might look with a Bearer Token:
Authorization: Bearer eyJhbGciOiJIUzI1NiIsInR5cCI6IkpXVCJ9...
In this case, the token is usually a long, encoded string that carries encoded information, like the user ID and expiration time.
The Pros of Using Bearer Token
- Enhanced Security: Since the token is usually time-limited and can be encrypted, it offers better security than Basic Auth.
- Statelessness: The server doesn’t need to store session data. Instead, it validates the token on each request.
- Flexibility: Bearer tokens can be customized to include different scopes or permissions, making them versatile for complex APIs.
The Cons of Using Bearer Token
- Implementation Complexity: Setting up Bearer Token authentication is more involved compared to Basic Auth. It requires token generation, storage, and validation.
- Token Management: Tokens need to be securely stored and refreshed when they expire, which adds complexity to client-side management.
- Overhead: For smaller APIs or internal tools, the additional security provided by tokens might be overkill and introduce unnecessary overhead.
A Side-by-Side Comparison
Now that we’ve discussed each method in detail, let’s compare Basic Auth and Bearer Token side-by-side:
| Feature | Basic Auth | Bearer Token |
|---|---|---|
| Security | Low (credentials sent with every request) | High (tokens can be encrypted and time-limited) |
| Ease of Implementation | Very Easy | Moderate to Complex |
| Session Management | None | Stateless |
| Performance | Can be slower due to credentials sent with each request | Generally faster with token-based access |
| Scalability | Limited | Highly Scalable |
When to Use Basic Auth
Basic Auth might be the right choice for you if:
- You’re working on a small, internal API with minimal security concerns.
- You need a quick and straightforward authentication method.
- The API usage is low and doesn’t require session management or complex permissions.
When to Use Bearer Token
On the other hand, Bearer Token is ideal if:
- Security is a top priority for your API, especially if it’s public-facing.
- Your API handles sensitive data or requires complex user permissions.
- You need a scalable solution that can manage different user roles and scopes.
Transitioning from Basic Auth to Bearer Token
If you’re currently using Basic Auth and considering a move to Bearer Token, here’s how you can make the transition smoother:
Evaluate Your Needs: Determine why you need to switch. Are you scaling up? Do you need better security?
Token Generation: Implement a system to generate and manage tokens. JWT is a popular choice.
Client-Side Adjustments: Update your clients to store and use tokens instead of sending credentials with each request.
Server-Side Validation: Ensure your server can decode and validate the tokens. You might need to adjust your authentication middleware.
Gradual Rollout:
Consider rolling out the new system gradually, allowing time for testing and fixing any issues that might arise during the transition. You can run both authentication methods concurrently during this phase and eventually phase out Basic Auth.
Security Considerations: How Safe Are They?
Security is a critical factor when choosing between Basic Auth and Bearer Token. Here’s a deeper dive into the security implications of each method:
Basic Auth Security
Basic Auth’s biggest security flaw is that it sends the user’s credentials with every request. Even though the credentials are Base64-encoded, they are not encrypted. This means that if someone intercepts the request, they can easily decode the credentials. To mitigate this, Basic Auth should always be used over HTTPS to ensure that the credentials are encrypted during transmission. However, this still leaves the credentials vulnerable if the HTTPS connection is compromised.
Bearer Token Security
Bearer Token provides better security in several ways:
- Token Encryption: Tokens can be encrypted, making them much harder to decode if intercepted.
- Time-Limited: Tokens often come with an expiration time, reducing the risk if a token is compromised.
- Scoping: Tokens can include scopes that limit what actions a user can perform, even if their token is stolen.
However, Bearer Tokens aren’t without risks. If a token is stolen and not expired, it can be used to access the API just as the legitimate user would. That’s why it’s important to implement additional security measures, such as token refresh and invalidation strategies.
API Use Cases: Real-World Examples
Understanding real-world use cases can help clarify when to use Basic Auth or Bearer Token. Let’s explore a few scenarios:
Case 1: Internal Company API
An internal API for a small company might use Basic Auth because it’s easy to set up and the security concerns are minimal due to limited exposure.
Case 2: Public API for a Banking App
A public-facing API for a banking app would benefit from Bearer Token authentication. The enhanced security, scalability, and ability to manage different user roles make it the best choice for handling sensitive financial data.
Case 3: Third-Party Integrations
For APIs that involve third-party integrations, Bearer Token is often preferred. It allows for secure, temporary access to specific resources without exposing the main user credentials.
Apidog: Your Reliable Partner in API Protection
Apidog is an innovative platform designed to make managing and securing your APIs a seamless experience. Offering a variety of authentication methods to suit your unique requirements, Apidog has your back, whether you prefer the simplicity of Basic Authentication, the flexibility of Bearer tokens, or the advanced features of OAuth and JWT.
Why Choose Apidog?
From its versatility to its ease of use, Apidog is designed to cater to the diverse needs of developers and organizations. Here are some key reasons to choose Apidog for your API security and management needs:
Versatility:
Apidog supports many authentication methods, allowing you to select the best option for your application. From the user-friendly Basic Authentication to the more complex OAuth and JWT, Apidog has you covered.

Ease of Use:
With its intuitive user interface and straightforward implementation, Apidog allows developers of all skill levels to quickly and easily manage their APIs. The platform is designed to make API security accessible and efficient without overwhelming users with technical jargon or complex configurations.

Authentication and Authorization Management:
Apidog simplifies implementing and managing various authentication and authorization methods. You can easily configure your desired method, monitor its performance, and make updates as needed – all within the Apidog platform.

Scalability:
As your application grows and evolves, so too does Apidog. The platform is built to scale with your needs, providing robust support for expanding APIs and ensuring your security measures grow alongside your application.
Dedicated Support:
Apidog's team of experts is always available to provide guidance and support, ensuring your API security implementation is seamless and successful. Their dedication to helping you protect your APIs is another reason Apidog is the ideal choice for API security and management.

Access Control:
Apidog allows you to establish fine-grained access control, defining specific permissions for different users or clients. It ensures that your API resources are only accessible to those with the appropriate authorization level.

Integration Support:
Apidog is designed to integrate seamlessly with your existing development and deployment workflows. With support for popular tools and platforms, Apidog ensures a smooth and efficient API security implementation process.

Step-by-Step Basic Authentication Setup in Apidog
Create an Apidog Account
Sign up for an Apidog account if you haven't already. After completing the registration process, log in to access the user dashboard, where you'll manage your API security.

Step 1. Add Your API
In the Apidog dashboard, find the "Add API" or "Create New API" button and click it to start configuring your API. You'll need to provide basic information about your API, such as its name, base URL, and a brief description.

Step 2. Choose Basic Authentication
Navigate to the "Auth" section of your API settings. Here, you'll find various authentication options supported by Apidog. Select "Basic Auth" to use a simple username and password combination to secure your API.

Step 3. Configure Authentication Settings
Provide a unique username and password for each user who requires access to your API. You can create multiple users accounts with different access permissions by defining user roles or specific access levels. Make sure to use strong passwords and avoid sharing credentials among multiple users.

Step 4. Apply Authentication Settings
Once you've configured your user accounts and their corresponding credentials, save your settings and apply them to your API. will generate the necessary code or configuration settings to implement Basic Authentication for your API.

Step 5. Update Your API Code
Integrate the generated code or configuration settings from into your existing API codebase. It will ensure that Basic Authentication is applied to all incoming API requests, requiring valid credentials for access.

Step 6. Test Your Authentication
Verify that Basic Authentication now protects your API by sending requests using various tools. Ensure that only authorized users with valid credentials can access your API resources and that unauthorized requests are denied.

Step 7. Monitor and Analyze API Usage
Utilize Apidog's built-in analytics tools to monitor and analyze your API usage. Track key metrics, such as the number of authenticated requests, response times, and error rates, to assess the effectiveness of your Basic Authentication implementation and make any necessary adjustments.

Remember that it supports other authentication methods like Bearer tokens, OAuth, and JWT, which may be more suitable depending on your use case. The process for implementing these methods will be similar, but you'll need to configure the appropriate settings based on the chosen method.

Best Practices for Implementing API Authentication
Regardless of the method you choose, following best practices will help you secure your API and improve performance:
- Always Use HTTPS: Whether you’re using Basic Auth or Bearer Token, HTTPS is non-negotiable. It ensures that your data is encrypted during transmission.
- Implement Rate Limiting: Protect your API from abuse by limiting the number of requests a client can make within a certain time frame.
- Regularly Rotate Tokens: For Bearer Token, regularly rotate and invalidate tokens to minimize the risk of token misuse.
- Audit and Monitor: Keep an eye on who is accessing your API and how often. This can help you spot suspicious activity early.
- Educate Users: If your API is public, provide clear guidelines on how to securely store and manage credentials or tokens.
Conclusion: Choosing the Right Authentication for Your API
Deciding between Basic Auth and Bearer Token comes down to your specific needs. Basic Auth offers simplicity but comes with significant security risks. Bearer Token, while more complex to implement, provides enhanced security, scalability, and flexibility.
If you’re managing APIs regularly, having the right tools can make your job much easier. Apidog is a powerful API tool that can help you manage and test your APIs with ease. Whether you’re using Basic Auth or Bearer Token, Apidog can simplify your workflow and ensure your API is secure and efficient.


