
Hey there! Let's dive into the wonderful world of file uploads using Axios, a popular JavaScript library for handling HTTP requests. But before we get started, let me briefly introduce you to Axios and why it's so widely used.
Axios: The Powerhouse of HTTP Requests
In the realm of web development, Axios has become a go-to library for developers seeking a simple and efficient way to communicate with APIs. Its straightforward syntax and versatility make it a favorite among developers of all skill levels. Whether you're building a simple web application or a complex, data-driven platform, Axios has got your back.
The Importance of File Uploads
In today's digital landscape, file uploads are a crucial part of many web applications. From social media platforms to cloud storage services, the ability to upload files seamlessly is a must-have feature. Fortunately, Axios makes this process a breeze, allowing developers to integrate file uploads into their applications with ease.
Understanding the Basics
Before we dive into the specifics of file uploads with Axios, let's take a step back and understand the fundamentals. An API, or Application Programming Interface, is a set of rules and protocols that govern how different software components communicate with each other. APIs are the backbone of modern web development, enabling applications to access and exchange data with various services and databases.
Setting Up Axios: A Piece of Cake
Now, let's get started with setting up Axios in your project. Axios can be easily installed via npm (Node Package Manager) or yarn, two popular package management tools for JavaScript. With just a simple command, you'll have Axios ready to go in your project.
One of the biggest advantages of Axios is its beginner-friendly syntax. Even if you're new to web development, you'll find Axios to be intuitive and easy to use. Its straightforward methods and clear documentation make it a great choice for developers of all levels.
Uploading Files with Axios: A Step-by-Step Guide
Now, let's dive into the main event: uploading files with Axios. Here's a step-by-step tutorial to help you get started:
- Creating the File Object: First, you'll need to create a
FormDataobject, which is a special data type used for sending form data, including files, to a server.
const formData = new FormData();
- Adding Files to the FormData Object: Next, you'll need to append the file(s) you want to upload to the
FormDataobject. You can do this using theappendmethod.
formData.append('file', fileInput.files[0]);
In this example, fileInput is a reference to an HTML <input> element of type file.
- Sending the File Upload Request with Axios: With the
FormDataobject ready, you can now use Axios to send the file upload request to your server. Here's an example:
axios.post('/upload', formData, {
  headers: {
    'Content-Type': 'multipart/form-data'
  }
})
.then(response => {
  console.log('File uploaded successfully!');
})
.catch(error => {
  console.error('Error uploading file:', error);
});
In this code snippet, we're using the post method of Axios to send a POST request to the /upload endpoint on our server. The FormData object is passed as the request body, and we're setting the Content-Type header to multipart/form-data, which is required for file uploads.
Handling File Upload Responses
Once you've sent the file upload request, you'll need to handle the server's response. Axios makes this easy with its promise-based approach. In the example above, we're using the then method to handle a successful response and the catch method to handle any errors that may occur during the upload process.
In the then callback function, you can perform any additional actions required after a successful file upload, such as updating the UI or displaying a success message to the user. In the catch callback function, you can handle errors and provide appropriate feedback to the user.
Advanced Axios Features: Taking Your File Uploads to the Next Level
While the basic file upload functionality of Axios is impressive, the library offers several advanced features that can take your file uploads to the next level. Let's explore a few of these features:
Interceptors: Axios interceptors allow you to intercept requests or responses before they are handled by the then or catch methods. This can be useful for adding authentication headers, logging requests and responses, or even modifying data on the fly.
Progress Tracking: For larger file uploads, it's often desirable to provide users with progress updates. Axios supports progress tracking through the onUploadProgress and onDownloadProgress events, allowing you to display progress bars or other visual indicators.
Cancellation: Sometimes, you may need to cancel an ongoing file upload request, whether due to user action or other circumstances. Axios provides a mechanism for canceling requests, ensuring a clean and efficient termination of the upload process.
Testing Axios APIs with Apidog
As mentioned earlier, APIDog is a powerful tool for testing and monitoring APIs. When working with file uploads using Axios, APIDog can be an invaluable asset. Here's an example of how you can use APIDog to test your file upload API:
Create a New Test: In APIDog, create a new test for your file upload endpoint.
Configure the Request: Set the request method (e.g., POST), URL, and any required headers or parameters.
Add the File: In the request body section, you can add the file you want to upload for testing purposes.
Run the Test: Execute the test and observe the response from your server.
Monitor and Analyze: APIDog provides detailed monitoring and analysis features, allowing you to track the performance and behavior of your API over time.
By incorporating APIDog into your development workflow, you can ensure that your file upload functionality with Axios is working as expected and catch any issues or regressions before they impact your users.
Best Practices for File Uploads with Axios
As with any aspect of web development, there are best practices to follow when working with file uploads using Axios. Here are a few tips to keep in mind:
Security Considerations: File uploads can be a potential security risk if not handled properly. Always validate and sanitize user-uploaded files on the server-side to prevent malicious content from being uploaded.
User Experience: File uploads should be a seamless and intuitive experience for your users. Provide clear instructions, progress indicators, and appropriate error handling to ensure a smooth and user-friendly process.
File Size and Type Validation: Depending on your application's requirements, you may want to implement server-side validation to ensure that uploaded files meet specific size and type restrictions.
Scalability and Performance: As your application grows, so will the demand for efficient file uploads. Consider implementing strategies such as chunked uploads, parallel uploads, or content delivery networks (CDNs) to ensure optimal performance and scalability.
API Design: When designing your file upload API, follow best practices for API design, such as using meaningful and descriptive endpoint names, providing clear documentation, and adhering to REST principles.
Apidog: a free tool to generate your Axios code
Apidog is an all-in-one collaborative API development platform that provides a comprehensive toolkit for designing, debugging, testing, publishing, and mocking APIs. Apidog enables you to automatically create Axios code for making HTTP requests.
Here's the process for using Apidog to generate Axios code:
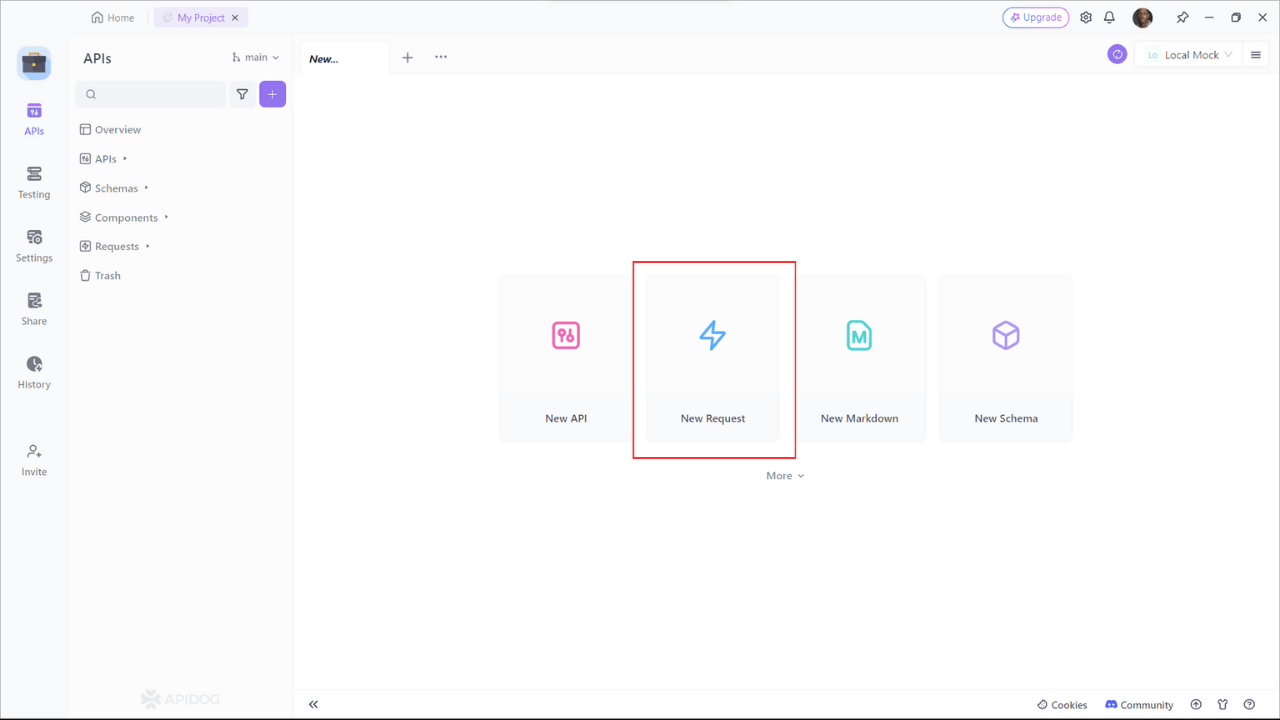
Step 1: Open Apidog and select new request

Step 2: Enter the URL of the API endpoint you want to send a request to,input any headers or query string parameters you wish to include with the request, then click on the "Design" to switch to the design interface of Apidog.

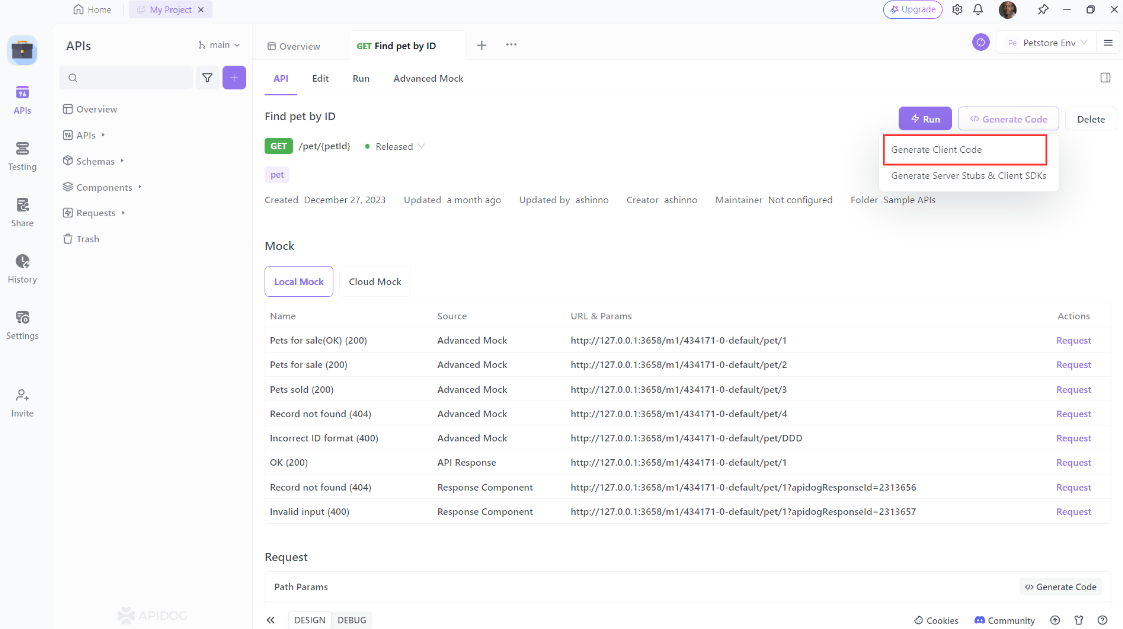
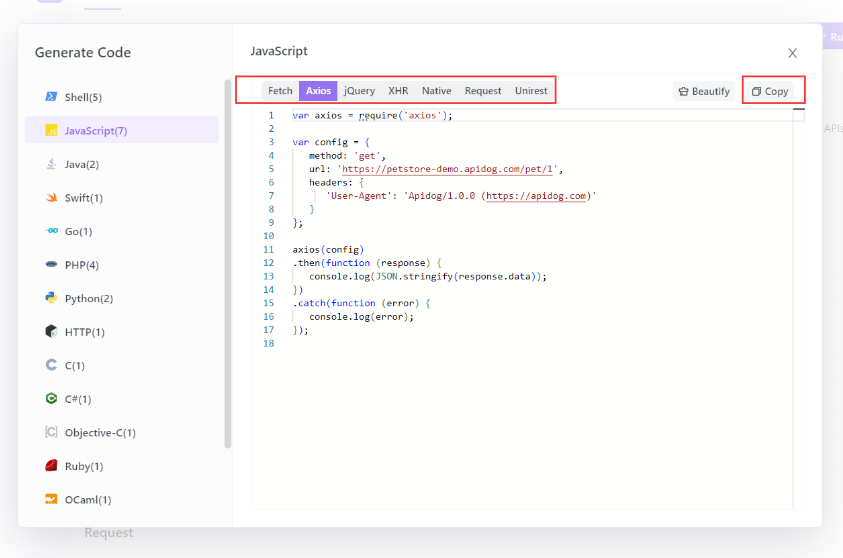
Step 3: Select "Generate client code " to generate your code.
Step 4: Copy the generated Axios code and paste it into your project.
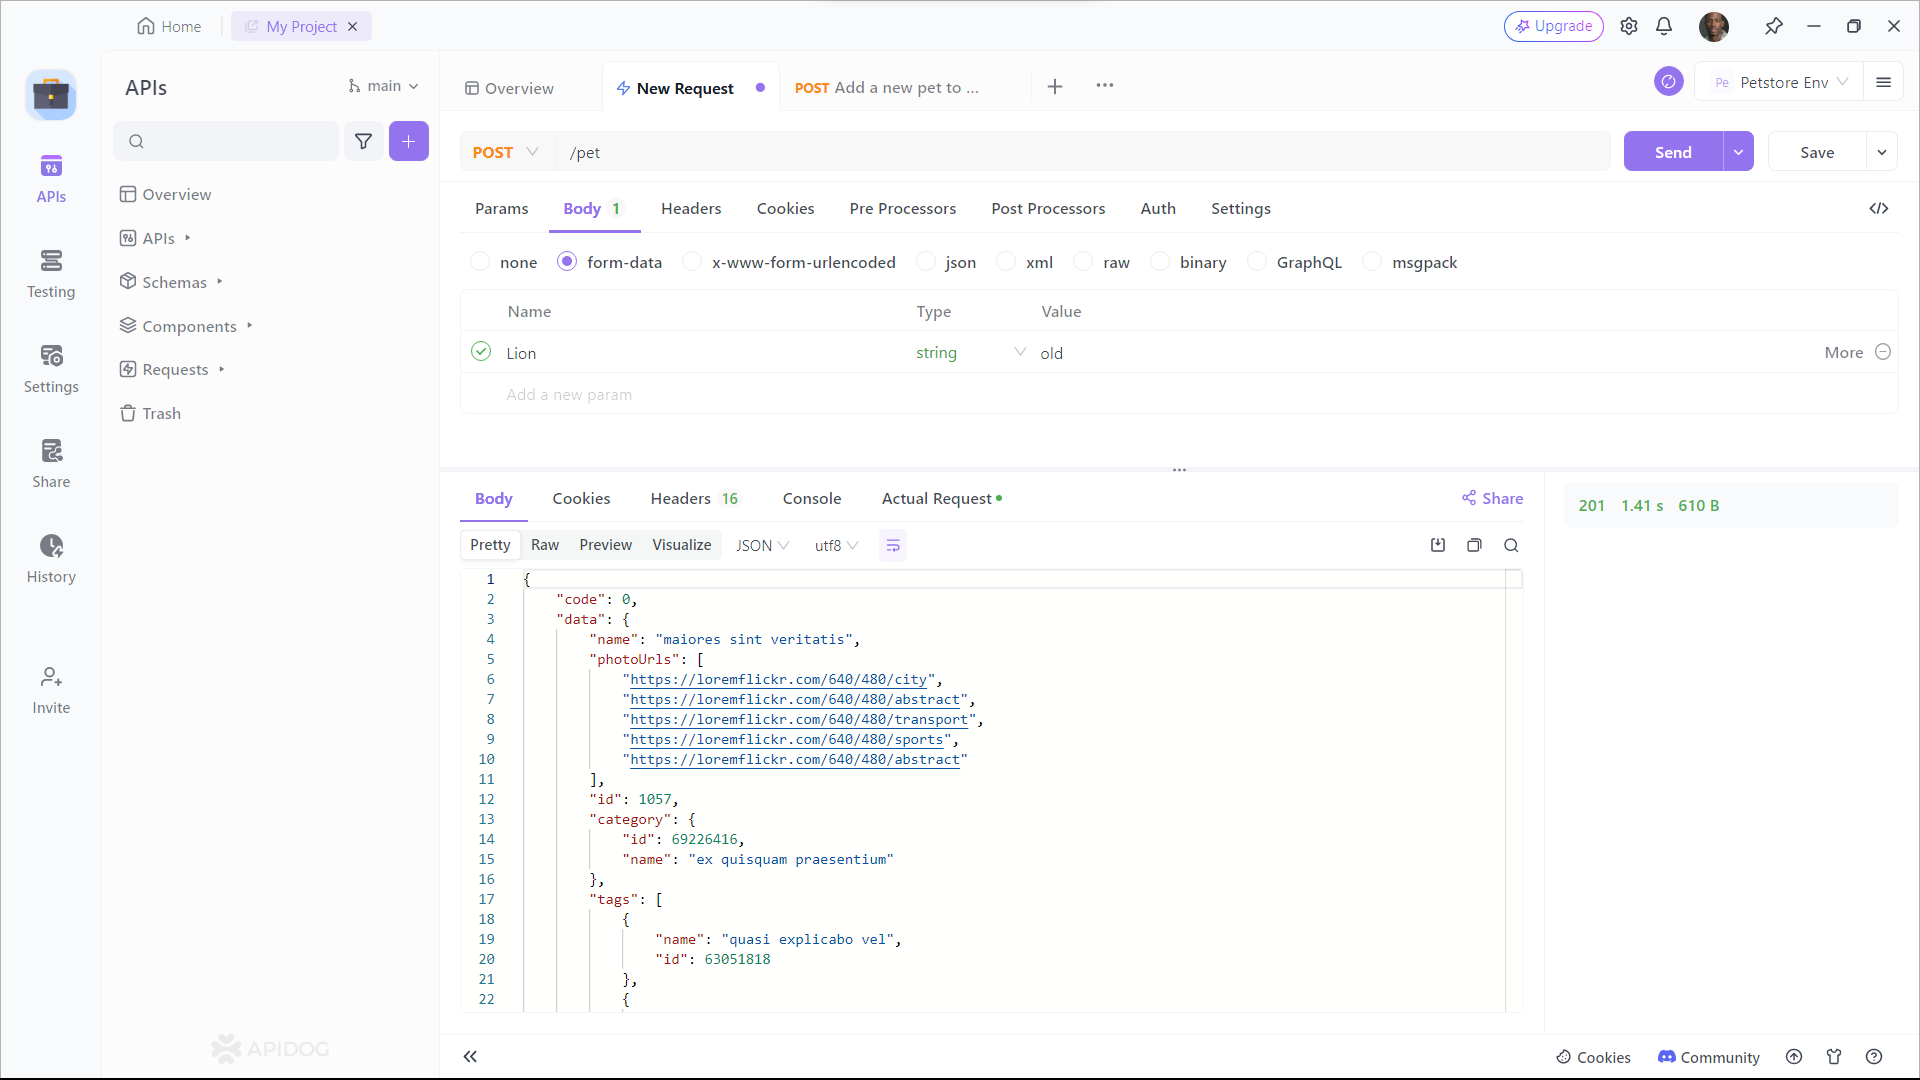
Using Apidog to Send HTTP Requests
Apidog offers several advanced features that further enhance its ability to test HTTP requests. These features allow you to customize your requests and handle more complex scenarios effortlessly.
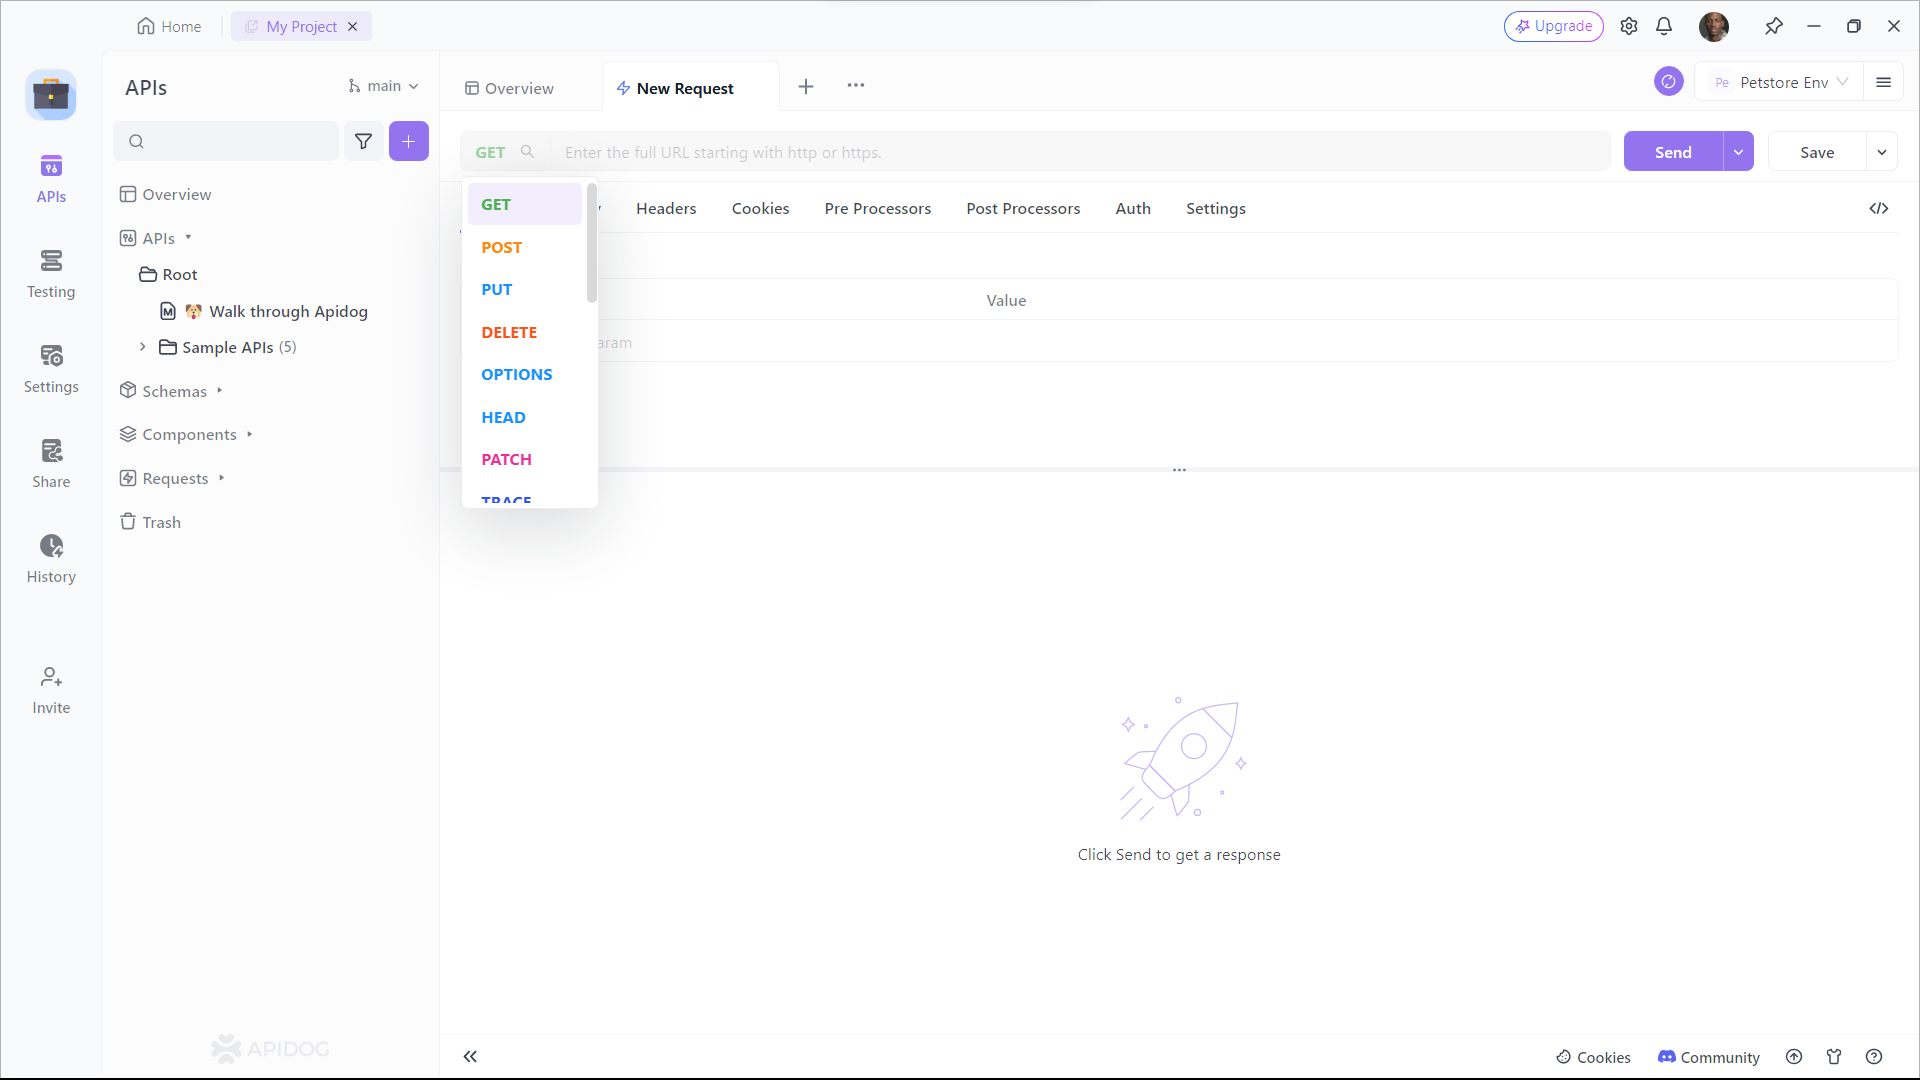
Step 1: Open Apidog and create a new request.
Step 2: Find or manually input the API details for the POST request you want to make.
Step 3: Fill in the required parameters and any data you want to include in the request body.
Conclusion
Congratulations! You've now gained a solid understanding of how to upload files using Axios, a powerful and versatile JavaScript library for handling HTTP requests. From setting up Axios in your project to exploring advanced features like interceptors and progress tracking, you're well-equipped to implement seamless file upload functionality in your web applications.
Remember, tools like APIDog can be invaluable companions in your development journey, enabling you to test and monitor your APIs, including file upload endpoints, with ease.
As you continue to explore the world of file uploads with Axios, don't be afraid to experiment and push the boundaries of what's possible. The combination of Axios's simplicity and APIDog's powerful testing and monitoring capabilities will empower you to create robust and user-friendly file upload experiences.


