
Welcome to our comprehensive guide on Appium Testing Automation! If you're looking to enhance your mobile app testing skills, you've come to the right place. In this tutorial, we'll explore the ins and outs of Appium, a powerful open-source tool for automating mobile application testing.
Before we dive in, here's a quick tip:
1. Introduction to Appium
Appium is an open-source automation framework that allows you to test native, hybrid, and mobile web applications across iOS and Android platforms. It uses the WebDriver protocol to drive the app's user interface, enabling cross-platform testing with a single codebase.

Key Features of Appium
- Cross-Platform Support: Write tests that run on both iOS and Android.
- Language Flexibility: Supports multiple programming languages like Java, Python, Ruby, and more.
- Open Source: Free to use with a vibrant community.
- No App Modification Required: Test your apps without altering them.
2. Setting Up Your Environment
To begin automating tests with Appium, you'll need to set up your development environment. Here's how:
Prerequisites
- Java Development Kit (JDK): Ensure you have JDK installed.
- Node.js: Appium is built on Node.js; install it from the official website.
Appium Server: Install Appium via npm:bashCopy codenpm install -g appium
- Integrated Development Environment (IDE): Choose an IDE like IntelliJ IDEA or Eclipse.
- Android SDK: For Android testing, install the Android SDK.
- Xcode: For iOS testing, ensure Xcode is installed on your Mac.
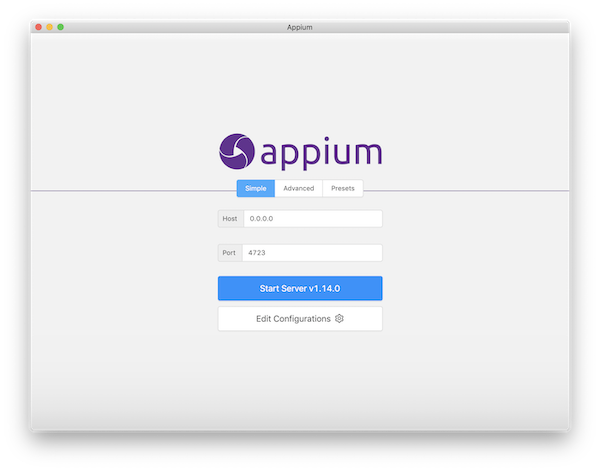
Installing Appium Desktop
Appium Desktop provides a graphical interface for the Appium Server and an Inspector tool to identify app elements. Download it from the official website and follow the installation instructions.
Setting Up Emulators/Simulators
- Android Emulator: Use Android Studio to create and manage virtual devices.
- iOS Simulator: Xcode includes an iOS Simulator for testing.
3. Writing Your First Test Script
With your environment ready, it's time to write your first test script. We'll use Java and the TestNG framework for this example.
Step 1: Create a New Project
- Open your IDE and create a new Java project.
Add the necessary dependencies to your pom.xml if you're using Maven:
<dependencies>
  <dependency>
    <groupId>io.appium</groupId>
    <artifactId>java-client</artifactId>
    <version>7.3.0</version>
  </dependency>
  <dependency>
    <groupId>org.testng</groupId>
    <artifactId>testng</artifactId>
    <version>7.4.0</version>
  </dependency>
</dependencies>
Step 2: Configure Desired Capabilities
Desired capabilities are a set of keys and values sent to the Appium server to tell the server what kind of automation session to start.
DesiredCapabilities caps = new DesiredCapabilities();
caps.setCapability("platformName", "Android");
caps.setCapability("deviceName", "emulator-5554");
caps.setCapability("app", "/path/to/your/app.apk");
Step 3: Initialize the Appium Driver
AppiumDriver<MobileElement> driver = new AppiumDriver<>(new URL("http://localhost:4723/wd/hub"), caps);Step 4: Write Test Cases
Here's a simple example of a test case that checks if an element is displayed:
@Test
public void sampleTest() {
    MobileElement element = driver.findElement(By.id("element_id"));
    Assert.assertTrue(element.isDisplayed());
}
Step 5: Run Your Test
Execute your test through the IDE. Appium will launch the app on the specified emulator or device and perform the actions defined in your test script.
4. Advanced Features and Best Practices
As you become more comfortable with Appium, you can explore its advanced features to enhance your testing strategy.
Parallel Testing
Running tests in parallel can significantly reduce execution time. Tools like TestNG allow you to configure parallel test execution.
Page Object Model (POM)
Implementing POM helps in maintaining clean and readable code by separating test scripts from the page-specific code.
Handling Gestures
Appium provides methods to handle complex gestures like swipes, pinches, and scrolls, which are essential for testing modern mobile applications.
Dealing with Hybrid Apps
For hybrid apps, you may need to switch between native and web contexts. Appium allows context switching to interact with web elements within a hybrid app.
5. Testing APIs with Apidog
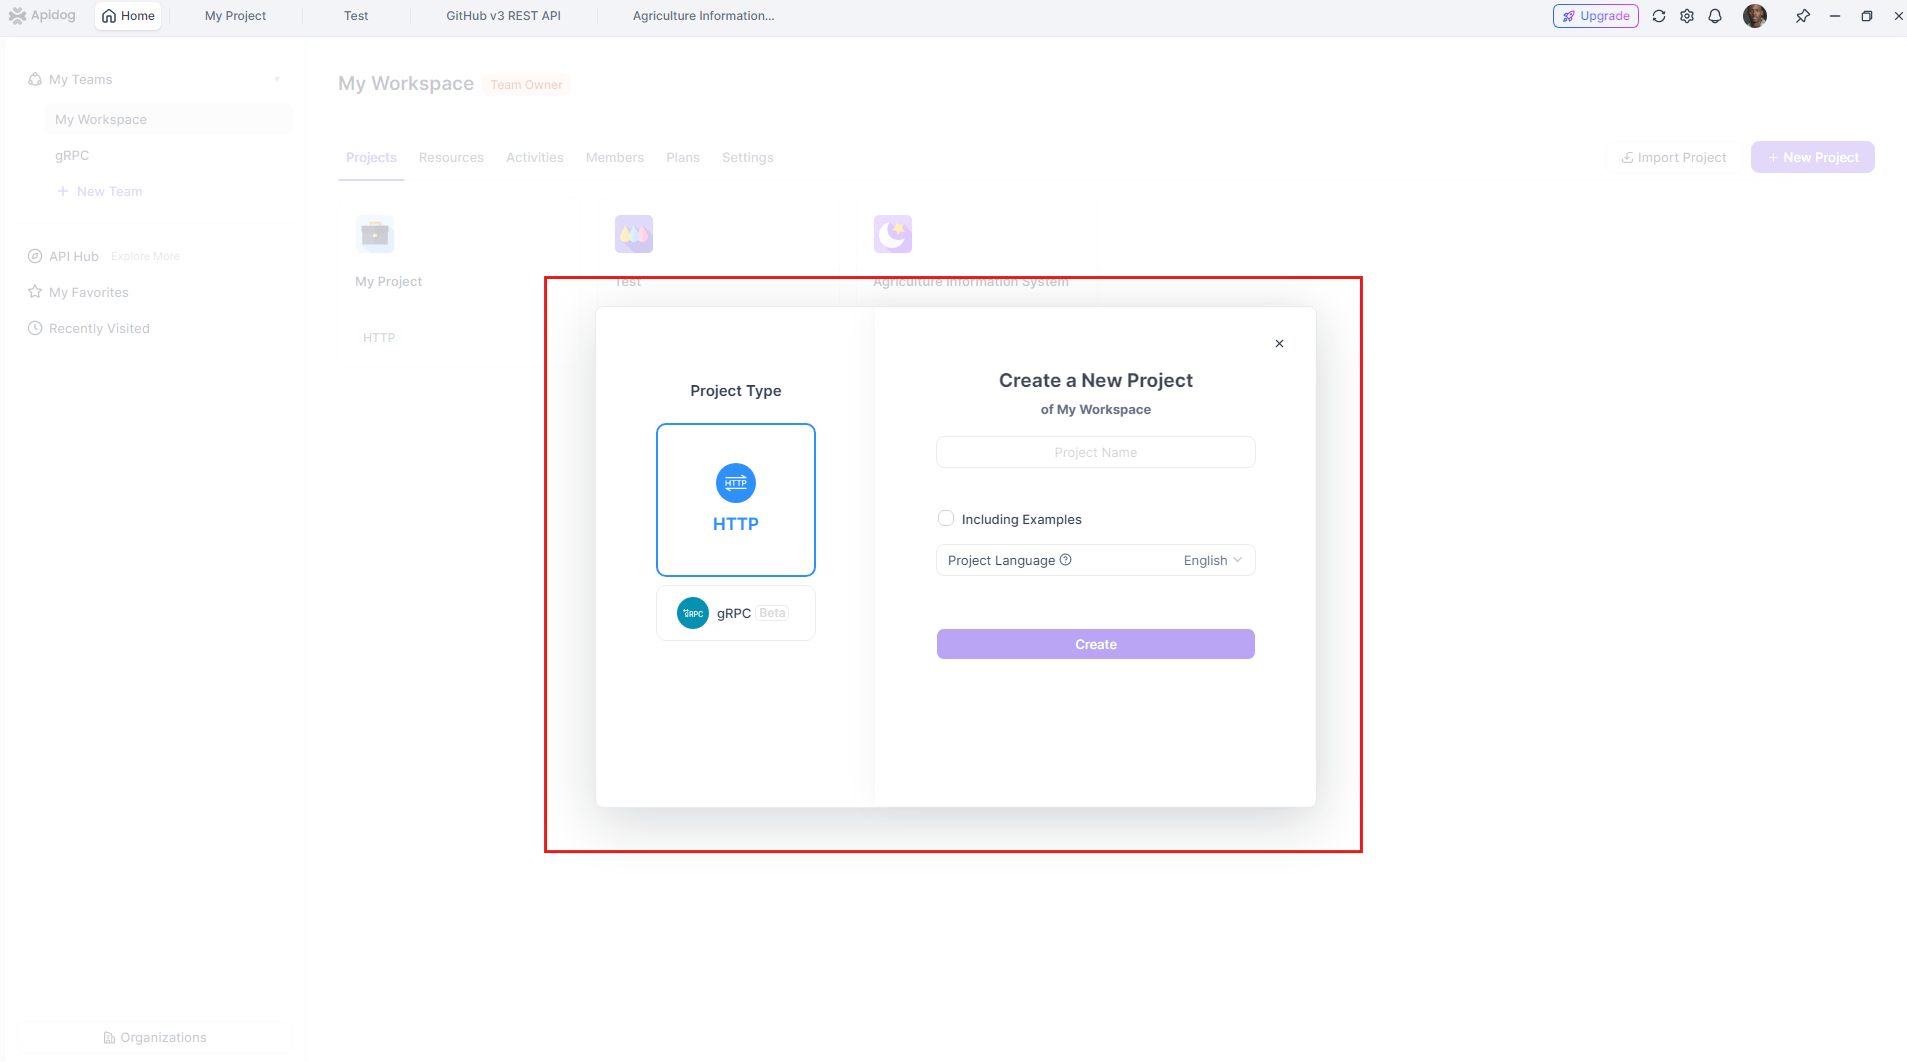
In addition to UI testing, API testing is crucial for ensuring the reliability of your application's backend services. Apidog is an integrated platform that simplifies API design, debugging, and testing.
Step 1: Set Up Apidog
- Download and Install: Get Apidog from the official website and follow the installation instructions.
- Create an Account: Sign up for a free account to access all features.
Step 2: Create a New Project
- New Project: After logging in, create a new project for your API tests.
- Define API Endpoints: Specify the API endpoints you wish to test, including request methods and parameters.

Step 3: Design Test Cases
- Test Scenarios: Design test cases for various scenarios, such as valid inputs, invalid inputs, and edge cases.

Step 4: Execute Tests
- Run Tests: Execute your test cases within Apidog and monitor the results.
- Analyze Results: Review the test outcomes to identify any issues or discrepancies.
By incorporating Apidog into your testing strategy, you can ensure that both the frontend and backend of your application are thoroughly tested, leading to a more robust and reliable product.
6. Conclusion
In this tutorial, we've explored the fundamentals of Appium for mobile application testing and how to enhance your testing strategy by incorporating API testing with Apidog. By leveraging these tools, you can achieve comprehensive test coverage, improve efficiency, and deliver higher-quality applications.
Remember, the key to successful automation lies in understanding the tools at your disposal and applying best practices consistently.
Happy Testing!


