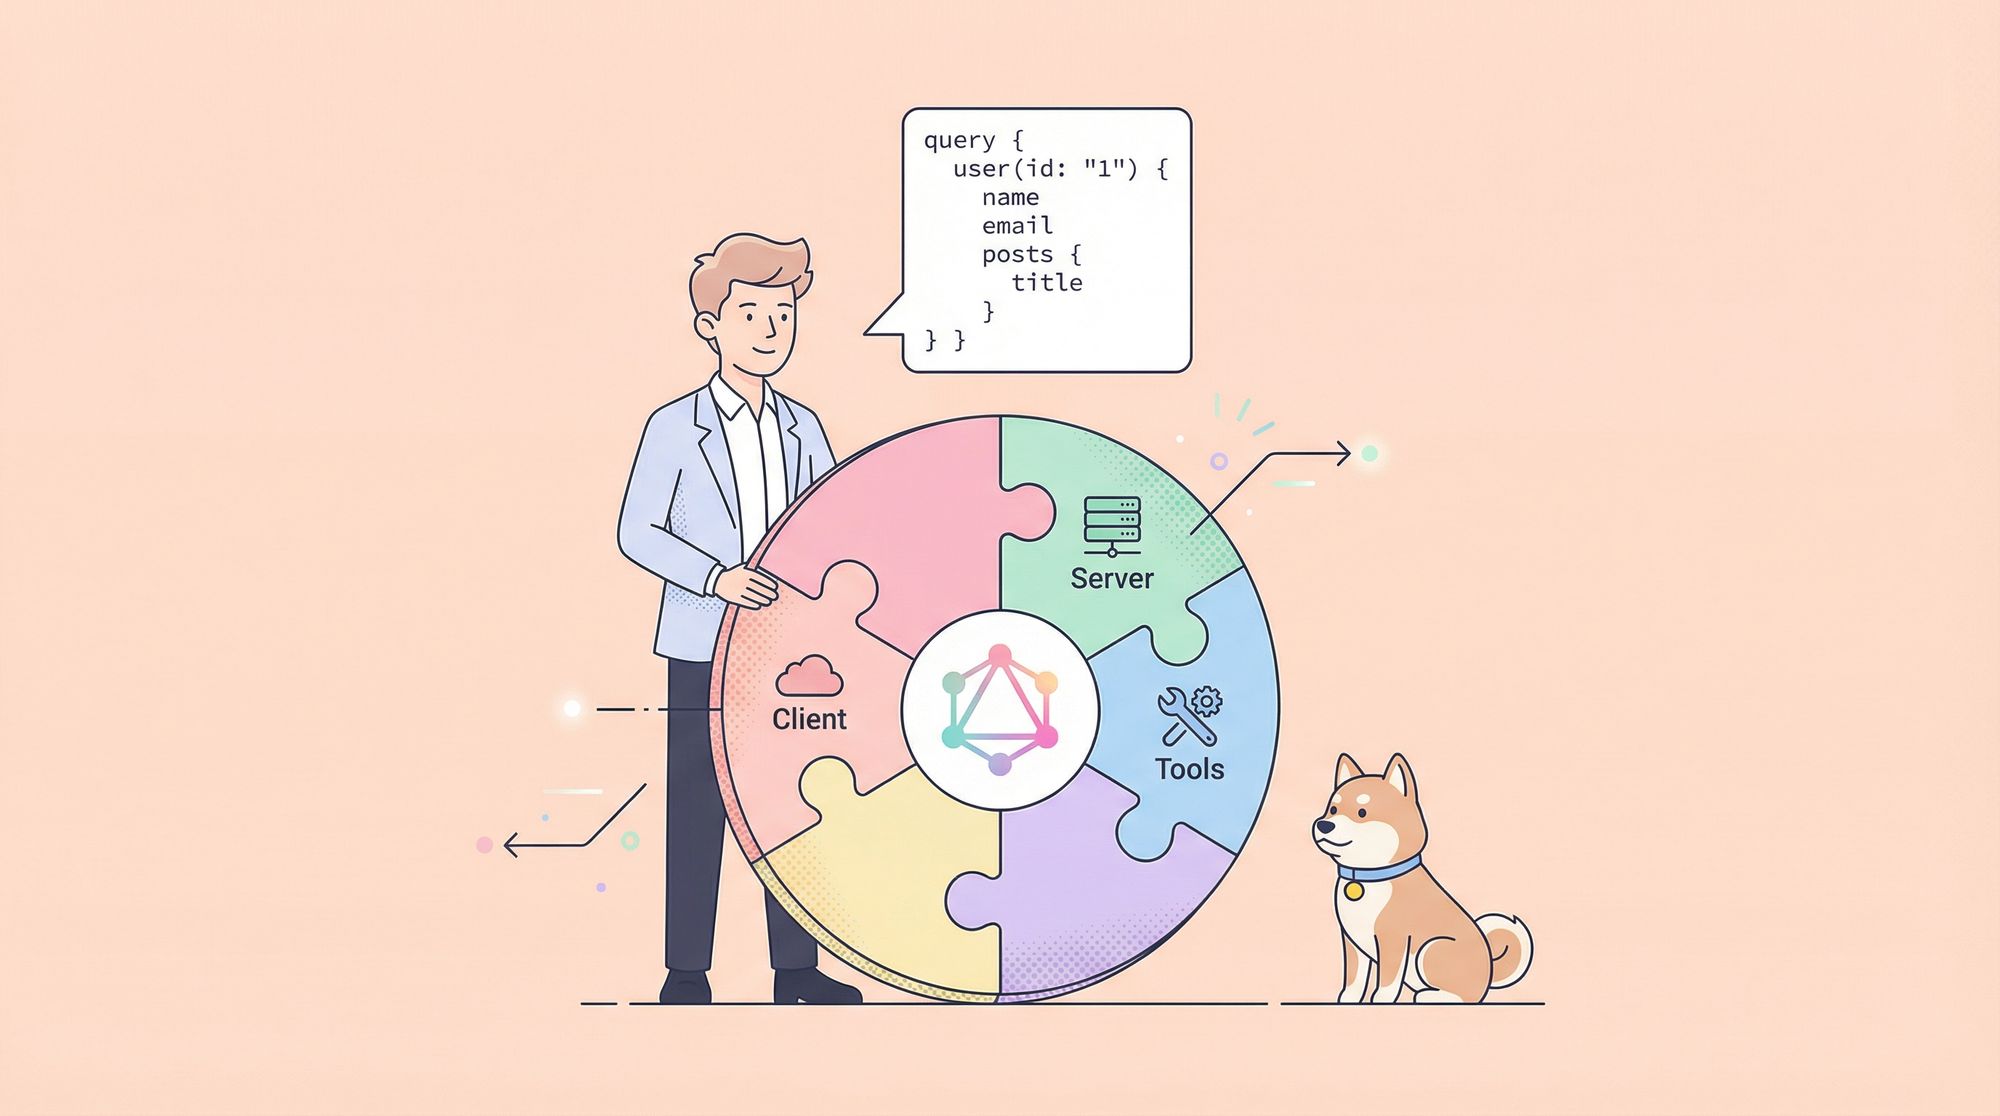
GraphQL is now the mainstream choice for API development. It enables clients to request exactly the data they need - no more, no less. This changes the game compared to previous APIs.
Before GraphQL, SOAP and REST dominated API development in different eras. SOAP was too complex and heavy, while REST solved these issues but still had problems with mismatched data. GraphQL was created specifically to address these pain points.
With GraphQL gaining popularity, developers needed better tools to aid development. Apollo emerged to provide full-stack GraphQL solutions including client, server, and tooling support. This makes GraphQL much easier to learn and adopt.
By simplifying the GraphQL learning curve, Apollo has fueled its proliferation. Apollo plays an important role in the GraphQL ecosystem, enabling developers to build APIs more efficiently.
What is Apollo GraphQL
Apollo is a toolkit designed especially for GraphQL. It offers a way to pull data from different sources and bring it together in a unified manner. With Apollo GraphQL, developers can craft efficient, streamlined applications. Its tools handle complex and simple tasks, ensuring that working with GraphQL is a smooth experience from start to finish.
Apollo GraphQL Architecture
Apollo is a comprehensive set of tools and libraries designed to help developers build, manage, and scale applications with GraphQL. By providing client and server solutions, Apollo streamlines querying and mutating data, making GraphQL application development efficient and developer-friendly. The Architecture of Apollo includes Client, Server, and Federation
Apollo GraphQL Client
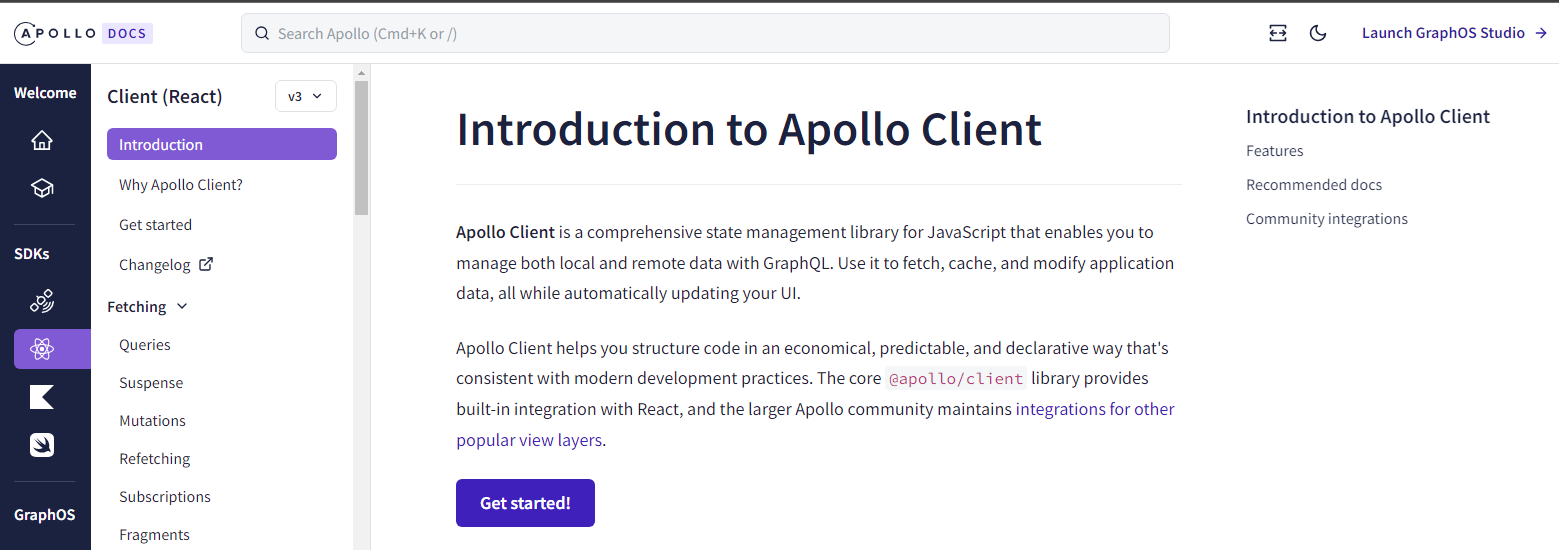
Apollo Client is a state management library for JavaScript that enables you to manage local and remote data with GraphQL. It integrates seamlessly with any JavaScript front-end library, such as React or Vue, and allows for caching, optimistic UI updates, and real-time data through subscriptions.
Example:
import { ApolloClient, InMemoryCache } from '@apollo/client';

// This sets up the connection to your server.
const client = new ApolloClient({
  uri: 'http://localhost:4000/',
  cache: new InMemoryCache()
});
Apollo GraphQL Server
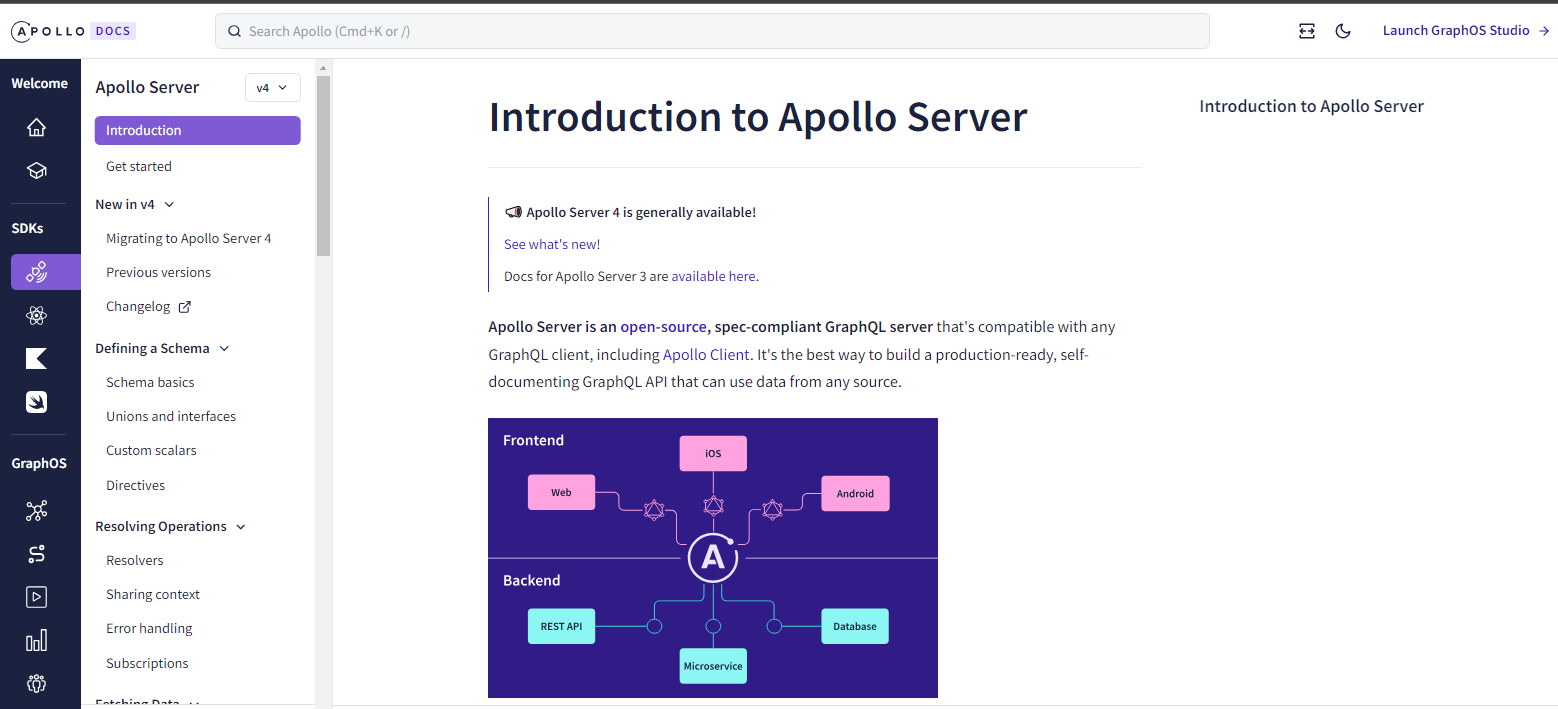
Apollo Server is an intermediary between your GraphQL schema and the data sources (like databases or REST APIs). It offers an easy setup, making it straightforward to connect APIs, define the schema, and write resolver functions.
Example:
const { ApolloServer } = require('apollo-server');
const typeDefs = `
  type Query {
    hello: String
  }
`;

const resolvers = {
  Query: {
    hello: () => "Hello, world!"
  }
};
const server = new ApolloServer({ typeDefs, resolvers });
server.listen();  // This starts our server.
Apollo GraphQL Federation
Federation is a feature of Apollo GraphQL Server that allows multiple implementing services to compose a single data graph. It lets you break your monolithic GraphQL API into smaller, more maintainable services without losing the convenience of querying everything through a single endpoint.
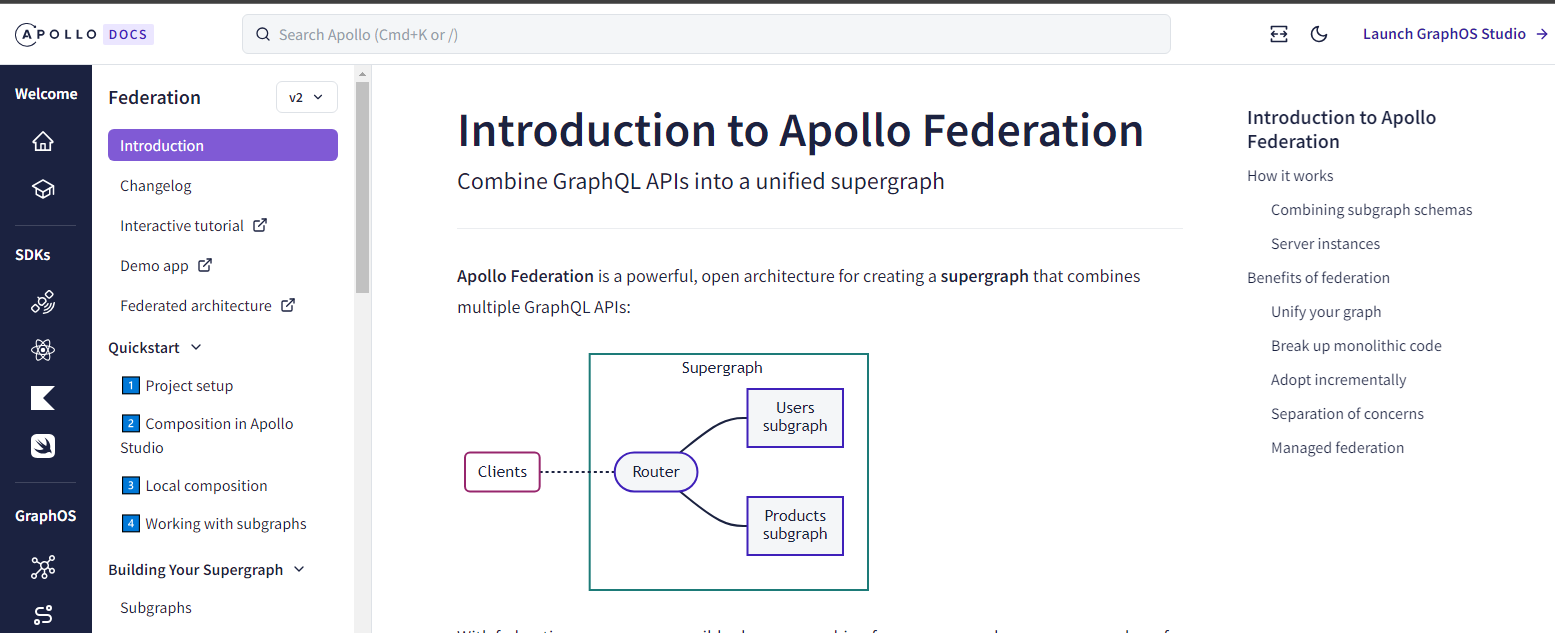
Advantages of GraphQL Apollo Federation
- Scalability: Split your GraphQL layer into multiple services. As your team or project grows, you can divide your graph without overloading a single point.
- Development Velocity: Teams can work on individual services without affecting others, allowing faster iterations.
- Reusability: Common services can be reused across different parts of an organization, reducing redundancy.
- Unified Access: For the client, it is still one single endpoint. They will not notice the difference between querying one service or five.
Example:
const { ApolloServer, gql } = require('apollo-server');
const { buildFederatedSchema } = require('@apollo/federation');

const typeDefs = gql`
  type Query {
    hello: String
  }
`;

const resolvers = {
  Query: {
    hello: () => "Hello from federated server!"
  }
};

const server = new ApolloServer({
  schema: buildFederatedSchema([{ typeDefs, resolvers }])
});

server.listen();  // This starts our federated server.
Deep Dive into Apollo GraphQL Client
Apollo Client is a powerful tool that helps apps communicate with GraphQL servers, making data fetching efficient and straightforward. It offers solutions to common problems, like caching and state management. Let us delve deeper.
How Apollo GraphQL Client Facilitates Data Fetching
With regular HTTP requests, fetching data can be tedious, involving setting up endpoints and parsing responses. Apollo Client simplifies this.
Basic Steps to Fetch Data with Apollo Client:
Setup: First, you must set up Apollo Client by pointing it to your server.
import { ApolloClient, InMemoryCache } from '@apollo/client';

const client = new ApolloClient({
  uri: 'http://localhost:4000/graphql',
  cache: new InMemoryCache()
});
Write a Query: Use GraphQL's query language to specify your needed data.
import { gql } from '@apollo/client';
const GET_DATA = gql`
{
  myData {
    name
    age
  }
}
`;
Fetch: Use the query to ask the server for data.
client.query({ query: GET_DATA }).then(response => {
  console.log(response.data.myData);
});
The response will contain precisely the name and age, nothing more or less, ensuring efficient data transfer.
Managing Local State with Apollo Client
Apollo GraphQL Client is not just for server data; it can manage local data, too, making it a single source of truth for all your app's data.
Local Fields: Add client-side-only fields to your server data.
const GET_DATA_WITH_LOCAL_FIELD = gql`
{
  myData {
    name
    age
    isFavorite @client
  }
}
`;
The @client directive tells Apollo Client that isFavorite is a local field.
Local Resolvers: Handle actions on the client-side data.
const resolvers = {
  Mutation: {
    toggle: (_, { id }, { cache }) => {
      const data = cache.readFragment({
        fragment: gql`fragment favorite on Data { isFavorite }`,
        id
      });
      data.isFavorite = !data.isFavorite;
      cache.writeData({ id, data });
      return data;
    },
  },
};
Using resolvers, you can manipulate the local state just like you would do with server data.
Caching Strategies for Performance
Fetching data from a server takes time, but Apollo Client's caching helps speed things up. Here's how:
- Automatic Caching: Every response from your GraphQL server gets automatically stored. So, if you request the same data again, Apollo Client can get it from the cache instead of the server.
- Normalized Cache: Apollo Client does not just blindly store data. It breaks down your responses into individual objects and stores them by type and ID. This approach avoids redundancy and keeps the cache in sync.
- Cache Policies: Apollo Client lets you decide how to fetch data from the cache, server, or both.
With policies like cache-first, network-only, and cache-and-network, you can finely tune your app's performance.
Mastering Apollo GraphQL Server
Apollo Server provides a robust environment to help developers implement a GraphQL server. From setting up the basics to diving deep into advanced features, mastering Apollo Server is essential for efficient GraphQL implementations.
Basics of Setting up Apollo Server
The foundation of any Apollo Server project begins with its setup.
Installation: Start by installing the required packages:
npm install apollo-server graphql
Initialize Apollo GraphQL Server:
const { ApolloServer } = require('apollo-server');
const typeDefs = /*...*/; // your schema definition
const resolvers = /*...*/; // your resolver functions

const server = new ApolloServer({ typeDefs, resolvers });

server.listen().then(({ url }) => {
  console.log(`Server ready at ${url}`);
});
Defining GraphQL Schemas and Resolvers
Every GraphQL server needs a schema to define the shape of its API and resolvers to handle the data requests.
GraphQL Schema: Describe your data's structure.
const { gql } = require('apollo-server');

const typeDefs = gql`
  type Query {
    hello: String
  }
`;
Resolvers: Define how data is fetched or modified.
const resolvers = {
  Query: {
    hello: () => 'Hello, world!',
  },
};
When a client sends a query to fetch hello, the server will respond with "Hello, world!".
Apollo GraphQL’s Advanced Ecosystem
Apollo has transcended the bounds of a mere GraphQL implementation tool. It now offers an expansive ecosystem that covers not only data fetching and state management but also microservice architecture and collaboration tools for developers. Let us take a deep dive into some of the pivotal components of this ecosystem.
What is Apollo GraphQL Studio?
Apollo Studio (previously known as Apollo Engine) is a platform the Apollo team provides that offers a suite of cloud services and tools for developing, deploying, and monitoring GraphQL operations. Apollo Studio is designed to work hand-in-hand with Apollo Client and Apollo Server but can also be used with any GraphQL schema and execution engine.
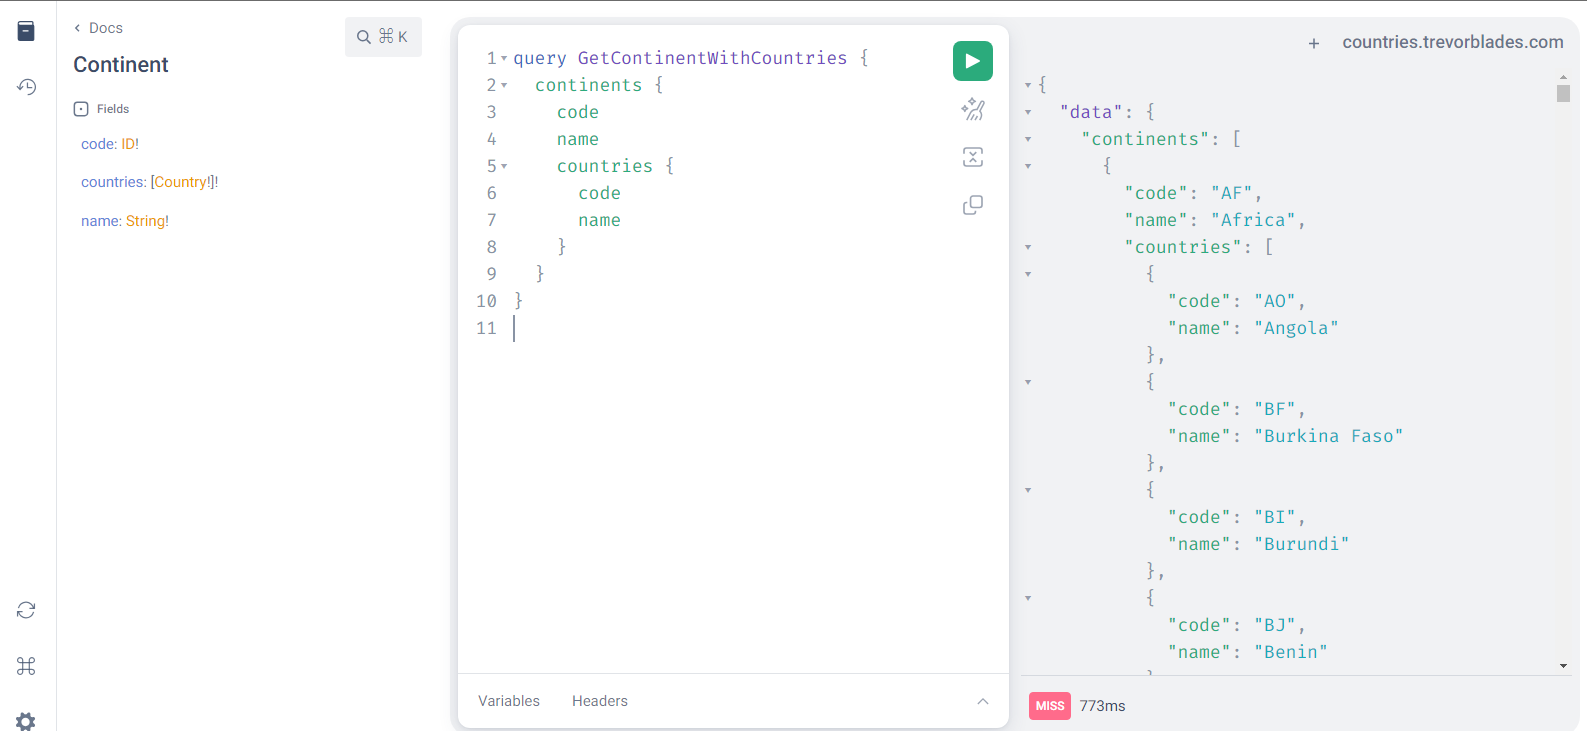
Here is a quick walkthrough and some pointers to consider:
Setting Up & Running Query:
- The operation editor is the main area where you draft GraphQL queries, mutations, or subscriptions.

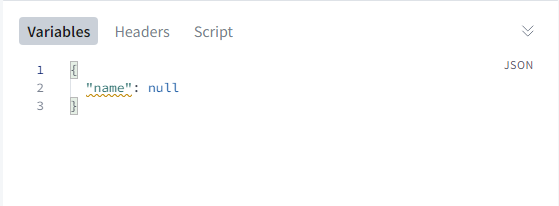
- In the "Variables" section, enter the necessary details, like {"code": "AF"}, adjusting as needed for specific queries.
- If your query requires HTTP headers (e.g., for authentication), populate them in the "Headers" section, then initiate your query using the play button or similar executable command.
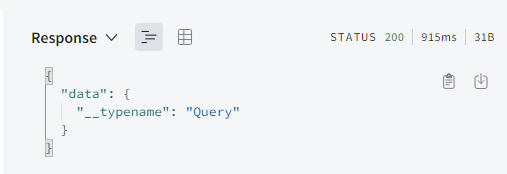
Response Interpretation:
- After execution, the response will populate in the right pane, showing successful data returns and errors.
- Review the responses carefully; errors often provide hints about issues. For instance, type mismatches in variables will produce errors.
- Properly formatted and successful queries will return data according to the schema's structure.
Schema Exploration:
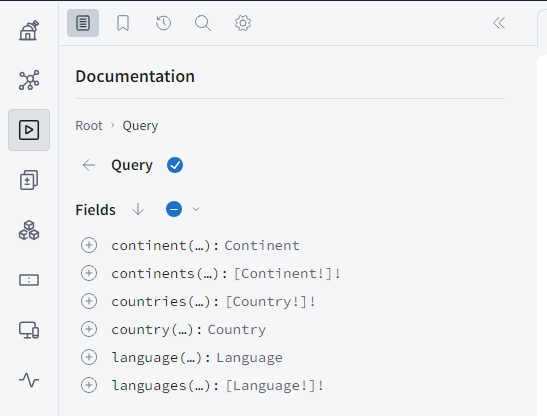
- Familiarize yourself with the GraphQL schema using the "Documentation" tab on the left; it lists available queries, mutations, and types.
- This documentation offers insights into fields, expected arguments, and return types.
- Benefit from the editor’s auto-complete feature, which provides suggestions based on the schema, making query formulation quicker.
Extra Features:
- The "History" feature in Apollo Studio allows you to revisit and re-run past queries, helping in iterative testing.
- While you can draft and save multiple queries/mutations in one tab, remember to run them one at a time, which is especially useful when queries are interrelated or dependent.

Integration with Apidog
Apidog enhances the GraphQL experience by integrating seamlessly with its debugging feature. This integration ensures developers can efficiently pinpoint and resolve issues within their GraphQL implementations.

We encourage developers and teams to explore and experiment with Apidog's suite of features. By trying out Apidog, users can harness an additional layer of tools and insights, further optimizing their GraphQL development and testing endeavors.
Conclusion
In conclusion, this article has taken you through the revolutionary features of GraphQL and the powerful capabilities of Apidog. Whether you're an experienced developer or a newcomer to API testing, the tools and insights offered by GraphQL and Apidog can help you build more robust and reliable applications. Try Apidog today!
