
In today's digital landscape, APIs (Application Programming Interfaces) have become the backbone of modern applications, enabling seamless communication between different software systems. But as you dive deeper into the world of APIs, you’ll quickly encounter two primary methods of authentication: API keys and Bearer tokens. These methods might seem interchangeable at first glance, but they have distinct differences, use cases, and security implications. In this blog post, we'll break down the differences between API keys and Bearer tokens, helping you decide which one suits your needs best.
What is an API Key?
An API key is a simple string of characters used to authenticate a client when making API calls. Think of it like a password that grants you access to an API's features and data. When you sign up for an API service, you’re typically given an API key that you include in your requests.
How API Keys Work
API keys are included in the header or query parameters of your API requests. Here’s a simple example using an HTTP GET request with an API key in the header:
GET /api/v1/resources HTTP/1.1
Host: example.com
API-Key: your_api_key_here
Pros of Using API Keys
- Simplicity: API keys are straightforward to implement. You generate a key, include it in your requests, and you’re good to go.
- Widespread Support: Most APIs support API keys, making them a standard choice for developers.
- Quick Setup: You don’t need a complex setup to start using API keys, making them ideal for rapid development.
Cons of Using API Keys
- Security: API keys are less secure compared to Bearer tokens. If someone gains access to your key, they can use it to access your API.
- No User Context: API keys don’t carry user context, making it harder to implement user-specific permissions or auditing.
- Static: API keys are static and typically have long lifespans, increasing the risk if they are exposed.
What is a Bearer Token?
Bearer tokens are part of the OAuth 2.0 authentication framework. They are dynamic tokens that expire after a certain period and can be refreshed. Unlike API keys, Bearer tokens include metadata about the user and the application, providing more granular control over API access.
How Bearer Tokens Work
Bearer tokens are included in the Authorization header of your API requests. Here’s an example of an HTTP GET request using a Bearer token:
GET /api/v1/resources HTTP/1.1
Host: example.com
Authorization: Bearer your_bearer_token_here
Pros of Using Bearer Tokens
- Enhanced Security: Bearer tokens are more secure because they expire and can be refreshed. They also support HTTPS for secure transmission.
- User Context: Bearer tokens carry user information, enabling more precise access control and auditing.
- Flexibility: You can implement complex authentication flows, like single sign-on (SSO), with Bearer tokens.
Cons of Using Bearer Tokens
- Complexity: Bearer tokens require a more complex setup, including token generation and management.
- Dependency on OAuth: You need to implement OAuth 2.0, which can be overkill for simple applications.
- Short Lifespan: Tokens expire and need to be refreshed, which adds overhead to your application.
API Key vs Bearer Token: A Detailed Comparison
Now that we have a basic understanding of API keys and Bearer tokens, let’s compare them across several dimensions to help you make an informed decision.
Security
API Key: API keys are simple but not very secure. They can be easily exposed if included in URL parameters or shared inadvertently. Anyone with the key can access the API.
Bearer Token: Bearer tokens are more secure. They are typically used over HTTPS, include user-specific information, and have an expiration time, reducing the risk of misuse.
Ease of Use
API Key: API keys are easy to use and integrate. They don't require a complex setup and are ideal for quickly getting started with an API.
Bearer Token: Bearer tokens require a more complex setup, including OAuth 2.0 implementation. However, they offer greater control and security.
Flexibility
API Key: API keys are static and lack flexibility. They don't carry user context, making it hard to implement user-specific permissions.
Bearer Token: Bearer tokens are dynamic and flexible. They carry user information, enabling more precise access control and the ability to implement sophisticated authentication flows.
Use Cases
API Key: Best suited for simple applications where security is not a major concern, or for server-to-server communication where the risk of key exposure is minimal.
Bearer Token: Ideal for applications requiring strong security, user-specific access control, and complex authentication flows. They are perfect for user-centric applications like web and mobile apps.
Implementing API Key Authentication
Let’s walk through a basic implementation of API key authentication. This example uses Python and the Flask framework to create a simple API with API key authentication.
Step 1: Setting Up the Flask Application
First, install Flask:
pip install flask
Next, create a simple Flask application:
from flask import Flask, request, jsonify

app = Flask(__name__)

API_KEY = "your_api_key_here"

@app.route('/api/v1/resources', methods=['GET'])
def get_resources():
    api_key = request.headers.get('API-Key')
    if api_key and api_key == API_KEY:
        return jsonify({"message": "Access granted", "data": ["resource1", "resource2"]})
    else:
        return jsonify({"message": "Access denied"}), 403

if __name__ == '__main__':
    app.run(debug=True)
Step 2: Testing the API
Run the Flask application:
python app.py
Make a request using your API key:
GET /api/v1/resources HTTP/1.1
Host: localhost:5000
API-Key: your_api_key_here
You should receive a response with access granted and the data.
Implementing Bearer Token Authentication
Next, let’s implement Bearer token authentication using Flask and OAuthlib.
Step 1: Setting Up the Flask Application
Install the necessary packages:
pip install flask oauthlib
Create a simple Flask application with OAuth 2.0:
from flask import Flask, request, jsonify
from oauthlib.oauth2 import WebApplicationServer

app = Flask(__name__)

# This is a simplified example, in reality, you would use a more comprehensive OAuth 2.0 setup
oauth_server = WebApplicationServer(client_id="your_client_id")

@app.route('/api/v1/resources', methods=['GET'])
def get_resources():
    authorization_header = request.headers.get('Authorization')
    if authorization_header:
        token = authorization_header.split(" ")[1]
        # Validate the token here (this is a simplified example)
        if token == "valid_token":
            return jsonify({"message": "Access granted", "data": ["resource1", "resource2"]})
    return jsonify({"message": "Access denied"}), 403

if __name__ == '__main__':
    app.run(debug=True)
Step 2: Testing the API
Run the Flask application:
python app.py
Make a request using a Bearer token:
GET /api/v1/resources HTTP/1.1
Host: localhost:5000
Authorization: Bearer valid_token
You should receive a response with access granted and the data.
Choosing the Right Authentication Method
When to Use API Keys
- Simple Applications: When you need a quick and easy way to secure an API, and the risk of key exposure is low.
- Internal Services: For server-to-server communication within a secure environment.
- Public APIs: When you want to provide easy access to public APIs with minimal setup for users.
When to Use Bearer Tokens
- High Security: When you need strong security and can’t afford the risk of key exposure.
- User-Specific Access: When you need to implement user-specific permissions and auditing.
- Complex Authentication Flows: When you need to support single sign-on, delegated access, or other advanced authentication mechanisms.
How to implement API Keys with Apidog
API keys are an important aspect of API security, providing authentication and authorization for applications that access APIs. Apidog is a powerful API design platform that allows developers to easily design, document, and test APIs.
In this step-by-step guide, we'll walk you through implementing API keys with Apidog.
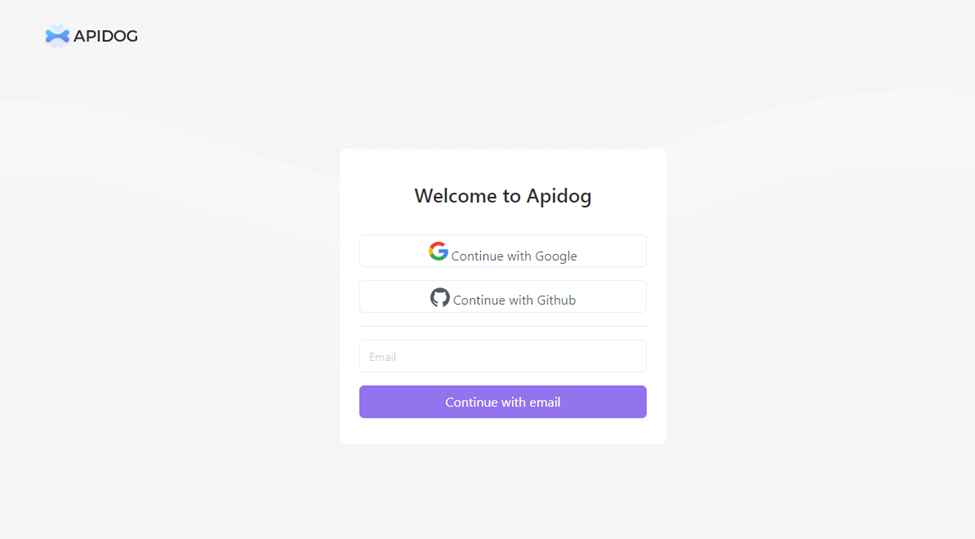
Step 1: Create an Apidog Account
The first step is to create an account with Apidog. You can sign up for a free account. Once you've created an account, you can log in to the Apidog dashboard.
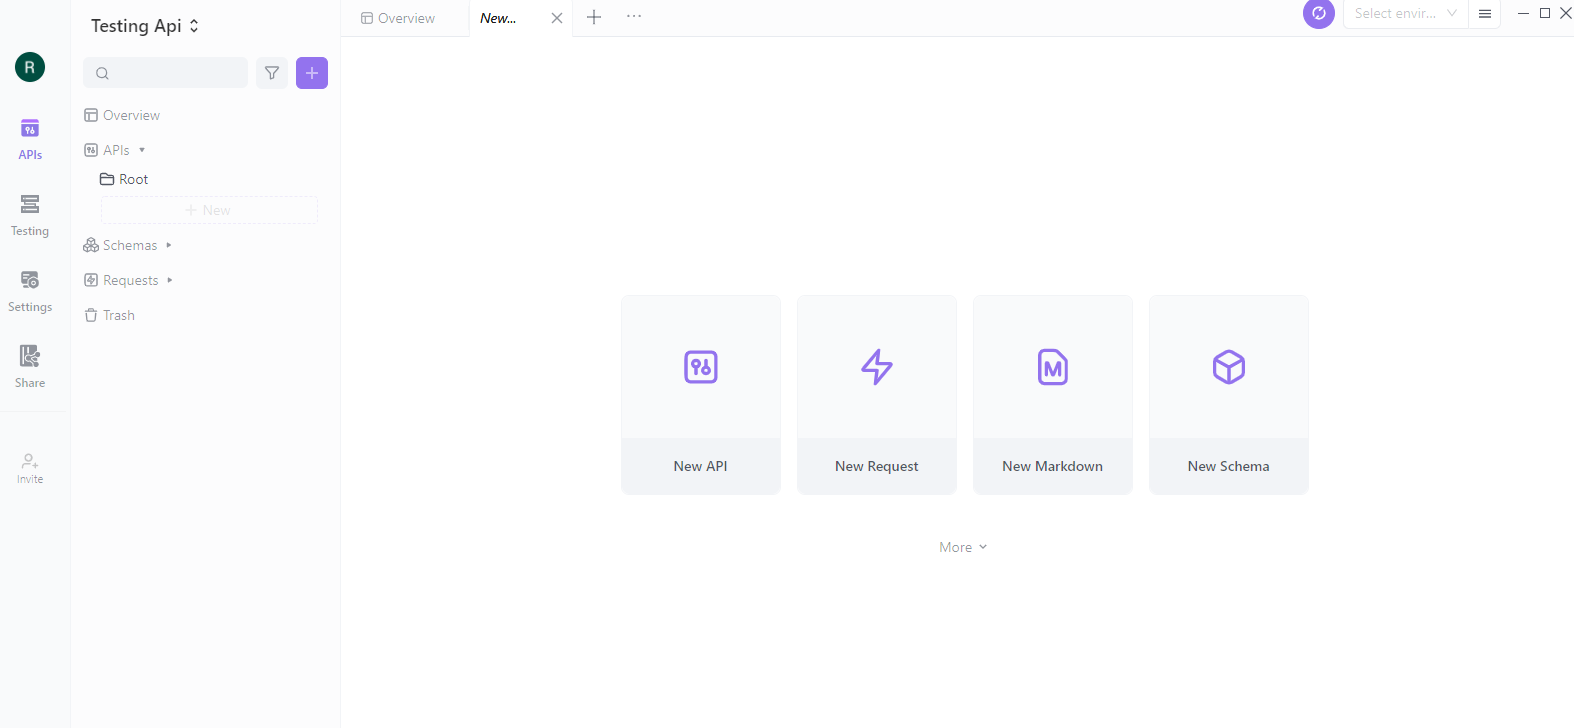
Step 2: Create an API Definition
Click the "Create API" button on the Apidog dashboard to create an API definition. It will open the Apidog editor, allowing you to define your API's structure.
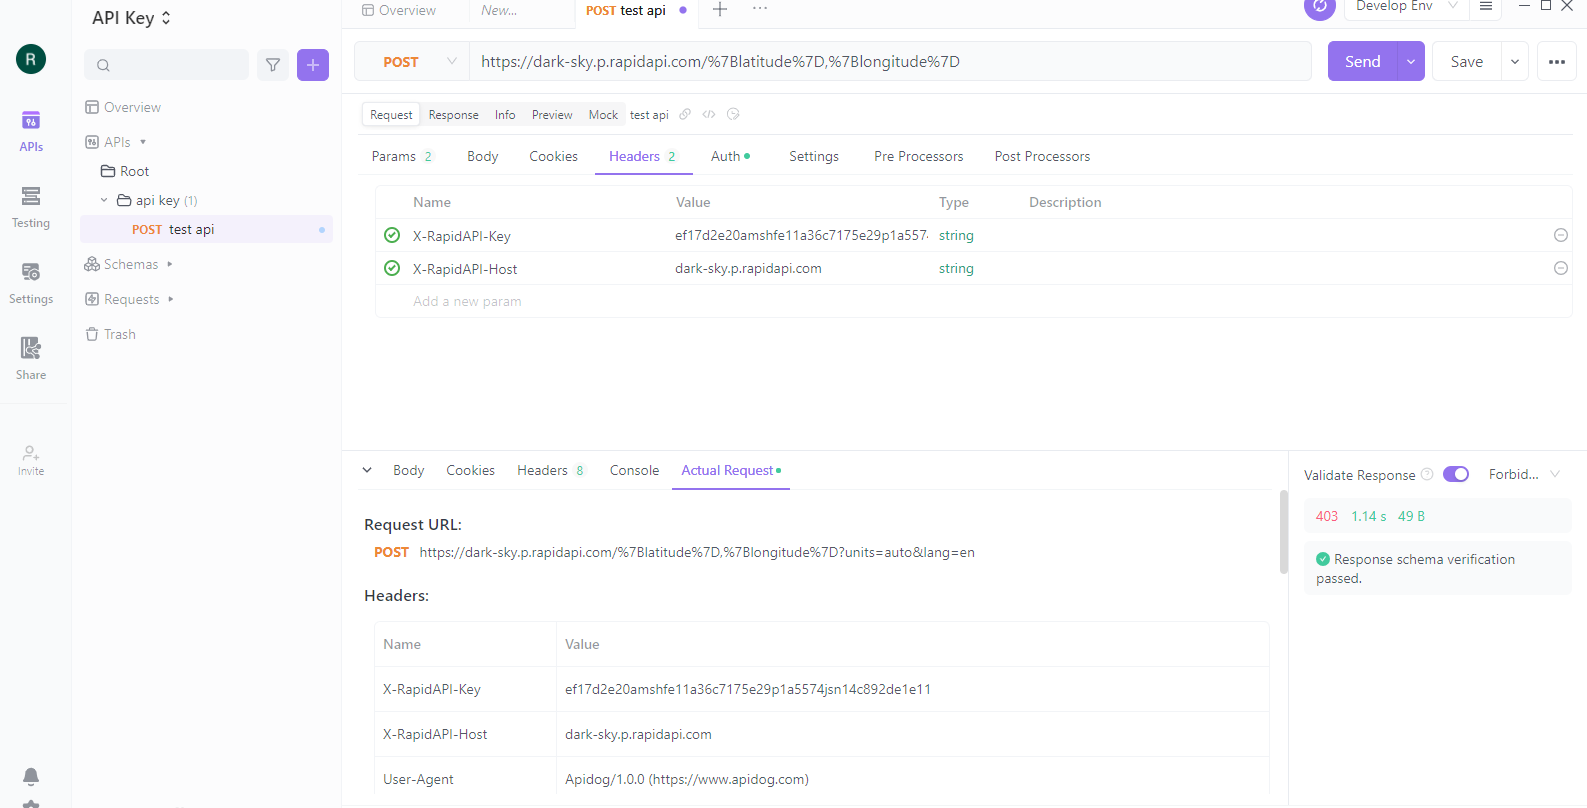
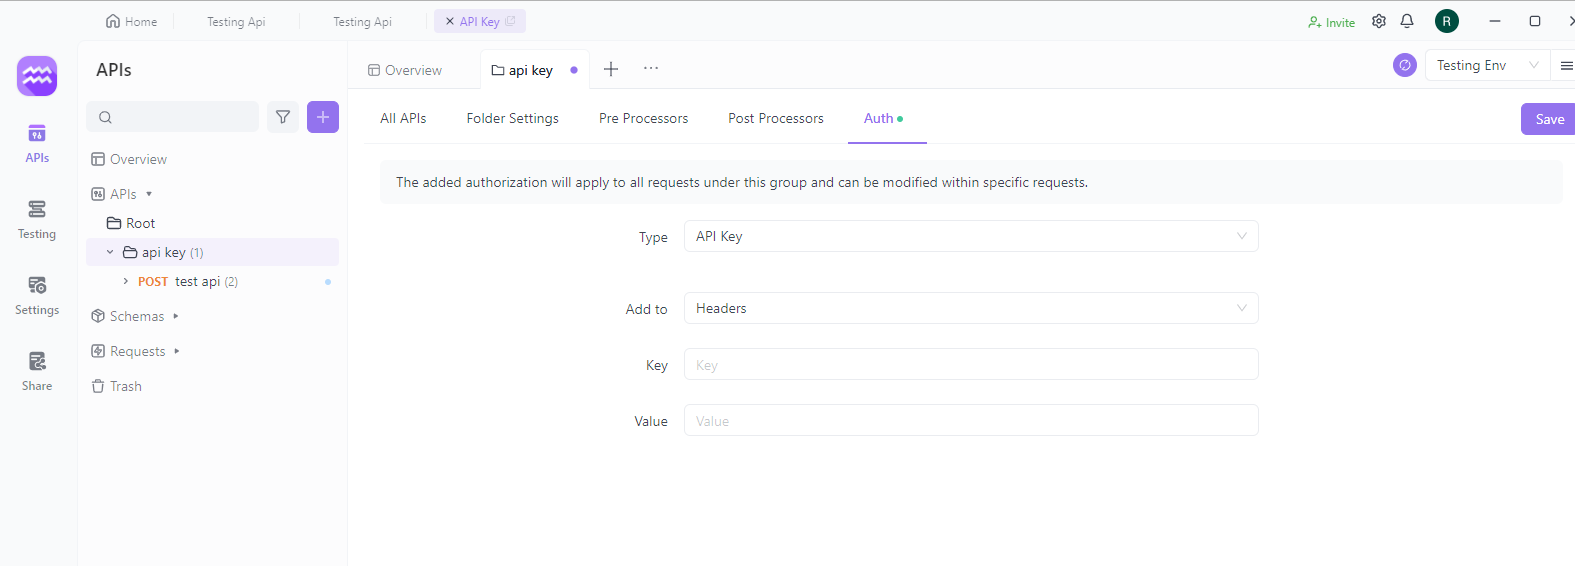
Step 3: Add API Key Authentication
To add API key authentication, click the "Auth" tab in the Apidog editor. Then, select "API Key" from the list of authentication methods. It will enable API key authentication for your API.

Step 4: Generate API Keys
To generate API keys, click the "API Keys" tab in the Apidog editor. Then, click on the "Add API Key" button. It will open a form where you can enter a name for the API key and set its permissions.
Step 5: Test Your API
Click the "Test" tab in the Apidog editor to test your API. It will open the Apidog testing framework, where you can enter test requests and see the responses from your API.
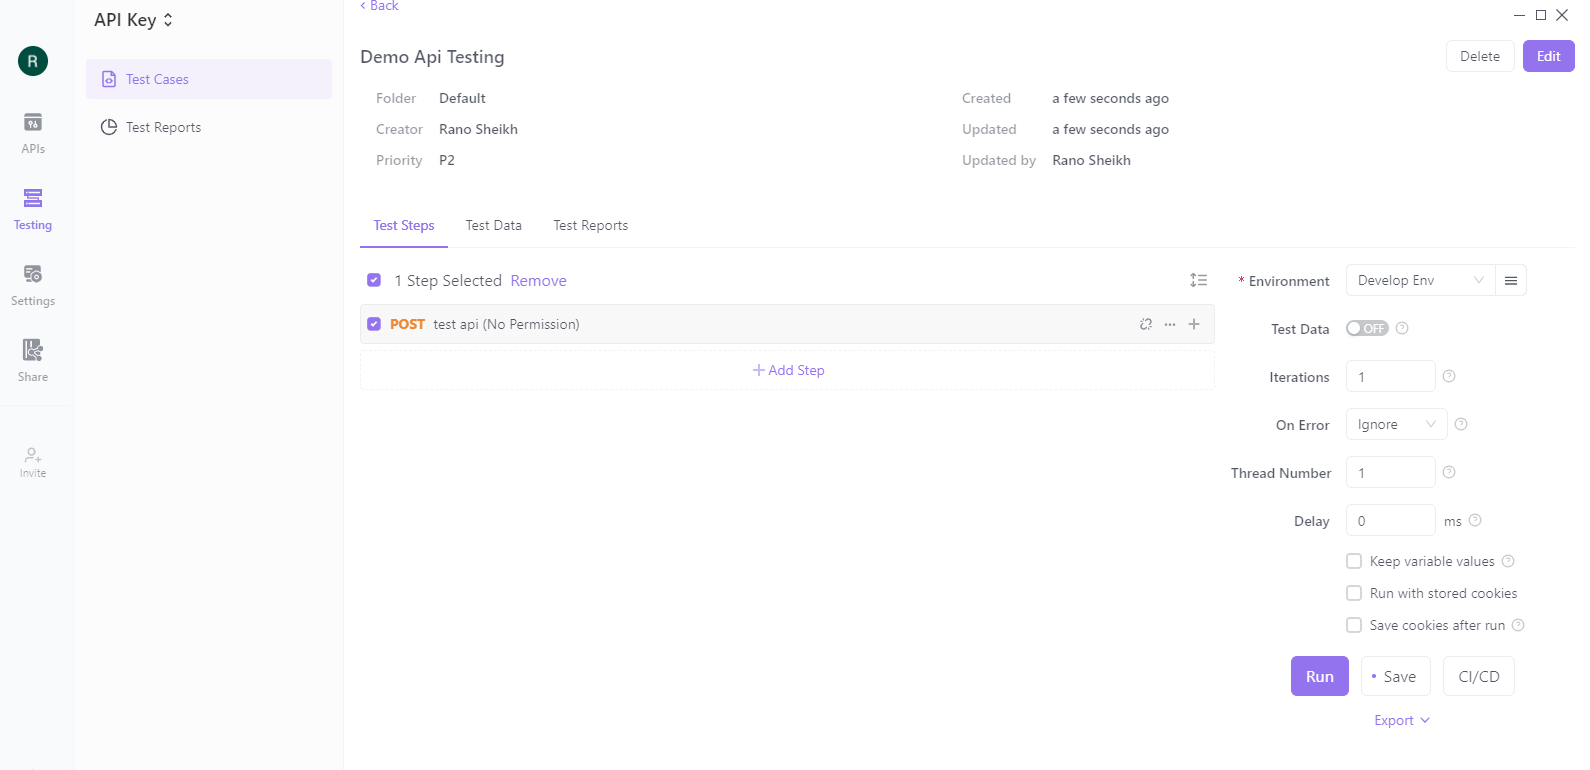
Step 6: Monitor and Manage API Keys
To monitors and manage your API keys, click the "API Keys" tab in the editor. It will show you a list of all your API keys, their permissions, and usage statistics. From here, you can disable or revoke API keys that are no longer needed or have been compromised.
By following these steps, you can ensure that your API is secure and that only authorized applications can access it. With the right tools and practices, working with APIs can be a powerful and efficient way to build modern applications.
How to Authenticate Bearer Token in Apidog
When unit testing an API in Apidog, the Bearer Token authentication method is very simple.
Open an existing API in Apidog, switch to "Debug" mode, select "Request" > "Auth", specify the type as "Bearer Token", and enter the Token in the input box at the bottom to submit.
It's important to note that bearer tokens should be kept secure and not shared unnecessarily. They should also be periodically rotated or revoked as required for security purposes.
Conclusion
In summary, both API keys and Bearer tokens have their place in the world of API authentication. API keys offer simplicity and ease of use, making them ideal for straightforward applications and server-to-server communication. On the other hand, Bearer tokens provide enhanced security, user context, and flexibility, making them perfect for user-centric applications and high-security environments.
Understanding the strengths and limitations of each method is crucial in selecting the right one for your specific use case. By evaluating your application’s security needs, user requirements, and complexity, you can make an informed decision that ensures both security and usability.
Don't forget to download Apidog for free. Apidog is a powerful tool that helps you manage, test, and authenticate your APIs effortlessly, whether you choose API keys or Bearer tokens.


