You've built a powerful API. You've written the descriptions. You send the link to a developer, expecting instant integration. Instead, you get the inevitable question: "How do I actually run this?"
Static documentation—wikis, PDFs, or read-only HTML pages—creates friction. Developers don't just want to read about your endpoints; they want to interact with them. They want to validate schemas, test edge cases with real data, and see live responses without writing a single line of boilerplate code.
To reduce Time to First Successful Call (TTFSC), you need interactive documentation with a built-in "Try-It" console. This transforms your docs from a passive manual into an active testing sandbox.
Here is how you can build, host, and customize interactive API documentation using Apidog to streamline the developer experience.
Why Static Documentation Fails Developers
In the modern API economy, documentation is a product. If the onboarding experience is difficult, adoption rates drop.
Static documentation forces developers into a fragmented workflow:
- Read the endpoint definition in the browser.
- Switch to a tool like Postman or a terminal.
- Copy-paste URLs, headers, and payloads (often introducing typos).
- Guess the correct format for authentication.
- Execute and debug blindly.
Interactive documentation eliminates this context switching. By embedding a "Try-It" console directly next to the definitions, developers can authenticate, configure parameters, and inspect real responses instantly.
The Solution: Apidog’s Automated Interactive Docs
Hosting interactive docs usually requires a complex toolchain (e.g., Swagger UI + hosting + CI/CD pipelines). Apidog simplifies this by unifying API design, testing, and documentation into a single platform.
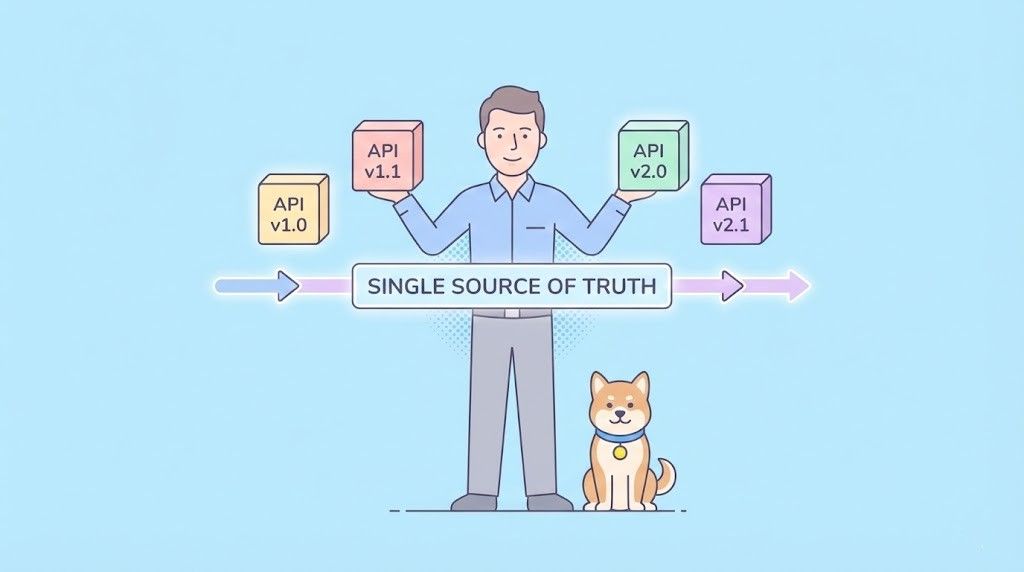
Because Apidog acts as the Single Source of Truth, your interactive console is never out of sync. When you update an endpoint in the design view, your hosted documentation reflects that change immediately.
Here is the step-by-step workflow to go from a raw API definition to a professional, hosted developer portal.
Step 1: Design the API (The Foundation)
The quality of your interactive docs depends entirely on your API definition. You need to model the API structure within Apidog first.
- Create a Project: Initialize a new workspace in Apidog.
- Define Endpoints: Input your URL paths and HTTP methods (GET, POST, etc.).
3. Detail the Schema:
- Request Body: Define the JSON schema and data types.
- Responses: explicit definition of HTTP status codes (200, 400, 401) and their corresponding schemas.
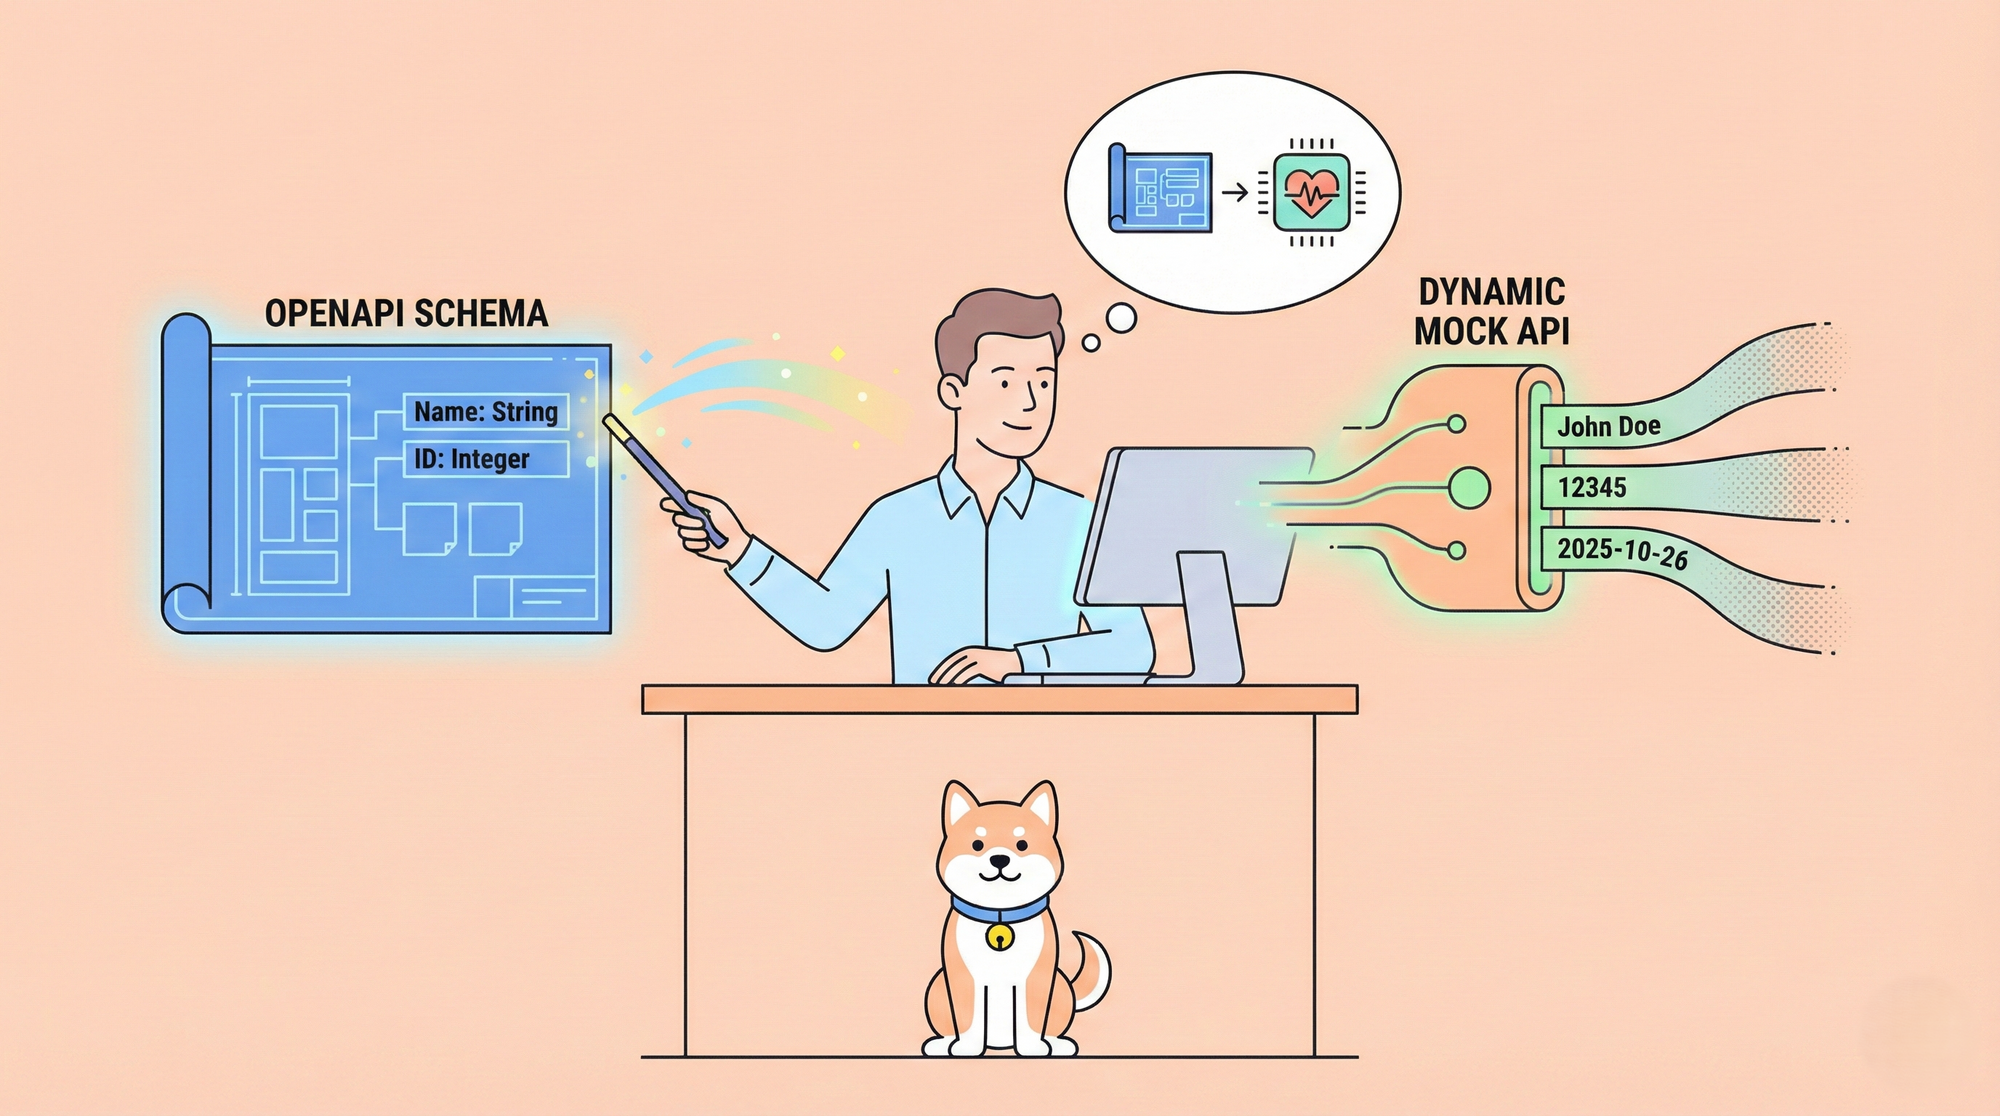
4. Add Examples: Crucial Step. The "Try-It" console uses these examples to pre-fill fields for users. Provide realistic data (e.g., user_id: "12345" instead of "string").
Step 2: Configure the "Try-It" Console Experience
Before publishing, you need to control how the console behaves for external users. You want to balance ease of use with security.
Navigate to the Publish or Documentation settings in Apidog to configure:
- Environment Selection: Decide which environments are exposed. You might want to allow users to hit a "Mock" or "Staging" environment but hide "Production" to prevent accidental data writes.
- Sample Code Generation: Enable client code generation so users can copy-paste valid
curl, Python, or JavaScript snippets directly from the console. - Authentication Flow: If your API uses OAuth 2.0 or Bearer Tokens, configure the auth inputs so users can easily paste their credentials once and apply them to all requests during their session.
Step 3: Publish and Host API Documentation
Once configured, deploying your documentation is instantaneous.
- Click Publish in the Apidog toolbar.
- Apidog generates a responsive, fully hosted documentation site (e.g.,
[project-name].apidog.io). - Automatic Sync: Unlike static site generators that require a rebuild, future changes to your API design can be synced to your live docs with a single click.
Step 4: Professionalize API Docs with a Custom Domain
For a production-grade API, credibility is key. Hosting docs on a generic subdomain is fine for internal tools, but public APIs should live on your own domain (e.g., docs.yourcompany.com).
Apidog simplifies this process:
- DNS Configuration: Add a CNAME record in your domain registrar (e.g., AWS Route53, Cloudflare) pointing to Apidog’s upstream address.
- Project Settings: Enter your custom domain in the Apidog Publish settings.
- SSL/HTTPS: Apidog automatically provisions SSL certificates, ensuring your documentation—and the API calls made through it—are secure.
The Developer Experience: A Walkthrough
When you host interactive docs with Apidog, here is the exact workflow your users (the developers) will experience:
- Discovery: They navigate to
docs.yourproduct.comand select thePOST /create-orderendpoint. - Context: They see the description, required headers, and a "Try it out" button.
- Interaction: The console is pre-filled with the example JSON you defined in Step 1.
- Execution: They select the "Sandbox" environment, input their API key, and hit Send.
- Validation: The real live response appears immediately in the docs, complete with headers, status codes, and latency timing.
Enhanced Debugging Tools
Apidog's hosted docs go beyond simple request sending. They include debugging features that help developers troubleshoot integration issues independently:
- Network Inspector: View full request/response lifecycles.
- Error Visualization: Clear formatting for 4xx/5xx errors helps users correct malformed requests quickly.
- Request History: Users can track their session history to compare previous call results.
Best Practices for "Try-It" Consoles
- Prioritize Security: Never expose production secrets in your documentation examples. Use environment variables for sensitive keys.
- Provide "Runnable" Data: Ensure your default values pass validation logic. If a field requires an email, the default example should be
test@example.com, notstring. - Document Error States: Don't just show the "Happy Path." Use the console to demonstrate what a 400 Bad Request looks like so developers know how to handle errors in their code.
Conclusion
Documentation is the primary user interface for your API. By moving from static text to an interactive, hosted console, you remove barriers to entry and accelerate integration time.
Apidog provides the most efficient path to this standard. It allows you to design, debug, and publish professional-grade interactive documentation without managing separate servers or build pipelines.