Remotion이 Agent Skills를 출시했으며, 이는 AI를 사용한 영상 제작의 모든 것을 바꿉니다.
npx skills add remotion-dev/skills
이게 다입니다. 단 하나의 명령어로 Claude Code는 Remotion의 React 기반 영상 프레임워크를 속속들이 이해하는 영상 제작 전문가가 됩니다.
Remotion Agent Skills란 무엇인가요?
Agent Skills는 Claude Code와 같은 AI 에이전트에게 특정 도구와 프레임워크를 올바르게 사용하는 방법을 가르치는 "사용 설명서"입니다. 공식 Remotion 스킬은 Claude에게 다음 사항에 대한 깊은 지식을 제공합니다.
- Remotion의 컴포넌트 아키텍처 (
<Composition>,<Sequence>,<AbsoluteFill>) - 애니메이션 API (
interpolate,spring,useCurrentFrame) - 타이밍, 성능 및 렌더링을 위한 모범 사례
- 인트로, 전환 및 효과를 위한 일반적인 패턴
스킬이 없으면 Claude는 버그가 있거나 잘못된 Remotion 코드를 생성할 수 있습니다. 스킬이 있으면 첫 시도에 프로덕션 품질의 비디오 구성 요소를 작성합니다.
만들게 될 것
이 튜토리얼에서는 다음을 수행합니다.
- 한 번의 명령으로 Remotion Agent Skills 설치
- 자연어를 사용하여 완전한 인트로 영상 생성
- 대화를 통해 애니메이션 개선
- 영상을 MP4로 렌더링
- Remotion Lambda로 확장 (선택 사항)
요약 (TL;DR)
# 1. Remotion 프로젝트 생성
npx create-video@latest my-video && cd my-video

# 2. Agent Skills 설치 (핵심 단계!)
npx skills add remotion-dev/skills

# 3. Claude Code 시작 및 영상 설명
claude

# 4. 렌더링
npx remotion render <composition-name> out/video.mp4
이것이 전체 워크플로우입니다. Agent Skills는 Claude에게 적절한 Remotion 코드를 작성하는 방법을 가르쳐주므로, React 구성 요소를 디버깅하는 대신 원하는 것을 설명하는 데 집중할 수 있습니다.
전제 조건
시작하기 전에 다음을 확인하세요.
| 요구 사항 | 버전 | 확인 명령어 |
|---|---|---|
| Node.js | 18+ | node --version |
| npm 또는 yarn | 최신 | npm --version |
| Claude Code | 최신 | claude --version |
| 코드 편집기 | VS Code 권장 | - |
다음도 갖추어야 합니다.
- 명령줄에 대한 기본적인 이해
- React에 대한 기본적인 이해 (도움이 되지만 필수는 아님)
1단계: Remotion 설치 및 프로젝트 생성
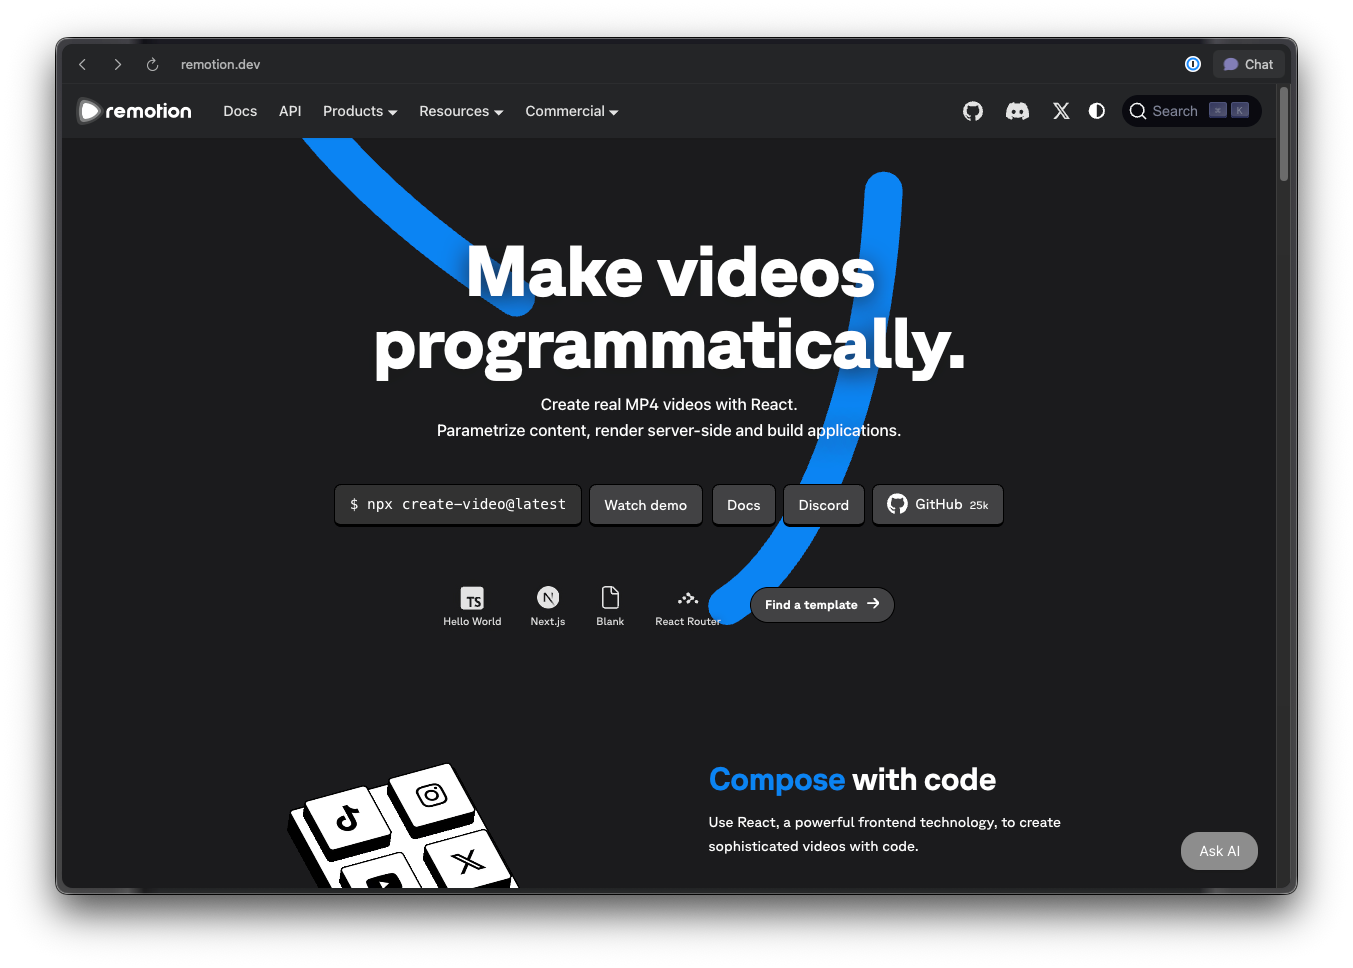
먼저 공식 CLI를 사용하여 새 Remotion 프로젝트를 생성합니다.
1.1 터미널을 열고 다음을 실행합니다.
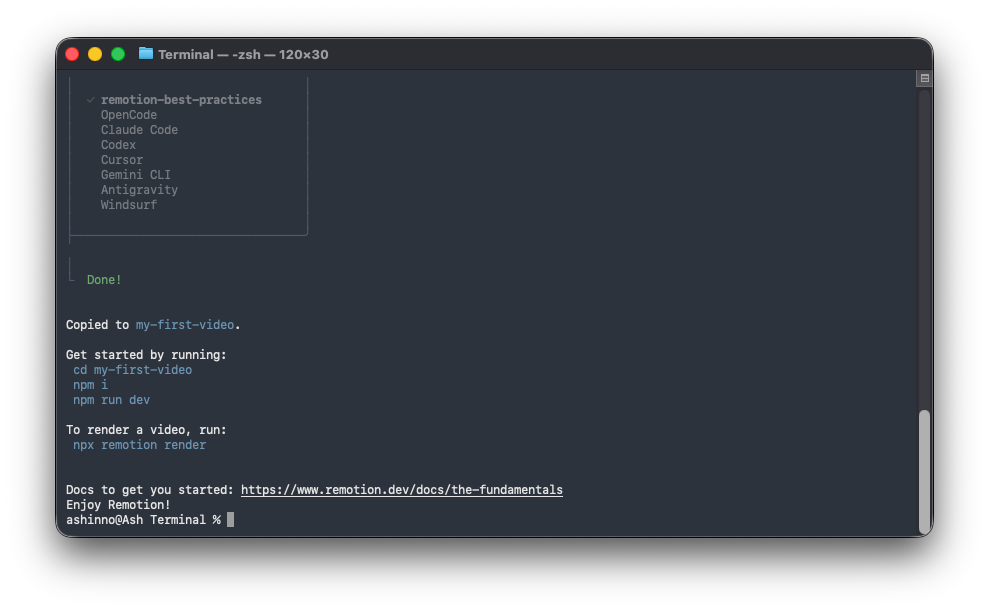
npx create-video@latest my-first-video
1.2 프롬프트가 표시되면 다음 옵션을 선택합니다.
? 프로젝트 이름을 무엇으로 지정하시겠습니까? my-first-video
? 템플릿 선택: blank
? TypeScript를 사용하시겠습니까? Yes
? 의존성을 설치하시겠습니까? Yes
1.3 프로젝트로 이동합니다.
cd my-first-video
1.4 설치 확인:
npm run dev
이는 http://localhost:3000에서 브라우저에 **Remotion Studio**를 엽니다. 하단에 타임라인이 있는 빈 캔버스가 표시되어야 합니다.
예상 결과: Remotion Studio 인터페이스가 있는 브라우저 창.
2단계: Remotion Agent Skills 설치
여기서 마법이 일어납니다. 단 하나의 명령어로 Claude Code는 Remotion에 대한 전문가 수준의 지식을 얻습니다.
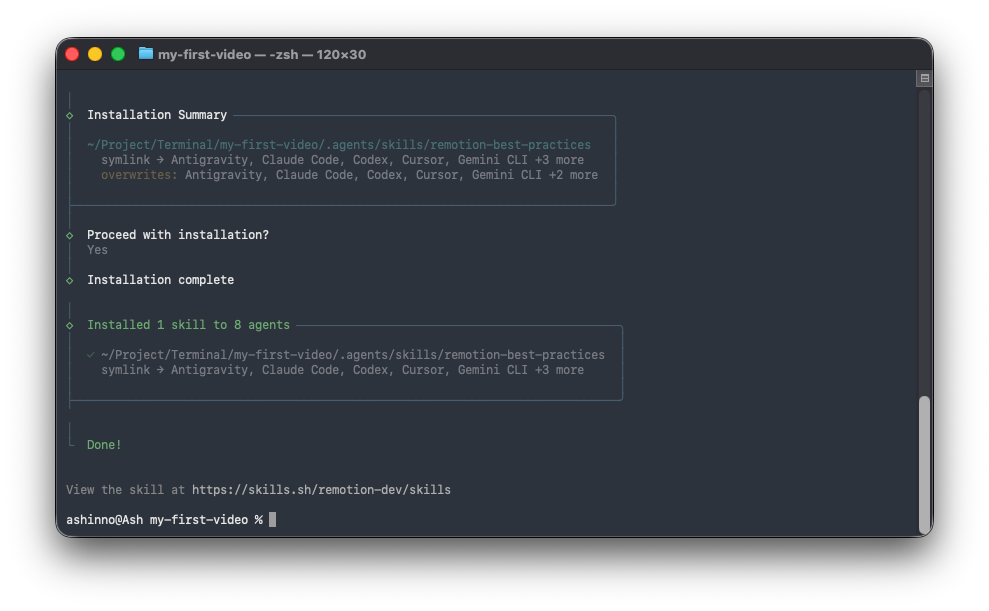
2.1 프로젝트 디렉터리에서 다음을 실행합니다.
npx skills add remotion-dev/skills
Added skill: remotion이 표시되면 설치가 성공한 것입니다.
2.2 무슨 일이 일어났나요?
이 명령은 프로젝트의 .claude/skills/remotion/에 스킬을 추가했습니다. 이 폴더에는 Claude에게 적절한 Remotion 코드를 작성하는 방법을 가르치는 사용 설명서인 SKILL.md가 포함되어 있습니다.
2.3 설치 확인:
스킬 파일이 존재하는지 확인합니다.
ls .claude/skills/remotion/
예상 출력:
SKILL.md
2.4 이제 프로젝트 구조는 다음과 같습니다.
my-first-video/
├── .claude/
│   └── skills/
│       └── remotion/
│           └── SKILL.md      # Claude에게 Remotion을 가르치는 "뇌"
├── src/
│   ├── Root.tsx
│   ├── Composition.tsx
│   └── index.ts
├── public/
├── remotion.config.ts
├── package.json
└── tsconfig.json
전문가 팁: 스킬이 인식되지 않으면 npx skills add remotion-dev/skills를 다시 실행하거나 Claude Code를 다시 시작하세요.
3단계: Claude Code로 첫 번째 영상 만들기
이제 Claude Code를 사용하여 완전한 영상을 생성해 봅시다. 프로젝트 디렉터리에서 터미널을 엽니다.
3.1 Claude Code 시작:
claude
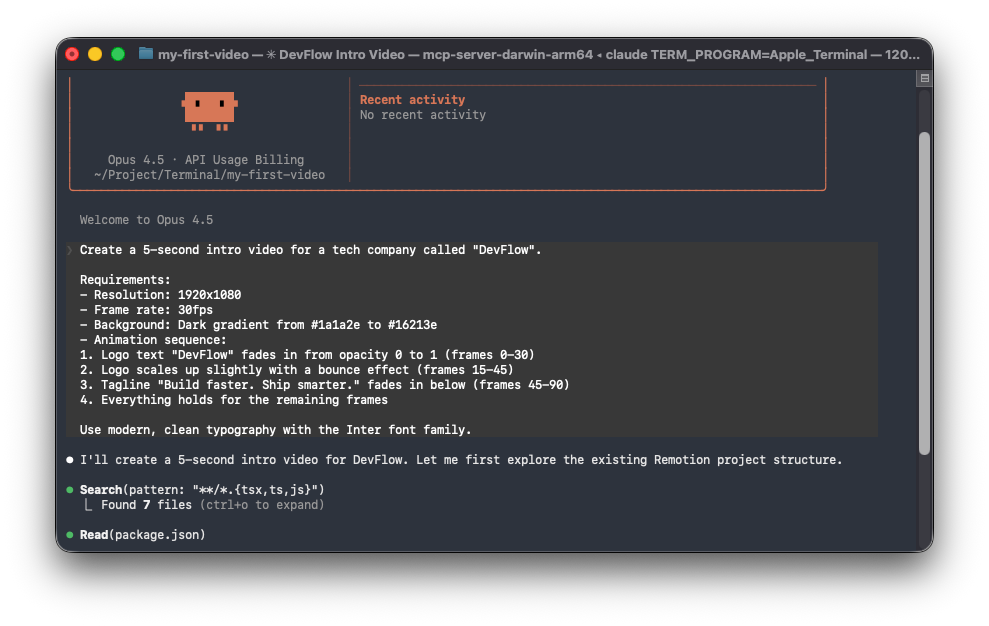
3.2 영상을 설명합니다.
Claude Code에 다음 프롬프트를 입력합니다.
"DevFlow"라는 기술 회사를 위한 5초짜리 인트로 영상을 만드세요.

요구 사항:
- 해상도: 1920x1080
- 프레임 레이트: 30fps
- 배경: #1a1a2e에서 #16213e로 이어지는 어두운 그라데이션
- 애니메이션 순서:
  1. 로고 텍스트 "DevFlow"가 투명도 0에서 1로 페이드인됩니다 (0-30프레임).
  2. 로고가 바운스 효과와 함께 약간 확대됩니다 (15-45프레임).
  3. 태그라인 "Build faster. Ship smarter."가 아래에서 페이드인됩니다 (45-90프레임).
  4. 모든 요소가 남은 프레임 동안 유지됩니다.

Inter 글꼴을 사용하여 현대적이고 깔끔한 타이포그래피를 사용하세요.
3.3 Claude Code가 파일을 생성합니다.
Claude Code는 다음 파일을 생성하거나 수정합니다.
src/Root.tsx - 컴포지션 정의:
import React from 'react';
import { Composition } from 'remotion';
import { DevFlowIntro } from './DevFlowIntro';

export const RemotionRoot: React.FC = () => {
  return (
    <>
      <Composition
        id="devflow-intro"
        component={DevFlowIntro}
        durationInFrames={150}
        fps={30}
        width={1920}
        height={1080}
      />
    </>
  );
};
src/DevFlowIntro.tsx - 메인 영상 컴포넌트:
import React from 'react';
import {
  AbsoluteFill,
  useCurrentFrame,
  interpolate,
  spring,
  useVideoConfig,
} from 'remotion';

export const DevFlowIntro: React.FC = () => {
  const frame = useCurrentFrame();
  const { fps } = useVideoConfig();

  // Logo fade in (frames 0-30)
  const logoOpacity = interpolate(frame, [0, 30], [0, 1], {
    extrapolateRight: 'clamp',
  });

  // Logo bounce scale (frames 15-45)
  const logoScale = spring({
    frame: frame - 15,
    fps,
    from: 1,
    to: 1.1,
    config: {
      damping: 10,
      stiffness: 100,
    },
  });

  // Tagline fade in (frames 45-90)
  const taglineOpacity = interpolate(frame, [45, 90], [0, 1], {
    extrapolateLeft: 'clamp',
    extrapolateRight: 'clamp',
  });

  return (
    <AbsoluteFill
      style={{
        background: 'linear-gradient(135deg, #1a1a2e 0%, #16213e 100%)',
        justifyContent: 'center',
        alignItems: 'center',
        fontFamily: 'Inter, sans-serif',
      }}
    >
      <div style={{ textAlign: 'center' }}>
        <h1
          style={{
            fontSize: 120,
            fontWeight: 700,
            color: 'white',
            margin: 0,
            opacity: logoOpacity,
            transform: `scale(${frame >= 15 ? logoScale : 1})`,
          }}
        >
          DevFlow
        </h1>

        <p
          style={{
            fontSize: 36,
            color: 'rgba(255, 255, 255, 0.8)',
            marginTop: 24,
            opacity: taglineOpacity,
            fontWeight: 400,
          }}
        >
          Build faster. Ship smarter.
        </p>
      </div>
    </AbsoluteFill>
  );
};
3.4 영상 미리 보기:
Remotion Studio가 실행되고 있지 않으면 시작합니다.
npm run dev
컴포지션 드롭다운에서 "devflow-intro"를 선택합니다. 타임라인을 사용하여 영상을 스크럽하고 애니메이션을 미리 봅니다.
예상 결과: 페이드인 로고 및 태그라인 애니메이션이 재생되는 인트로 영상.
4단계: 추가 프롬프트를 사용하여 영상 개선
Claude Code의 강점은 반복적인 개선에 있습니다. 우리 영상을 개선해 봅시다.
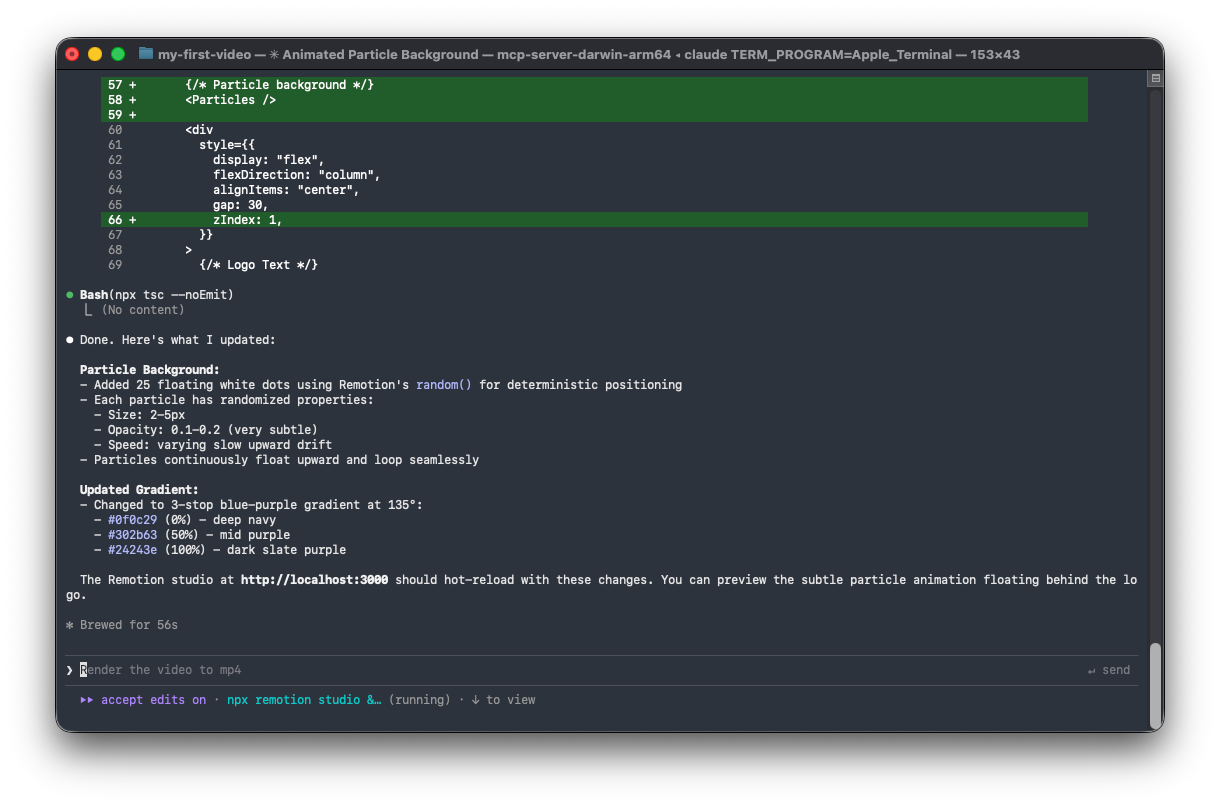
4.1 파티클 배경 효과 추가 및 색상 구성 변경
작고 흰색 점들이 천천히 위로 떠오르는 은은한 애니메이션 파티클 배경을 추가하세요. 최소한으로 유지하여 20-30개 정도의 파티클, 매우 낮은 투명도 (0.1-0.2), 느린 움직임을 사용하세요.
그라데이션을 파란색-보라색 테마로 변경하세요:
- 시작 색상: #0f0c29
- 중간 색상: #302b63
- 끝 색상: #24243e
3단계 그라데이션으로 만드세요.
4.3 음향 효과 큐 추가 (선택 사항):
로고가 바운스될 때 "휘이익"하는 음향 효과가 재생되어야 하는 위치에 마커 주석을 추가하세요. 오디오는 나중에 추가하겠습니다.
피드백을 제공할 때마다 Claude Code는 관련 코드를 수정하며, Remotion Studio에서 변경 사항을 즉시 미리 볼 수 있습니다.
5단계: Props를 사용하여 동적 콘텐츠 추가
동적 props를 받아들여 영상을 재사용 가능하게 만드세요. 이를 통해 다양한 콘텐츠로 여러 영상을 생성할 수 있습니다.
5.1 Claude Code에게 props를 추가하도록 요청합니다.
영상을 리팩터링하여 다음 props를 받도록 하세요:
- companyName (문자열) - "DevFlow"를 대체합니다
- tagline (문자열) - 태그라인 텍스트를 대체합니다
- primaryColor (문자열) - 메인 그라데이션 색상
- secondaryColor (문자열) - 보조 그라데이션 색상

또한 타입 안전성을 위해 Zod 스키마 유효성 검사를 추가하세요.
5.2 Claude Code가 스키마를 생성합니다.
src/DevFlowIntro.tsx (업데이트됨):
import { z } from 'zod';

export const introSchema = z.object({
  companyName: z.string().default('DevFlow'),
  tagline: z.string().default('Build faster. Ship smarter.'),
  primaryColor: z.string().default('#0f0c29'),
  secondaryColor: z.string().default('#24243e'),
});

type IntroProps = z.infer<typeof introSchema>;

export const DevFlowIntro: React.FC<IntroProps> = ({
  companyName,
  tagline,
  primaryColor,
  secondaryColor,
}) => {
  // ... component uses these props
};
src/Root.tsx (업데이트됨):
import { Composition } from 'remotion';
import { DevFlowIntro, introSchema } from './DevFlowIntro';

export const RemotionRoot: React.FC = () => {
  return (
    <>
      <Composition
        id="company-intro"
        component={DevFlowIntro}
        durationInFrames={150}
        fps={30}
        width={1920}
        height={1080}
        schema={introSchema}
        defaultProps={{
          companyName: 'DevFlow',
          tagline: 'Build faster. Ship smarter.',
          primaryColor: '#0f0c29',
          secondaryColor: '#24243e',
        }}
      />
    </>
  );
};
5.3 Remotion Studio에서 다른 props로 테스트:
Remotion Studio에서 **Props** 패널을 클릭하고 값을 수정합니다.
{
  "companyName": "Apidog",
  "tagline": "Design. Debug. Test. Document.",
  "primaryColor": "#1e3a5f",
  "secondaryColor": "#0d1b2a"
}
미리 보기가 실시간으로 업데이트됩니다.
6단계: 다중 장면 영상 만들기
여러 장면이 있는 더 복잡한 영상을 만들어 봅시다.
6.1 Claude Code에 프롬프트 입력:
다음 장면으로 구성된 30초짜리 제품 데모 영상을 만드세요:

장면 1 (0-5초): 로고 인트로 애니메이션
장면 2 (5-12초): 세 가지 아이콘이 하나씩 나타나는 기능 시연
  - 아이콘 1: 로켓 (속도)
  - 아이콘 2: 방패 (보안)
  - 아이콘 3: 차트 (분석)
  각 아이콘은 페이드 효과와 함께 왼쪽에서 슬라이드인되어야 합니다.

장면 3 (12-22초): 제품 대시보드 목업
  - 간단한 UI 목업 표시
  - 다른 섹션을 순차적으로 강조 표시

장면 4 (22-30초): Call to Action (행동 유도)
  - "무료 체험 시작"
  - 웹사이트 URL 페이드인

<Sequence> 컴포넌트를 사용하여 장면을 구성하세요.
총 길이: 30fps 기준 900프레임.
6.2 Claude Code가 장면 구조를 생성합니다.
import { Sequence, AbsoluteFill } from 'remotion';
import { LogoIntro } from './scenes/LogoIntro';
import { FeatureShowcase } from './scenes/FeatureShowcase';
import { DashboardMockup } from './scenes/DashboardMockup';
import { CallToAction } from './scenes/CallToAction';

export const ProductDemo: React.FC = () => {
  return (
    <AbsoluteFill style={{ backgroundColor: '#0a0a0a' }}>
      {/* Scene 1: Logo Intro (frames 0-150) */}
      <Sequence from={0} durationInFrames={150}>
        <LogoIntro />
      </Sequence>

      {/* Scene 2: Feature Showcase (frames 150-360) */}
      <Sequence from={150} durationInFrames={210}>
        <FeatureShowcase />
      </Sequence>

      {/* Scene 3: Dashboard Mockup (frames 360-660) */}
      <Sequence from={360} durationInFrames={300}>
        <DashboardMockup />
      </Sequence>

      {/* Scene 4: Call to Action (frames 660-900) */}
      <Sequence from={660} durationInFrames={240}>
        <CallToAction />
      </Sequence>
    </AbsoluteFill>
  );
};
6.3 Claude Code가 개별 장면 컴포넌트를 생성합니다.
src/scenes/FeatureShowcase.tsx:
import { useCurrentFrame, interpolate, AbsoluteFill } from 'remotion';

const features = [
  { icon: '🚀', label: 'Speed', delay: 0 },
  { icon: '🛡️', label: 'Security', delay: 30 },
  { icon: '📊', label: 'Analytics', delay: 60 },
];

export const FeatureShowcase: React.FC = () => {
  const frame = useCurrentFrame();

  return (
    <AbsoluteFill
      style={{
        justifyContent: 'center',
        alignItems: 'center',
        gap: 80,
        flexDirection: 'row',
      }}
    >
      {features.map((feature, index) => {
        const slideIn = interpolate(
          frame - feature.delay,
          [0, 30],
          [-100, 0],
          { extrapolateRight: 'clamp', extrapolateLeft: 'clamp' }
        );
        const opacity = interpolate(
          frame - feature.delay,
          [0, 30],
          [0, 1],
          { extrapolateRight: 'clamp', extrapolateLeft: 'clamp' }
        );

        return (
          <div
            key={index}
            style={{
              display: 'flex',
              flexDirection: 'column',
              alignItems: 'center',
              transform: `translateX(${slideIn}px)`,
              opacity,
            }}
          >
            <span style={{ fontSize: 80 }}>{feature.icon}</span>
            <span style={{ fontSize: 24, color: 'white', marginTop: 16 }}>
              {feature.label}
            </span>
          </div>
        );
      })}
    </AbsoluteFill>
  );
};
7단계: 영상에 오디오 추가
7.1 배경 음악 트랙 추가:
오디오 파일을 public 폴더에 넣습니다.
public/
└── audio/
    └── background-music.mp3
7.2 Claude Code에게 오디오 통합을 요청합니다.
public/audio/background-music.mp3에서 배경 음악을 추가합니다.
- 처음 30프레임 동안 페이드인
- 마지막 30프레임 동안 페이드아웃
- 볼륨을 0.5로 설정
7.3 Claude Code가 Audio 컴포넌트를 추가합니다.
import { Audio, interpolate, useCurrentFrame, useVideoConfig } from 'remotion';
import { staticFile } from 'remotion';

export const ProductDemo: React.FC = () => {
  const frame = useCurrentFrame();
  const { durationInFrames } = useVideoConfig();

  // Audio fade in/out
  const volume = interpolate(
    frame,
    [0, 30, durationInFrames - 30, durationInFrames],
    [0, 0.5, 0.5, 0],
    { extrapolateLeft: 'clamp', extrapolateRight: 'clamp' }
  );

  return (
    <AbsoluteFill>
      <Audio src={staticFile('audio/background-music.mp3')} volume={volume} />
      {/* ... rest of scenes */}
    </AbsoluteFill>
  );
};
8단계: 영상 렌더링
이제 영상을 파일로 내보내 봅시다.
8.1 명령줄에서 렌더링:
# MP4로 렌더링 (대부분의 용도에 권장)
npx remotion render company-intro out/company-intro.mp4

# 사용자 정의 props로 렌더링
npx remotion render company-intro out/apidog-intro.mp4 \
  --props='{"companyName":"Apidog","tagline":"Design. Debug. Test. Document."}'
8.2 렌더링 옵션:
# 고품질 (느림)
npx remotion render company-intro out/video.mp4 --crf=18

# 저품질 (빠름, 작은 파일)
npx remotion render company-intro out/video.mp4 --crf=28

# GIF로 렌더링
npx remotion render company-intro out/video.gif --codec=gif

# WebM으로 렌더링
npx remotion render company-intro out/video.webm --codec=vp8

# 특정 프레임 범위 렌더링
npx remotion render company-intro out/preview.mp4 --frames=0-90
8.3 렌더링 진행 상황:
다음과 같은 출력이 표시됩니다.
ℹ Rendering frames 0-150
████████████████████████████████████████ 100% | 150/150 frames
✓ Rendered 150 frames in 12.3s (12.2 fps)
✓ Encoded video in 3.2s
✓ Video saved to out/company-intro.mp4
예상 결과: out/ 디렉터리에 렌더링된 영상 파일.
9단계: Remotion Lambda로 확장 (선택 사항)
대규모 (수백 또는 수천 개) 영상을 렌더링하려면 Remotion Lambda를 사용하세요.
9.1 Lambda 의존성 설치:
npm install @remotion/lambda
9.2 AWS 자격 증명 구성:
# AWS 자격 증명 설정
aws configure

# Remotion Lambda 역할 생성
npx remotion lambda policies role
9.3 Lambda 함수 배포:
# 렌더 함수 배포
npx remotion lambda functions deploy

# 영상 사이트 배포
npx remotion lambda sites create src/index.ts --site-name=my-videos
9.4 Lambda를 통한 렌더링:
npx remotion lambda render \
  --function-name=remotion-render \
  --serve-url=https://your-bucket.s3.amazonaws.com/sites/my-videos \
  --composition=company-intro \
  --props='{"companyName":"ClientCo"}'
9.5 프로그래밍 방식 렌더링:
import { renderMediaOnLambda } from '@remotion/lambda/client';

const result = await renderMediaOnLambda({
  region: 'us-east-1',
  functionName: 'remotion-render',
  composition: 'company-intro',
  serveUrl: 'https://your-bucket.s3.amazonaws.com/sites/my-videos',
  codec: 'h264',
  inputProps: {
    companyName: 'Apidog',
    tagline: 'Design. Debug. Test. Document.',
  },
});

console.log('Video URL:', result.url);
10단계: 영상 생성 API 구축
온디맨드로 영상을 생성하는 API 엔드포인트를 만듭니다.
10.1 Claude Code에게 Express 서버를 만들도록 요청합니다.
다음 엔드포인트를 포함하는 Express.js API 서버를 만드세요:

POST /api/videos/generate
- 허용: template, props, format
- Remotion Lambda 렌더링 트리거
- 반환: jobId, status

GET /api/videos/status/:jobId
- 렌더링 진행 상황 및 완료 시 다운로드 URL 반환

적절한 오류 처리 및 Zod 유효성 검사를 포함하세요.
10.2 Claude Code가 서버를 생성합니다.
server/index.ts:
import express from 'express';
import { renderMediaOnLambda, getRenderProgress } from '@remotion/lambda/client';
import { z } from 'zod';

const app = express();
app.use(express.json());

const generateSchema = z.object({
  template: z.enum(['company-intro', 'product-demo']),
  props: z.record(z.unknown()),
  format: z.enum(['mp4', 'webm', 'gif']).default('mp4'),
});

app.post('/api/videos/generate', async (req, res) => {
  try {
    const { template, props, format } = generateSchema.parse(req.body);

    const { renderId, bucketName } = await renderMediaOnLambda({
      region: 'us-east-1',
      functionName: 'remotion-render',
      composition: template,
      serveUrl: process.env.REMOTION_SITE_URL!,
      codec: format === 'gif' ? 'gif' : 'h264',
      inputProps: props,
    });

    res.json({
      jobId: renderId,
      bucketName,
      status: 'processing',
    });
  } catch (error) {
    res.status(400).json({ error: (error as Error).message });
  }
});

app.get('/api/videos/status/:jobId', async (req, res) => {
  const { jobId } = req.params;
  const { bucketName } = req.query;

  const progress = await getRenderProgress({
    renderId: jobId,
    bucketName: bucketName as string,
    region: 'us-east-1',
    functionName: 'remotion-render',
  });

  res.json({
    status: progress.done ? 'completed' : 'processing',
    progress: progress.overallProgress,
    downloadUrl: progress.outputFile,
  });
});

app.listen(3001, () => {
  console.log('Video API running on http://localhost:3001');
});
10.3 Apidog로 API 테스트:
Apidog를 사용하여 영상 생성 엔드포인트를 테스트합니다.
POST /api/videos/generate로 새 요청 생성- 본문 설정:
{
  "template": "company-intro",
  "props": {
    "companyName": "TestCorp",
    "tagline": "Testing made easy"
  },
  "format": "mp4"
}
- 요청을 보내고 응답에
jobId가 포함되어 있는지 확인 status: "completed"가 될 때까지 상태 엔드포인트를 폴링
Apidog의 자동화된 테스트 기능은 영상 생성 파이프라인이 안정적으로 작동하는지 확인하는 데 도움이 됩니다.
전체 예시: 마케팅 영상 생성기
다음은 템플릿으로 사용할 수 있는 전체 예시입니다.
Claude Code용 프롬프트:
다음 기능을 포함하는 완전한 마케팅 영상 생성기를 만드세요:

1. 템플릿: "social-promo"
   - 길이: 15초 (30fps 기준 450프레임)
   - 해상도: 1080x1080 (인스타그램 정사각형)

2. 장면:
   - 후크 텍스트 (0-3초): 시선을 사로잡는 크고 굵은 텍스트
   - 제품 이미지 (3-9초): 켄 번즈 효과로 제품 표시
   - 기능 목록 (9-12초): 3개의 글머리 기호가 순차적으로 나타남
   - CTA (12-15초): "지금 구매하기" (펄싱 애니메이션 포함)

3. Props:
   - hookText: string
   - productImageUrl: string
   - features: string[] (3개 항목의 배열)
   - ctaText: string
   - brandColor: string

4. 텍스트가 나타날 때 오디오 더킹 포함

이 작업에 필요한 모든 파일을 생성하세요.
Claude Code는 사용자 정의하고 대규모로 렌더링할 수 있는 완전하고 프로덕션 준비가 된 영상 템플릿을 생성합니다.
일반적인 문제 해결
문제: "Cannot find module 'remotion'"
# 해결책: 의존성 재설치
rm -rf node_modules
npm install
문제: 글꼴이 로드되지 않음
// 컴포넌트에 글꼴 가져오기 추가
import { loadFont } from '@remotion/google-fonts/Inter';

const { fontFamily } = loadFont();

// 스타일에서 사용
style={{ fontFamily }}
문제: 영상이 검은색으로 렌더링됨
- 컴포넌트가 보이는 콘텐츠를 반환하는지 확인하세요.
AbsoluteFill에 배경색이 설정되어 있는지 확인하세요.- 모든 애니메이션이 투명도 0이 아닌지 확인하세요.
문제: Claude Code가 Remotion 스킬을 인식하지 못함
# 스킬 재설치
npx skills add remotion-dev/skills

# .claude/skills/remotion/SKILL.md가 존재하는지 확인
ls .claude/skills/remotion/

# Claude Code 재시작
문제: 버전 불일치 오류
# Remotion 버전 확인 및 업데이트
npx remotion versions

# 이것은 종종 호환성 문제를 해결합니다.
영상 생성 API를 구축하고 있으신가요? Apidog를 무료로 사용해 엔드포인트를 설계, 테스트 및 문서화하세요. 요청 스키마를 검증하고, 테스트 시나리오를 자동화하며, 영상 파이프라인이 예외 상황을 원활하게 처리하는지 확인하세요.