인증은 모든 최신 웹 애플리케이션의 초석이지만, 이를 설정하는 것은 개발자들이 직면하는 가장 시간이 많이 소요되는 과제 중 하나입니다. **Better Auth API**를 소개합니다. 이는 사용자 관리 구현 방식을 혁신할 것을 약속하는 프레임워크에 구애받지 않는 인증 솔루션입니다. 이 포괄적인 가이드에서는 Better Auth의 강력함과 단순함을 보여주는 완전한 풀스택 애플리케이션을 구축하는 과정을 Bun을 사용하여 초고속 성능으로 살펴보겠습니다.
개발팀이 최대의 생산성으로 함께 작업할 수 있는 통합된 올인원 플랫폼을 원하십니까?
Apidog는 귀하의 모든 요구 사항을 충족하며, Postman을 훨씬 더 저렴한 가격으로 대체합니다!
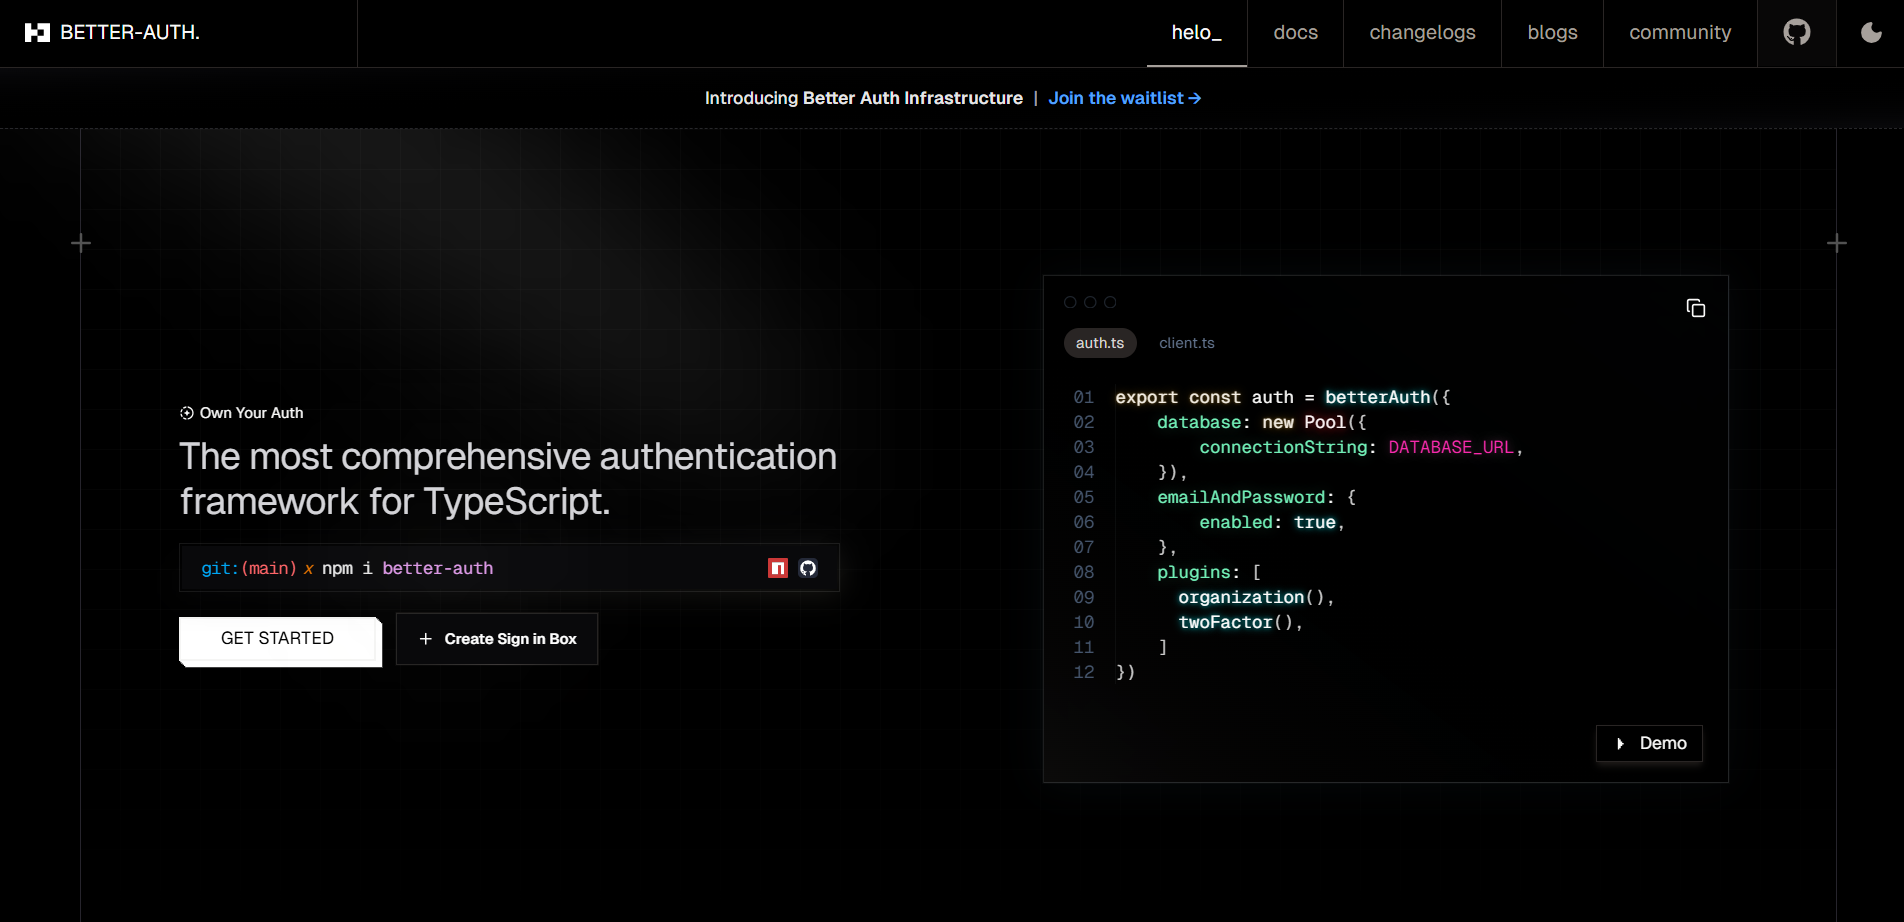
Better Auth API란 무엇인가요?
Better Auth API는 모든 JavaScript 환경에서 원활하게 작동하도록 설계된 현대적인 오픈 소스 인증 프레임워크입니다. 특정 생태계에 갇히게 하는 기존 인증 라이브러리와 달리, Better Auth는 프런트엔드에서 React, Vue, Svelte 또는 바닐라 JavaScript를 사용하든, 백엔드에서 Node.js, Bun 또는 Deno를 사용하든 스택에 맞춰 조정되는 통합 API를 제공합니다. 플러그인 기반 아키텍처는 기존 이메일/비밀번호부터 OAuth 제공업체, 패스키, 매직 링크에 이르기까지 다양한 인증 전략을 지원하며, 동시에 타입 안전성과 뛰어난 개발자 경험을 유지합니다.
Better Auth 시작하기: 사전 준비 및 프로젝트 설정
코드를 시작하기 전에 다음 사항이 설치되어 있는지 확인하십시오:
- Bun 1.0+: 이 튜토리얼에서는 뛰어난 속도와 현대적인 툴링을 위해 Bun을 사용합니다.
- Node.js 18+: 백엔드 런타임에 필요합니다.
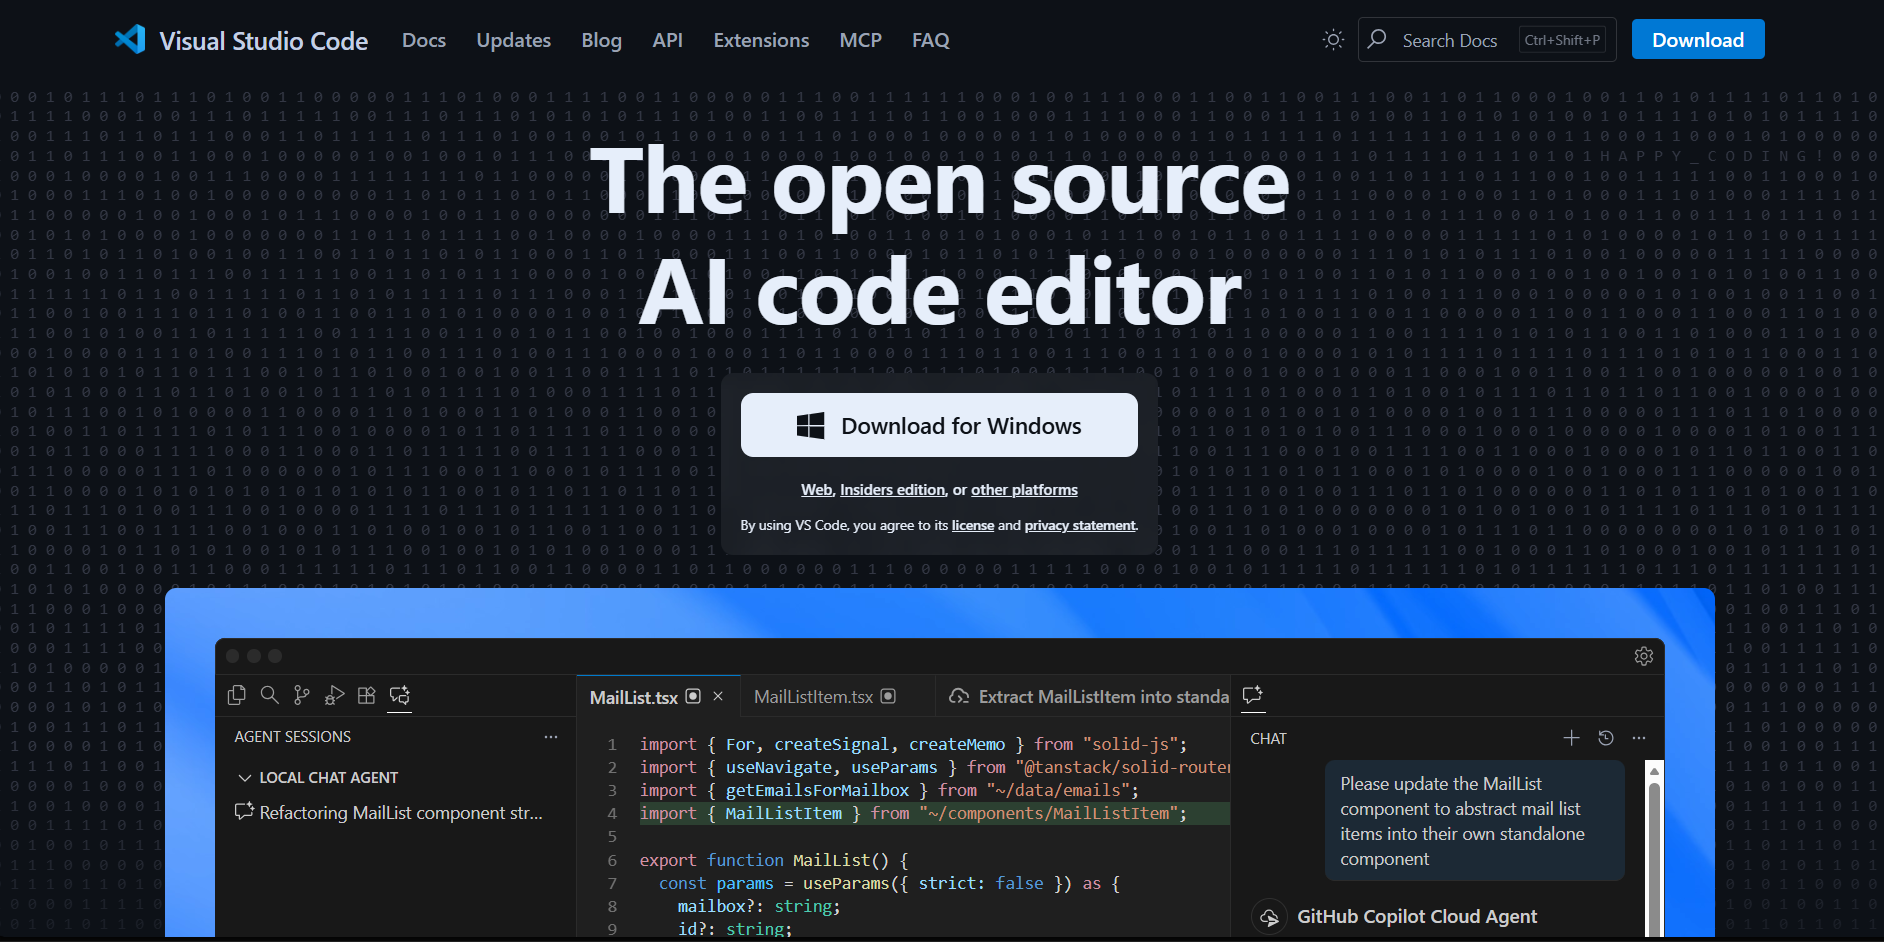
- 코드 편집기: TypeScript 지원을 위해 VS Code를 권장합니다.
이 설정은 npm과 완벽하게 작동하지만, 여기서는 3-5배 빠른 패키지 설치와 더 간소화된 개발 경험을 제공하는 Bun 워크플로우를 시연할 것입니다.
샘플 프로젝트 구축: 단계별 구현
React 프런트엔드와 Express 백엔드를 사용하여 데이터베이스 영속성을 갖춘 실용적인 인증 시스템을 만들어 보겠습니다.
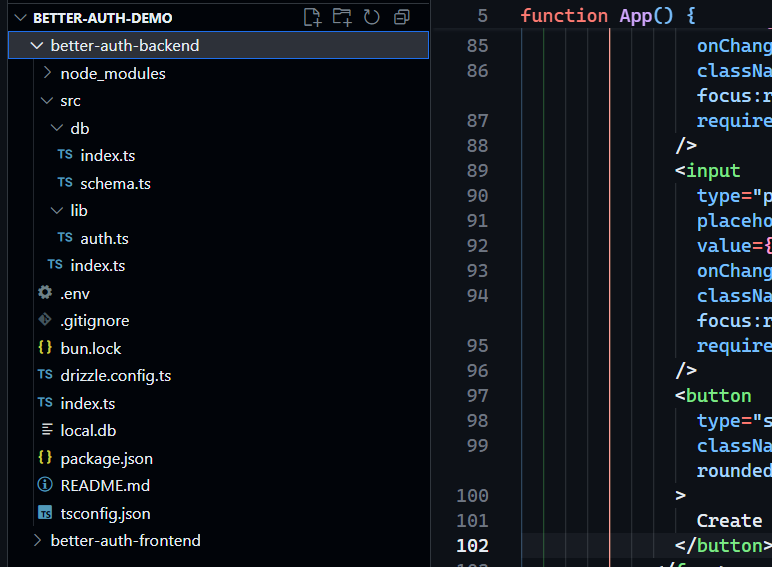
1단계: Express 및 Drizzle ORM을 사용한 백엔드 설정
1. **백엔드 프로젝트 초기화**
먼저 백엔드 디렉토리를 생성하고 진입합니다:
mkdir better-auth-backend
cd better-auth-backend
bun init -y
2. **종속성 설치**
서버를 위한 Express, 인증을 위한 Better Auth, 데이터베이스 관리를 위한 Drizzle ORM이 필요합니다:
bun add express better-auth drizzle-orm
bun add -D @types/bun @types/express drizzle-kit
3. **환경 변수 구성**
민감한 설정을 저장할 `.env` 파일을 생성합니다:
BETTER_AUTH_SECRET=your-secret-key-here # Generate with: openssl rand -base64 32
BETTER_AUTH_URL=http://localhost:3000
DATABASE_URL=local.db
*BETTER_AUTH_SECRET*은 better-auth 웹사이트에서도 생성할 수 있습니다.
4. **Drizzle ORM으로 데이터베이스 스키마 생성**
Better Auth는 뛰어난 TypeScript 지원을 제공하고 네이티브 모듈 문제를 피하는 Drizzle과 가장 잘 작동합니다. `src/db/schema.ts`를 생성합니다:
import { sqliteTable, text, integer } from "drizzle-orm/sqlite-core";

export const user = sqliteTable("user", {
  id: text("id").primaryKey(),
  name: text('name').notNull(),
  email: text('email').notNull().unique(),
  emailVerified: integer('email_verified', { mode: 'boolean' }).notNull().default(false),
  image: text('image'),
  createdAt: integer('created_at', { mode: 'timestamp' }).notNull(),
  updatedAt: integer('updated_at', { mode: 'timestamp' }).notNull(),
});

export const session = sqliteTable("session", {
  id: text("id").primaryKey(),
  expiresAt: integer('expires_at', { mode: 'timestamp' }).notNull(),
  token: text('token').notNull().unique(),
  createdAt: integer('created_at', { mode: 'timestamp' }).notNull(),
  userId: text('user_id').notNull(),
});

export const account = sqliteTable("account", {
  id: text("id").primaryKey(),
  accountId: text('account_id').notNull(),
  providerId: text('provider_id').notNull(),
  userId: text('user_id').notNull(),
  accessToken: text('access_token'),
  refreshToken: text('refresh_token'),
  createdAt: integer('created_at', { mode: 'timestamp' }).notNull(),
});

export const verification = sqliteTable("verification", {
  id: text("id").primaryKey(),
  identifier: text('identifier').notNull(),
  value: text('value').notNull(),
  expiresAt: integer('expires_at', { mode: 'timestamp' }).notNull(),
});
5. **데이터베이스 연결 구성**
Bun의 네이티브 SQLite 바인딩을 사용하여 `src/db/index.ts`를 생성합니다:
import { Database } from "bun:sqlite";
import { drizzle } from "drizzle-orm/bun-sqlite";

const sqlite = new Database("local.db");
export const db = drizzle(sqlite);
6. **Better Auth 구성 설정**
Better Auth API를 구성하기 위해 `src/lib/auth.ts`를 생성합니다:
import { betterAuth } from "better-auth";
import { drizzleAdapter } from "better-auth/adapters/drizzle";
import { db } from "../db";
import { user, session, account, verification } from "../db/schema";

export const auth = betterAuth({
  database: drizzleAdapter(db, {
    provider: "sqlite",
    schema: {
      user: user,
      session: session,
      account: account,
      verification: verification,
    },
  }),
  emailAndPassword: {
    enabled: true,
  },
  trustedOrigins: ["http://localhost:5173"],
});
7. **Express 서버 생성**
`src/index.ts`에서 Better Auth API 핸들러를 마운트합니다:
import express from "express";
import cors from "cors";
import { toNodeHandler } from "better-auth/node";
import { auth } from "./lib/auth";

const app = express();
const PORT = process.env.PORT || 3000;

app.use(
  cors({
    origin: "http://localhost:5173",
    credentials: true,
  })
);

// Mount Better Auth API at /api/auth
app.use("/api/auth", toNodeHandler(auth));
app.use(express.json());

app.get("/api/me", async (req, res) => {
  const session = await auth.api.getSession({
    headers: req.headers,
  });

  if (!session) {
    return res.status(401).json({ error: "Unauthorized" });
  }

  res.json({ user: session.user });
});

app.listen(PORT, () => {
  console.log(`Server running on http://localhost:${PORT}`);
});
8. **데이터베이스 마이그레이션 실행**
백엔드 루트에 `drizzle.config.ts`를 생성합니다:
import { defineConfig } from "drizzle-kit";

export default defineConfig({
  dialect: "sqlite",
  schema: "./src/db/schema.ts",
  out: "./drizzle",
  dbCredentials: {
    url: "local.db",
  },
});
테이블을 생성하기 위해 마이그레이션을 실행합니다:
bunx drizzle-kit push
2단계: React 및 Vite를 사용한 프런트엔드 설정
1. **React 애플리케이션 생성**
새 터미널에서 프런트엔드를 초기화합니다:
bun create vite better-auth-frontend --template react-ts
cd better-auth-frontend
2. **종속성 설치**
bun add better-auth
3. **Tailwind CSS 구성 (V4 업데이트)**
Tailwind CSS v4 이후 버전은 다른 설정이 필요합니다. 새 패키지를 설치합니다:
bun add -D tailwindcss postcss @tailwindcss/postcss
프로젝트 루트에 `tailwind.config.js`를 생성합니다:
/** @type {import('tailwindcss').Config} */
export default {
  content: [
    "./index.html",
    "./src/**/*.{js,ts,jsx,tsx}",
  ],
  theme: {
    extend: {},
  },
  plugins: [],
}
`postcss.config.js`를 생성합니다:
export default {
  plugins: {
    "@tailwindcss/postcss": {},
  },
}
`src/index.css`를 생성합니다:
@import "tailwindcss";

body {
  margin: 0;
  font-family: system-ui, -apple-system, sans-serif;
}
4. **Better Auth 클라이언트 설정**
`src/lib/auth-client.ts`를 생성합니다:
import { createAuthClient } from "better-auth/react";

export const authClient = createAuthClient({
  baseURL: "http://localhost:3000",
});

export const { signIn, signUp, useSession } = authClient;
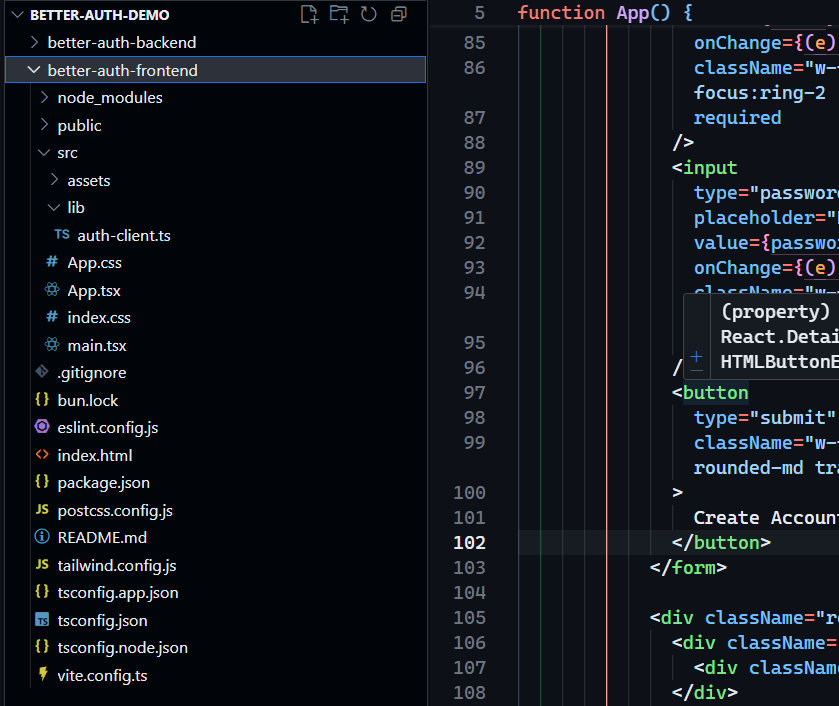
5. **인증 UI 구축**
`src/App.tsx`를 완전한 인증 인터페이스로 대체합니다:
import { useState } from 'react';
import { useSession, signIn, signUp } from './lib/auth-client';

function App() {
  const { data: session, isPending } = useSession();
  const [email, setEmail] = useState('');
  const [password, setPassword] = useState('');
  const [name, setName] = useState('');

  const handleSignUp = async (e: React.FormEvent) => {
    e.preventDefault();
    await signUp.email({
      name,
      email,
      password,
      callbackURL: '/',
    });
  };

  const handleSignIn = async (e: React.FormEvent) => {
    e.preventDefault();
    await signIn.email({
      email,
      password,
    });
  };

  const handleSignOut = async () => {
    await authClient.signOut();
  };

  if (isPending) return <div className="flex items-center justify-center min-h-screen">로딩 중...</div>;

  return (
    <div className="min-h-screen bg-gray-100 flex items-center justify-center p-4">
      <div className="max-w-md w-full bg-white rounded-lg shadow-md p-6">
        <h1 className="text-2xl font-bold text-center mb-6 text-gray-800">
          Better Auth API 테스트
        </h1>

        {session?.user ? (
          <div className="space-y-4">
            <div className="bg-green-50 p-4 rounded-md">
              <p className="text-green-800 font-semibold">로그인됨:</p>
              <p className="text-green-700">{session.user.email}</p>
              <p className="text-green-600 text-sm">{session.user.name}</p>
            </div>
            <button
              onClick={handleSignOut}
              className="w-full bg-red-500 hover:bg-red-600 text-white font-medium py-2 px-4 rounded-md transition"
            >
              로그아웃
            </button>
          </div>
        ) : (
          <div className="space-y-4">
            <form onSubmit={handleSignUp} className="space-y-3">
              <h2 className="text-lg font-semibold text-gray-700">회원가입</h2>
              <input
                type="text"
                placeholder="이름"
                value={name}
                onChange={(e) => setName(e.target.value)}
                className="w-full px-3 py-2 border border-gray-300 rounded-md focus:outline-none focus:ring-2 focus:ring-blue-500"
                required
              />
              <input
                type="email"
                placeholder="이메일"
                value={email}
                onChange={(e) => setEmail(e.target.value)}
                className="w-full px-3 py-2 border border-gray-300 rounded-md focus:outline-none focus:ring-2 focus:ring-blue-500"
                required
              />
              <input
                type="password"
                placeholder="비밀번호"
                value={password}
                onChange={(e) => setPassword(e.target.value)}
                className="w-full px-3 py-2 border border-gray-300 rounded-md focus:outline-none focus:ring-2 focus:ring-blue-500"
                required
              />
              <button
                type="submit"
                className="w-full bg-green-500 hover:bg-green-600 text-white font-medium py-2 px-4 rounded-md transition"
              >
                계정 생성
              </button>
            </form>

            <form onSubmit={handleSignIn} className="space-y-3">
              <h2 className="text-lg font-semibold text-gray-700">로그인</h2>
              <input
                type="email"
                placeholder="이메일"
                value={email}
                onChange={(e) => setEmail(e.target.value)}
                className="w-full px-3 py-2 border border-gray-300 rounded-md focus:outline-none focus:ring-2 focus:ring-blue-500"
                required
              />
              <input
                type="password"
                placeholder="비밀번호"
                value={password}
                onChange={(e) => setPassword(e.target.value)}
                className="w-full px-3 py-2 border border-gray-300 rounded-md focus:outline-none focus:ring-2 focus:ring-blue-500"
                required
              />
              <button
                type="submit"
                className="w-full bg-blue-500 hover:bg-blue-600 text-white font-medium py-2 px-4 rounded-md transition"
              >
                로그인
              </button>
            </form>
          </div>
        )}
      </div>
    </div>
  );
}

export default App;
3단계: 통합 테스트
1. **백엔드 서버 시작**
cd better-auth-backend
bun dev

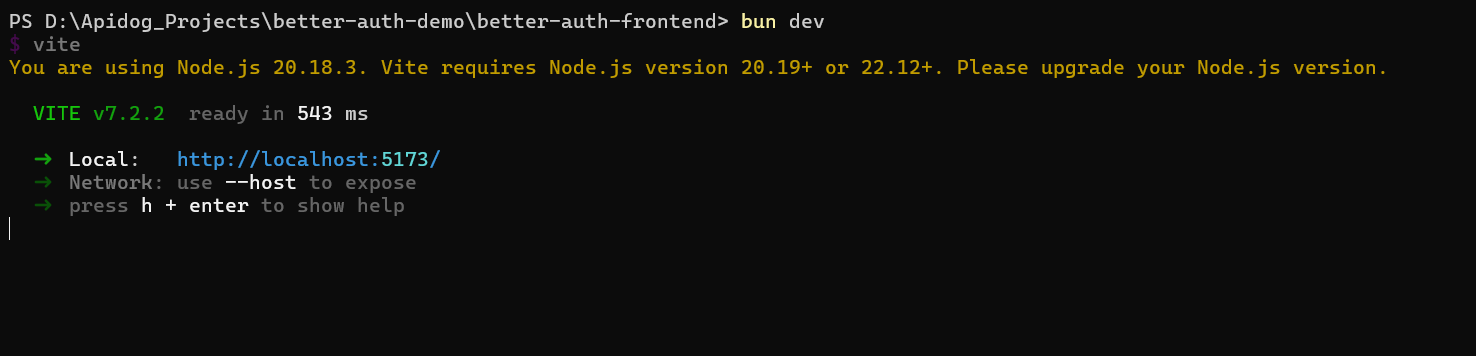
2. **프런트엔드 개발 시작**
cd better-auth-frontend
bun dev
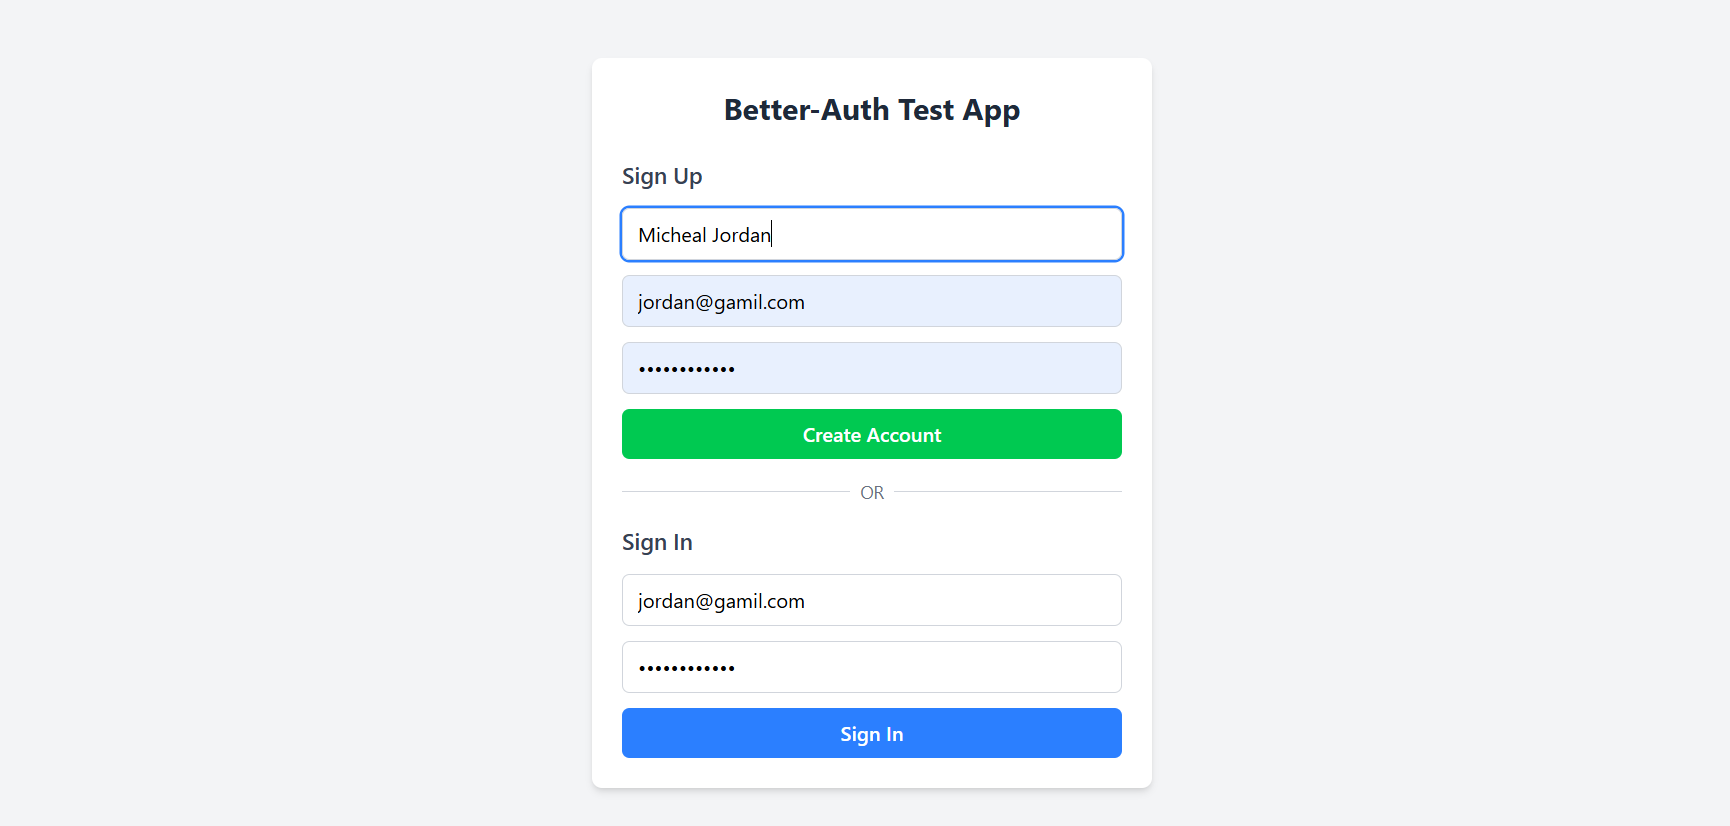
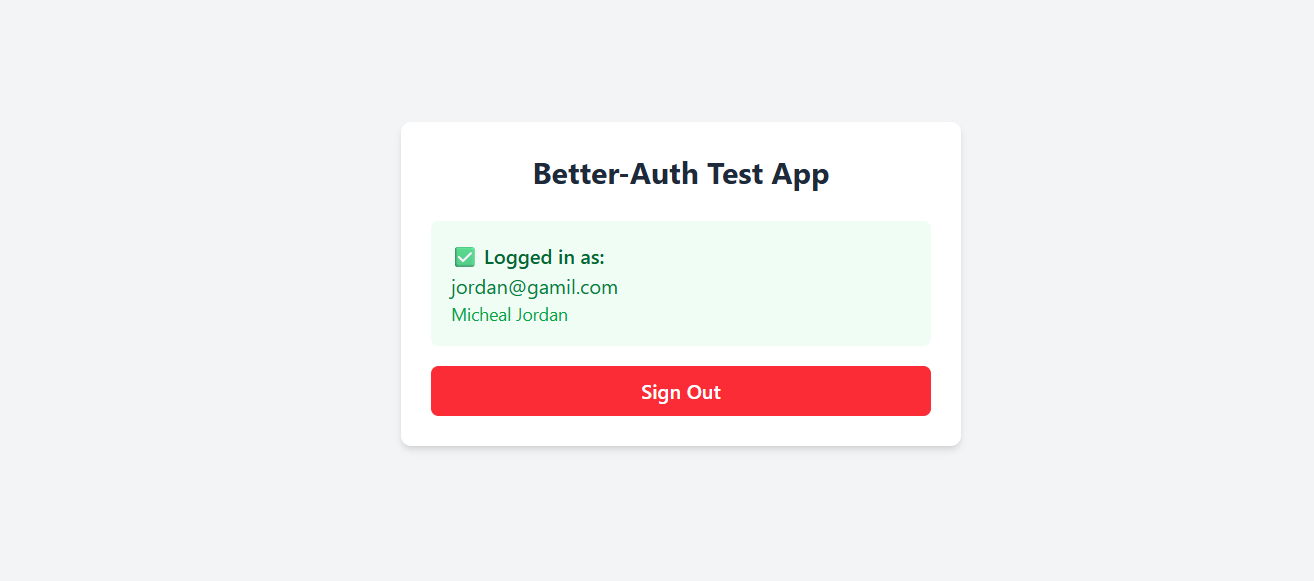
3. **인증 흐름 테스트**
- 브라우저에서 `http://localhost:5173`을 엽니다.
- 회원가입 양식을 사용하여 새 사용자를 등록합니다.
- 테이블이 채워지면서 데이터베이스 파일이 커지는 것을 확인합니다.
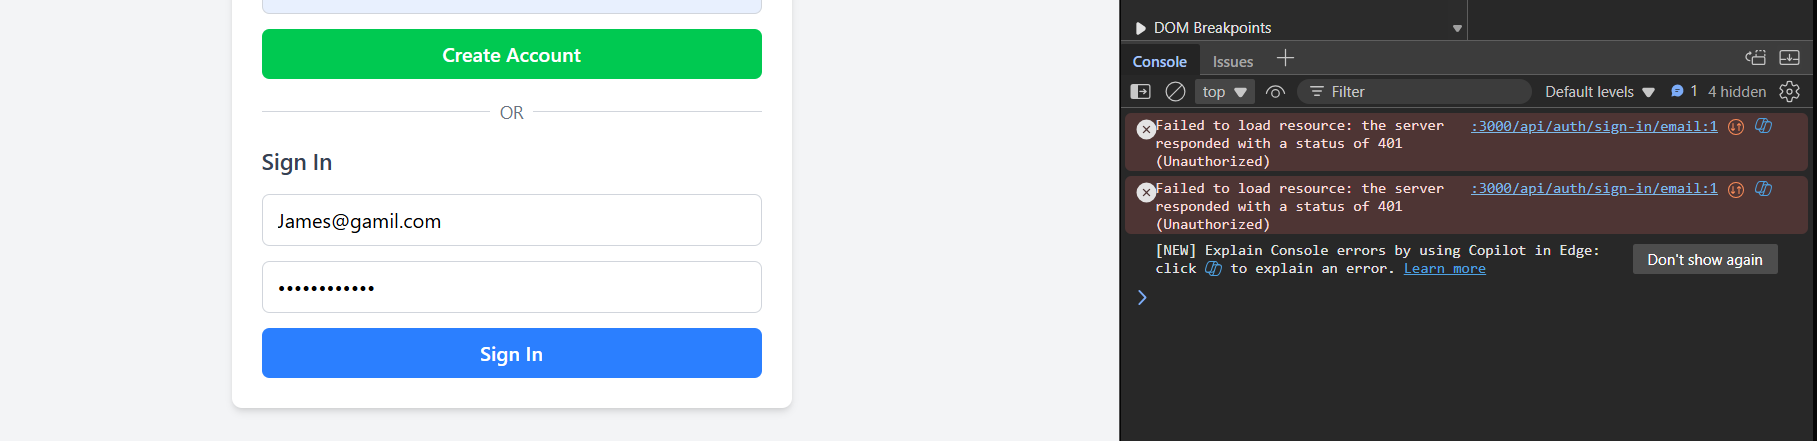
- 세션 관리를 확인하기 위해 로그아웃했다가 다시 로그인합니다.
- 세션 엔드포인트를 확인합니다: `http://localhost:3000/api/auth/session`
Better Auth API의 주요 이점
**Better Auth API**는 몇 가지 강력한 장점을 통해 차별화됩니다:
- **프레임워크 독립성**: NextAuth.js나 Firebase Auth와 달리, Better Auth는 JavaScript가 실행되는 모든 곳에서 작동합니다. 동일한 인증 로직이 웹, 모바일 및 API 클라이언트에 수정 없이 제공됩니다.
- **다중 인증 전략**: 자격 증명, OAuth 2.0, 패스키, 2단계 인증, 매직 링크에 대한 기본 지원. 각 전략은 단 한 줄의 설정으로 활성화할 수 있는 플러그인입니다.
- **타입 안전성**: 데이터베이스 스키마에서 추론된 타입으로 완벽한 TypeScript 지원을 제공하여 인증 코드베이스에서 흔히 발생하는 "any" 타입 지옥을 없앱니다.
- **데이터베이스 유연성**: Drizzle ORM 어댑터는 인증 로직을 변경하지 않고도 SQLite, PostgreSQL, MySQL 간에 전환할 수 있음을 의미합니다. 이 튜토리얼에서는 단순화를 위해 SQLite를 사용하지만, 동일한 코드는 프로덕션 데이터베이스로 확장 가능합니다.
- **플러그인 생태계**: 조직 지원이 필요하신가요? 다중 테넌시? 관리자 역할? Better Auth의 플러그인 시스템은 핵심 기능을 불필요하게 늘리지 않고도 기능을 확장할 수 있게 해줍니다.
- **성능**: Bun을 런타임으로 사용하면 콜드 스타트가 100ms 미만이며, 전체 인증 흐름이 보통 사양의 하드웨어에서 50ms 미만으로 완료됩니다.
자주 묻는 질문
Q1: Better Auth API를 Bun 대신 npm과 함께 사용할 수 있나요?
답변: 물론입니다. 이 가이드에서는 성능상의 이점 때문에 Bun을 사용하지만, 모든 명령어에는 npm과 동등한 명령어가 있습니다. `bun add`는 `npm install`로, `bun dev`는 `npm run dev`로, `bunx`는 `npx`로 대체하십시오. 유일한 Bun 전용 코드는 `bun:sqlite` 임포트인데, 이는 Node.js 환경에서는 `better-sqlite3`로 대체될 수 있습니다.
Q2: Drizzle ORM이 왜 필요했나요? Better Auth가 자동으로 테이블을 생성할 수는 없나요?
답변: Better Auth는 명시적인 데이터베이스 관리 원칙을 따릅니다. Drizzle은 타입 안전한 마이그레이션, 스키마 버전 관리 기능을 제공하며, 우발적인 데이터 손실을 방지합니다. `drizzle-kit push` 명령어는 데이터베이스 진화에 대한 완전한 제어권을 제공하는 일회성 설정입니다.
Q3: "Missing parameter name" 오류가 발생하면 어떻게 해야 하나요?
답변: 이 오류는 Express에서 와일드카드를 사용하여 `app.all()`을 사용할 때 발생합니다. 해결책은 대신 `app.use("/api/auth", toNodeHandler(auth))`를 사용하는 것입니다. Better Auth의 핸들러는 모든 하위 경로를 내부적으로 관리하므로 Express에서 와일드카드 매칭이 필요하지 않습니다.
Q4: 소셜 인증 제공업체를 어떻게 추가하나요?
답변: Better Auth 구성에서 OAuth 플러그인을 활성화하십시오. 예를 들어, GitHub를 추가하려면 다음과 같습니다:
import { betterAuth } from "better-auth";
import { github } from "better-auth/plugins";

export const auth = betterAuth({
  plugins: [
    github({
      clientId: process.env.GITHUB_CLIENT_ID,
      clientSecret: process.env.GITHUB_CLIENT_SECRET,
    })
  ]
});
Q5: Better Auth API는 프로덕션 환경에 바로 사용할 수 있나요?
답변: 네, 그렇습니다. Better Auth는 수천 명의 사용자를 가진 여러 SaaS 제품의 인증을 지원합니다. 이 프레임워크는 보안 세션 관리, CSRF 보호를 구현하며 OWASP 가이드라인을 따릅니다. 하지만 항상 특정 구현을 감사하고 종속성을 최신 상태로 유지하십시오.
결론
**Better Auth API**와 같은 현대적인 솔루션이 있다면 인증을 처음부터 구축할 필요가 더 이상 없습니다. 이 가이드에서는 데이터베이스 스키마부터 UI 구성 요소까지 완전한 인증 시스템을 단 몇 분 만에 만들었습니다! Better Auth의 유연성, Drizzle ORM의 타입 안전성, Bun의 성능 조합은 프로토타입부터 프로덕션까지 확장 가능한 개발자 경험을 제공합니다.
단계별 프로세스는 인증이 중요하지만 복잡할 필요는 없다는 것을 보여줍니다. Better Auth의 플러그인 아키텍처와 프레임워크 독립적인 설계를 활용하면 보안 구현과 씨름하는 대신 사용자에게 중요한 기능 구축에 집중할 수 있습니다.
사이드 프로젝트를 구축하든 엔터프라이즈 애플리케이션을 구축하든, Better Auth API는 귀하의 요구에 맞춰 조정되는 안전하고 확장 가능한 인증의 기반을 제공하며, 그 반대는 아닙니다.
개발팀이 최대의 생산성으로 함께 작업할 수 있는 통합된 올인원 플랫폼을 원하십니까?
Apidog는 귀하의 모든 요구 사항을 충족하며, Postman을 훨씬 더 저렴한 가격으로 대체합니다!