
Have you ever wondered what an API can do before you start using it? Do you want to know what methods, headers, and parameters are supported by a specific endpoint? In this post, we will show you how to use the HTTP OPTIONS method to explore any API. The HTTP OPTIONS method is one of the lesser-known but very useful methods of the HTTP protocol. It allows you to request information about the communication options available for a given resource. In other words, it lets you ask an API what it can do and how it can do it.
Using the HTTP OPTIONS method can save you a lot of time and hassle when working with APIs. It can help you avoid errors, debug issues, and optimize your requests. It can also help you discover new features or functionalities that you might not be aware of otherwise.
What is the HTTP OPTIONS Method?
Before we dive into the details of how to use the HTTP OPTIONS method, let’s first understand what it is and how it works. The HTTP OPTIONS method is one of the nine standard methods of the HTTP protocol, along with GET, POST, PUT, PATCH, DELETE, HEAD, TRACE, and CONNECT. Each method has a specific purpose and meaning, and they are used to perform different actions on a resource.
The HTTP OPTIONS method is used to request information about the communication options available for a given resource. A resource can be any entity that can be identified by a URI (Uniform Resource Identifier), such as a web page, an image, a file, or an API endpoint. For example, the URI https://api.example.com/users/1 represents a resource that corresponds to a user with the ID of 1 in the API of example.com.
When you send an HTTP OPTIONS request to a resource, you are essentially asking the server: “What can I do with this resource?”. The server will respond with an HTTP response that contains information about the available options for that resource. The information is usually provided in the form of HTTP headers, such as Allow, Accept, Content-Type, etc.

When a web browser makes a cross-origin request, it will first send a preflight request using the HTTP OPTIONS method to the server. The preflight request is used to check if the server allows the actual request to be made. The server will respond with an HTTP response that contains CORS-related headers, such as Access-Control-Allow-Origin, Access-Control-Allow-Methods, Access-Control-Allow-Headers, etc. If the preflight response indicates that the actual request is allowed, the browser will proceed to send the actual request. Otherwise, the browser will abort the request and report an error.
How to use http option method
The HTTP OPTIONS method is used to request information about the communication options for a given URL or server. It can be used to check what methods are allowed, what headers are supported, or if CORS is enabled. To use the HTTP OPTIONS method, you can send a request with the OPTIONS keyword followed by the URL or an asterisk (*) to refer to the entire server. For example:
OPTIONS /index.html HTTP/1.1
OPTIONS * HTTP/1.1
The server will respond with a status code and an Allow header that lists the permitted methods. It may also include other headers such as Access-Control-Allow-Origin, Access-Control-Allow-Methods, Access-Control-Allow-Headers, and Access-Control-Max-Age for CORS purposes. For example:
HTTP/1.1 200 OK
Allow: GET, HEAD, POST, OPTIONS
Access-Control-Allow-Origin: https://foo.example
Access-Control-Allow-Methods: POST, GET, OPTIONS
Access-Control-Allow-Headers: X-PINGOTHER, Content-Type
Access-Control-Max-Age: 86400
You can use a tool such as Apidog to send an OPTIONS request and see the response headers.
How to Send an HTTP OPTIONS Request Using Apidog?
Now that we have a basic understanding of what the HTTP OPTIONS method is and what it does, let’s see how we can use it to explore any API. For this purpose, we will use Apidog, a web-based tool that lets you interact with any API in a simple and intuitive way. You can use Apidog to send requests, view responses, and inspect headers. You can also use it to generate code snippets, documentation, and test cases for any API.
To send an HTTP OPTIONS request using Apidog, you need to follow these steps:
Step 1: Open Apidog and create a new request.
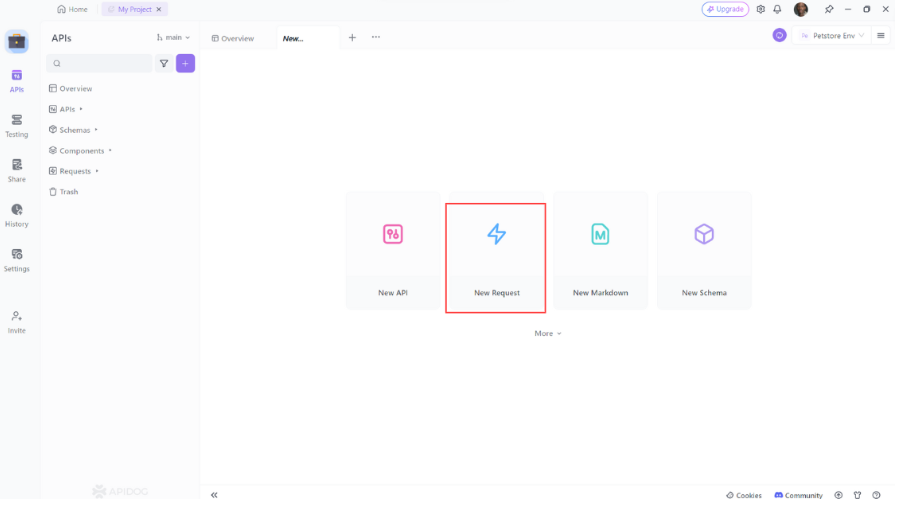
Step 2: Select the OPTIONS method from the method dropdown menu. This will tell Apidog to send an HTTP OPTIONS request to the URL you entered.

Step 3: Enter the URI of the resource you want to explore in the URI input field and click on the Send button or press Ctrl+Enter. This will send the request to the server and display the response in the response section.

Inspect the response headers and body to see the information about the communication options available for the resource. You can also use the filter input field to search for specific headers or values.
What Information Can You Get from an HTTP OPTIONS Response?
When you send an HTTP OPTIONS request to a resource, you can get a lot of information about the communication options available for that resource. The information is usually provided in the form of HTTP headers, such as Allow, Accept, Content-Type, etc. Here are some of the common headers and what they mean:
- Allow: This header lists the HTTP methods that are allowed for the resource. For example, if the response contains Allow: GET, POST, HEAD, it means that you can use the GET, POST, or HEAD methods to interact with the resource.
- Accept: This header lists the media types that are acceptable for the resource. For example, if the response contains Accept: application/json, application/xml, it means that you can request the resource in either JSON or XML format.
- Content-Type: This header indicates the media type of the response body. For example, if the response contains Content-Type: application/json, it means that the response body is in JSON format.
- Access-Control-Allow-Origin: This header indicates which origins are allowed to access the resource. For example, if the response contains Access-Control-Allow-Origin: *, it means that any origin can access the resource. If the response contains Access-Control-Allow-Origin: https://example.com, it means that only the origin https://example.com can access the resource.
- Access-Control-Allow-Methods: This header indicates which methods are allowed for the resource. For example, if the response contains Access-Control-Allow-Methods: GET, POST, OPTIONS, it means that you can use the GET, POST, or OPTIONS methods to access the resource.
- Access-Control-Allow-Headers: This header indicates which headers are allowed for the resource. For example, if the response contains Access-Control-Allow-Headers: Content-Type, Authorization, it means that you can use the Content-Type or Authorization headers to access the resource.
- Access-Control-Max-Age: This header indicates how long the preflight response can be cached by the browser. For example, if the response contains Access-Control-Max-Age: 86400, it means that the browser can cache the preflight response for 86400 seconds (24 hours).
These are some of the common headers that you can get from an HTTP OPTIONS response. There may be other headers that are specific to the API or the resource you are exploring. You can use Apidog to inspect all the headers and their values, and learn more about them.
OPTIONS is often the first method developers reach for when probing what a server accepts, but the HEAD method handles a distinct class of lightweight checks that becomes equally important once you're optimizing round-trips in production.
Conclusion
In this blog post, I have shown you how to use the HTTP OPTIONS method to explore any API. The HTTP OPTIONS method is a powerful and useful tool that can help you discover the capabilities and features of any API. By using the HTTP OPTIONS method, you can save time and hassle when working with APIs. You can also learn new things and optimize your requests.
I have also shown you how to use Apidog, a web-based tool that lets you interact with any API in a simple and intuitive way.


