
In today’s ever-evolving API documentation and integration world, Apidog is a versatile tool that works with several unique API frameworks like REST (REpresentational State Transfer). It facilitates the user in streamlining the development process.
This article will delve deeper into Apidog’s role in orchestrating seamless integrations with Django’s REST framework. You will also be guided with an in-depth guide on using Apidog to make the most out of your Django REST framework.
What is Django?
Django is a high-level Python web framework encouraging rapid development and clean design. It follows the model-view-controller (MVC) architectural pattern and is known for its simplicity, flexibility, and scalability. Django provides a robust set of tools and libraries for building web applications.
It follows the "Don't Repeat Yourself" (DRY) principle and emphasizes the importance of writing reusable code. It aims to simplify the development process by providing pre-built components and conventions, allowing developers to focus on building features rather than dealing with boilerplate code.
What is REST API?
REST is an architectural style for designing network applications. RESTful APIs adhere to the principles of REST, emphasizing a stateless, client-server communication model. REST APIs use standard HTTP methods (GET, POST, PUT, DELETE) for operations on resources, and they typically communicate using JSON or XML for data interchange.
REST is stateless, meaning each request from a client contains all the information needed to understand and process the request. Its uniform interface provides a consistent way to interact with resources.
What is Django REST Framework?
Django REST Framework (DRF) is a powerful and flexible toolkit for building Web APIs in Django applications. Django, a high-level Python web framework, provides a solid foundation for building web applications.
However, it doesn't include specific tools for building APIs. This is where the Django REST Framework comes into play. DRF extends Django to make it easy to build and consume RESTful APIs. It provides tools, serializers, and views to help developers rapidly create APIs and handle common tasks such as authentication, permissions, and serialization.
Why Use Django?
Using Django is beneficial for the following reasons:
Excellent Documentation and Community Support:
- Django has extensive documentation, covering both the core framework and related packages.
- Django has a large and active community, with many internationally recognized companies using it, such as Mozilla, Red Hat, Heroku, and Eventbrite.
Powerful and Flexible Web Framework:
- Django provides a Web browsable API, which improves developer usability and productivity.
- Django is customizable, allowing the use of regular function-based views if the more advanced features are not needed.
Robust Authentication and Security (with Django REST framework):
- Django REST framework includes authentication policies and packages for OAuth1a and OAuth2.
Versatile Serialization (with Django REST framework):
- Django REST framework supports serialization for both ORM (Object-Relational Mapping) and non-ORM data sources.
By using Django, developers can leverage a well-documented and widely adopted web framework with powerful features, flexible customization options, and a strong community. Additionally, when combined with the Django REST framework, it provides robust authentication and security mechanisms, as well as versatile data serialization capabilities.
How to Create A REST API with Django Framework?
To create REST APIs with Django, you need Django REST Framework, which will simplify the entire process of building APIs.
You must set up Django REST Framework. Make sure you have Python installed in your system beforehand. Python 3 is recommended as it offers better support and more features. If it has not been installed, you can install it here.
Step 1. Install Django and Django REST Framework
Use the command below in Command Terminal or Powershell to install Django and Django REST Framework.
Step 2. Create a Django project
Next, you need to create your Django directory to place all your project files.
Then, you need to start building your project by writing the following commands.
Step 3. Navigate to the project directory
Go inside the project directory that you just created by the projectname.
Step 4. Create Django App
Now, create a Django app to start working on your application.
Step 5. Define your models
In your app, define models representing the data you want to expose through the API in models.py. For example:
Step 6. Create your migrations
Run migrations to create the database tables.
Step 7. Create Serializers
Serializers convert model instances to Python data types. Create a serializer in your app, e.g., serializers.py.
Step 8. Create your Views using ViewSets
Use DRF's ViewSets to define the API views. Create a file, e.g., views.py.
Step 9. Configure URLs
Configure the URLs to map to your views. In your app's urls.py, include.
And include these URLs in your project's urls.py.
Step 10. Run the development server
You can now start the development server.
Your local API will be accessible to you after the successful creation of your project.
Your API will look something like this: “http://localhost:8000/api/items/”. Your URL will vary based on your configurations. You can use this URL in Apidog to test, document, mock, and manage your API.
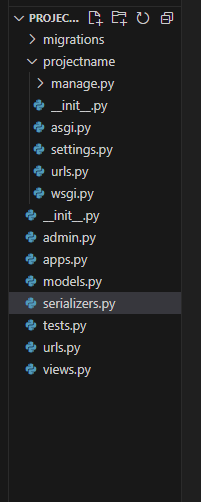
Your project directory should look like this after creating the respective files.
What is Apidog?
Apidog is an API integration platform that simplifies and optimizes API testing, debugging, design, mocking, and documentation.
Key features of Apidog:
- Facilitates thorough API testing and allows creation of JSON/XML schemas for test results/responses
- Excellent API documentation capabilities with customizable layouts
- Visual tools for API testing, like adding assertions and creating test scenarios
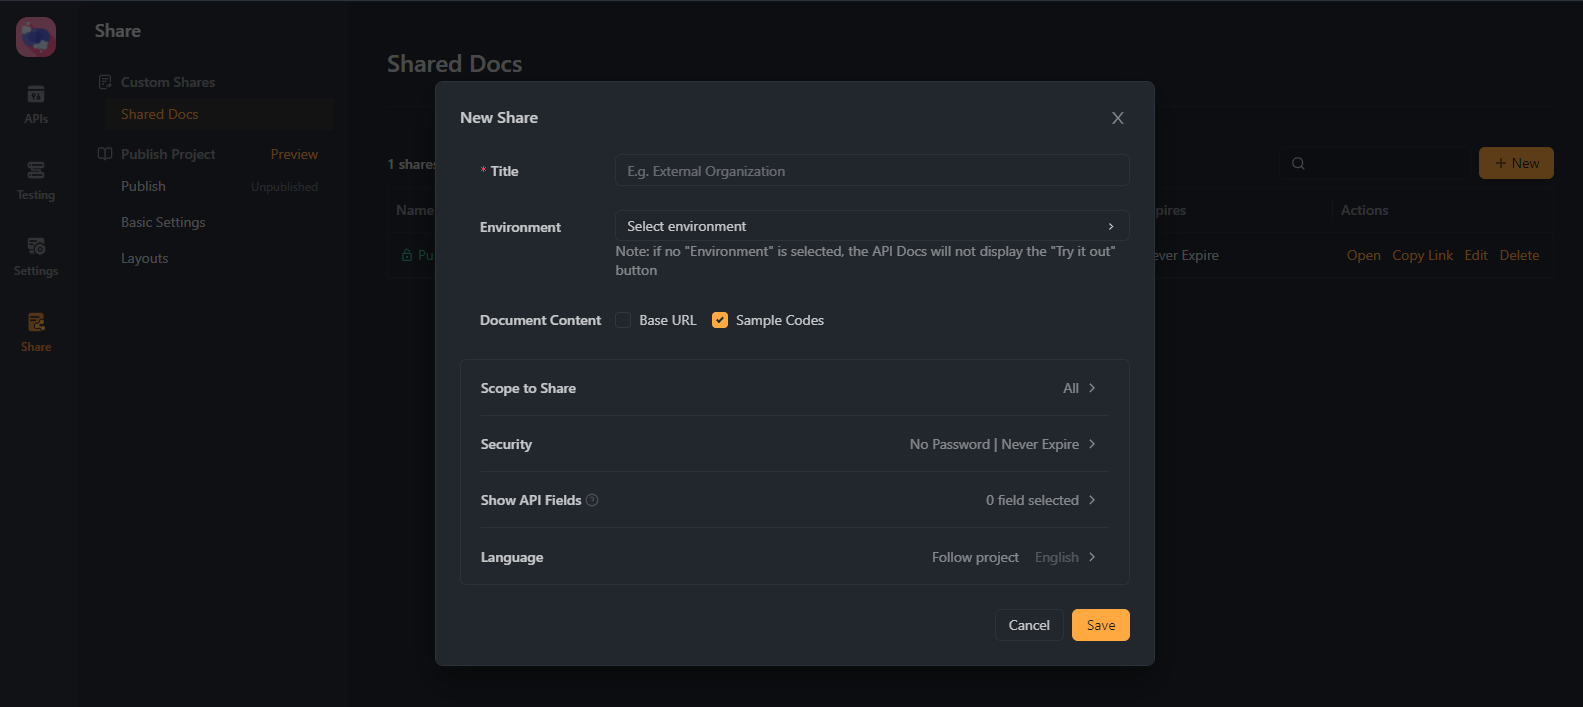
- Enables sharing and collaborating on API projects with team members
Apidog integration with Django REST Framework
Now that you have created an API using the Django REST Framework, we will look at how you can test and manage your API using Apidog. Apidog helps you not only test but also document and mock your APIs.
You can start by opening Apidog's official website, https://apidog.com/. You can sign up for free or download the version compatible with your system to start using Apidog’s services.
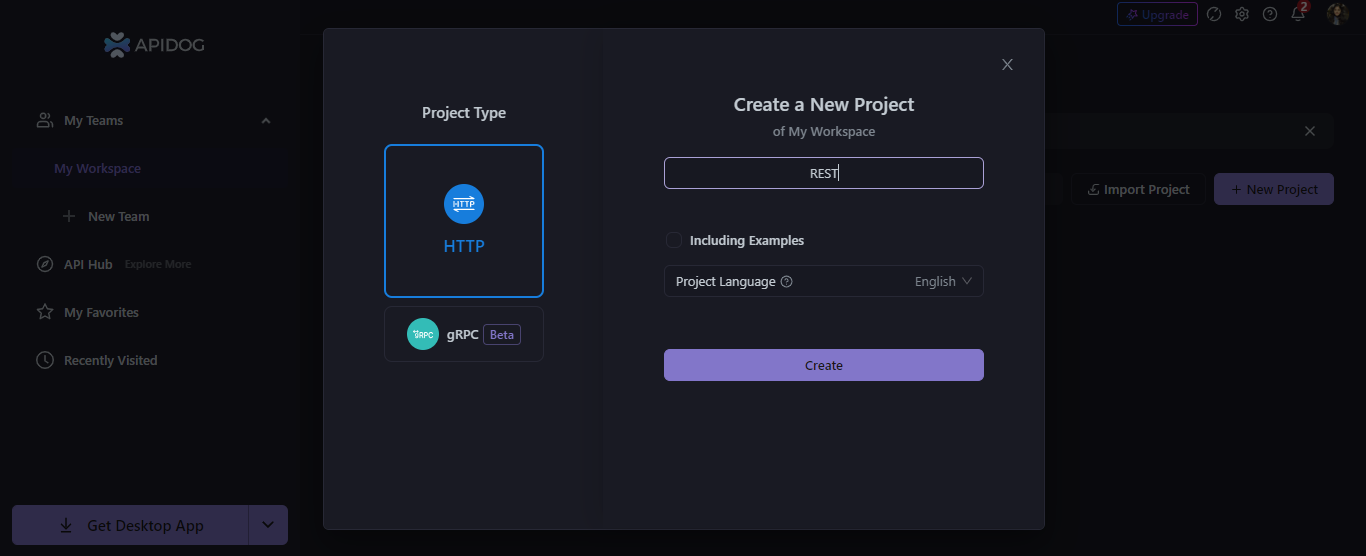
You can create a new project by clicking the “New Project” button on the right side. Keep a suitable name for your project and choose a project type.
As we work with a REST API, we will choose the HTTP method to utilize POST, GET, and PUT methods.
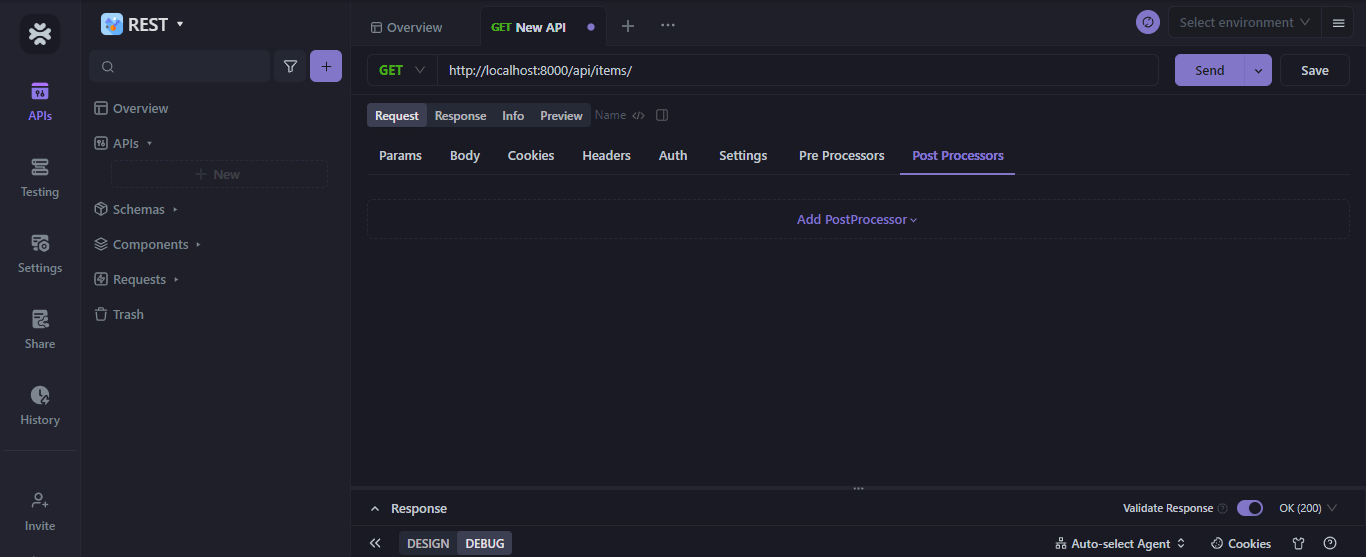
You can create a new API and apply various methods to your request. We will look at the GET method for our localhost. In our case, we are assuming our URL to be “http://localhost:8000/api/items/”.
You will have to use the localhost URL you get from your Django app. We will input this URL in our input field and Send the request.
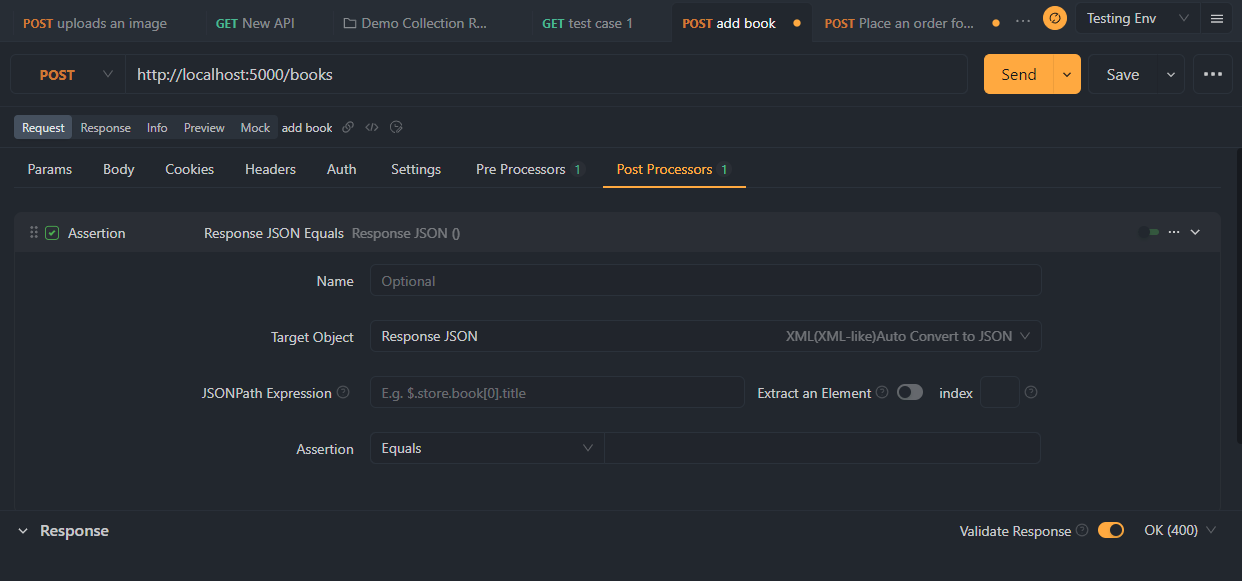
You will get a response to your request, and you can check the output of your request there. You can see your output in the Response if your request gives no validation error.
Otherwise, you will see an error that your request failed to send. In this case, you must ensure you have done all the API-generating steps correctly.
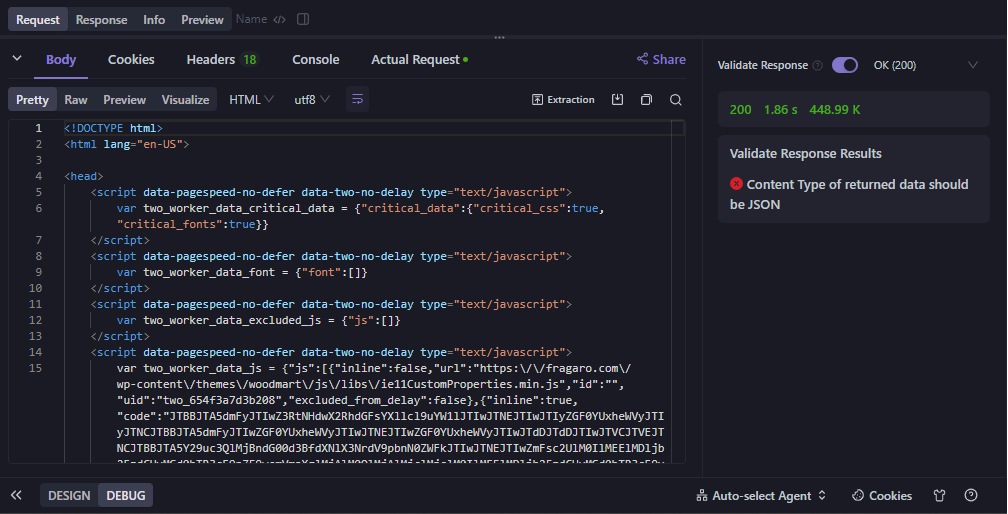
As you can see above, the request issued a valid response. You can check other HTTP methods like PUT, POST, DELETE, etc. You can also test your API in the Testing section. It will give you several options like generating Test Reports, Test Data, and CI/CD (Continuous Integration/Continuous Delivery).
Now that you are familiar with Apidog, you can explore more features by playing with the application. You can also tweak the settings to your required configurations.
Best Practices with Apidog and DRF
Versioning:
Consider versioning your APIs both in Apidog and DRF. You must clearly indicate API versions in the documentation to manage changes and ensure compatibility.
Use Serializers Effectively:
Leverage DRF serializers to handle data serialization and deserialization. Keep your serializers DRY and use them consistently across views.
Class-Based Views and ViewSets:
Organize your API logic using class-based views and ViewSets in DRF and maintain a clean and structured codebase.
Testing:
Write comprehensive tests for your API views and logic in DRF. Ensure that Apidog reflects any changes to the API and remains aligned with the actual behavior.
Authentication and Permissions:
Implement authentication and authorization mechanisms provided by DRF. Clearly, document authentication requirements in Apidog for developers to reference.
Conclusion
In conclusion, integrating Apidog and Django REST Framework (DRF) offers a powerful platform for developers to engage in API documentation and integration. Apidog, with its versatile features, enables the creation of clear and comprehensive API documentation.
Its interactive examples, collaborative editing, and versioning capabilities provide a user-friendly environment for developers to understand, test, and integrate APIs seamlessly.
DRF helps build RESTful APIs and complements Apidog by providing a structured and efficient backend solution. By leveraging DRF's serializers, class-based views, and authentication mechanisms, developers can create APIs that adhere to best coding practices. The combination of these tools encourages a holistic approach to API development.


