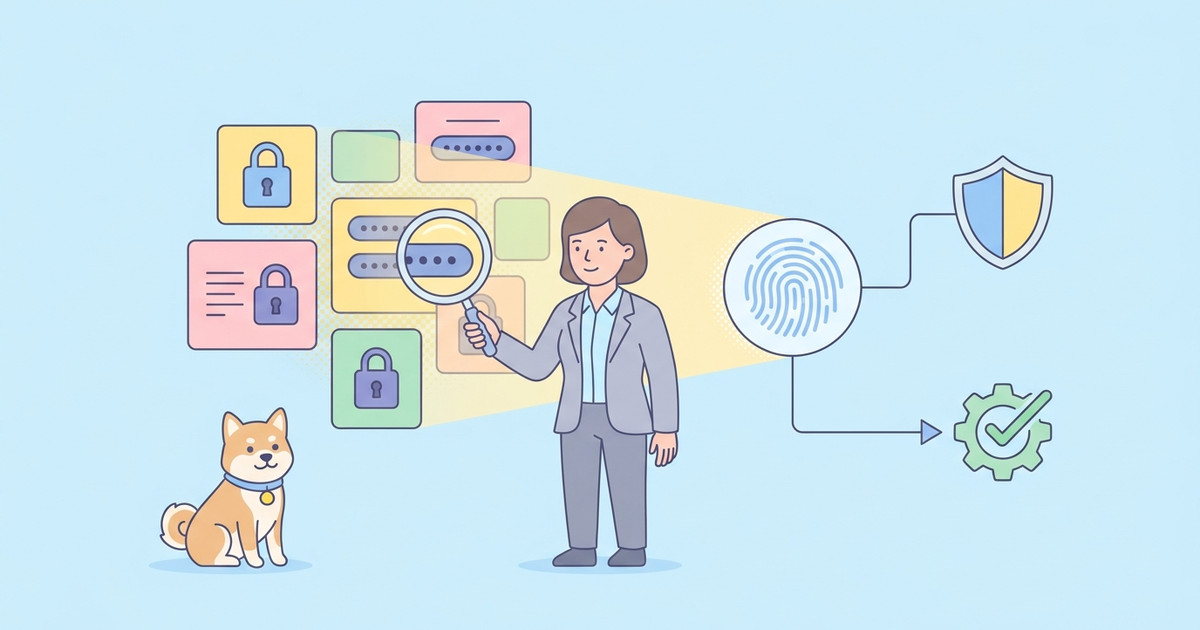
Secret Scanner detects possible API keys, access tokens, credentials, webhook URLs, and other sensitive values in supported Apidog assets. Findings show where a possible secret appears without displaying its full value.
This tutorial explains how to review a finding, respond to a real exposure, record the resolution, and add a custom detection pattern when your team uses an internal secret format.
Before you start
Secret Scanner is available on the Enterprise SaaS plan. It is not currently available in Apidog On-Premises.
Access depends on your role:
| Role | Available actions |
|---|---|
| Organization Owner or Admin | View organization-level reports across teams |
| Team Owner or Admin | Review team findings, resolve or reopen findings, manage custom patterns, and view analytics |
| Team Member or Guest | View findings only for projects they can access |
Use fictional values when testing. Never paste a real credential into a resource simply to confirm that scanning works.
Step 1: Review the organization report
Organization Owners and Admins can use the organization report to identify teams with unresolved findings.
- Open the organization-level Secret Scanner report.
- Review the counts for unresolved findings and published leaks.
- Check the last detected time and scan status.
- Open the affected team or contact its Team Owner or Team Admin.
The organization report helps administrators identify which teams require follow-up.
The report is a triage view. Investigation and resolution take place in the affected team's Secret Scanner pages.
Step 2: Open and filter the team's findings
In the team, open Secret Scanner and select Secrets Detected.
Use the available filters to narrow the list by:
- status
- project
- pattern
- resource type
- keyword
Each finding is grouped by its detection pattern and a secure fingerprint. One finding can have several occurrences when the same detected value appears in more than one location.
Values are masked. Use the project, resource type, occurrence count, and source location to investigate the finding.
Start with unresolved findings marked as published exposure, then review findings that appear in several resources or projects.
Step 3: Inspect every occurrence
Open a finding and review its occurrences. For each occurrence, confirm:
- the project and resource containing the value
- the resource type and source location
- whether the value appears in published documentation
- the first and last detected times
- whether the value is a real credential or a false positive
Do not rely on the masked snippet alone when deciding whether a value is real. Check the source resource and, when necessary, ask the resource owner to identify the issuing system without copying the credential into a ticket or chat message.
Step 4: Respond to a real exposure
Secret Scanner reports possible exposure; it does not change the credential. Handle a confirmed secret in the system where it was issued.
Use this order:
- Revoke, rotate, or invalidate the credential in the external service.
- Review available usage logs for unexpected activity.
- Remove the value from every source occurrence shown in Apidog.
- Replace the raw value with an appropriate variable or Vault Secret reference when the workflow still needs the credential.
- Save each changed resource so an asynchronous scan can run again.
If the credential appears in published documentation, treat it as externally exposed even when no suspicious use is visible.
Removing a value from Apidog does not invalidate copies that may already exist elsewhere. Rotation or revocation is the primary containment action for a real leak.
Step 5: Record the resolution
After the response is complete, set the finding's resolution reason.
| Resolution reason | Use it when |
|---|---|
| Revoked | The value was a real secret and has been revoked, rotated, or invalidated outside Apidog |
| False positive | The detected value is not a secret |
| Won't fix | The value is a real secret, but the team has accepted the risk and will not change it |
Marking a finding as resolved only changes its status in Apidog. It does not revoke, rotate, invalidate, remove, or replace the underlying value.
If further action becomes necessary, reopen the finding.
Step 6: Verify the cleanup
Secret Scanner runs asynchronously rather than in real time. Scans are triggered when a supported resource is added or when Save is selected after a supported resource is changed.
After remediation:
- confirm that all known source occurrences were changed
- save the affected resources
- allow time for asynchronous scanning
- review the finding and its last detected time
- confirm separately that the old credential no longer works in the issuing service
The scanner's status is not a credential-validity test. Verify revocation in the external service.
Step 7: Add a custom detection pattern
Team Owners and Team Admins can create custom patterns for organization-specific secret formats.
- Open Secret Scanner > Patterns.
- Select the option to create a custom pattern.
- Enter a clear name.
- Add the regular expression and any useful keywords.
- Test with a fictional value.
- Enable the pattern and save it.
Current limits are:
- up to 5 custom patterns per team;
- pattern name up to 128 characters;
- regular expression up to 256 characters in the UI;
- up to 10 keywords;
- each keyword up to 64 characters.
Built-in patterns are read-only. Their internal regular expressions are not displayed and they cannot be edited, deleted, enabled, or disabled.
Step 8: Review team analytics
Team Owners and Team Admins can open Analytics to review where findings are concentrated.
Use analytics to identify projects, patterns, and asset types that need additional review.
Analytics can help prioritize work, but each finding still requires source-level investigation.
Supported asset types
Secret Scanner currently scans supported assets including:
- APIs and API requests
- API cases
- project modules and project module variables
- response examples
- Markdown documents and data schemas
- environment, global, and team variables
- common scripts and common parameters
The source detail available for an occurrence depends on its resource type and the viewer's permissions.
Troubleshooting
| Problem | What to check |
|---|---|
| A recent change has no result yet | Scanning is asynchronous. Confirm the resource was saved and review it again later. |
| A team member cannot see a finding | Confirm that the member has access to the related project. |
| A user cannot manage patterns or analytics | Pattern management and analytics require Team Owner or Team Admin access. |
| A resolved finding still contains a working secret | Resolution status does not alter the credential. Revoke or rotate it in the issuing service. |
| An external repository is not scanned | Secret Scanner does not scan external GitHub or GitLab repositories. Use the repository provider's scanning controls as well. |
Important limitations
Secret Scanner does not prevent users from entering secrets, block documentation publishing, scan external repositories, or guarantee detection of every secret format. It also does not automatically remove source values or replace them with variables or Vault references.
Use it as one part of a credential-management process that also includes least-privilege issuance, secure storage, rotation, revocation, and usage monitoring.
Related API governance tutorials:
These tutorials cover complementary controls for governing an enterprise API workspace:
- API Governance Framework — connect ownership, controls, evidence, and lifecycle decisions.
- SAML Group Mapping with Microsoft Entra ID — assign team access from identity-provider groups.
- Secret Scanner — review possible exposed credentials in supported Apidog assets.
- Audit Logs — investigate and export administrative organization activity.
- SCIM Provisioning — manage organization users through the identity lifecycle.
- Enterprise Policies — configure credential, membership, SSO-session, and invitation controls.
- Self-Service API Teams — allow member-created teams while retaining ownership oversight.
- GitHub Enterprise Cloud Integration — connect supported GHE.com repositories for OpenAPI workflows.
Related official documentation: