Welcome to the world of Angular! If you’ve ever wondered what Angular is or why it’s so popular in the web development community, you’re in the right place. This post will take you on a journey through the ins and outs of Angular, explaining its key features, how it works, and why you might want to use it for your next project. Plus, we'll give a shoutout to Apidog, a fantastic tool that can enhance your Angular development experience. So, let’s dive in!
What is Angular?
Angular, developed by Google, is a powerful, open-source web application framework designed to make building web applications easier and more efficient. It’s a complete rewrite from the same team that built AngularJS, the original version of the framework. Angular is built on TypeScript, a superset of JavaScript, and it offers a range of tools and features to help developers create complex applications with ease.

Key Features of Angular
Component-Based Architecture: Angular is built around components, which are the building blocks of an Angular application. Each component represents a part of the user interface and encapsulates its own logic and styles.
Two-Way Data Binding: This feature allows automatic synchronization between the model (the data) and the view (the user interface). When the model changes, the view updates automatically and vice versa.
Dependency Injection: Angular has a powerful dependency injection system that makes it easier to manage and test the components of your application.
Routing: Angular’s built-in router enables you to create single-page applications (SPAs) with multiple views. You can define routes for different parts of your application and navigate between them seamlessly.
Modularity: Angular applications are modular, meaning you can split your app into modules. Each module can contain components, services, and other code, making it easier to manage and scale your application.
Rich Ecosystem: Angular has a vibrant ecosystem of tools, libraries, and third-party integrations, making it a versatile choice for web development.
Getting Started with Angular
To start using Angular, you’ll need to set up your development environment. Here’s a quick overview of the steps involved:
Step 1: Install Node.js and npm
Angular requires Node.js and npm (Node Package Manager) to manage dependencies and run scripts. You can download and install Node.js from the official website, which also includes npm.
Step 2: Install Angular CLI
The Angular CLI (Command Line Interface) is a powerful tool that helps you create and manage Angular projects. You can install it globally on your machine using npm:
npm install -g @angular/cli
Step 3: Create a New Angular Project
Once the Angular CLI is installed, you can create a new Angular project by running:
ng new my-angular-app
This command will create a new directory called my-angular-app with all the necessary files and dependencies for your Angular project.
Step 4: Run the Application
Navigate to the project directory and start the development server:
cd my-angular-app
ng serve
Your Angular application will be running at http://localhost:4200, and you can view it in your web browser.
Building Components in Angular
Components are the heart of an Angular application. Let’s explore how to create and use components in Angular.
Creating a New Component
You can generate a new component using the Angular CLI:
ng generate component my-component
This command will create a new directory called my-component with four files: the component class, template, stylesheet, and test file.
Understanding the Component Structure
Here’s a quick look at the structure of a component:
Component Class: The TypeScript file (my-component.component.ts) contains the logic for the component. It defines properties and methods that the component can use.
Template: The HTML file (my-component.component.html) defines the structure and content of the component’s view.
Stylesheet: The CSS file (my-component.component.css) contains styles specific to the component.
Test File: The test file (my-component.component.spec.ts) contains unit tests for the component.
Using the Component
To use the new component in your application, you need to add it to a module. Open the module file (app.module.ts) and declare the component:
import { MyComponent } from './my-component/my-component.component';

@NgModule({
  declarations: [
    // Other components
    MyComponent
  ],
  // Other properties
})
export class AppModule { }
Now you can use the component in your application’s template:
<app-my-component></app-my-component>

Working with Services and Dependency Injection
Services are used to share data and logic across multiple components. Angular’s dependency injection system makes it easy to manage and use services.
Creating a Service
You can generate a new service using the Angular CLI:
ng generate service my-service
This command will create a new file called my-service.service.ts with the service class.
Using the Service
To use the service in a component, you need to inject it into the component’s constructor:
import { MyService } from './my-service.service';

@Component({
  selector: 'app-my-component',
  templateUrl: './my-component.component.html',
  styleUrls: ['./my-component.component.css']
})
export class MyComponent {
  constructor(private myService: MyService) {
    // Use the service
  }
}
Angular Routing
Angular’s router enables you to create a single-page application with multiple views. Let’s see how to set up and use routing in Angular.
Defining Routes
Routes are defined in a module’s routing configuration. Open the routing module file (app-routing.module.ts) and define the routes:
import { NgModule } from '@angular/core';
import { RouterModule, Routes } from '@angular/router';
import { HomeComponent } from './home/home.component';
import { AboutComponent } from './about/about.component';

const routes: Routes = [
  { path: '', component: HomeComponent },
  { path: 'about', component: AboutComponent }
];

@NgModule({
  imports: [RouterModule.forRoot(routes)],
  exports: [RouterModule]
})
export class AppRoutingModule { }
Navigating Between Views
To navigate between views, you can use Angular’s routerLink directive in your templates:
<a routerLink="/">Home</a>
<a routerLink="/about">About</a>

<router-outlet></router-outlet>
The router-outlet directive is a placeholder for the routed component views.
Enhancing Angular Development with Apidog
If you’re working with APIs in your Angular application, Apidog is a tool you’ll definitely want to check out. Apidog is a powerful API testing and documentation tool that can streamline your development process.
What is Apidog?
Apidog is a comprehensive API development tool that helps you design, test, and document APIs. It provides an intuitive interface for creating API requests, validating responses, and generating documentation.
Key Features of Apidog
API Design: Easily design and manage your APIs with a user-friendly interface.
API Testing: Test your APIs with customizable requests and validate responses against expected results.
API Documentation: Automatically generate detailed documentation for your APIs, making it easier to share with your team and users.
Collaboration: Collaborate with your team in real-time, making API development more efficient and coordinated.
Integrating Apidog with Angular
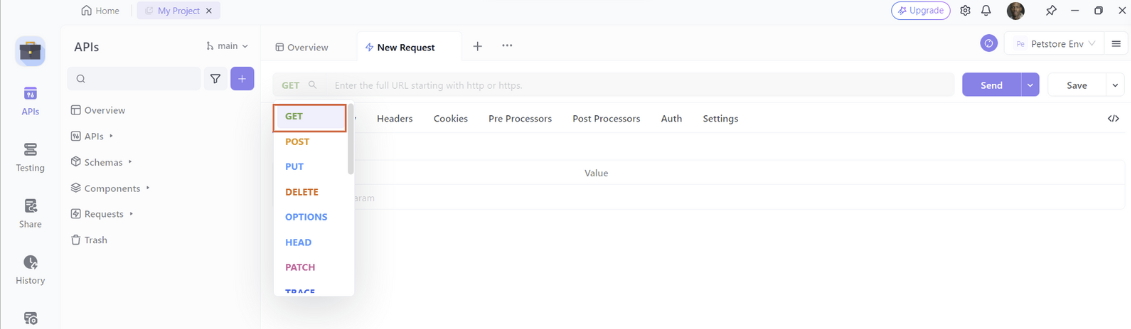
- Open Apidog and click on the "New Request" button to create a new request.
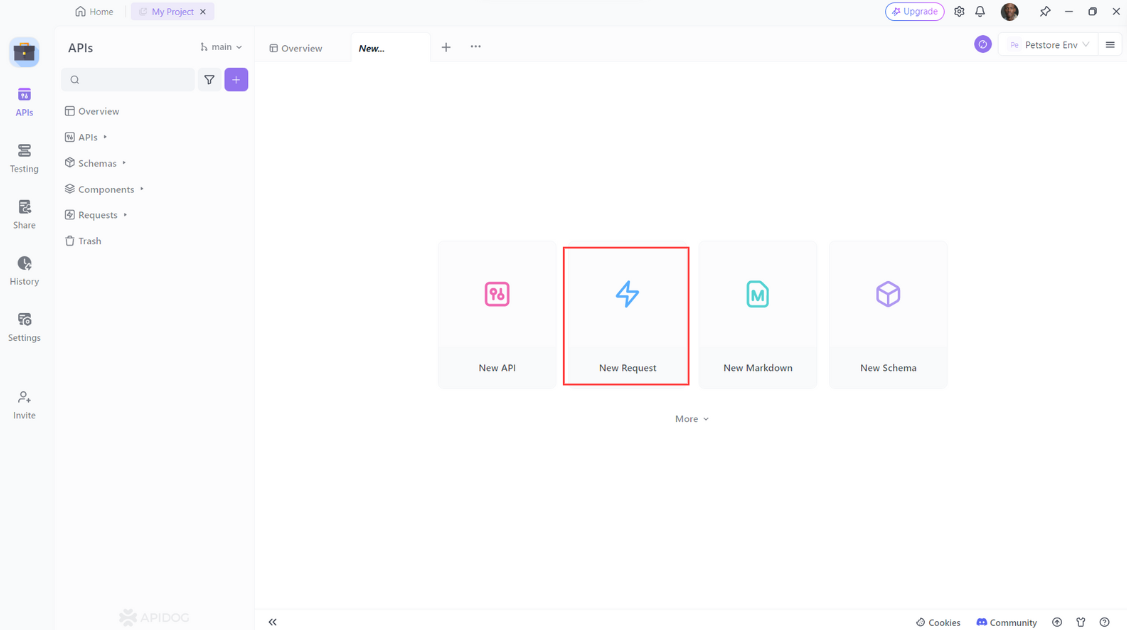
2. Select "GET" as the method of the request.
3. Enter the URL of the API endpoint
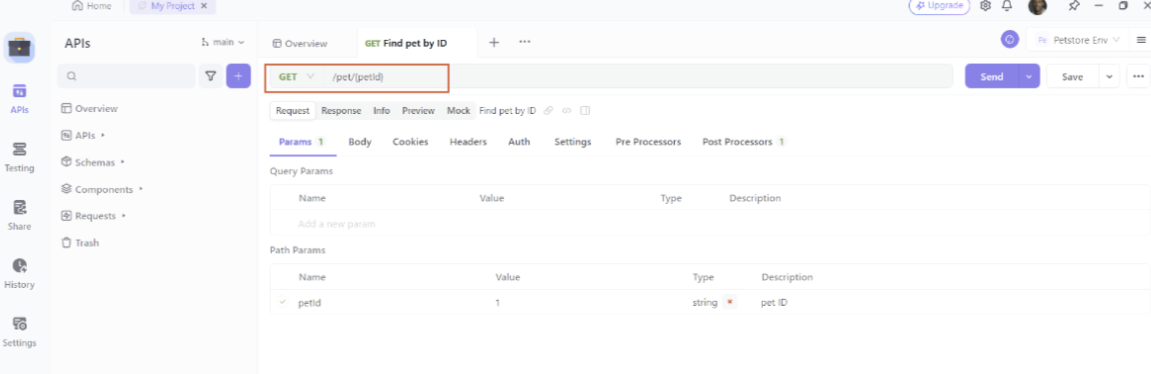
Then click on the “Send” button to send the request to the API.
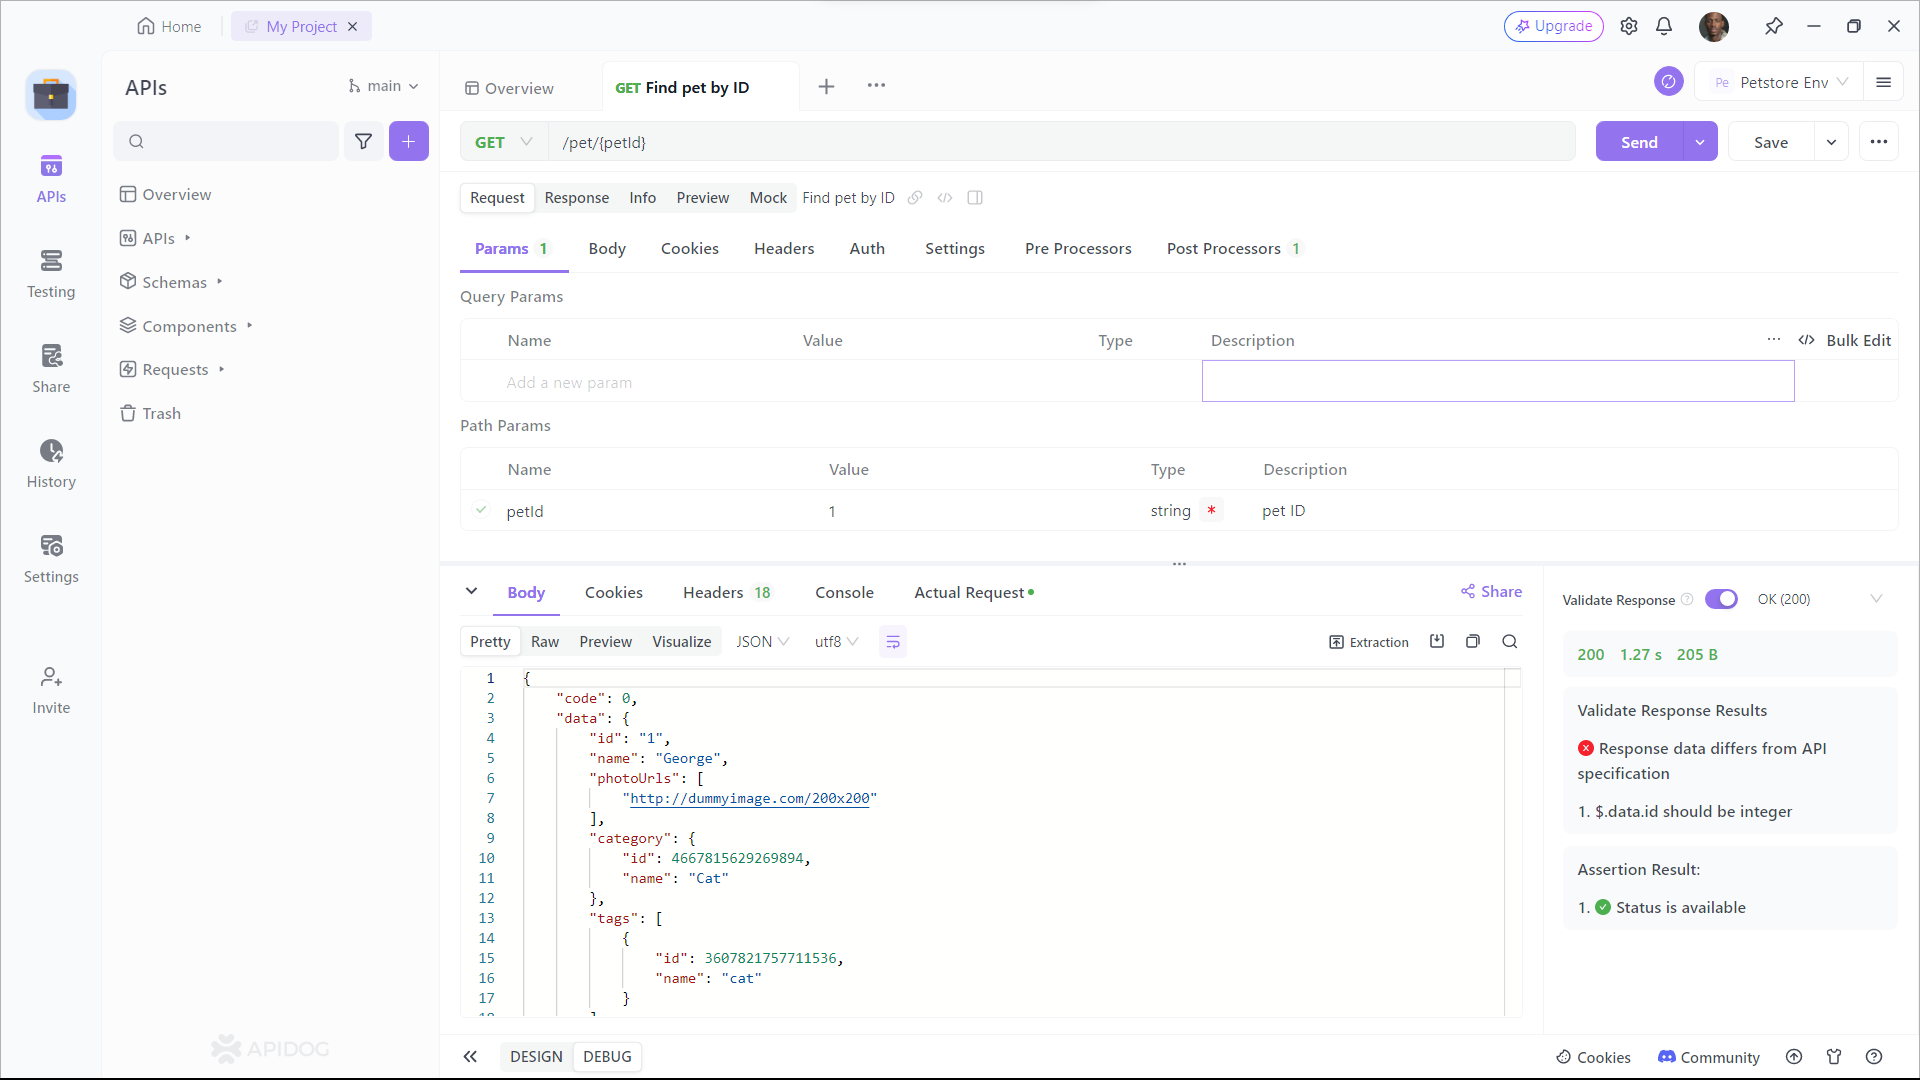
As you can see, Apidog shows you the URL, parameters, headers, and body of the request, and the status, headers, and body of the response. You can also see the response time, size, and format of the request and response, and compare them with different web APIs.
Integrating Apidog with your Angular project is straightforward. You can use Apidog to design and test your APIs, and then integrate them into your Angular services.
Conclusion
Angular is a powerful and versatile framework that can help you build modern web applications with ease. Its component-based architecture, two-way data binding, dependency injection, and rich ecosystem make it a popular choice among developers.
By understanding the core concepts of Angular and how to create components, services, and routes, you’ll be well on your way to building robust web applications. And with tools like Apidog, you can enhance your development process, making it even more efficient and enjoyable.
Ready to take your Angular development to the next level? Download Apidog for free and start streamlining your API design, testing, and documentation today!