If you’re a Java developer, you’ve probably heard of Spring REST and Spring Boot. But what’s the difference between the two? And when should you use one over the other? In this blog post, we’ll dive into these questions and more. So, let’s get started!
Introduction to Spring REST
Spring REST, or Spring MVC REST, is a part of the Spring Framework that allows us to build RESTful web services. It’s all about handling HTTP requests and responses, and it’s a great tool for creating APIs.
Spring REST is built on top of the Spring MVC (Model-View-Controller) framework and is used to build RESTful web services. It leverages the Spring MVC architecture to expose hypermedia-driven HTTP resources.
Why use Spring REST?
Spring REST embraces the precepts of the web, including its architecture, benefits, and everything else. It provides a stack of features such as suitable actions (GET, POST, PUT, DELETE), caching, redirection and forwarding, security (encryption and authentication.
Getting Started with Spring REST
You can start by creating a simple payroll service that manages the employees of a company. You’ll store employee objects in a database and access them via something called JPA. You can use Spring Boot for this example, but classic Spring will also work fine.
Spring Data REST Spring Data REST is built on top of the Spring Data project and makes it easy to build hypermedia-driven REST web services that connect to Spring Data repositories.
Advanced Areas of REST After understanding the basics, you can dive into more advanced areas of REST such as error handling, pagination, testing, and documenting the API.
Spring REST Clients Spring REST provides different clients, including RestClient, RestTemplate, and WebClient.
Understand Spring Boot
On the other hand, Spring Boot is a framework designed to simplify the bootstrapping and development of a Spring application. It provides defaults for code and annotation configuration to quick start new Spring projects within no time.
Spring Boot is a tool that makes developing web applications and microservices with the Spring Framework faster and easier. It’s a convention-over-configuration extension for the Spring Java platform intended to help minimize configuration concerns while creating Spring-based applications.
Why use Spring Boot?
Spring Boot provides three core capabilities:
- Autoconfiguration: Spring Boot initializes applications with pre-set dependencies so that you don’t have to configure manually.
- Opinionated Approach to Configuration: Spring Boot provides built-in autoconfiguration capabilities, which automatically configure both the underlying Spring Framework and third-party packages based on your settings.
- Ability to Create Stand-Alone Applications: Spring Boot allows you to create applications that can “just run”, meaning they are self-contained and do not require an external server.
Getting Started with Spring Boot
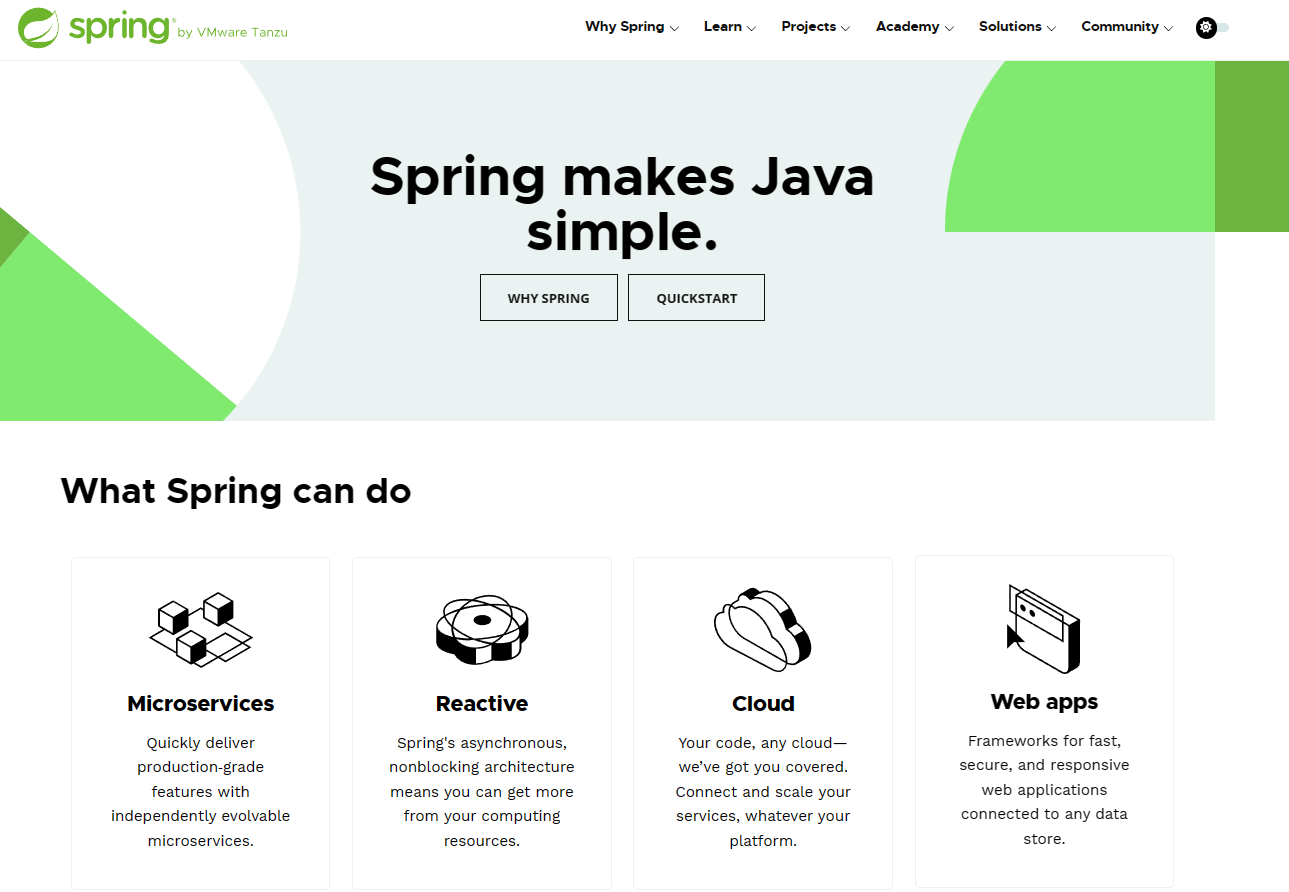
You can start by creating a simple application using Spring Initializr.
To get started with Spring Boot ensure you have a valid version of Java installed. You can check this by running java -version in your terminal. Visit Spring Initializr, fill in your project details, pick your options, and download a bundled up project as a zip file.
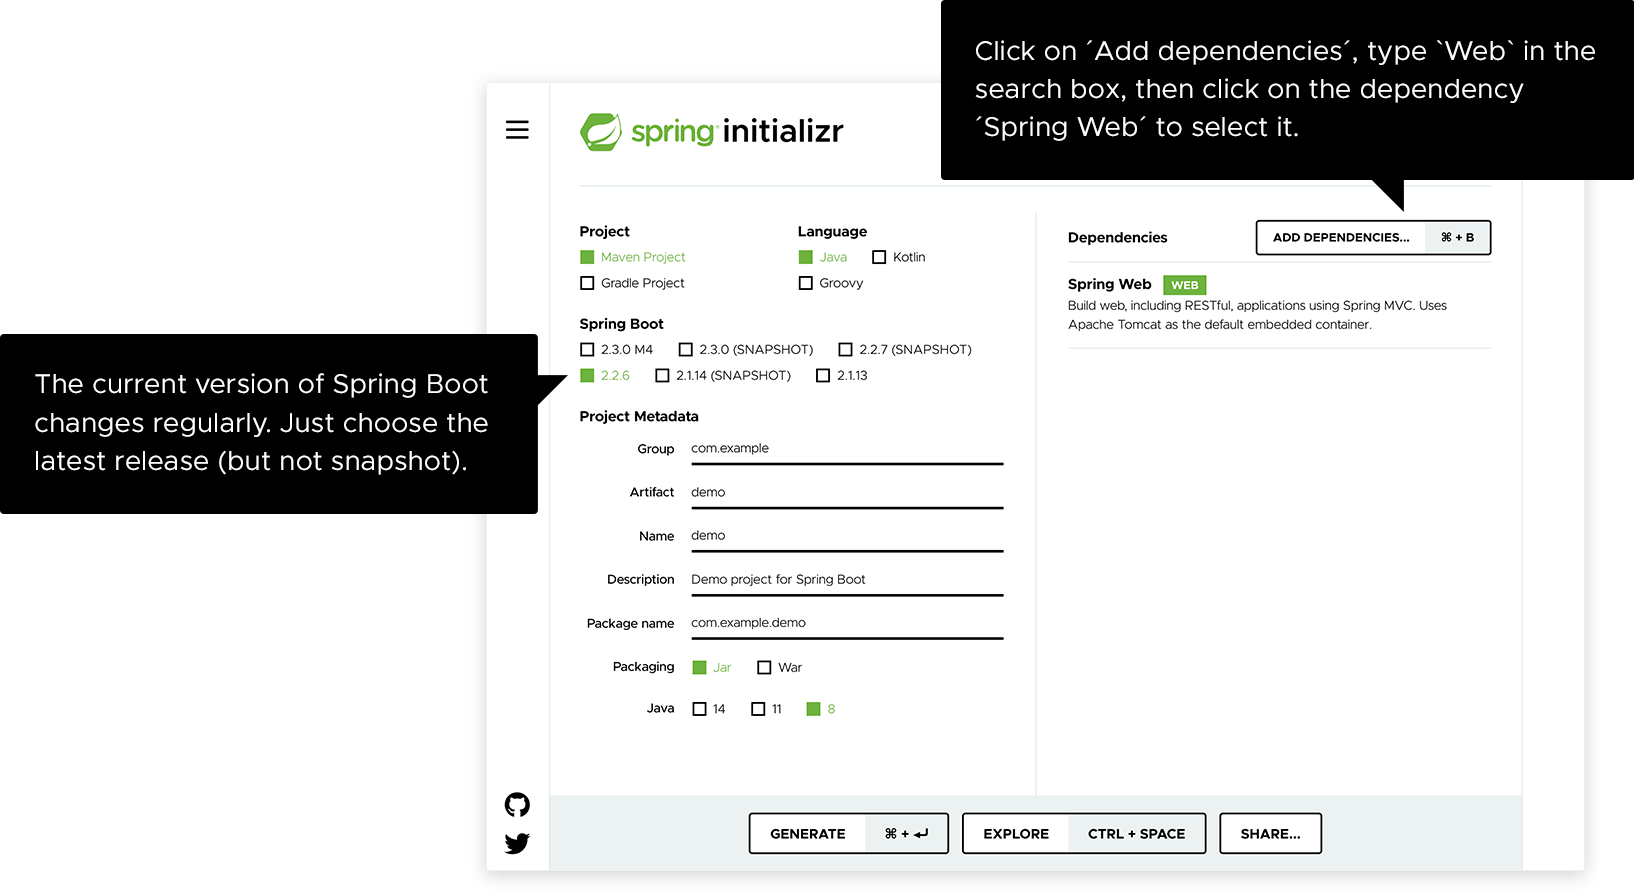
Step 1: Initiate a new Spring Boot project: Navigate to start.spring.io to establish a project with a “web” framework. In the “Dependencies” section, look for and incorporate the “web” dependency, as depicted in the provided image. Click on the “Generate” button, download the zip file, and extract it into a directory on your local machine.
Step 2: Incorporate your codeLaunch your IDE and navigate to the DemoApplication.java file located in the src/main/java/com/example/demo directory of your project. Modify the file’s content by adding the additional method and annotations depicted in the code below. You can either type it out or simply copy and paste the code.
COPYpackage com.example.demo;
import org.springframework.boot.SpringApplication;
import org.springframework.boot.autoconfigure.SpringBootApplication;
import org.springframework.web.bind.annotation.GetMapping;
import org.springframework.web.bind.annotation.RequestParam;
import org.springframework.web.bind.annotation.RestController;

@SpringBootApplication
@RestController
public class DemoApplication {
    public static void main(String[] args) {
      SpringApplication.run(DemoApplication.class, args);
    }
    @GetMapping("/hello")
    public String hello(@RequestParam(value = "name", defaultValue = "World") String name) {
      return String.format("Hello %s!", name);
    }
}
This is the only code necessary to establish a basic “Hello World” web service in Spring Boot.
The hello() method we’ve incorporated is designed to accept a String parameter named ‘name’, and then merge this parameter with the word “Hello” in the code. This implies that if you set your name to “Amy” in the request, the response would be “Hello Amy”.
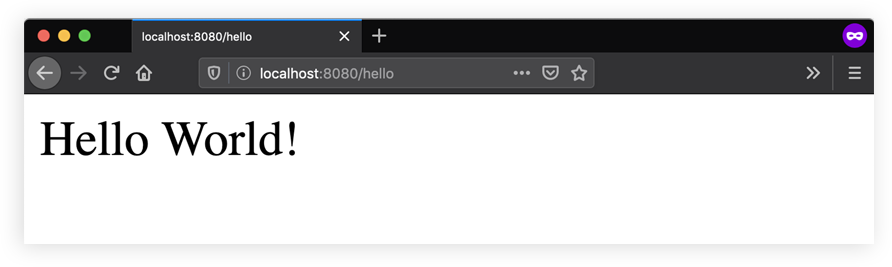
The @RestController annotation informs Spring that this code represents an endpoint that should be accessible over the web. The @GetMapping(“/hello”) instructs Spring to use our hello() method to respond to requests sent to the http://localhost:8080/hello address. Lastly, the @RequestParam is instructing Spring to anticipate a ‘name’ value in the request, but if it’s absent, it will default to the word “World”.
Step 3: Test it: It’s time to build and execute the program. Open a command line (or terminal), navigate to the directory containing your project files. The application can be built and run by executing the following command:
MacOS/Linux:
COPY./gradlew bootRun
Windows:
COPY.\gradlew.bat bootRun
You should observe an output that closely resembles this:
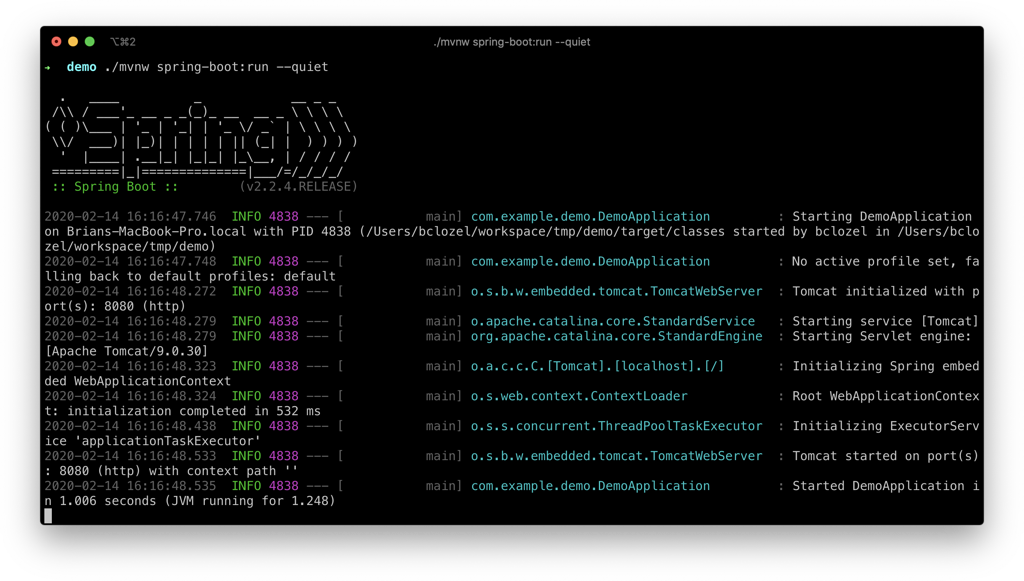
Check the localhost:8080 for the server status.
Remember, Spring Boot is a powerful tool that accelerates the development of Spring-based applications, reducing the complexity of configuration and setup.
Spring REST vs Spring Boot
So, what’s the difference? Well, while Spring REST is focused on providing RESTful services, Spring Boot is all about making it easier to create Spring applications.
Spring REST and Spring Boot are both parts of the Spring ecosystem and can be used to create web applications and RESTful services. However, they serve different purposes and have some key differences:
Spring REST:
- Spring REST is a part of the Spring framework that provides support for building web services following the Representational State Transfer (REST) architectural pattern.
- It is suitable when you want to build RESTful services and have more control over the configuration.
- Spring REST is often used when you are already working with the Spring ecosystem and want to expose some of your service methods as RESTful APIs.
Spring Boot:
- Spring Boot, on the other hand, is an extension of the Spring framework that simplifies the process of creating stand-alone, production-grade applications.
- It provides ‘starter’ dependencies, which are a set of convenient dependency descriptors that you can include in your application, and auto-configuration, which is a feature to automatically configure your Spring application based on the jar dependencies that you added.
- Spring Boot is particularly useful when you want to quickly bootstrap a new project or microservice.
- It is also a good choice when you want to develop a non-blocking reactive application and you’re using Spring WebFlux.
It’s not an either/or situation - in fact, you can use Spring Boot and Spring REST together!
When to Use Spring REST or Spring Boot
If you want more control over your configuration, are comfortable dealing with the complexity of Spring, building a web service and you want to handle HTTP requests and responses, then Spring REST could be a good choice. On the other hand, if you want to quickly get a new project up and running with minimal configuration, then Spring Boot would be more suitable.
It’s also worth noting that these two are not mutually exclusive and are often used together in the same application. For example, you can use Spring Boot to quickly set up a new application and then use Spring REST to expose some of your service methods as RESTful APIs.
Test Spring APIs
Apidog is an integrated platform for API design, debugging, development, mock, and testing. It’s a complete set of tools that connects the entire API lifecycle, helping R&D teams implement best practices for API Design-first development.
Apidog combines the functionalities of Postman, Swagger Editor, Swagger UI, Stoplight, ReadMe, JMeter, SoapUI, and Mock into one platform. This allows for efficient API development and ensures that no task is needlessly repeated. It’s loved by developers worldwide for simplifying the process of building and testing APIs.
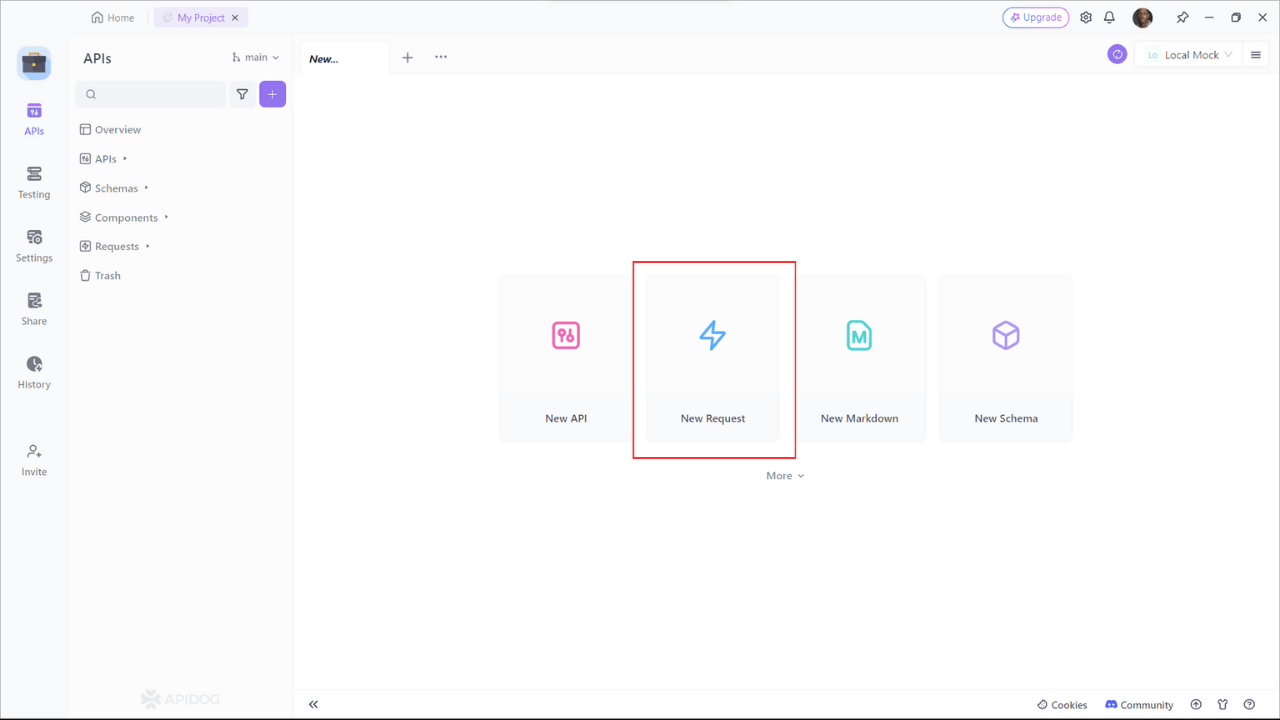
Step 1: Open Apidog and create a new request.
- Start Apidog and select New Request
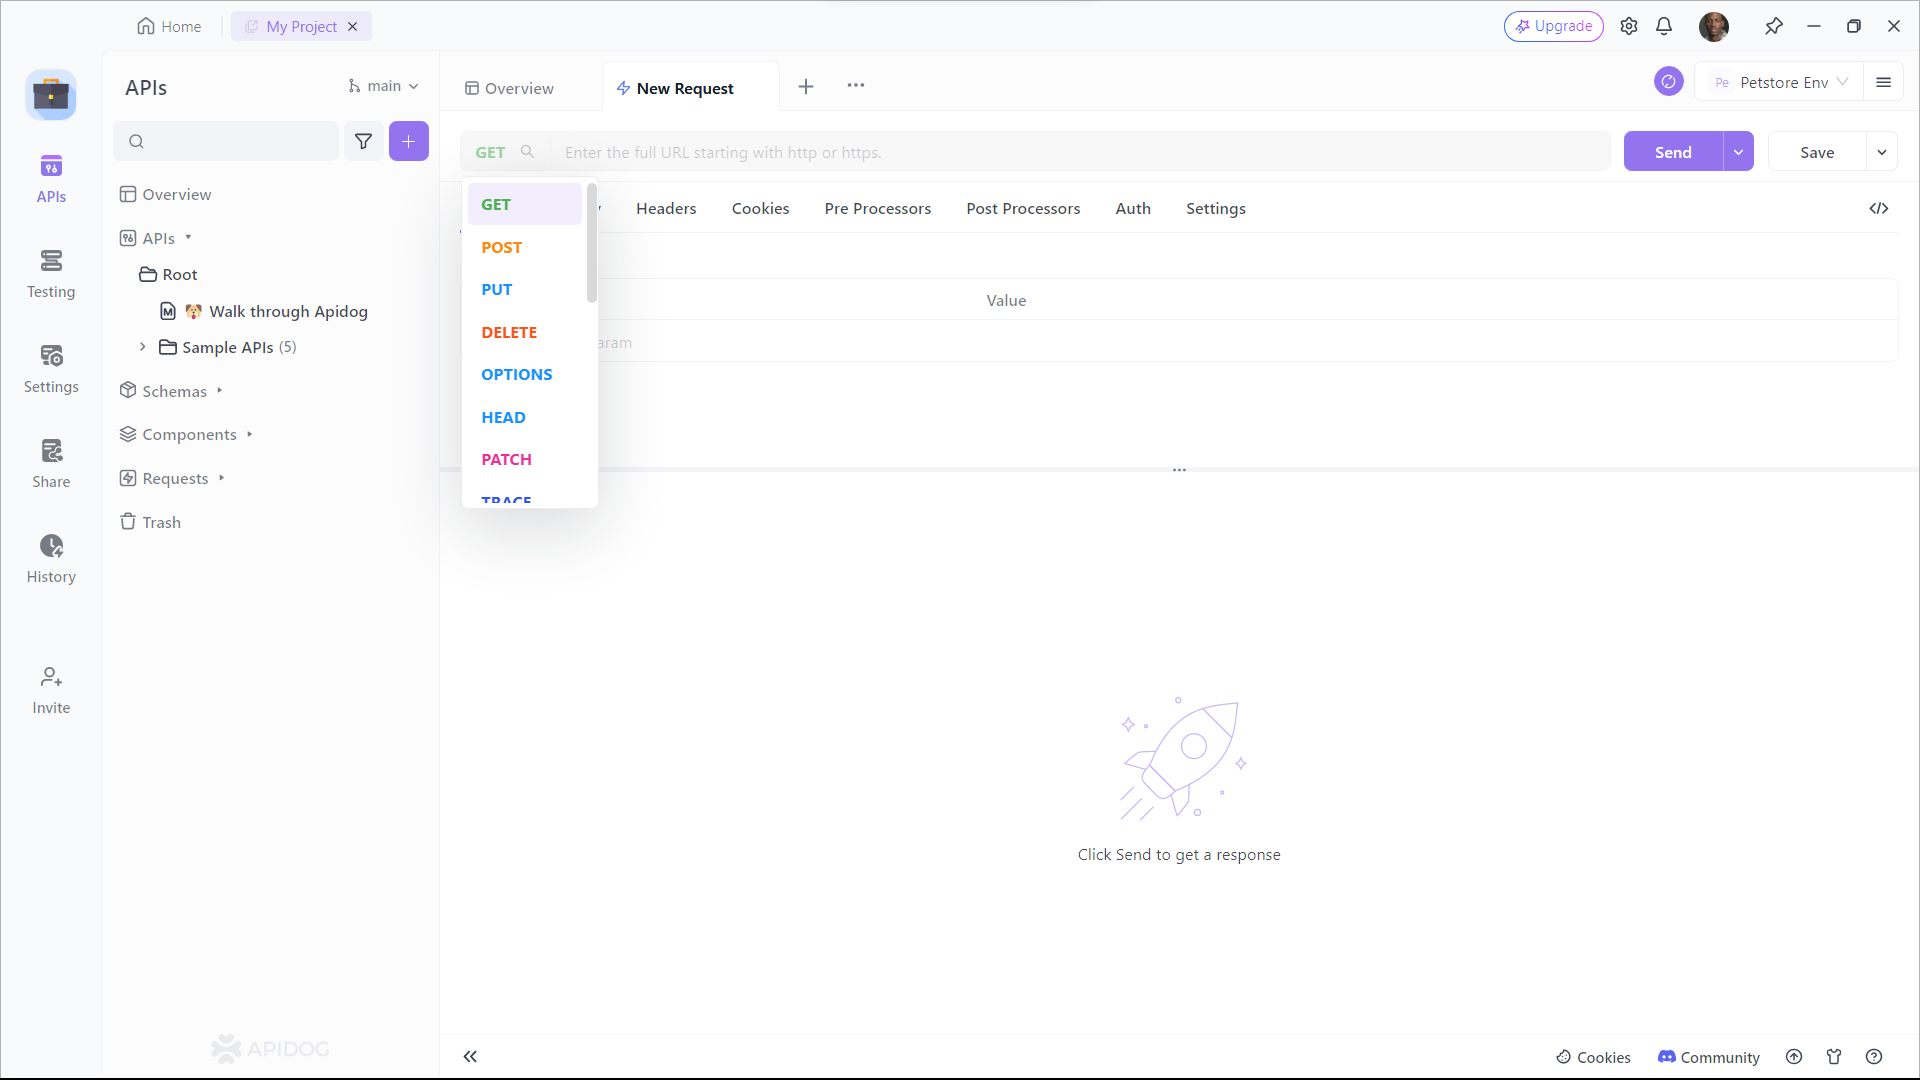
Step 2: Input the API
- Find or manually input the API details for the POST request you want to make.
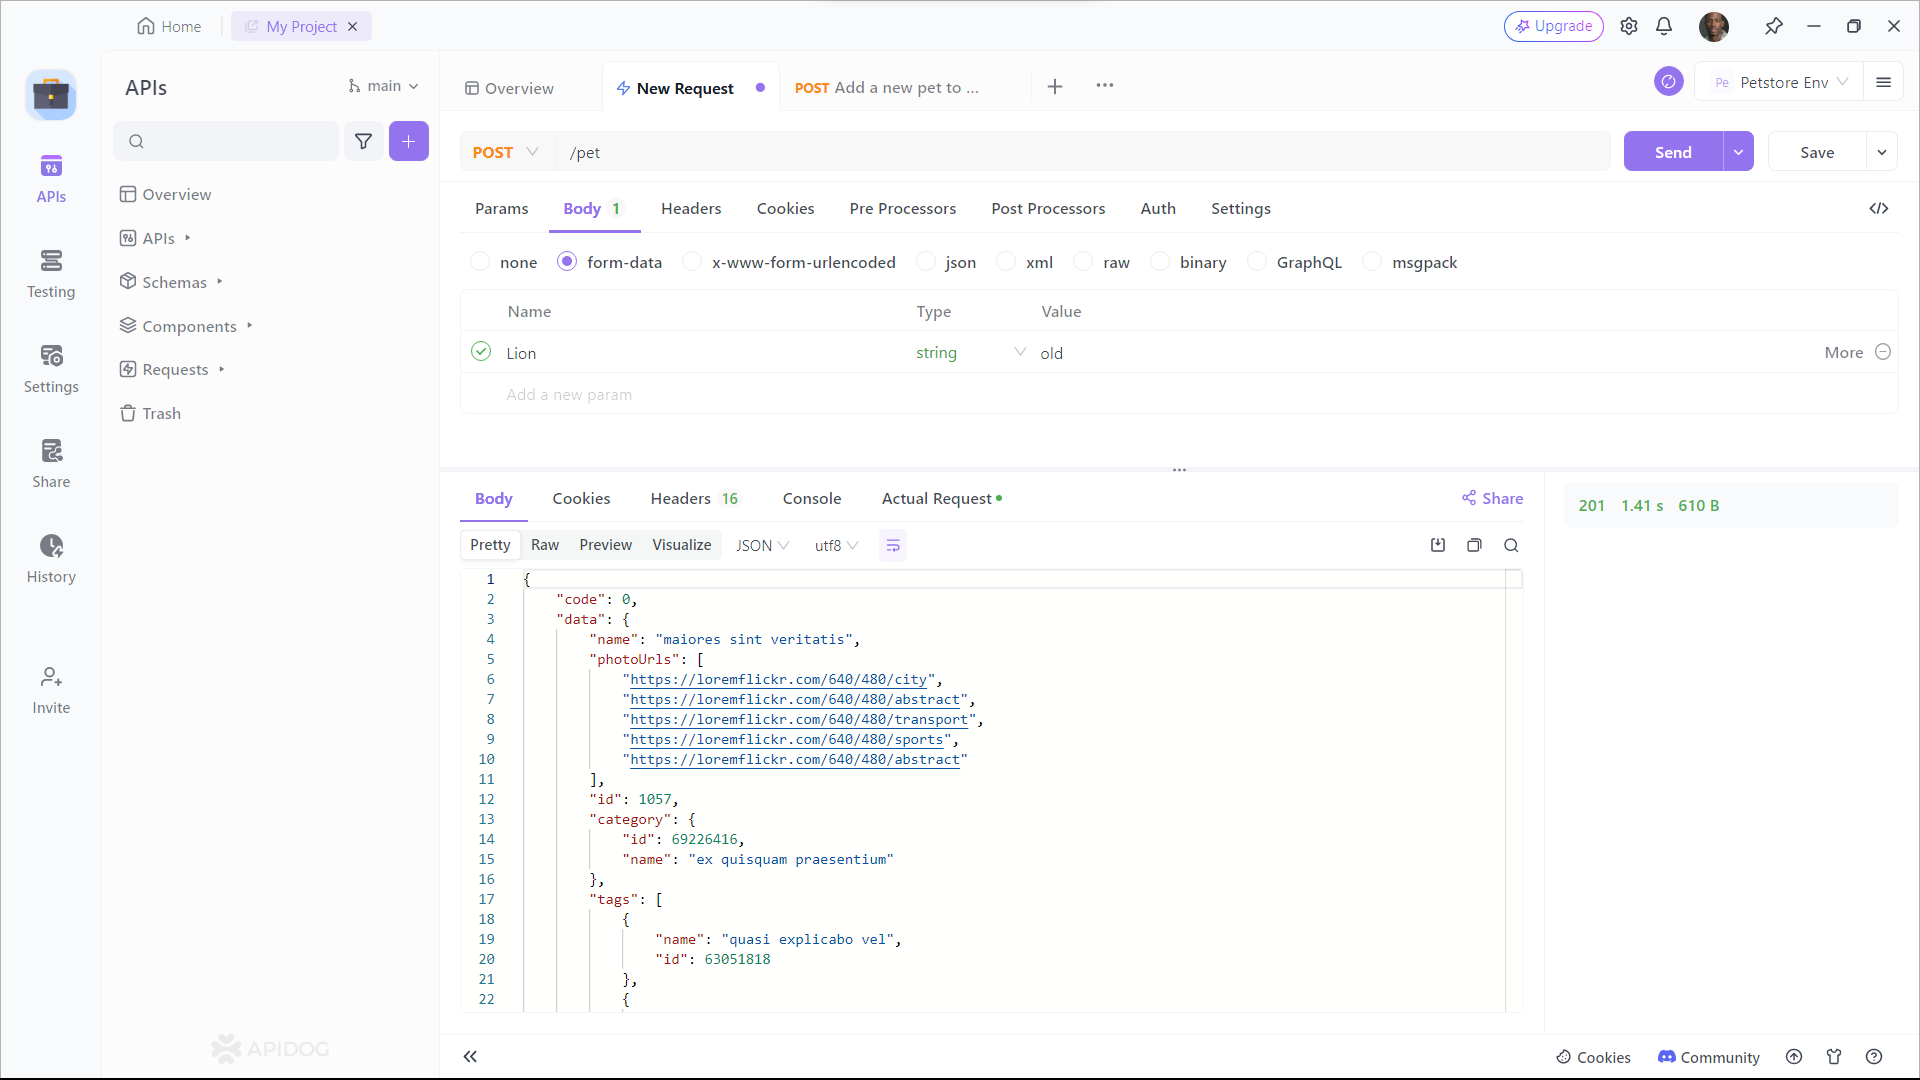
Step 3: Input Parameters
- Fill in the required parameters and any data you want to include in the request body.
Using Apidog can save you time and effort when working with APIs.
Conclusion
Both Spring REST and Spring Boot have their own strengths and use-cases. They can even be used together for creating robust and efficient applications. So, the next time you’re starting a new project, consider which tool is right for you.