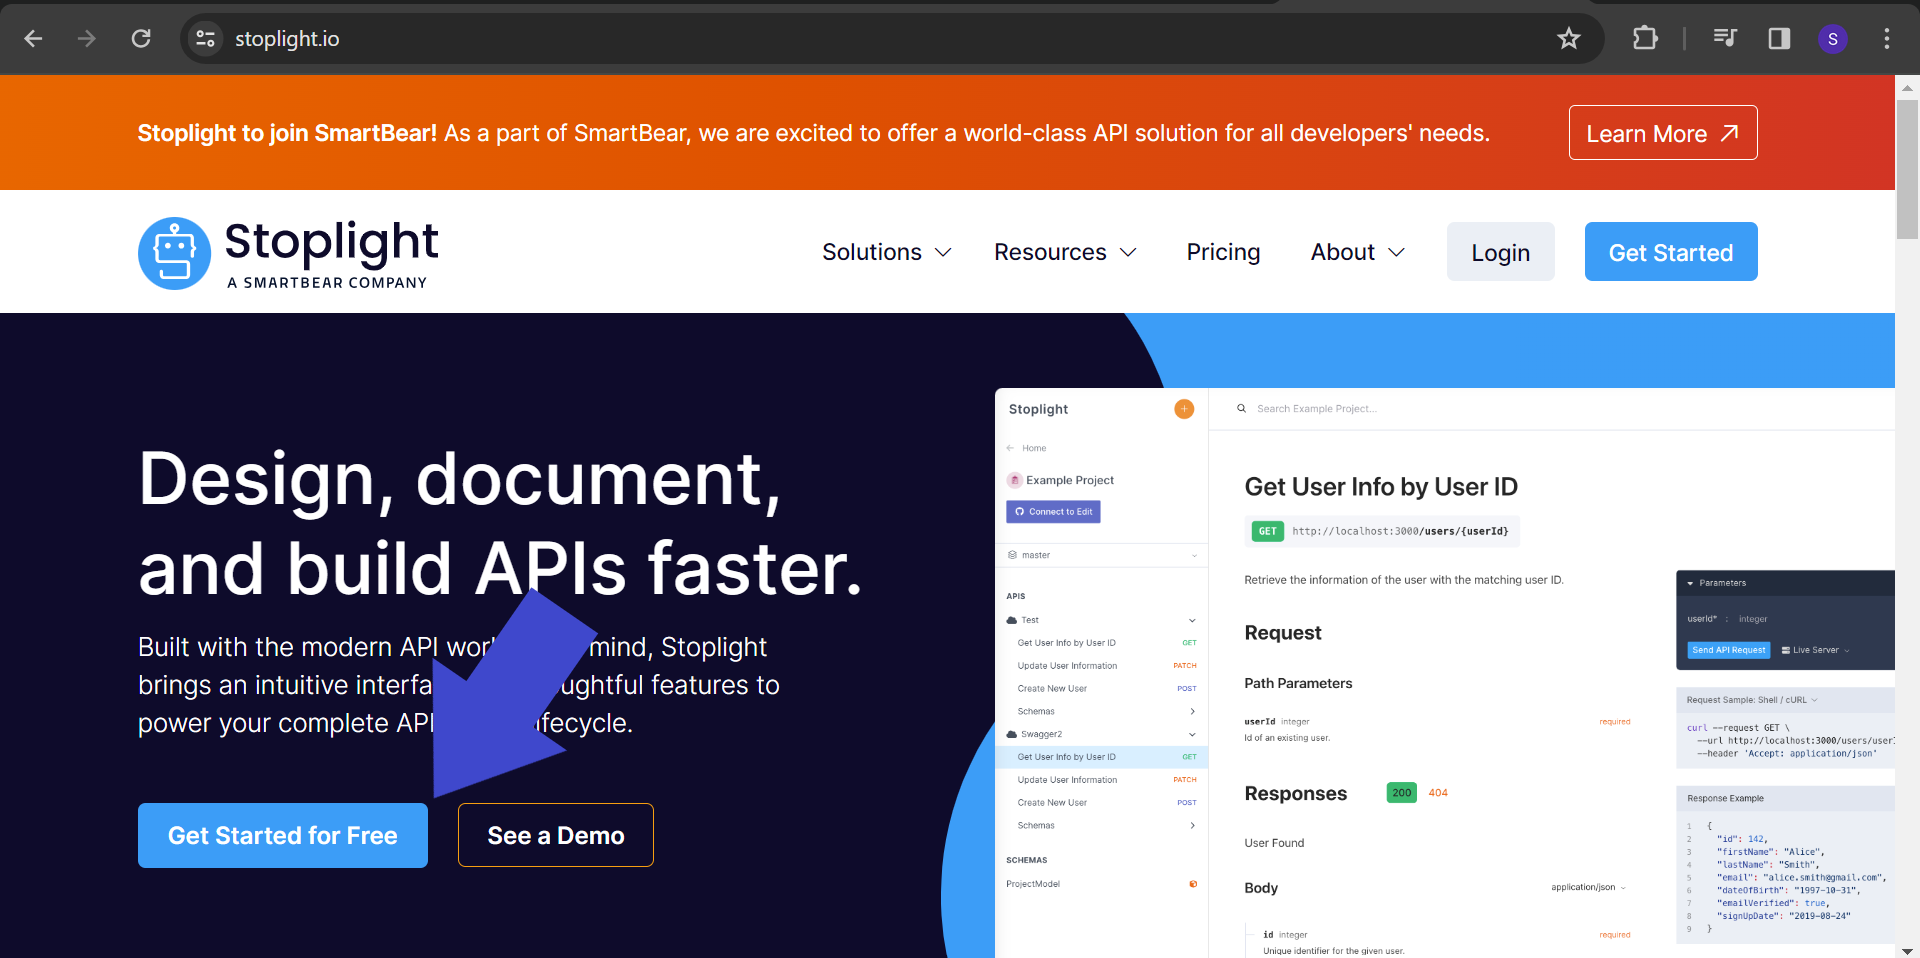
Stoplight Studio is a specialized application for API modeling, design, and technical writing that enhances existing workflows. It functions offline when run locally and offers web-native Git support in browser environments for seamless repository interaction.

At its core, Stoplight Studio embraces a design-first philosophy for API development, prioritizing thoughtful design before coding to reduce wasted resources and risks. The platform supports both OpenAPI v2 and v3 specifications with validation, mocking, and modeling capabilities.
The form-based design approach eliminates the need for extensive OpenAPI expertise, featuring both "write" mode with autocomplete functionality and "read" mode for visualizing operations and models. Stoplight Studio also extends to JSON Schema modeling through an intuitive graphical interface.
A key strength is its emphasis on reusability, allowing users to quickly find and reuse objects across endpoints, enhancing API consistency and reducing duplication. For documentation, it combines API reference documentation with Markdown-based guides within a single project.
Want to begin your journey to being a more efficient software developer? Start using Apidog by clicking on the button below!👇👇👇
How to Set Up Stoplight Studio for API Documentation Projects
Setting up Stoplight Studio involves straightforward steps. You just need to sign up and follow the instructions.
Stoplight Studio offers multiple project creation options:
- Create a new local project: Start from scratch locally
- Connect to a Git repository: Connect directly to existing repositories
- Open an existing local project: Reopen previous projects
The project structure typically includes:
- APIs: Define API specifications using OpenAPI
- Models: Create reusable JSON Schema components
- Documentation: Create Markdown-based documentation
- Assets: Store images and other media
You can create a new API definition or import existing ones from OpenAPI/Swagger JSON or YAML files. After importing or creating your API definition, enhance it using the form-based editor, which provides fields for all essential API components and automatically validates against the OpenAPI specification.
Key Features of Stoplight Studio for Enhanced API Documentation
Stoplight Studio offers several key features that enhance the API documentation process:
- The graphical API design interface makes API design accessible to team members with varying technical knowledge. The dual-mode interface offers both "write" and "read" modes, reducing the learning curve associated with API design.
- JSON Schema modeling capabilities simplify creating and modifying JSON Schema files, particularly valuable for teams working with complex data structures.
- The platform's emphasis on reusability and component sharing ensures consistent implementation across endpoints. When changes are needed, they can be made in one location and automatically propagated throughout the API.
- For documentation, Stoplight Studio offers a built-in Markdown editor for comprehensive technical documentation, with an integrated image manager for visual elements.
- Style guides and validation features powered by Spectral integration enforce correctness and best practices throughout the API design process, alerting users to errors immediately.
- The built-in mocking capabilities automatically start a Prism mock server for every API defined in the project, allowing teams to test APIs before implementation.
- Stoplight Studio's Git integration provides robust support for version control, enabling collaborative work while maintaining control over changes.
Stoplight Studio and OpenAPI
Stoplight has been recently acquired by SmartBear Software, the developer of Swagger, in May 2022. The reasons why such an acquisition has been made are that:
- Swagger and Stoplight have similar strengths in API lifecycle management.
- Stoplight has more advanced features to offer than Swagger, with some examples coming in as API testing and microservices support.
- Increased presence in the API tool field.
As Smartbear donated its Swagger specification to the OpenAPI Initiative in 2015, it is no surprise that Stoplight Studio also inherited many of its characteristics and standards.
How to Use Stoplight Studio for Designing and Documenting APIs
Using Stoplight Studio effectively involves a systematic approach. For new APIs, define basic information such as title, version, description, and servers through the form-based interface.
When designing endpoints, add paths and define operations (GET, POST, PUT, DELETE) for each path. Specify parameters, request bodies, responses, and examples for each operation.
For parameters, define name, location, data type, required status, and description. For request bodies, specify content type and payload structure using JSON Schema. Response documentation follows a similar pattern, defining different response codes and their corresponding content structures.
Create reusable components in the "Models" section and reference them throughout your API definition to promote consistency. For security, specify authentication methods including API keys, OAuth2, and HTTP authentication.
Beyond technical specifications, create user-friendly documentation using the Markdown editor. Organize documentation into logical sections, include images, and create navigation structures that enhance usability.
Test your API design using the integrated Prism mock server, which allows you to send requests and receive responses based on your documentation without writing code.
Apidog - All-In-One API Documentation Tool
While Stoplight Studio focuses primarily on design and documentation, Apidog provides a unified platform for the entire API lifecycle. Apidog offers a complete API development ecosystem that serves all team members involved in API projects, eliminating fragmentation and enhancing collaboration.

- Apidog's comprehensive protocol support extends beyond REST APIs to include WebSocket, GraphQL, SOAP/WebService, SSE, and gRPC within the same interface.
- For API designers, Apidog enhances design capabilities with intelligent parsing of API requests into specifications, automatically generating documentation from actual API usage.
- Backend developers benefit from Apidog's database connectivity for CRUD operations during API debugging, allowing testing of database interactions alongside API functionality.
- Frontend developers can leverage Apidog's advanced mock data generation that closely mimics production data, enabling independent frontend development.
- For QA engineers, Apidog provides a complete testing ecosystem including unit testing, integration testing, data-driven testing, performance testing, regression testing, and CI/CD integration.
- Apidog's collaborative features extend across the entire API lifecycle, allowing team members to share specifications, test cases, mock servers, and documentation.
- The documentation capabilities include interactive "Try It Out" functionality, code generation in over 30 languages, and support for multiple API document versions.
How to Migrate from Stoplight Studio to Apidog
Migrating to Apidog is straightforward. Begin by importing your OpenAPI specifications from Stoplight Studio. Apidog supports direct imports from OpenAPI/Swagger files, preserving path definitions, operations, parameters, request bodies, responses, and examples.
After importing API definitions, set up environments and variables in Apidog's Environment section to correspond with your Stoplight Studio configurations.
For teams using Stoplight Studio's mocking capabilities, Apidog offers enhanced mock server functionality that automatically generates sophisticated mock servers based on your specifications.
Create test cases in Apidog corresponding to your existing tests, using Apidog's visual assertion builder and variable extraction capabilities. For complex scenarios, use Apidog's scenario builder to recreate multi-step processes.
For teams with established CI/CD pipelines, configure them to use Apidog's CLI or API for automated testing. Finally, set up team access and permissions in Apidog, which offers more granular access control than Stoplight Studio.
Conclusion: Choosing the Right API Documentation Tool
When evaluating API documentation tools, consider your team's comprehensive needs. While Stoplight Studio offers valuable features for API design and documentation, Apidog provides a unified platform addressing the entire API lifecycle.
For teams focused exclusively on API design and documentation, Stoplight Studio may suffice. However, for organizations seeking to streamline their entire API workflow, Apidog offers compelling advantages: reduced development time, improved API quality, enhanced team collaboration, and a superior developer experience.
As API development evolves, Apidog's comprehensive approach represents the future direction of the industry—moving beyond fragmented toolsets toward unified platforms that address the complete API lifecycle.


