ReadMe.io and README may look similar, but they are actually two different concepts. "README" is a common file naming convention used in code projects to provide a brief description and usage guide for the project. This file is typically written in Markdown or plain text format. As for the latter, ReadMe.io is a user-friendly API documentation tool. Let's move on to learn more!
What is ReadMe.io?
ReadMe.io is a popular documentation platform designed to help companies and developers create, manage, and publish API documentation. It offers an easy-to-use interface and a range of features that simplify the process of documenting APIs and make them easily accessible to users. The next section, ReadMe.io is called ReadMe.
It offers automated API docs generation, customizable themes, version control, usage analytics, and an interactive API explorer. The platform supports OpenAPI/Swagger specs, and Markdown content, and includes features like user authentication, search functionality, and dedicated sections for guides and tutorials.
This all-in-one solution aims to simplify the process of creating, maintaining, and delivering high-quality API documentation for developers.
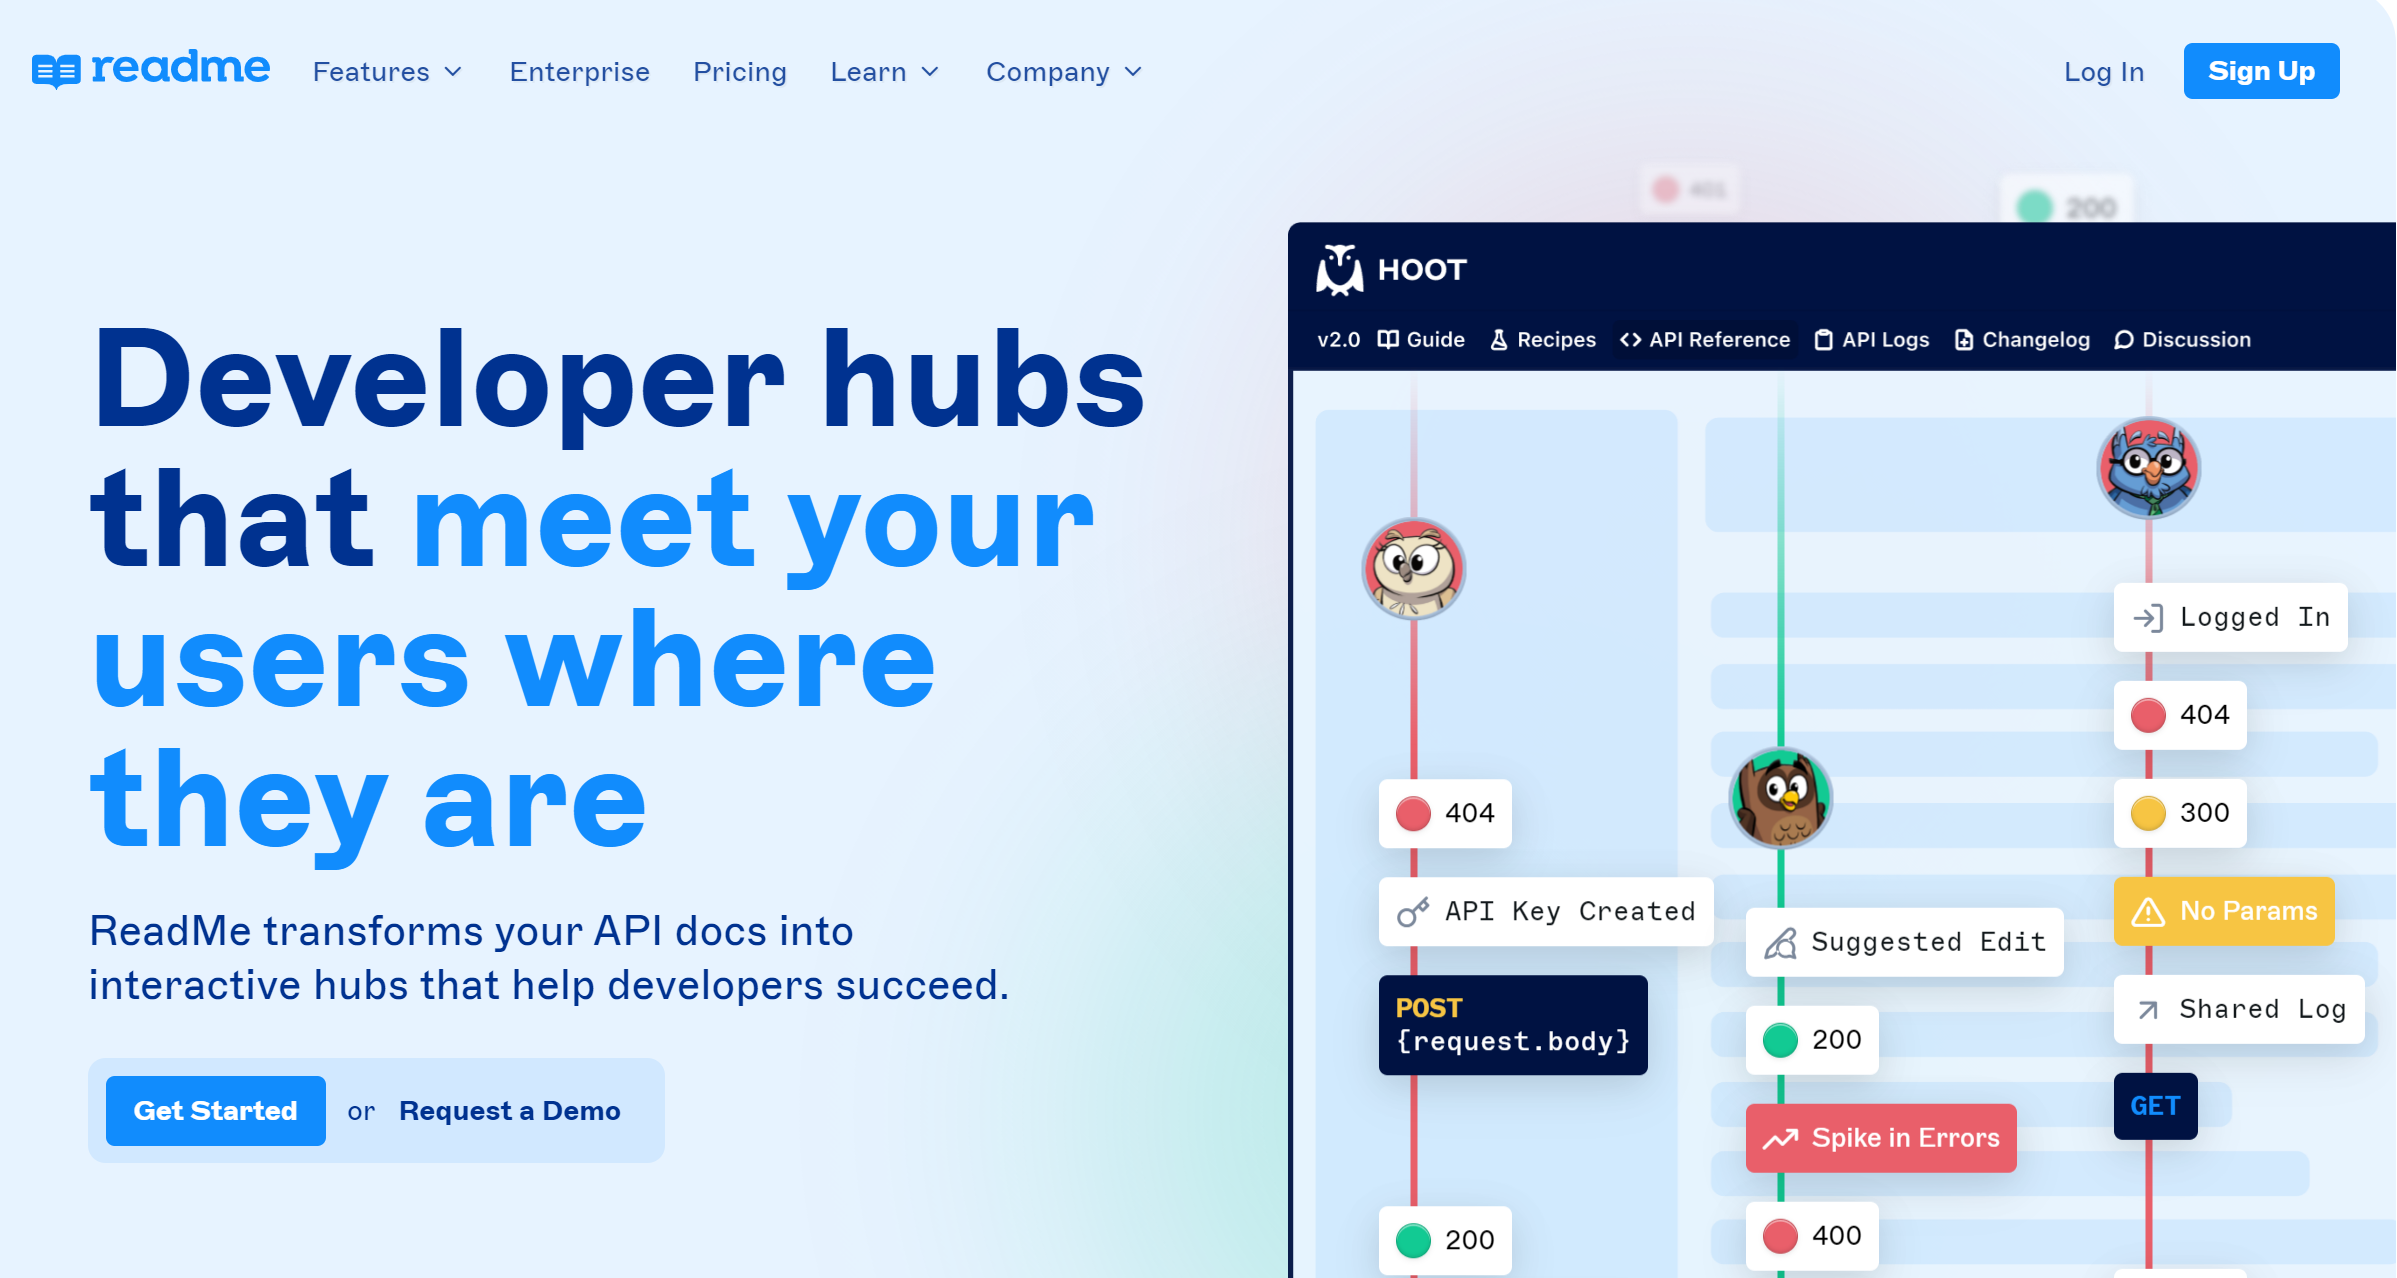
The Limitation of ReadMe:
ReadMe's pricing can be a significant drawback, especially for larger projects or companies with extensive documentation needs. While it offers a free tier, the paid plans can be expensive for businesses requiring high traffic capacity or advanced customization.
Additionally, the platform may lack advanced styling options, potentially limiting those who seek highly customized designs or layouts. There's a learning curve associated with ReadMe, which may require time for new users to fully grasp its features and capabilities. So Apidog is a good solution and ReadMe alternative for you.
Apidog: The Best ReadMe Alternatives Tool For You
Apidog is a complete set of tools that connects the entire API lifecycle, helping R&D teams implement best practices for API Design-first development. That can be considered an alternative to ReadMe.
It offers several features and benefits that make it a popular choice for developers and companies looking to document their APIs as well as supporting testing and mocking API in one platform.
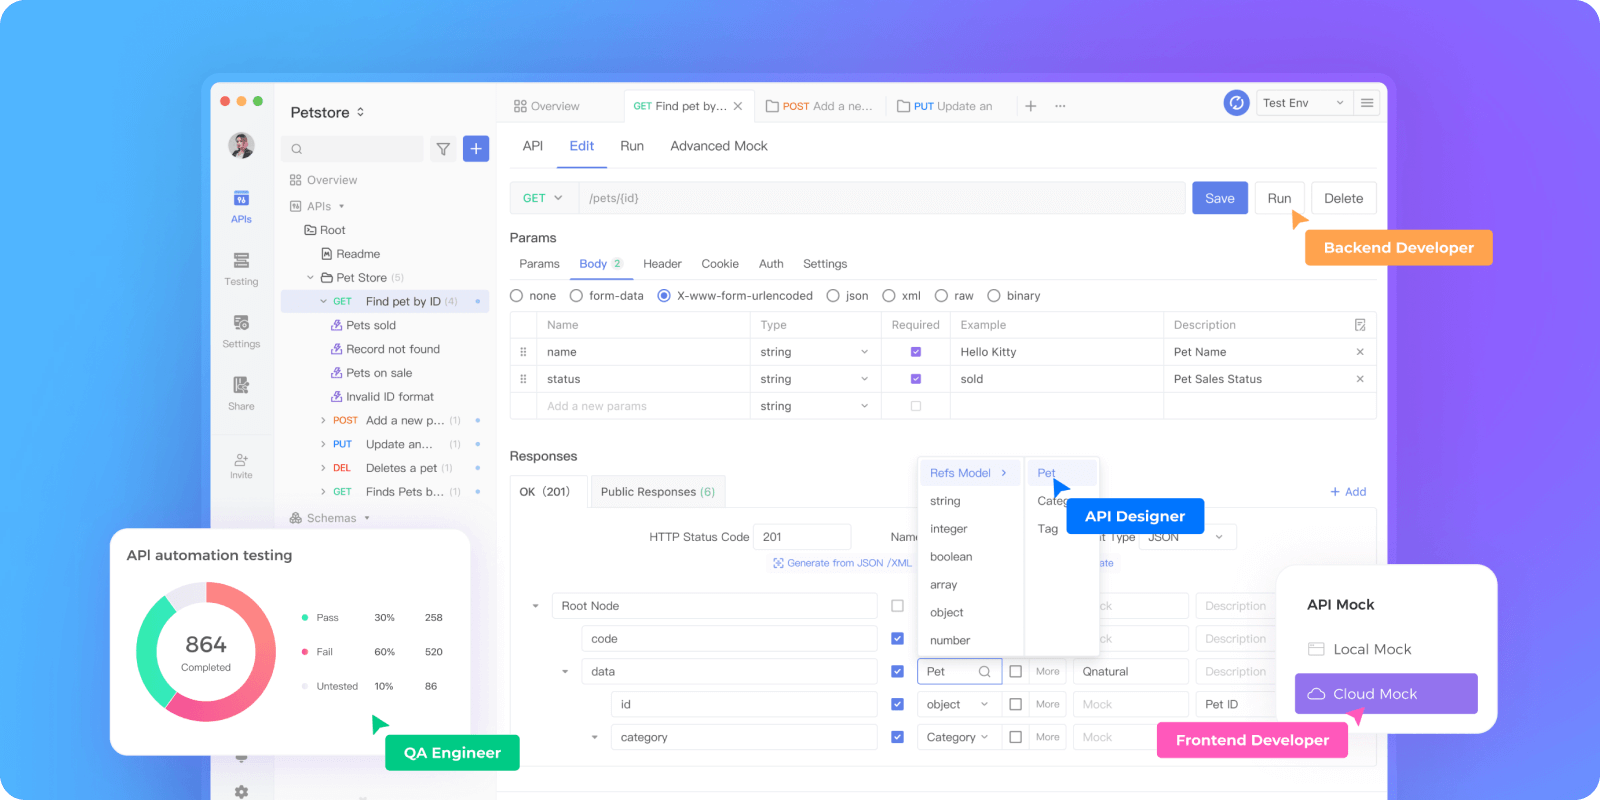
Pros of Apidog:
- Powerful and Free: With Apidog, you can enjoy all its features even without subscribing to a plan. The Free plan has no time limit and includes functionalities such as API design, API debugging, API testing, API documentation, API mocking, and more.
- User-Friendly Interface: Apidog aims to provide a user-friendly interface, making it easy for developers and teams to create and manage API documentation without extensive technical knowledge or experience.
- Access and Authentication: The platform supports various custom authentication options, including OAuth and Single Sign-On (SSO). Users can utilize branded custom domains with SSL, enjoy seamless login via JWT, and assign permission roles to effectively manage access.
- Collaboration and Version Control: Apidog often includes collaboration features, enabling multiple team members to collaborate on the documentation simultaneously. Additionally, version control functionality helps track changes and manage different versions of the documentation.
How to Create API Requests with Apidog
Here are the steps to follow:
1. Download and Install Apidog:
You can download Apidog from the official website. After downloading, run the installer file and follow the instructions to install Apidog on your computer.
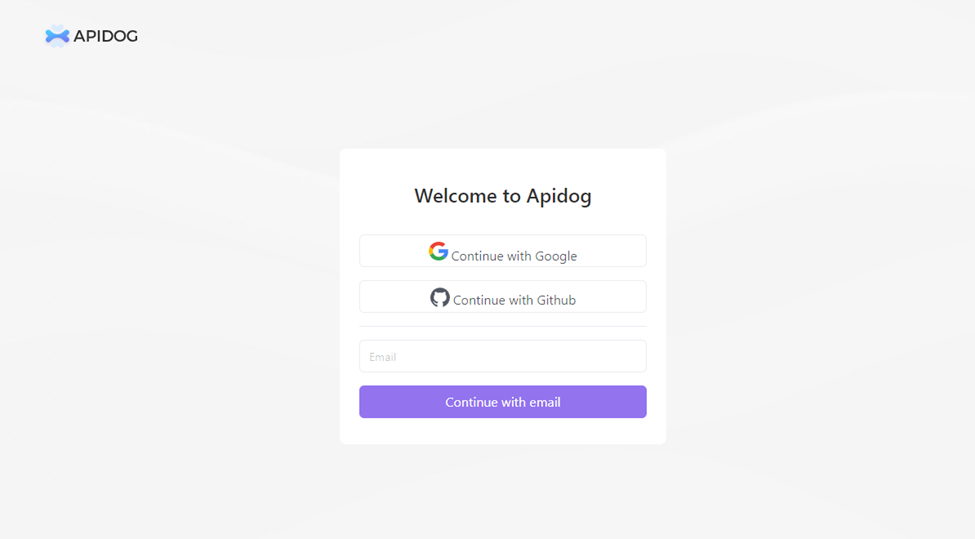
2. Create a new project:
When you first launch Apidog, you will see the welcome screen. Click on the "Create a new project" button to create a new project.
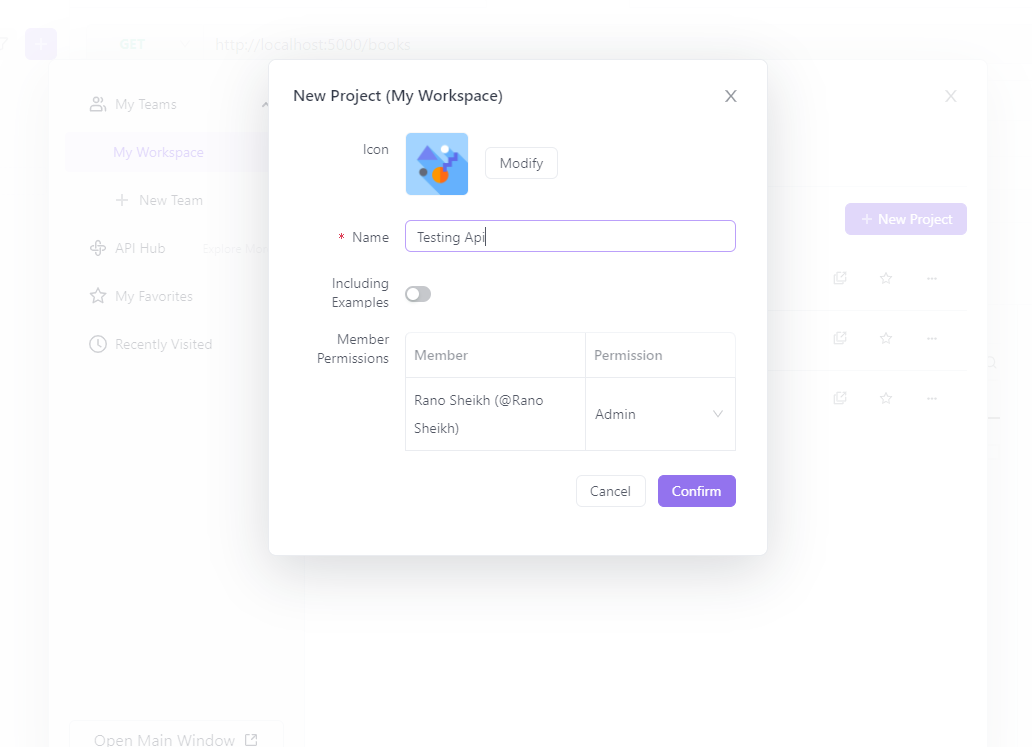
3. Configure the project settings:
In the project settings, you can specify the project name, base URL, and other settings. The base URL is the root URL of the API that you want to test. You can also configure authentication settings, such as API keys or OAuth tokens, if necessary.
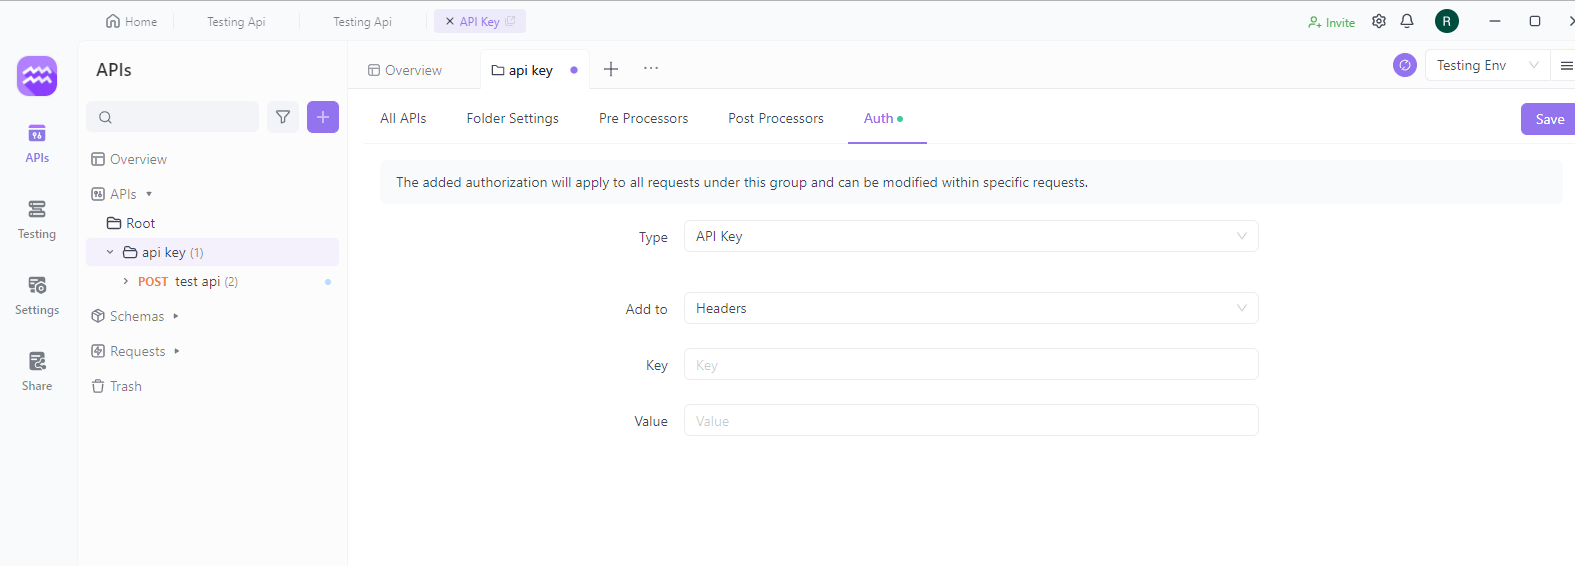
4. Create your API request:
Once you have set up your project, you can create API requests. Click the "Create new request" button to open the request editor. In the request editor, you can specify the HTTP method (e.g. GET, POST, PUT, DELETE), the endpoint URL, headers, parameters, and body content.
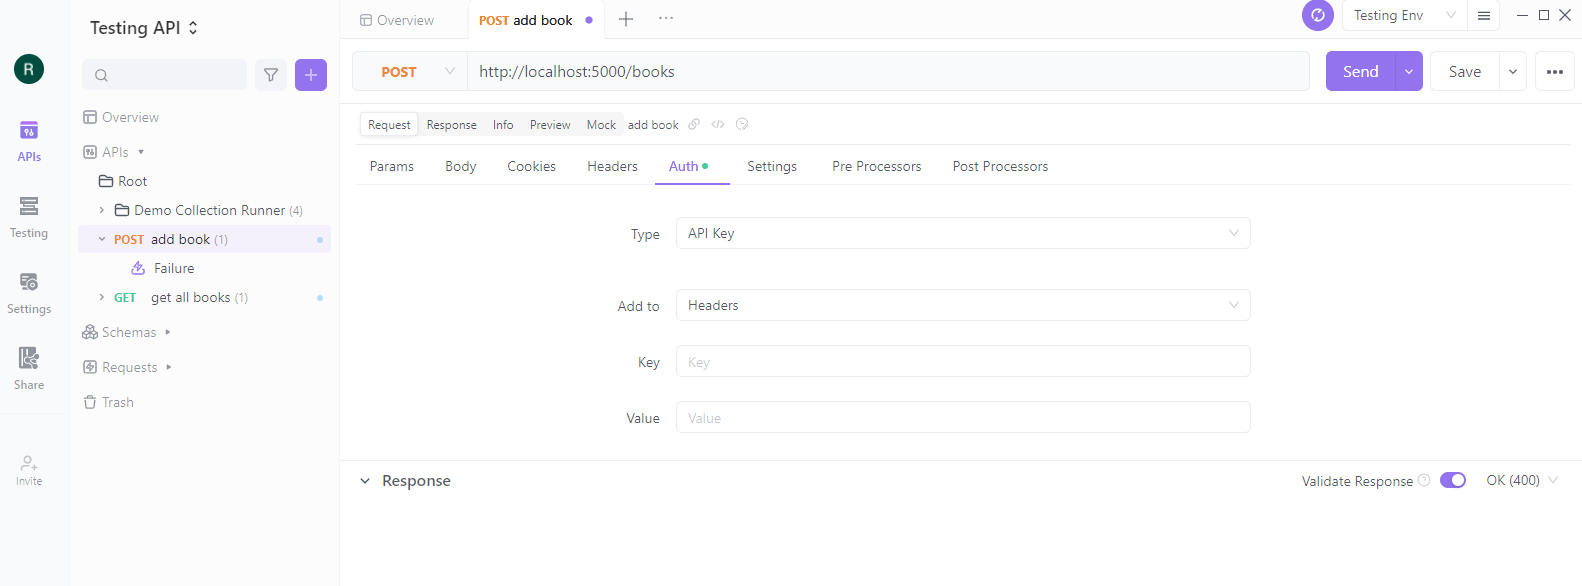
5. Save the request:
After configuring the request, click the "Save" button to save the request to your project. You can organise your requests into folders and add tags and descriptions to make managing and sharing your API tests easier.

If you want to try out Apidog, you can download it for free from their website. And if you need help getting started or have any questions about using the tool, their support team is always available.


