Are you ready to take your API game to the next level? Look no further! Today, we're diving deep into the world of Axios and its powerful request configuration. Whether you're a seasoned developer or just starting out, understanding Axios request config can make your API interactions smoother, more efficient, and downright enjoyable.
Best of all, Apidog is available for free! Don't miss out on this invaluable resource. Download Apidog today and take your API development to the next level.
What is Axios and Why Should You Care?
If you've been dabbling in web development, chances are you've encountered Axios. But for the uninitiated, let's break it down. Axios is a promise-based HTTP client for JavaScript. It's used to make requests from the browser to the server, enabling you to fetch data, send data, and interact with APIs seamlessly. One of its standout features is the Axios request config, which gives you fine-grained control over your API requests.

Getting Started with Axios Request Config
To begin, let's look at the basics of making an API call using Axios. Here’s a simple example:
const axios = require('axios');

axios.get('https://api.example.com/data')
  .then(response => {
    console.log(response.data);
  })
  .catch(error => {
    console.error('Error fetching data:', error);
  });
This straightforward GET request works just fine. But what if you need more control? That’s where Axios request config comes in. It allows you to configure your requests in numerous ways, such as setting headers, timeouts, and authentication.
Key Elements of Axios Request Config
URL
- The URL endpoint of your API.
url: 'https://api.example.com/data',
Method
- The HTTP method (GET, POST, PUT, DELETE, etc.).
method: 'get', // default
Headers
- Custom headers to be sent.
headers: { 'Authorization': 'Bearer YOUR_TOKEN' },
Params
- URL parameters to be sent with the request.
params: { ID: 12345 },
Data
- Data to be sent as the request body (for POST, PUT, etc.).
data: { key: 'value' },
Timeout
- Specifies the number of milliseconds before the request times out.
timeout: 1000, // default is `0` (no timeout)
Response Type
- Indicates the type of data that the server will respond with.
responseType: 'json', // default
Advanced Configuration Options
Let’s delve deeper into some of the more advanced features of Axios request config that can significantly improve your API handling.
Interceptors: Modifying Requests and Responses
Interceptors allow you to run your code or modify the request before it is sent, or alter the response before it is handed over to your application.
axios.interceptors.request.use(config => {
  // Do something before request is sent
  config.headers['Authorization'] = 'Bearer YOUR_TOKEN';
  return config;
}, error => {
  // Do something with request error
  return Promise.reject(error);
});

axios.interceptors.response.use(response => {
  // Do something with response data
  return response;
}, error => {
  // Do something with response error
  return Promise.reject(error);
});
Transforming Requests and Responses
Sometimes, you need to transform the data before sending or after receiving it.
const axiosConfig = {
  transformRequest: [(data, headers) => {
    // Do whatever you want to transform the data
    data.timestamp = new Date().getTime();
    return JSON.stringify(data);
  }],
  transformResponse: [(data) => {
    // Do whatever you want to transform the data
    return JSON.parse(data);
  }]
};
Canceling Requests
There might be scenarios where you need to cancel a request. Axios provides a way to cancel requests using CancelToken.
const CancelToken = axios.CancelToken;
let cancel;

axios.get('/user/12345', {
  cancelToken: new CancelToken(function executor(c) {
    cancel = c;
  })
});

// Cancel the request
cancel();
Real-World Example: Fetching Data with Enhanced Config
Let’s put this knowledge into a real-world example. Suppose you're building a weather app and need to fetch weather data from an API. Here’s how you can use Axios request config to handle this efficiently:
const axios = require('axios');

const axiosConfig = {
  method: 'get',
  url: 'https://api.weather.com/v3/wx/forecast/daily/5day',
  params: {
    apiKey: 'YOUR_API_KEY',
    format: 'json',
    geocode: '37.7749,-122.4194'
  },
  headers: {
    'Content-Type': 'application/json'
  },
  timeout: 5000,
  responseType: 'json'
};

axios(axiosConfig)
  .then(response => {
    console.log('Weather Data:', response.data);
  })
  .catch(error => {
    console.error('Error fetching weather data:', error);
  });
Why Use Apidog for API Documentation and Testing?
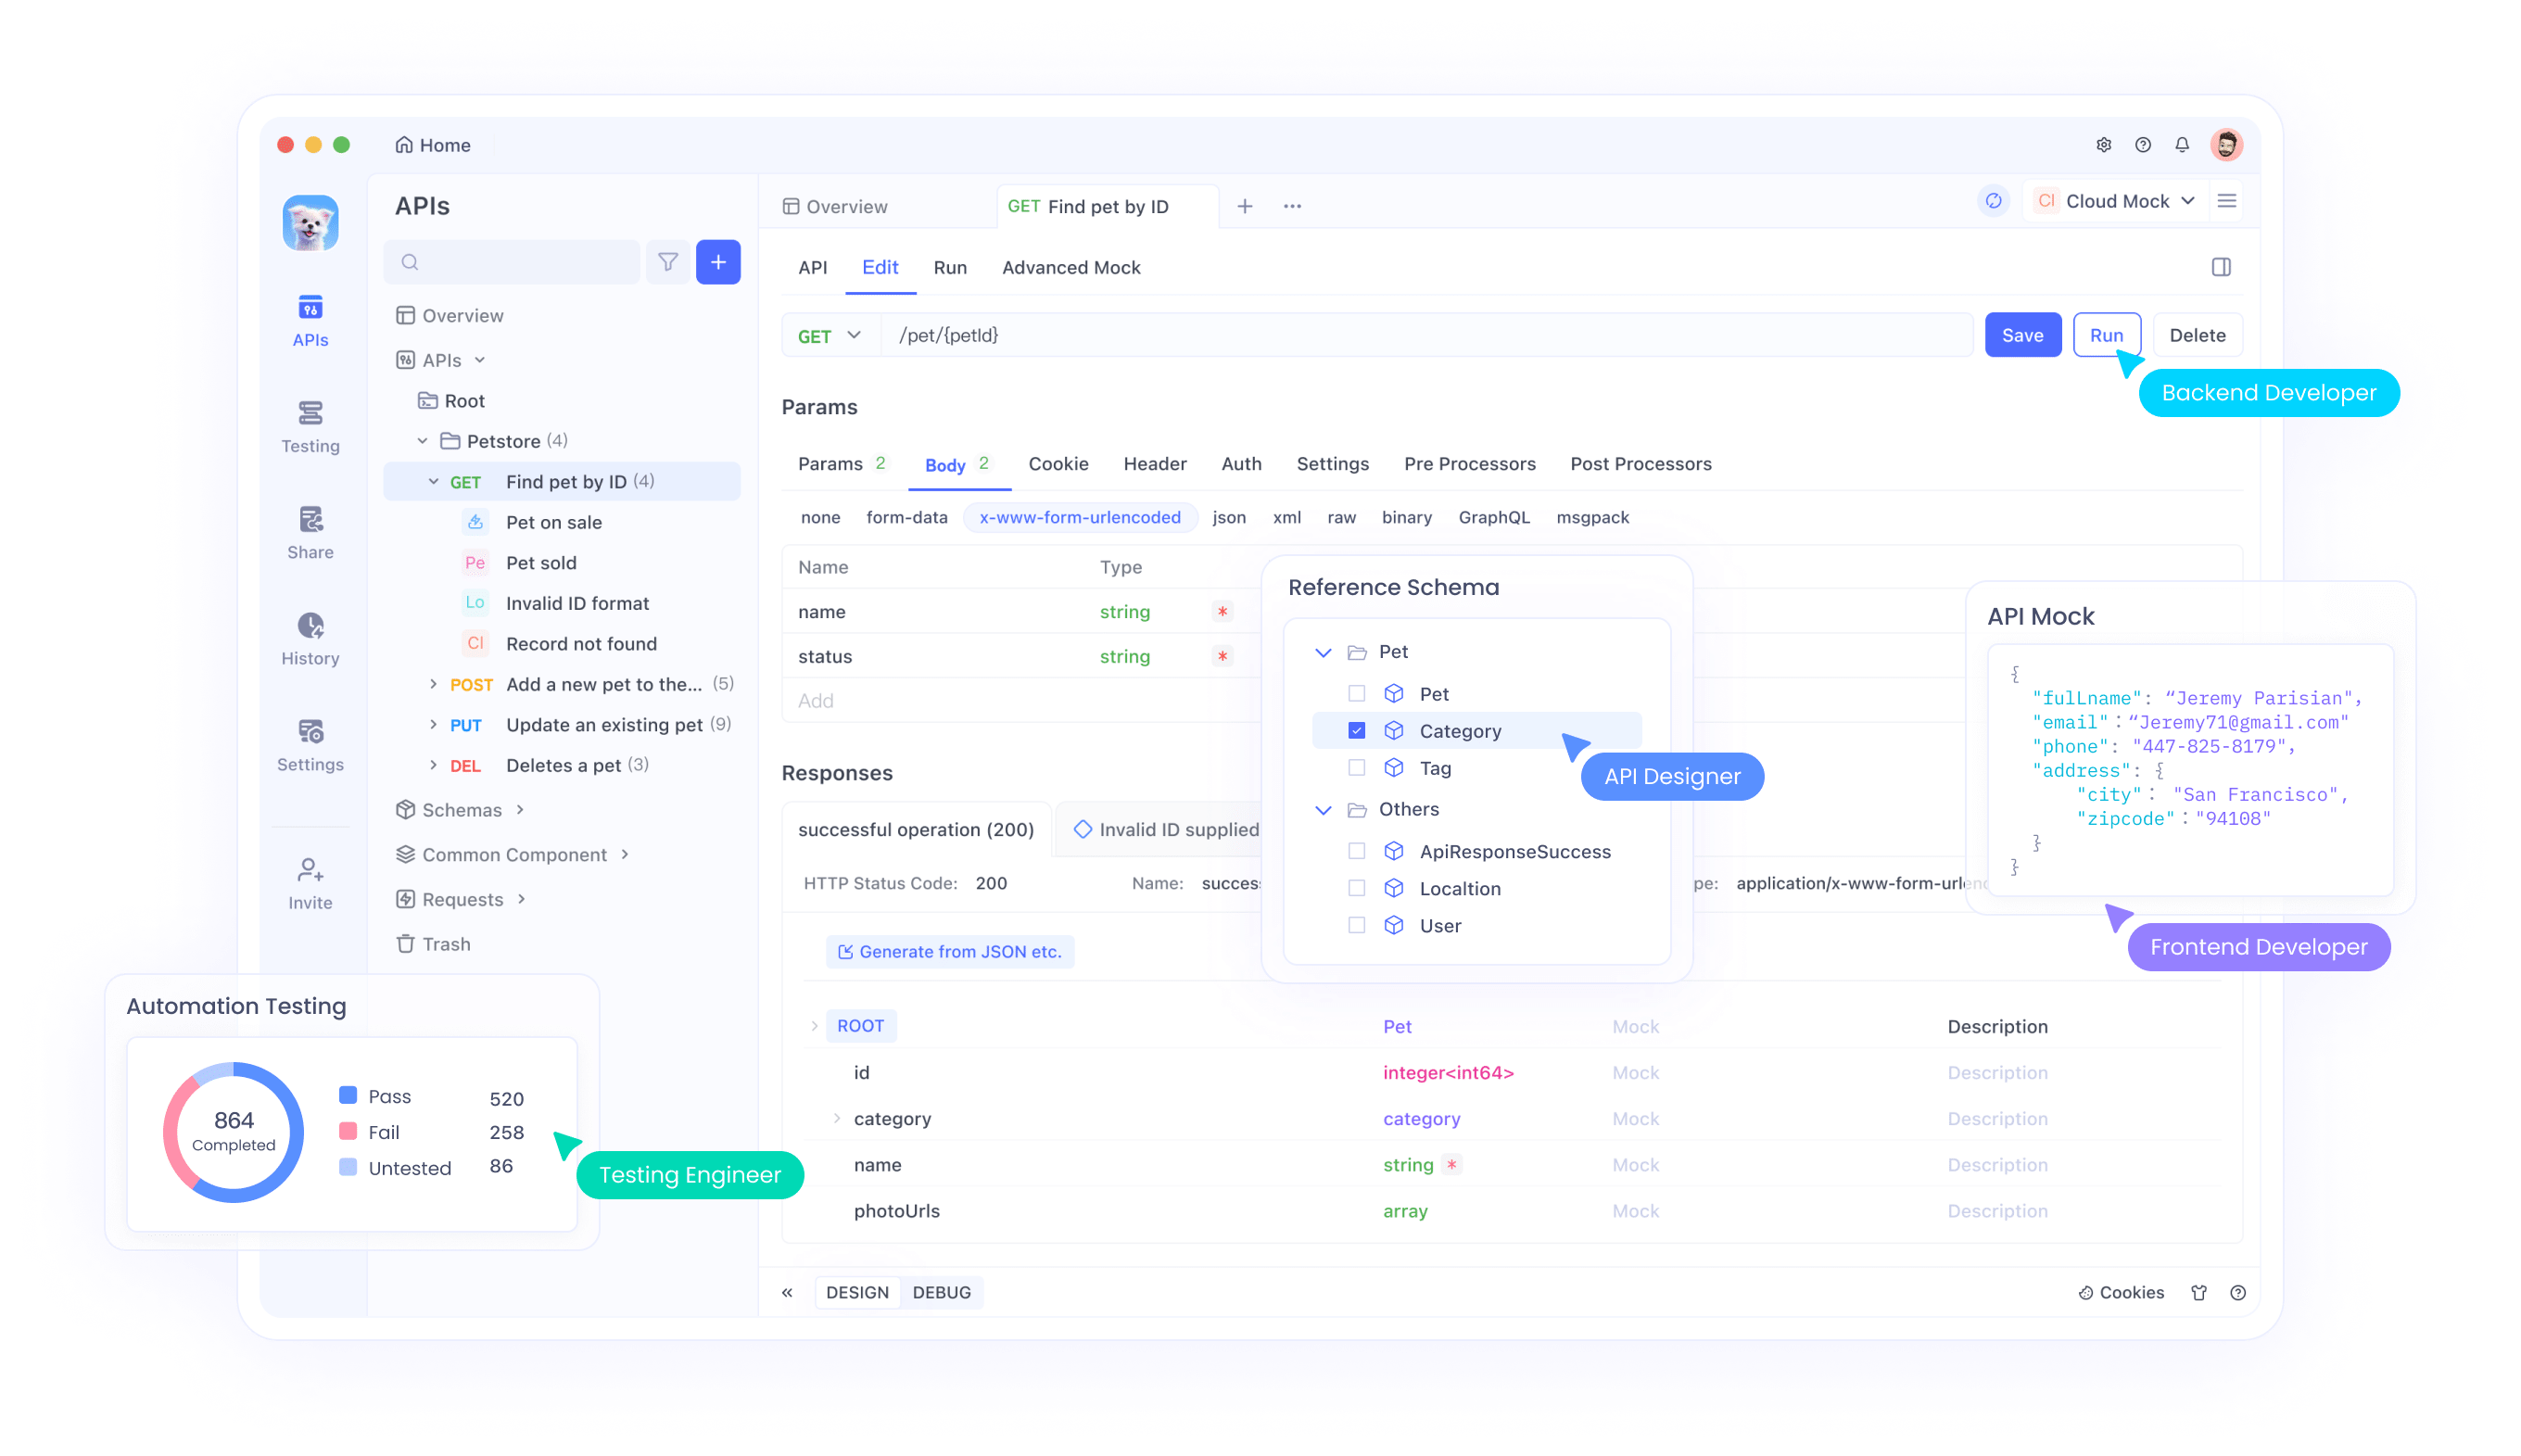
By now, you might be thinking, “This is great, but how do I manage and test my API calls efficiently?” That’s where Apidog comes in. Apidog is a powerful tool designed for API documentation, testing, and debugging. It simplifies the process of working with APIs, making it easier to ensure your endpoints are working correctly and returning the expected data.

Making the Most of Axios and Apidog
Combining the capabilities of Axios with the convenience of Apidog can revolutionize your development workflow. Here’s how you can use both together:
Generate your Axios code using Apidog
Here's the process for using Apidog to generate Axios code:
Step 1: Open Apidog and select new request

Step 2: Enter the URL of the API endpoint you want to send a request to,input any headers or query string parameters you wish to include with the request, then click on the "Design" to switch to the design interface of Apidog.

Step 3: Select "Generate client code " to generate your code.

Step 4: Copy the generated Axios code and paste it into your project.

Using Apidog to Send HTTP Requests
Apidog offers several advanced features that further enhance its ability to test HTTP requests. These features allow you to customize your requests and handle more complex scenarios effortlessly.
Step 1: Open Apidog and create a new request.

Step 2: Find or manually input the API details for the POST request you want to make.

Step 3: Fill in the required parameters and any data you want to include in the request body.

Best Practices for Using Axios Request Config
To wrap things up, let’s go over some best practices to keep in mind when using Axios request config:
Modular Configuration: Keep your Axios configuration modular. Create a separate file for Axios instances and configurations.
Error Handling: Implement robust error handling using interceptors and dedicated error functions.
Performance: Use caching strategies and proper request methods to optimize performance.
Security: Always sanitize inputs and secure sensitive information like API keys and tokens.
Documentation: Maintain comprehensive documentation using tools like Apidog to keep your API interactions transparent and well-documented.
Conclusion
Axios request config is a powerful tool that can enhance your API interactions, providing you with the flexibility and control needed to handle complex scenarios. By mastering its features, you can make your API calls more efficient, robust, and secure. And don’t forget, integrating Apidog into your workflow can streamline your API documentation and testing processes, making your development experience even smoother.
And hey, if you're looking for a tool that can help streamline your API documentation and testing, don't forget to download Apidog for free—it's a game-changer!


