
AI-assisted development is rapidly reshaping how developers build, refactor, and maintain software. At the heart of this transformation is vibe coding, a paradigm where developers provide natural-language prompts and AI tools generate, adapt, or refactor code automatically based on deep understanding of entire codebases. Augment Code is one of the most powerful tools in this space, offering codebase-aware suggestions, autonomous editing agents, and large-context workflows that go far beyond simple autocompletion.
This guide breaks down how beginners can use Augment Code for vibe coding, how it works under the hood, and best practices for integrating it into your development workflow, including CLI and IDE usage, prompt strategies, and common pitfalls to avoid.
What Is Vibe Coding?
Vibe Coding describes an AI-first approach to software development where the developer collaborates with an AI assistant through natural language. Instead of writing every line yourself, you describe your intent — e.g., “Add a login page with OAuth support” — and the AI agent generates code, tests, and even documentation accordingly.
It’s especially appealing for beginners because it lowers the barrier to entry: you can focus on what you want rather than how to write it. However, it also requires careful oversight and iterative refinement to avoid bugs, architectural inconsistencies, or accumulated technical debt.
What Is Augment Code?
Augment Code is a next-generation AI coding platform developed for vibe coding and deep codebase understanding. It’s designed to go beyond simple snippet generation: Augment can analyze entire projects, execute multi-file edits, and autonomously implement complex tasks with a high-context reasoning engine.
Core capabilities include:
- Codebase-aware AI that understands relationships across files
- Augment Agent that can perform autonomous code changes
- Context-rich suggestions that scale across large repos
- IDE integrations (VS Code, JetBrains, Vim, Neovim)
- Chat interface with project awareness
- High-context models that process hundreds of thousands of tokens at once
Step-by-Step Guide to Setting Up Augment Code
Getting Augment Code up and running is super easy. Here’s how to do it:
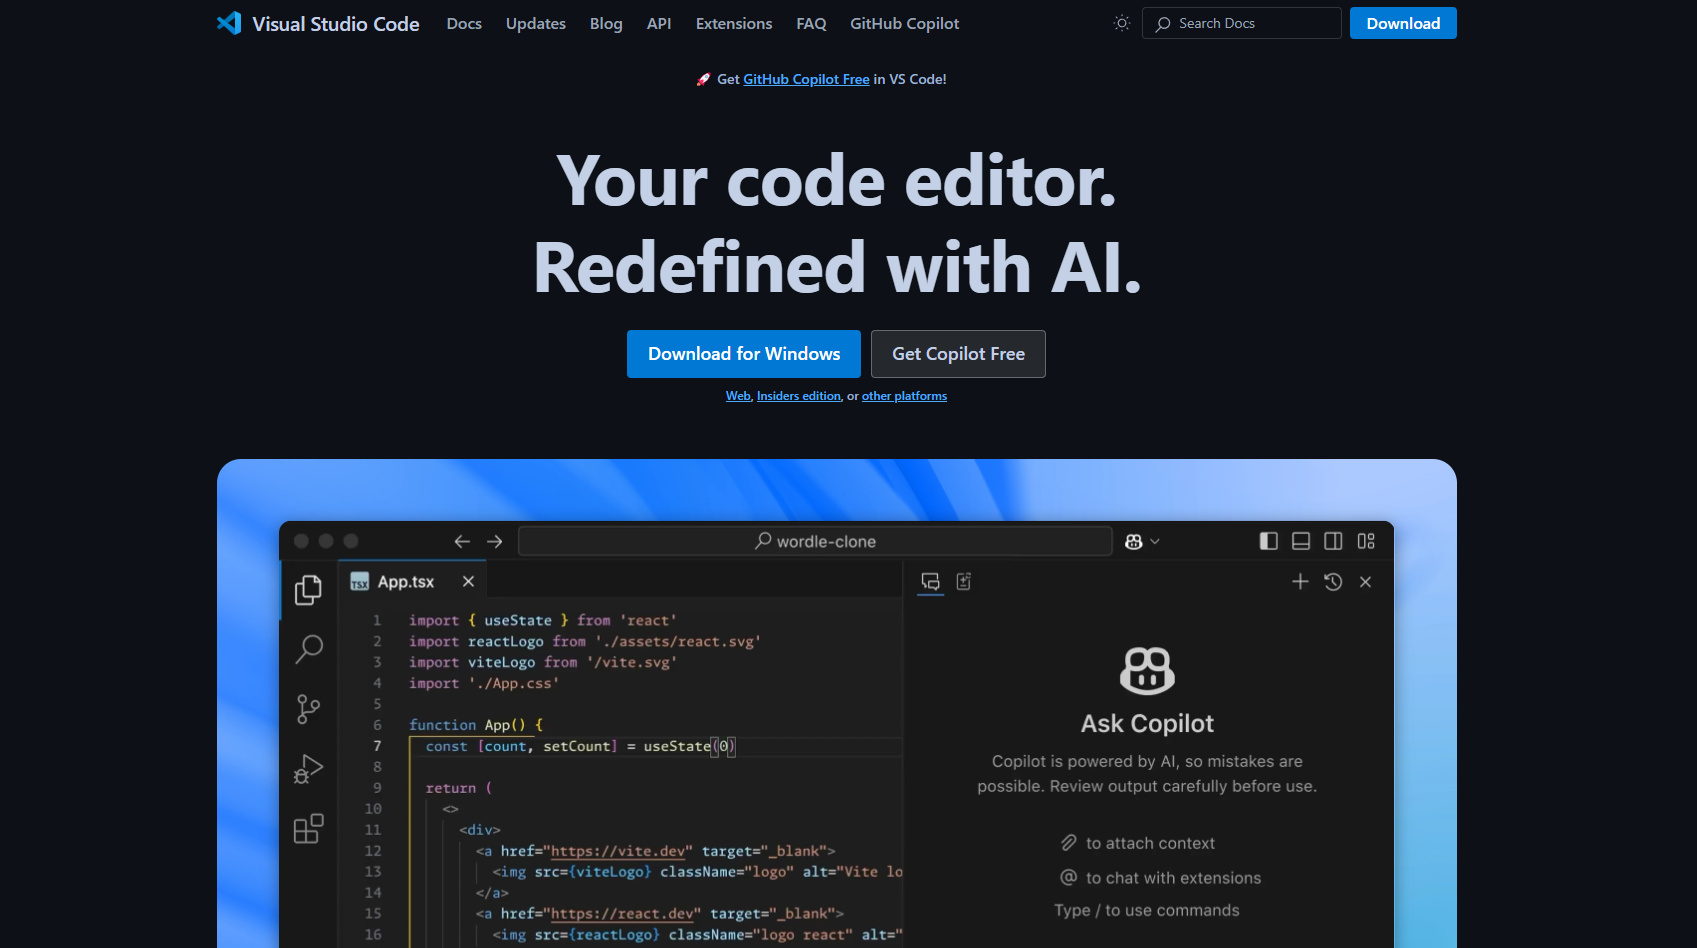
Step 1: Install VS Code (If You Haven’t Already)
You’ll need Visual Studio Code—grab it from code.visualstudio if it’s not already on your machine. It’s free and the perfect playground for Augment Code and many more powerful AI-powered coding assistants (e.g. Cline, RooCode and Gemini Code Assist).
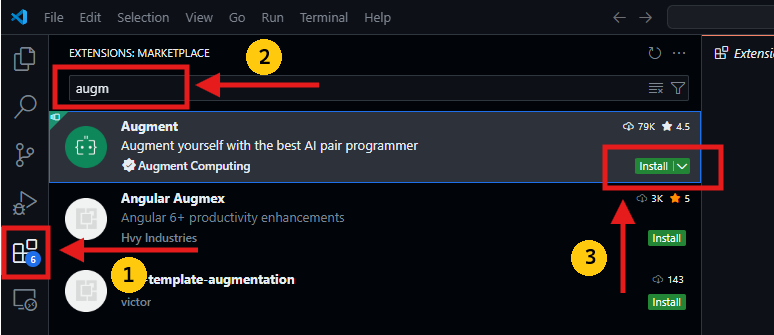
Step 2: Add Augment Code
- Open VS Code.
- Hit the Extensions icon (or
Ctrl+Shift+X/Cmd+Shift+X). - Search “Augment Code” and click Install. Boom—it’s in!
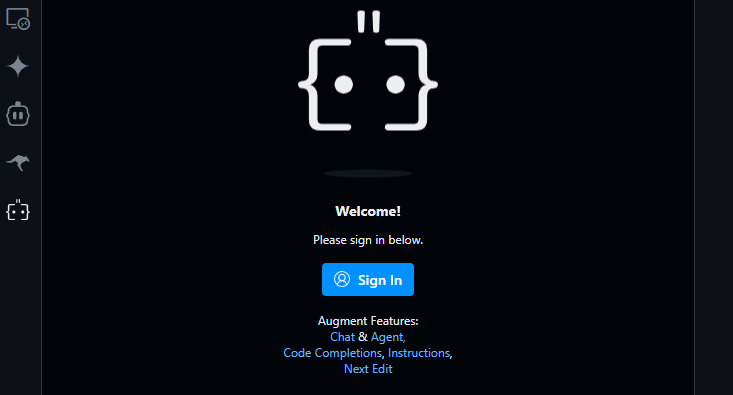
Step 3: Sign Up and Pick a Plan
Head to augmentcode, sign up, and choose a plan (more on pricing later). The free Community plan is solid for solo devs, but the Developer or Enterprise tiers unlock unlimited power.
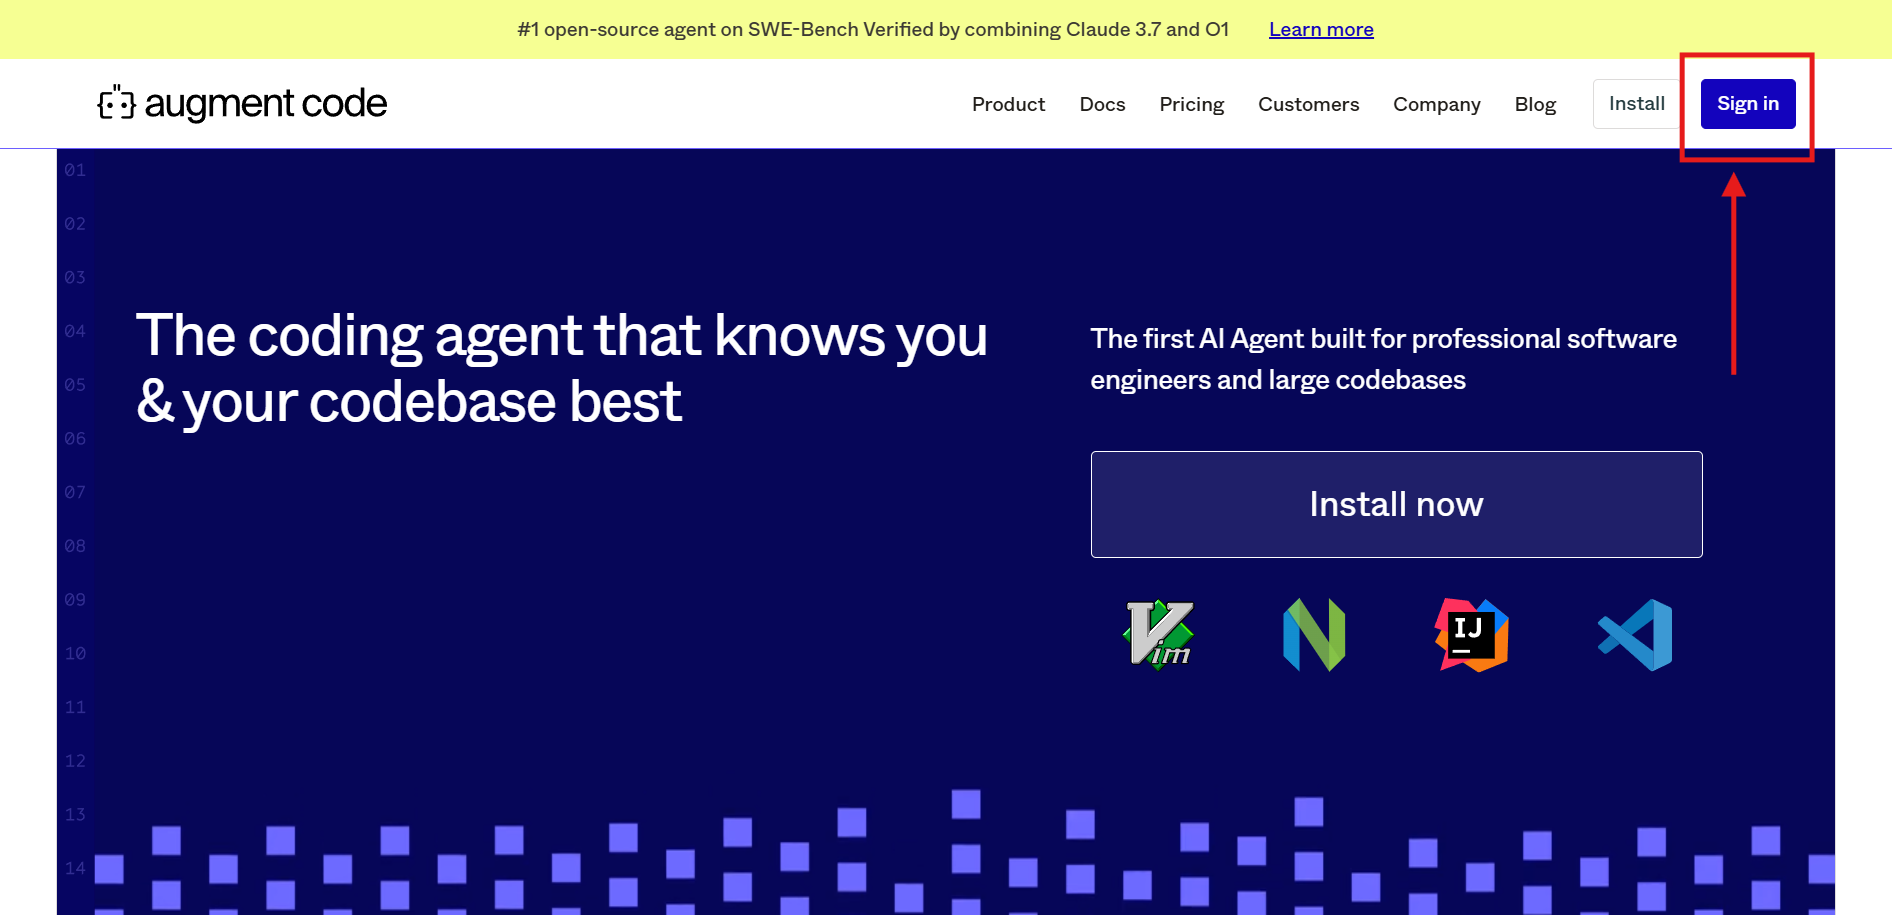
After creating your account and selecting a suitable plan (community version should work just fine for this tutorial), log in via VS Code, and you’re set.
Step 4: Sync Your Codebase
Once installed, Augment Code scans your project automatically—no manual uploads needed. Its Context Engine dives into your files, dependencies, and structure, so it’s ready to roll with spot-on suggestions.
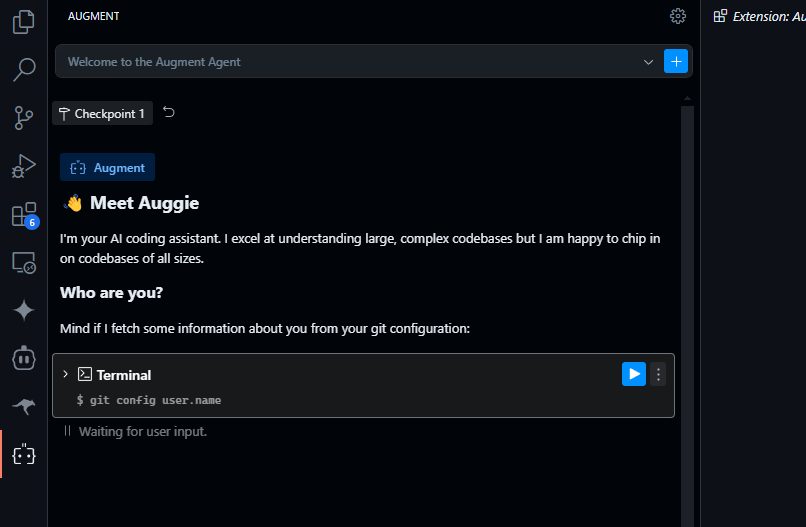
Step 5: Start Chatting
Open the Augment Code sidebar (look for the “A” icon), and you’re good to go. Type a task—like “Add a login form”—and watch the magic happen!
The Three-Phase Vibe Coding Workflow
Augment Code advocates a structured vibe coding approach with three logical phases:
1. Specification Phase (/specify)
You describe what you want in plain language. Augment turns this into a detailed technical spec.
auggie /specify "Add dark mode support to the app with user preference stored in local storage"
This step gives the AI enough structural context to work effectively.
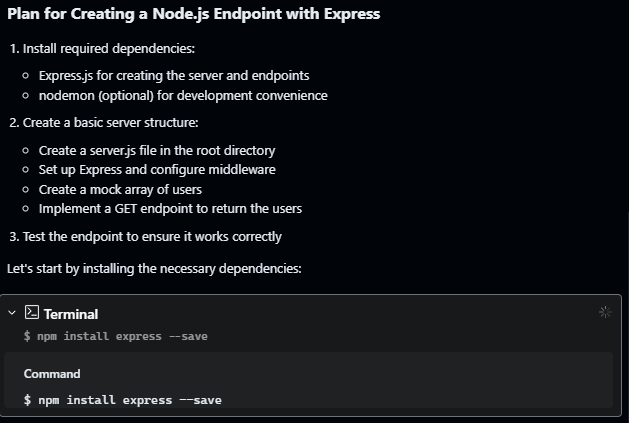
2. Planning Phase (/plan)
Now Augment creates a plan — breaking the big task into sub-tasks:
- Detect files to modify
- Define functions and modules to create
- Establish integration points
You can review or tweak this plan before committing.
3. Execution Phase (/tasks)
In this phase, the agent executes the plan by editing code, creating files, or applying patterns across the project.
This autonomy is one of Augment’s standout capabilities — powerful but also something beginners should supervise closely to prevent unintended changes.
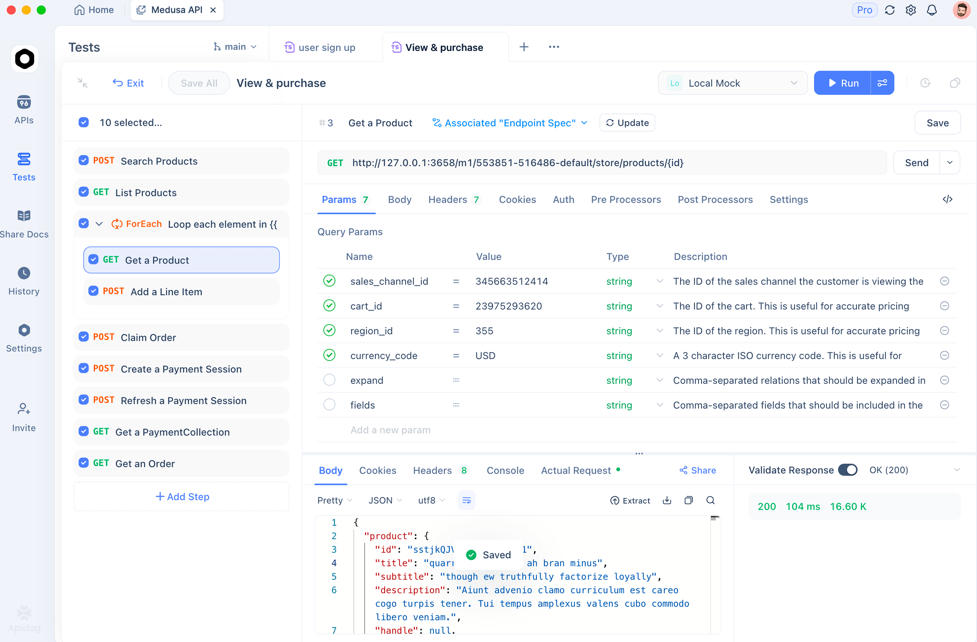
Apidog: Enhancing API Workflows for Devs Vibe Coding with Augment Code
When using Augment Code to generate or modify APIs — particularly REST or GraphQL endpoints — you’ll want to verify that those endpoints behave as expected. Apidog is an invaluable tool for developers working with API endpoints:
- Automated API testing
- Generating API test cases
- API contract testing
- CI/CD integration with API validations
You can start with Apidog for free and integrate it into your vibe coding workflow to ensure that AI-generated endpoints are correct, resilient, and production-ready.
Best Practices for Beginners
- Start Small: Avoid asking for huge, sweeping changes on your first prompt. Smaller requests yield easier review and faster iteration.
- Keep Context in Mind: Augment works best when it fully understands your project’s structure. Let it index your repo thoroughly before making requests.
- Review Generated Code: Even though Augment can write multi-file edits, always review changes carefully. AI can introduce technical debt or structural inconsistencies if unchecked.
Pros and Cons of Augment Code for Beginners
Strong Points
- Deep repo context — handles large codebases better than simple AI completions.
- Autonomous agent — can create, edit, or refactor across files.
- High-context processing — supports very large contexts (hundreds of thousands of tokens).
- IDE and CLI support — flexible workflows.
Common Pitfalls
- Overreliance — beginners can neglect learning foundational coding principles.
- Quality concerns — AI might produce code that compiles but violates architectural standards or creates unanticipated bugs.
- Pricing limits — free tiers may have chat or usage limits before requiring payment.
Frequently Asked Questions
Q1. Is Augment Code suitable for beginners?
Yes — especially when you start with small tasks and learn to review AI-generated code critically.
Q2. Can Augment Code understand large projects?
Yes — it has a high-context engine that processes entire codebases at once.
Q3. Does vibe coding replace traditional coding?
Not completely — while AI can generate code, developers still need to supervise, debug, and test.
Q4. Does Augment Code require internet access?
Typically yes — some workflows depend on cloud services and authenticated accounts.
Q5. How does Augment Code differ from GitHub Copilot?
Unlike Copilot’s single-line suggests, Augment indexes entire repos and supports autonomous multi-file edits.
Conclusion
Augment Code offers a compelling on-ramp to vibe coding for beginners, combining deep codebase awareness with autonomous AI agents that can generate, refactor, and guide you through complex tasks. With its strong integrations and high-context engine, Augment goes beyond simple code suggestions and becomes a collaborative coding partner. However, for long-term success, accompany AI outputs with rigorous review, testing, and iterative feedback.
To ensure your AI-generated APIs are reliable, complement Augment Code with Apidog for automated API testing and contract validation.


