
[Guide] How to Add TLS Version 1.2 in Postman
In today's world, secure communication is paramount. Postman, a popular API client, offers TLS support to encrypt data transmission. This guide will show you how to enable TLS version 1.2 in Postman for enhanced security.

The Transport Layer Security (TLS) protocol is a critical component of secure communication, encrypting data to safeguard it during transmission. Postman, a prevalent API client, utilizes TLS to protect information exchanged during API requests.
You can rely on Apidog, a multi-purpose API platform that allows users to not only implement TLS, but test and mock APIs too. Learn more about Apidog by clicking the button below!
This guide provides a comprehensive walkthrough on enabling TLS version 1.2 within Postman, ensuring a more robust security posture for your API interactions.
What is Postman?
Postman streamlines the API development workflow for programmers by consolidating essential tools within a single platform. This comprehensive suite empowers them to design, rigorously test, and efficiently document their APIs. Consequently, Postman has become an indispensable tool for developers tackling a wide range of API projects.

What is TLS?

TLS (Transport Layer Security) refers to a cryptographic protocol that operates a the Transport Layer (layer 4) of the OSI (Open Systems Interconnection) model, sitting between applications and the underlying network transport protocols (such as TCP/IP).
TLS is also responsible for negotiating a secure connection between communicating parties.
What does TLS Achieve?
TLS ensures that these three key aspects of data transmission are always achieved when communicating with another party: confidentiality, integrity, and authentication.
Confidentiality
Encryption: TLS utilizes a process called a "handshake" to establish shared secret keys. These keys are used to encrypt the data being transmitted between the client and server. Encryption scrambles the data into an unreadable format, making it unintelligible to anyone who might intercept it.
Cipher Suites: During the handshake, both parties agree on a set of cryptographic algorithms called "cipher suites." These suites define the specific encryption and decryption methods used for the communication.
Data Integrity
Hashing: TLS employs cryptographic hash functions like SHA-256. These functions generate a unique "fingerprint" of the data before it's sent. Upon receiving the data, the other party calculates its own hash and compares it to the received one. Any discrepancy in the hashes indicates that the data has been tampered with during transmission.
Authentication
Digital Certificates: TLS can leverage digital certificates to verify the identities of the communicating parties. These certificates act like electronic passports, containing information about the party's identity and a public key. The server typically presents a certificate signed by a trusted Certificate Authority (CA). The client then verifies the certificate's authenticity and uses the public key within it to establish a secure connection.
Step-by-step Guide on How to Implement TLS Version 1.2 on Postman
Step 1 - Create a Postman Account
Create a new Postman account (only if you do not have one) and start downloading the Postman application onto your device. The application offers more features than its web version.
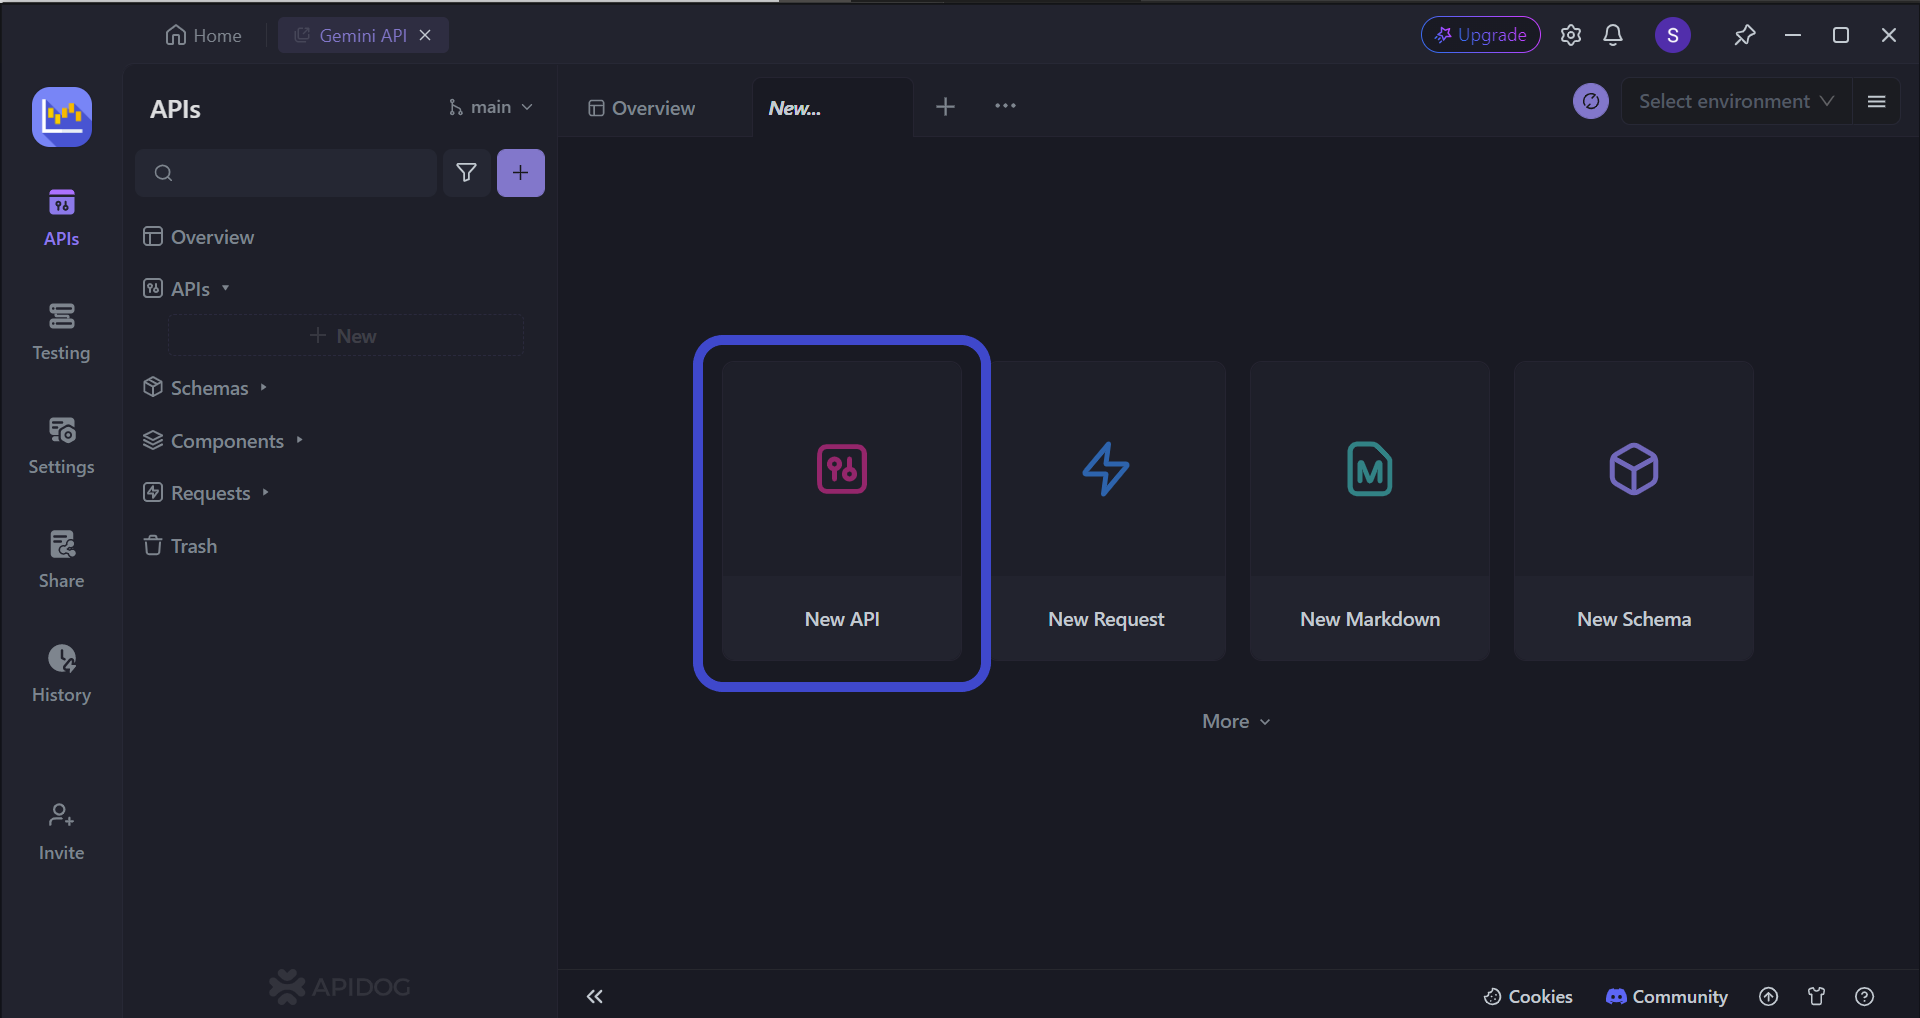
Step 2 - Create a New API Request on Postman

Once you have installed Postman, create a new request by clicking the New button in the top left corner of the Postman window. Select HTTP Request to create a new request, as shown in the image above.
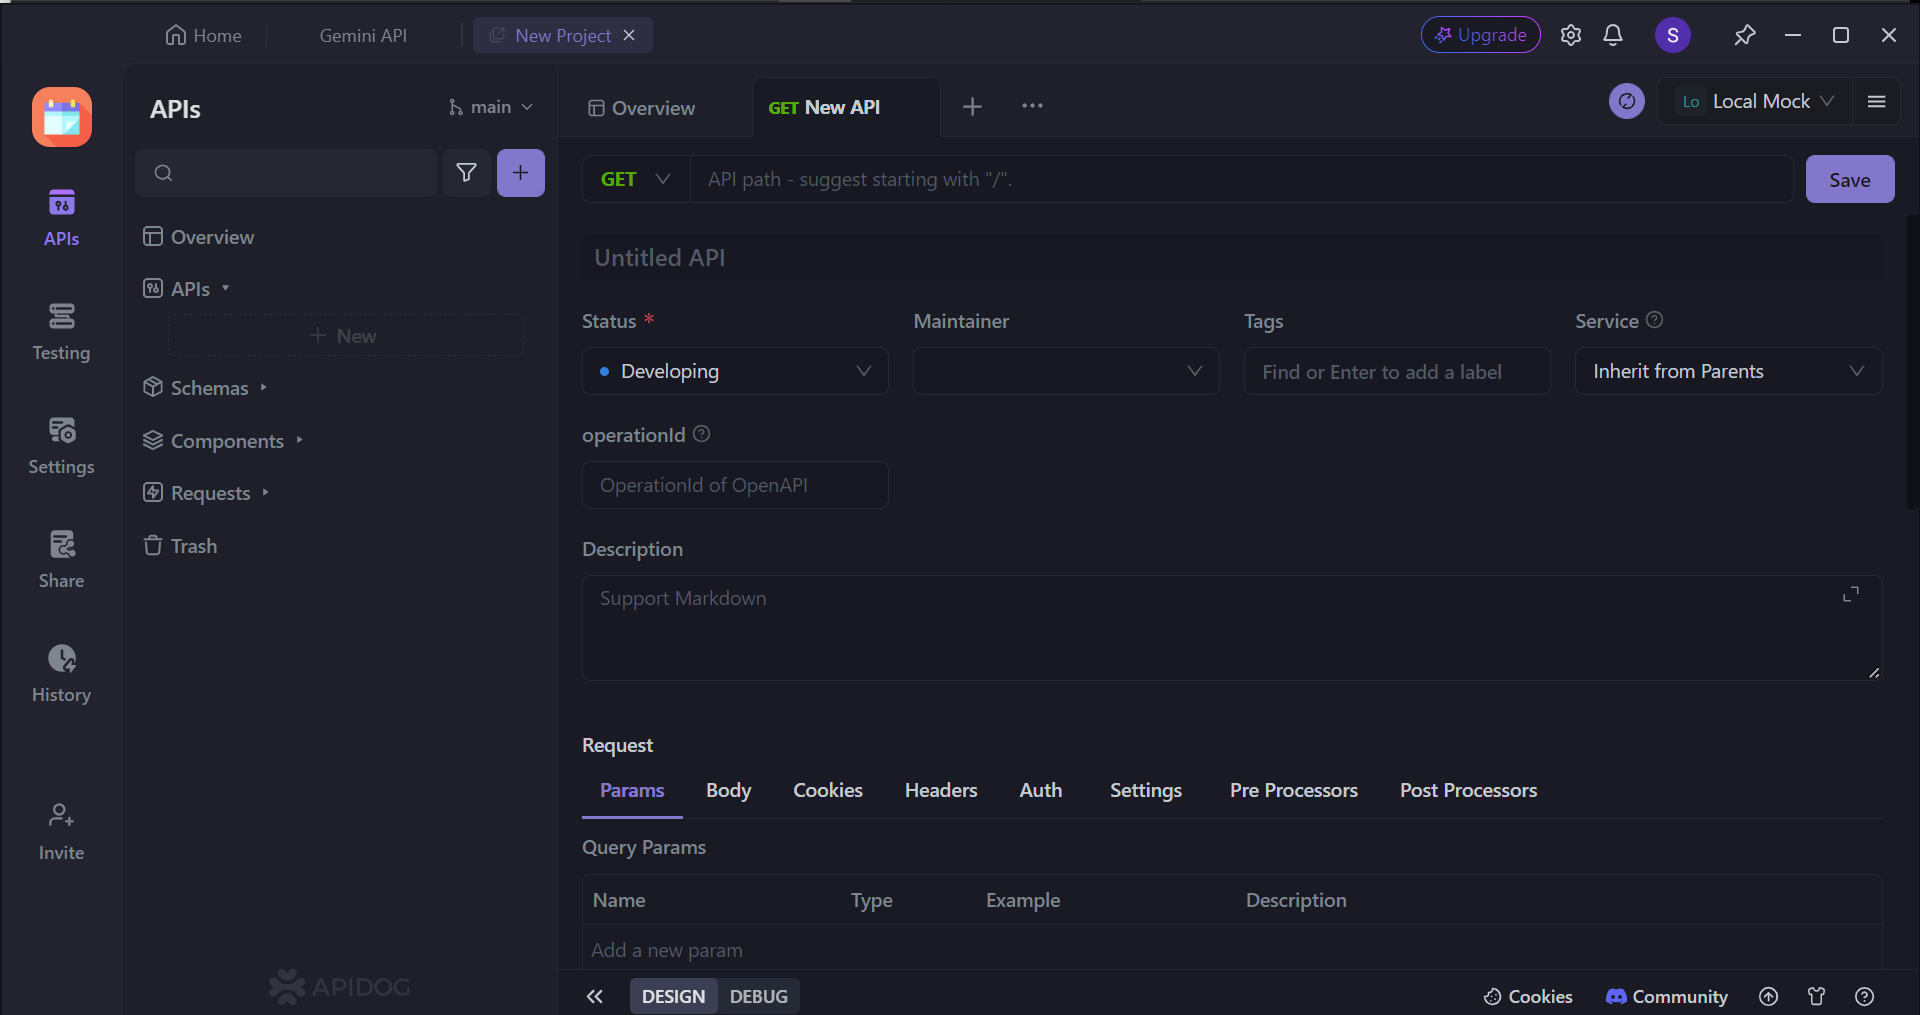
Step 3 - Select TLS Version 1.2

Under the Settings section, scroll down until you see "Protocols disabled during handshake. If you wish to use TLS v1.2, select all other TLS versions aside from TLS v1.2.
Your box should look like this at the end of the modification:

Apidog - Personalize Your API Development
Apidog is an all-in-one PAI development platform that allows users to build, test, mock, and document APIs. This also includes minute details such as choosing authentication and security types you wish to implement in your APIs.

Building Custom Best APIs Using Apidog
Apidog provides users the freedom to create APIs based on their vision.
To begin, press the New API button, as shown in the image above.
This section dives deep into crafting the core functionalities of your REST API. Here, you'll meticulously define:
- Interaction methods: Specify how applications will communicate with your API, outlining methods like GET, POST, PUT, and DELETE.
- Access points (Endpoints): Pinpoint the exact URLs (endpoints) where applications will send requests to interact with your API.
- Data requirements (Parameters): Detail any mandatory parameters that applications must include in the URL to target specific data within your API.
- Functionality breakdown: Provide a crystal-clear explanation of what each endpoint of your API is designed to accomplish.
Ensure that you understand how to pass IDs in URLs so that API endpoint testing can be a swift and simple process for you!

Secure Your API Project with HTTPS Using Apidog
Consider using Apidog for publishing your projects and creating online API documentation today. With Apidog, you can gain two significant benefits:
Secure Data Transmission
HTTPS utilizes SSL/TLS encryption, acting like a digital vault to scramble information during transmission. This safeguards user data from unauthorized access, ensuring user and data confidentiality.
SEO Optimization
Search engines favor websites with HTTPS due to their enhanced security features. Therefore, HTTPS websites often enjoy a ranking advantage over their HTTP counterparts.
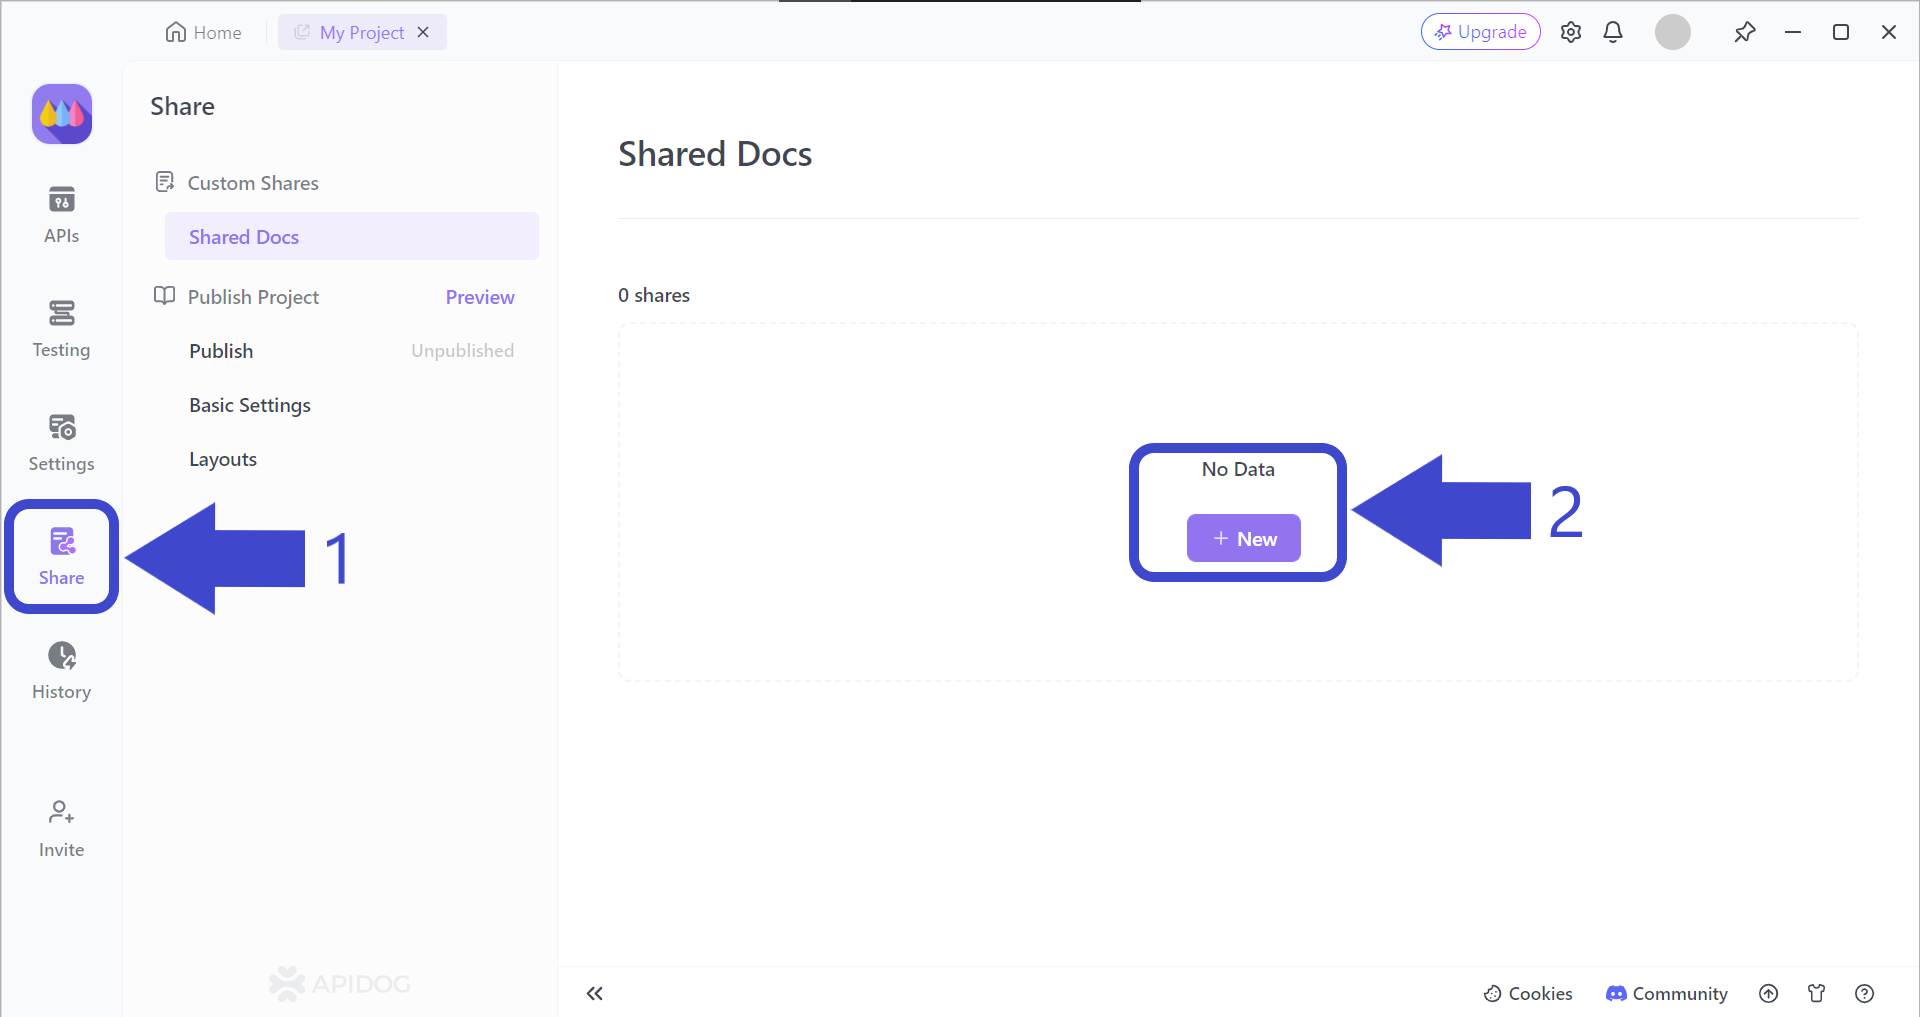
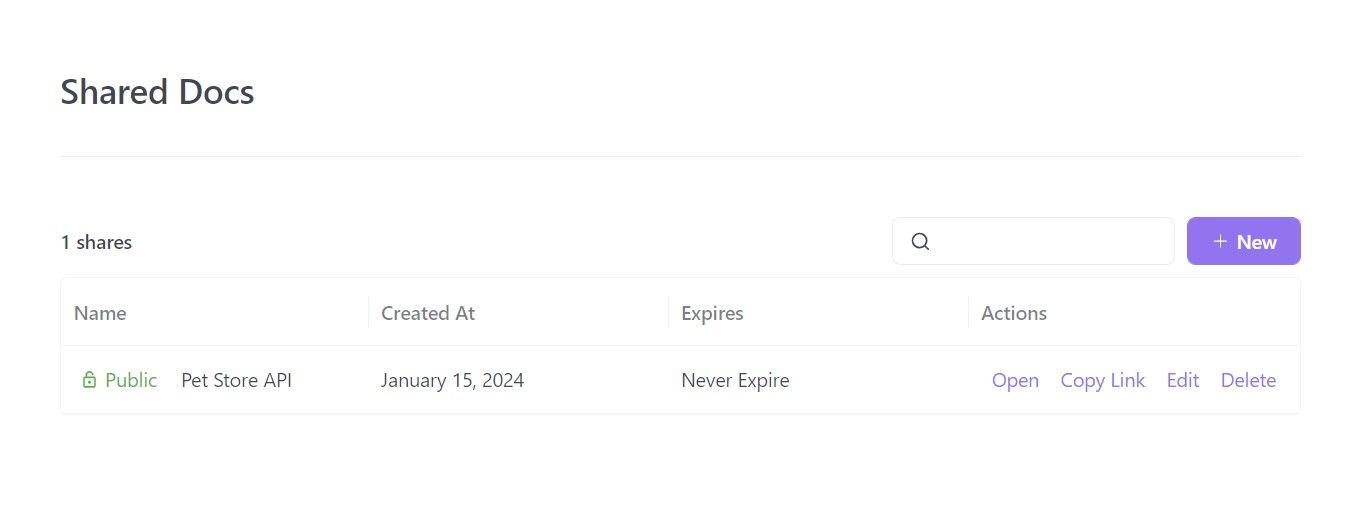
Arrow 1 - First, press the Share button on the left side of the Apidog app window. You should then be able to see the "Shared Docs" page, which should be empty.
Arrow 2 - Press the + New button under No Data to begin creating your very first Apidog API documentation.
Select and Include Important API Documentation Properties
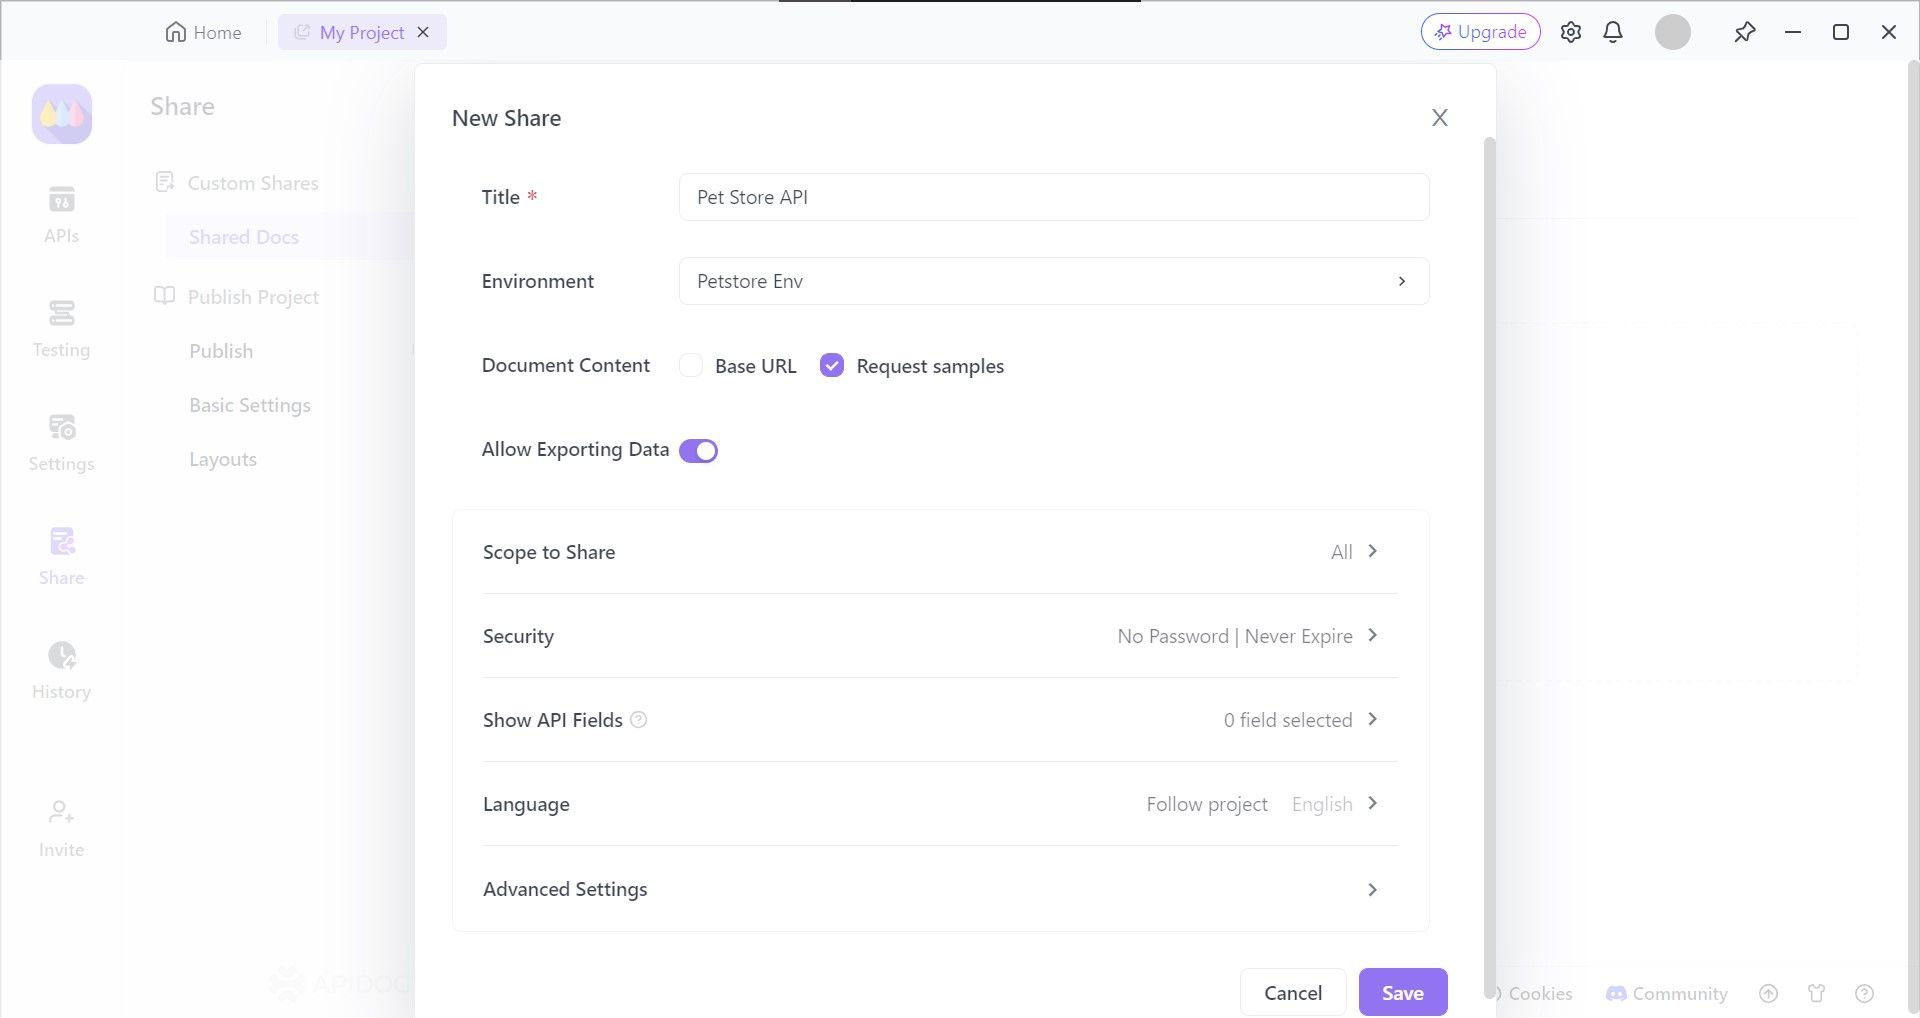
Apidog provides developers with the option of choosing the API documentation characteristics, such as who can view your API documentation and setting a file password, so only chosen individuals or organizations can view it.
View or Share Your API Documentation
You can now distribute your API endpoint to anyone you want, or post the URL on your API's website to allow potential consumers to see how your API works.
If more details are required, read this article on how to generate API documentation using Apidog:

Share Project With Customized HTTPS Domain

Now that you have your API documentation ready, you can publish your entire project online! Select the Edit button found in the Publish section, as shown in the image above.

You will be prompted to enable an HTTPS domain, as well as the option of creating your very own URL for you to showcase your project to the world, and let other developers utilize your API for their work!
Conclusion
By enabling TLS 1.2 in Postman, you've taken a significant step towards fortifying the security of your API interactions. This enhanced security posture safeguards sensitive data during transmission, preventing unauthorized access and ensuring data integrity.
Secure communication is critical in today's digital landscape. Following this guide will empower you to leverage Postman's capabilities to their fullest while fostering a more secure environment for your API development endeavors.
